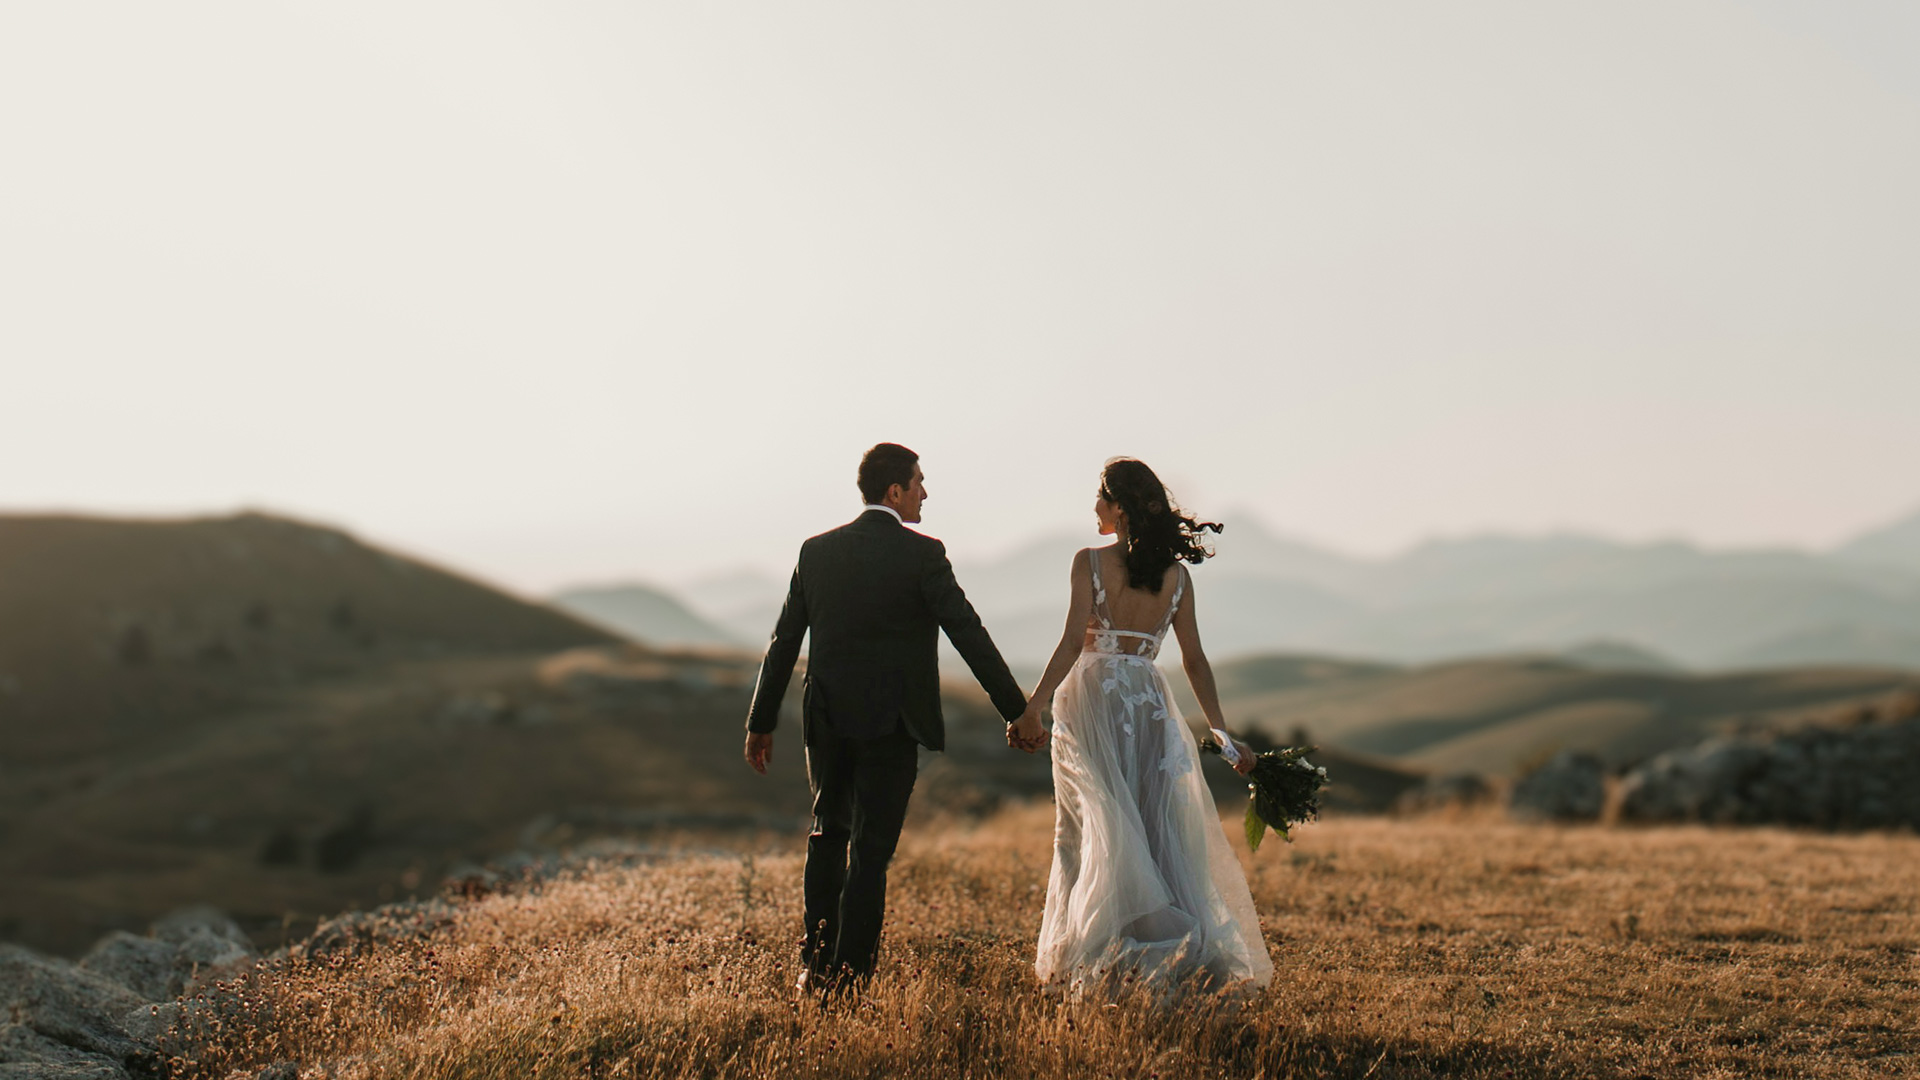

Watch the Full Series
description
Lens Blur simulates a fast lens after the fact, and it works on the first click most of the time. The interesting part is the rest of the time.
On Day 21 of 30 Days of Lightroom Classic we use Visualize Depth to find where the depth map is wrong, then paint focus and blur back by hand for a result that actually holds up.
This is Day 21 of our 30 Days of Lightroom Classic series. Follow along with all 30 episodes as we explore the magic of Lightroom together!
Continue Watching 30 Days of Lightroom Classic
JOIN 30 DAYS OF LIGHTROOM (FOR FREE!)
Ready to jump in? Sign up and we’ll email you a printable calendar and daily class schedule so you can get started right away!
Image Source

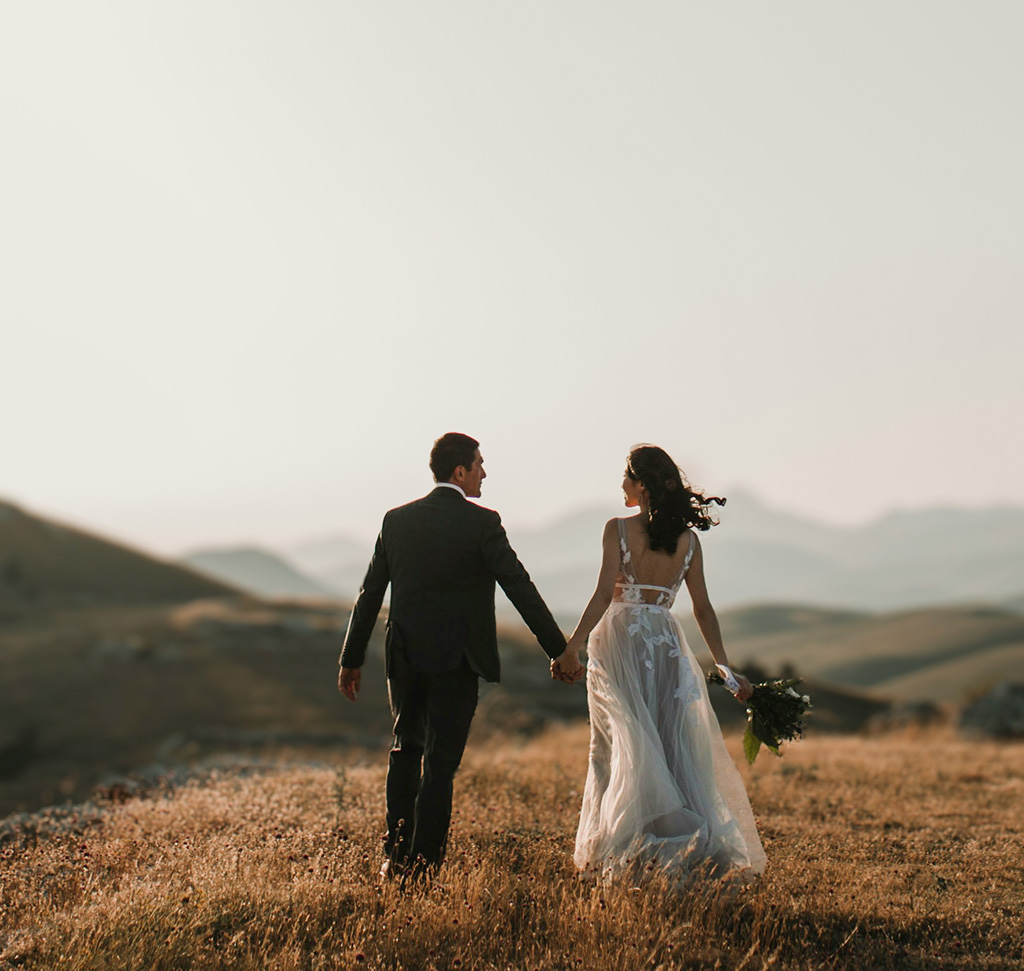
AFTER
BEFORE
Depth Made Easy
Lens Blur simulates a fast lens after the fact — the shallow depth of field of an f/1.4 prime, applied to a photograph shot at f/8 on a wide angle. Click Apply and it works, most of the time, on the first try.
The interesting part is the rest of the time. Lightroom builds a depth map by guessing what is near and what is far, and it guesses wrong on flowers, on hands, on anything it does not recognise as a person. Day 21 is about seeing those mistakes and painting them out, which is what separates a convincing result from an obviously artificial one.
Apply, Then Set the Amount
Lens Blur is in the right-hand panel of the Develop module. Click Apply and Lightroom detects the subject and blurs behind it. The Apply toggle also gives you an instant before and after.
The Blur Amount slider is the one that decides whether anyone believes it. Zero is your original. Pushed to the right it becomes a caricature — a hard fall-off that no lens produces. Somewhere near the middle you get separation that reads as depth.
Subtle wins here more than anywhere else in Lightroom. A little blur reads as a better lens; a lot reads as a phone.
Bokeh, Cat Eye and Boost
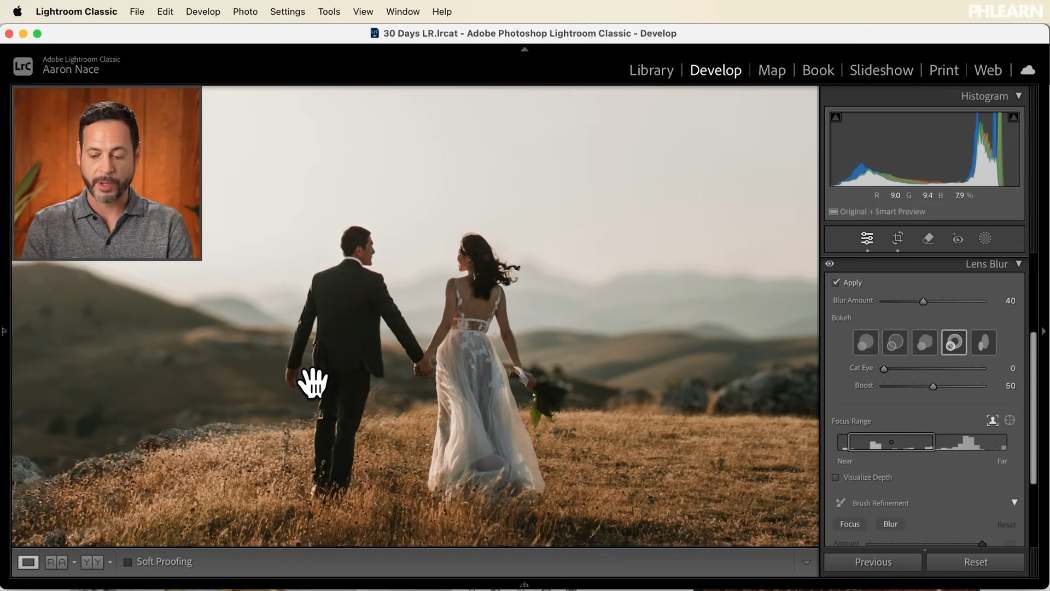
The bokeh options change how out-of-focus highlights are rendered — the shape of each specular point behind your subject. Zoom into a bright area to judge them; the differences are invisible at fit view.
Cat Eye stretches those circles into ovals toward the frame edges, mimicking the optical vignetting real fast lenses produce. It is a nice touch of authenticity on the right image.
Boost brightens the highlights inside the blur. It does very little unless the background actually contains bright points — string lights, sun through leaves, water.
Focus Range and the Target Tool
The Focus Range slider sets which depth stays sharp. Drag it across and you can invert the effect entirely — subject blurred, background sharp — which is occasionally a deliberate creative choice and usually a mistake.
Rather than hunting with the slider, use the target icon beside it: click it, then drag a rectangle over your subject on the image. Lightroom sets the focus range to match, and it is both faster and more accurate than the automatic guess — particularly with two people at slightly different distances.
Visualize Depth: See What Lightroom Thinks
This is the option that changes how you use the tool.

Visualize Depth overlays the depth map in yellow, showing exactly what is being treated as near and what as far. Turn it on and the errors become obvious immediately.
In the example, Lightroom identified the couple correctly and then blurred the bouquet in front of them, because it does not read flowers as part of a person. Without the overlay you would notice something felt wrong; with it, you can see precisely what.
Turn this on every time before deciding you are finished. It costs one click and catches the errors that make an image look processed.
Painting Focus and Blur by Hand
Below the depth controls is the refine brush, and it has two modes: paint Focus, or paint Blur.

The controls are the familiar ones — Amount, Size, Feather, Flow. As with every other brush in Lightroom, a moderate flow builds up gradually and blends far better than a single heavy pass. Bracket keys resize.
Painting Focus over the bouquet tells Lightroom those flowers belong at subject distance, and the whole rendering updates around that correction. Painting Blur does the reverse, pushing back background elements that were wrongly kept sharp — gaps between hands, leaves at the edge of a subject.
The two modes correct each other, so overpainting is not a problem. Go too far with Focus and simply switch to Blur and take it back.
A working order
-
Apply, then set the focus range with the target tool
Drag a rectangle over your subject.
-
Turn on Visualize Depth
Find every place the depth map is wrong before touching a slider.
-
Paint Focus onto anything wrongly blurred
Foreground objects, held items, arms and hands are the usual offenders.
-
Paint Blur onto background that stayed sharp
Small brush, high flow, and take your time on the gaps around edges.
-
Set the final Blur Amount last
With the depth map correct, dial the strength back until it looks like a lens rather than an effect.
When It Works Best
Lens Blur is strongest with a clear subject in the foreground and a distinctly separate background — which is exactly the situation where you would have wanted a fast lens anyway.
It struggles when the subject and background interleave: hair against foliage, a person behind a railing, a crowd at several depths. It also works fine on JPEGs and phone photos, so it is not limited to RAW files from a proper camera.
Cropping in first, as on Day 7, often helps — a tighter frame gives the depth estimate less to get wrong.
Where This Usually Goes Wrong
Too much blur. The single most common mistake, and the most obvious to a viewer.
Never turning on Visualize Depth. You cannot fix errors you have not looked for.
Skipping the focus range target. Two seconds of dragging beats the automatic guess consistently.
Painting at full flow. Hard-edged focus corrections are visible. Build them up.
Ignoring the gaps. Between arms, under a chin, through a bouquet — those small background areas are where a viewer notices the illusion breaking.
Keep Exploring Lightroom
More free tutorials on depth and separation:
- How to Use the Lens Blur Tool in Lightroom Classic
The tool from the beginning, on a different image. - Master the Lens Blur Tool
A deeper run through the panel and its edge cases. - Enhance the Subject and Background Separately
Building separation with masks rather than blur. - Master Masking in Lightroom Classic
Selection skills that transfer directly to refining a depth map.
Take It From Here
Lens Blur gets you most of the way in one click, and the last ten percent is what people actually notice. Visualize Depth, a few minutes with the refine brush, and a blur amount kept deliberately restrained — that is the difference between a photograph that looks like it was shot on a fast lens and one that looks like it was run through a filter.
Tomorrow, another AI tool worth understanding properly: the Denoise tool in Lightroom Classic.







Enjoying This Free Tutorial? Go Further with PRO.
Unlock Full Sample Files, PSDs, and Hundreds of Masterclasses!

Download full project assets, original PSDs, and RAW images for every lesson
Unlimited access to our complete library of PRO Photoshop & Lightroom courses
Instant 4K Ultra HD streaming on all devices, anytime, anywhere
Full access to our entire library of Photoshop Actions, Presets, and LUTs
Flexible monthly and annual membership plans
Cancel anytime with zero hassle or commitments