15 Quick Ways to Make Your Photography More Professional
It’s ok to be skeptical. We know you probably see someone offering the magic secret to success everywhere you turn. Unfortunately none of the secrets here are very magical, because making professional work is just that… work. If you want your output to improve, you’re going to have to change the way you do things. You’ll have to experiment and fail (possibly a lot) before you can count yourself among the “greats”, but don’t worry! We’re not going to leave you hanging to figure it all out alone.
Whether you’ve just started taking clients or you’ve been struggling to scrape business together for years, you can tell when your photos aren’t quite hitting the mark. Sometimes it can be hard to pinpoint what is off about your images, except that they are not the same standard as the work you’re seeing from your peers. While it’s always a good rule of thumb to avoid comparing your work to others’, it’s important to set a bar for yourself. If you’re having trouble knowing what the next step is to meet your goals, look no further! We’ve put together a great collection of 15 quick things for you to practice that will improve the quality of your work and the efficiency of your shooting.
Practice Depth of Field
Let’s start with the basics, shall we? It is absolutely essential that you practice balancing your shutter speed with your aperture (and other settings like your ISO) to get the right exposure. But good photography is more than a perfectly balanced histogram, and depth of field is one of those artistic decisions that can completely change the impact of an image.
If the term isn’t ringing a bell, depth of field refers to the range of focus in your image. For example, a headshot with a dreamy, blurred background has a shallow depth of field, while a sweeping mountainscape with sharp details from the point of view all the way to the distant cliffs has a very wide depth of field. Depth of field is controlled through your aperture settings. A wide aperture (achieved with a low f-stop number such as f/1.4 or f/2.8) will give you a more shallow depth of field, while a narrow aperture (and higher f-stop number) will offer a wider one. Challenge yourself! Practice getting the depth of field you want in different lighting situations until you’re able to capture the look you’re after without stopping to fumble with your camera.
Master Natural Lighting
In the same vein, you’ll find that experimenting with different lighting situations will really develop your eye. It will help you make good choices about location (will the leaves from that tree leave spots on your subject’s face?) and timing (golden hour deserves a post all its own!). These decisions are particularly important if you’re marketing yourself as a natural light photographer, but regardless of your speciality, you need the confidence to improvise in the event of a strobe malfunction or inclement weather.
Don’t be afraid to branch out! It’s completely fine to manipulate your natural light with reflectors and other handy tools. A friend or assistant could be key to getting these figured out, as it can be tough to adjust your camera settings while maintaining the best angle, but reflector holders are inexpensive and easy to come by if you’re flying solo. The best advantage this will give you is the ability to make artistic decisions regardless of your circumstances. You’ll be able to harness harsh light from an ill-positioned window into a smooth, consistent glow by bouncing it back onto your subject with a white reflector, or you can give a flat scene some extra pop with a silver one. A true understanding of the way light behaves and how to use it to your advantage is what will set you apart.
Invest in a Good Speedlight
Even with all of that extra practice, there are times when natural light is not in a cooperative mood or isn’t available at all. A good set of strobes will open up possibilities in your studio, but a trusty speedlight can go with you anywhere. When you’re shopping for one, you’ll notice that there are adapters, diffusers, and features galore, but the most important thing is to match your speedlight to your camera model and check for HSS (high speed sync) and TTL (through-the-lens metering).
High speed sync is especially useful when shooting action photography or any other situation that requires a high shutter speed. Otherwise, you may end up with the dreaded black bar across your image. This happens when your shutter moves too quickly for your flash; your flash is basically capturing your shutter curtain along with the rest of your image. With HSS, your speedlight will pulse (too quickly for you to see, but it happens) providing lighting throughout the exposure. TTL is exactly what it sounds like: it allows you to meter for your lighting through the lens of the camera, based on what the scene will look like when your flash settings are active. There are a few different ways that this works, so it’s important to learn your camera settings and those of the speedlight you choose. TTL in any form will be a lifesaver when you don’t have the time to stand around taking lots of test shots.
Be Aware of Your Background
If you really want to kick your photography up a notch, there is one simple fix you may not even realize you need. When you’re shooting on location, don’t just check the posing and the light on your model’s face; look to see what is behind them before you press the shutter button. How many of us have seen a perfectly composed image and thought, if only that car wasn’t behind them?
Your clients may not even notice that there’s a pole coming out of the top of their head, but I guarantee they will like the image better if it is not there. Remove clutter in post-processing if you feel comfortable or adjust your position during the shoot, but either way you will be amazed at the difference in your portfolio when you vamoose all of those errant pedestrians from your backgrounds.
Put Your Model in the Right Frame of Mind
Everyone has off days, and that can make a photographer’s job tricky when trying to catch someone’s good side. Whether you’re photographing a wedding with an overstressed bride or conducting a commercial shoot with a cranky model, if you don’t take time to clean their emotional palette their baggage will show in your photos. Try breaking the ice with humor, or simply take the time to converse with them before diving into work mode. They’ll appreciate being treated as an individual and as a result, will feel (and look) more comfortable.
Don’t Overbook Yourself
Leave yourself time to really assess each shoot. Sometimes the best ideas come to you in the moment, and you need to be able to act on them without fear of spilling over into another client’s time slot. It’s exciting when inquiries start pouring in and it might be tempting to book everyone ASAP rather than lose out on potential business, but a hurried shoot is a recipe for disappointed clients. Not to mention, if you are out shooting continuously, you may be forcing yourself to cut corners with your post-processing. This is a good time to evaluate your workflow and determine how many projects you can realistically take on at a time while doing your best work.
It’s also good practice to prioritize your bookings. Some clients will require a quicker turnaround or have a project with higher stakes, and it may make more sense to work through those tasks first so that you can go into less time-sensitive edits with a clear head. There’s no law that says you have to edit and process every project in the same order you shot it, as long as you maintain good communication and provide each client with a turnaround that is reasonable for their specific needs.
Zoom with Your Feet
Don’t throw out your telephoto lens, but definitely leave it at home every now and then and see what you can do without it. For fast-paced sports photography, you need that snappy zoom to close the gap between you and the action, but when you’re shooting in a more relaxed setting, your feet can serve the same purpose. There’s just no substitute for getting physically close to your subject, and the ability to test different crops and compositions in real time will help kick start your creativity.
You’ll find this especially true when working with a model you haven’t photographed before. Every face has a “good” side and some are easier to find than others, so looking at your subject from different angles and distances will give you a better idea of what is most flattering to their features. The same applies for still lifes. The best way to evaluate your composition is to experience it from multiple vantage points and while your body can move in any direction, a telephoto lens can only move in and out.
Zoom with Your Mouse
Raise your hand if you’re guilty of this: you just spent hours editing this one tricky section of your image and you’re insanely proud of it. Then you zoom back out to admire the finished product and think, “What happened?!” At that point, you’re so exhausted and frustrated that you start from scratch and do a rush job that ends up looking nothing like your original vision.
For detailed fixes, a tight zoom is sometimes necessary to really see what you’re working on, but this can also leave you blind to subtleties in color, texture, and scale that occur elsewhere in your image. It’s an easy mistake to make, and it’s made more often than you might think. If you’re in a position to spend some money, upgrading your screen size can cure a lot of post-processing woes and keep you from having to make extreme, view-restricting zooms, but you don’t necessarily have to spend money to improve your post-processing technique. Make it an intentional part of your workflow to zoom in and out periodically to get the full effect of what you’ve done so far. It will give you a better idea of how your image is progressing overall, particularly when you have several nit-picky fixes to make. You’ll thank yourself later and your clients will, too.
Cull Your Images
Say it with me: “A portfolio is only as strong as its weakest image.” For semi-pros just getting their feet wet in the business part of photography, there’s a lot of pressure to have “enough” images in the portfolio. You certainly feel more credible when you have scores of samples for potential clients, but it is infinitely better to have a small selection of quality images than an ambush of mediocre ones. Remember: if they want quantity, they have a smartphone. If they want quality, they have you.
If you lack formal education or training in the field, this can put you at a disadvantage. You may still be learning what a good composition looks like or how drastically a color cast can affect an image, so you may find it difficult to pare down the shots that are really working from the ones that you just like. Fortunately there are a lot of great, affordable classes and tutorials to give you that leg up, and in the meantime it can help to look at the online galleries (and live exhibitions, if they’re available to you) of established photographers. Be sure to do your research before signing up for a photography workshop or e-course. Choose a name that will give you quality information!
Immerse Yourself in the Community
Take time to read photography forums and magazines. You are reading this, so you are already ahead of the game! There are a lot of opinions out there to sift through, so if you are a true beginner be sure to stick to established sites with moderators to help you separate the shower thoughts from the pro tips. This is especially true for business questions that may include legal considerations, such as putting together a good contract. Our corner of the artistic community is a very technical and, at times, fiercely competitive one, so you should always be networking, cultivating resources, and keeping your ear to the ground for new developments in the field.
Get Constructive Criticism
…and not just from people who are close to you. Even if your family and friends are known for a direct, no-nonsense approach, that doesn’t guarantee that they actually know what to look for. They might look at your image and think it’s great, because they don’t know what it could look like with the right changes. This can mean shelling out for a professional portfolio critique or posting to a reputable online community, but getting objective, quality feedback is a step that can transform your work. It’s also one of the scariest steps you can take as an artist, and one that many never take out of fear until they’ve already wasted years (and a lot of money) learning it all the hard way.
Those of us coming from a formal education are painfully familiar with on-the-spot critiques; pinning your in-progress works to a well worn bulletin board so that classmates and professors alike can tell you exactly what is and isn’t working about this thing you just spent days, sometimes weeks, putting together. As stressful and, at times, demoralizing as it can be to hear negative things about your work, the next piece is always better because of it. Perhaps even more importantly, the more you hear other people talk about your work, the easier it becomes to discern which advice will help you achieve your vision. All advice is based on opinion to some degree, so keep exploring once you’ve gleaned what you can from other people’s thoughts.
Sharpen Your Output
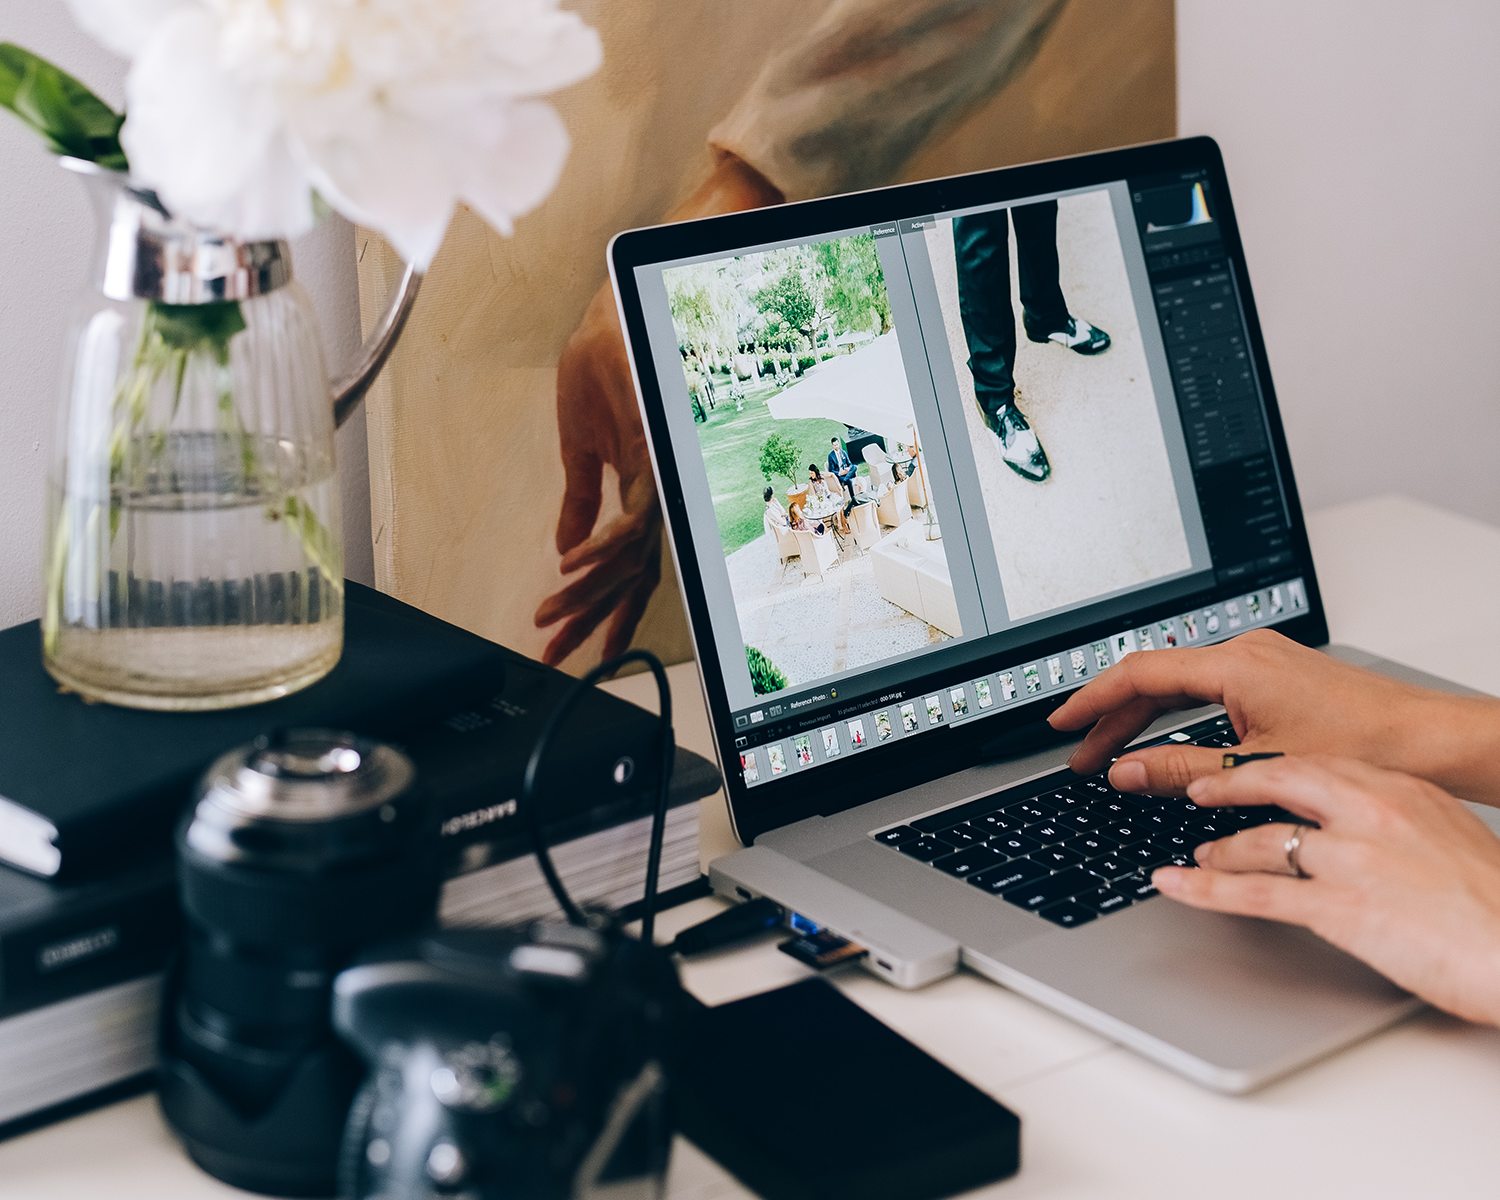
When you’ve been staring at a photo series for days in Lightroom or Photoshop, your eyes can start to cross a little. It’s easy to get so focused on the color balance, levels, and spot retouching that you don’t even think to sharpen. Exporting a file to a new format (or posting it to social media) can muddy those clean, crisp edges you were so proud of, so it’s always a smart idea to sharpen at the end of an edit. Lightroom makes it easy to batch sharpen directly from the Export menu, but recording a Photoshop action is also a great way to sharpen with the tap of a key when you’re ready to consider a work finished.
Use Your File Types Effectively
Let’s talk about your basic photography file types. Shooting in RAW is the industry standard right now, and it makes for powerful (and oftentimes extremely large) files. Depending on which camera manufacturer you go with, your extension may look different, but regardless, you’re going to want reliable external storage (or cloud-based storage, or both) for these. Although RAW has a very specific meaning in this context, they are also “raw” files in the sense that they contain a wealth of information from your camera sensor that may not even be visible at first glance, allowing you to go back in and edit with more flexibility. Not every software can view these natively, so you’ll need to export them to a different format if you plan to post them to social media or give digital copies to a client.
Next you have TIFF files, which are viewable on more platforms while retaining your layers so that you can go back and make changes to those files later. They are similar to Photoshop’s native files, PSDs. Still big files, but a lot friendlier to non-photogs and great for collaboration. JPG files are what we’re all used to seeing. They’re all universal, however you should use them with caution. JPGs are best utilized for images you are completely done editing, as recurrent edits will visibly degrade the file. They tend to be a manageable size, though, and with some of that friendly output sharpening we discussed earlier they can do justice to your skills.
Step Away from Your Edits
Before you send your files on, save them and walk away for a while. Take a few days if you have that long, but even as little as an hour or two will give you fresh eyes and a new perspective. There may be last-minute changes that didn’t occur to you before that you’ll be glad you caught.
Present Yourself as a Professional
More often than not, your clients will associate your images with their impression of you. It’s not really fair, but it’s human nature. Even if you’re just getting started with bare bones equipment, be sure to extend courtesies. Answer emails promptly and proofread your replies before sending. When communicating by phone, use a polite and friendly tone. Show up on time and dress appropriately. This doesn’t necessarily mean you should wear a suit and tie to a farm shoot—it’s important to make your clients comfortable and meet them where they’re at—but communicate through your demeanor and presentation that you’re taking their time seriously. If you conduct yourself as a professional, you’ll stand a better chance of being treated as one.
There’s a lot more to professional photography than meets the eye, and newcomers to the industry often feel overwhelmed by the amount of equipment, techniques, and business acumen required to be competitive. Even for hobbyists who are just hoping for more professional images, it can be difficult to know where to start when you’re facing a mountain of terminology you only half understand. Fortunately, improvement is addictive, so start with the easy fixes. Once you begin producing a new caliber of work, it will be all but impossible to put the camera down!
Above all, practice. Every aspect of professional photography, from technical know-how to interpersonal skills, requires practice. Start with the areas which you know need the most improvement and before you know it, you’ll be snapping shots you used to only dream of without a second thought. These 15 quick ways to upgrade your photography are just a few of the many things you can do to take your photography from semi-pro to full-on professional, so keep reading PHLEARN Magazine for more great how-tos and inspiration from other professional photographers!


