
Download Assets
This tutorial includes 4 sample images and 1 PDF guide. Downloads are free with a PHLEARN account.
- Download the sample images and PSDs from every free tutorial on PHLEARN
- New free tutorials published every week
- One free account — sign up once, then download anything
Free PDF Guide · 3 Pages
This Tutorial as a Step-by-Step PDF
The 3-page guide covers both methods on the same example: drawing a frame with the Frame Tool, File > Place Linked versus Place Embedded, resizing the frame or its image, then Create Clipping Mask with a rectangle, two images and a Black and White layer, and a leaf cut out with Select > Color Range. Keep it next to your keyboard.
description
The Frame tool added in Photoshop CC 2019 makes it easy to drop an image into a rectangle or a circle, but clipping masks can do everything it does and considerably more. This tutorial covers both. Start with the Frame tool, place a Smart Object inside it, weigh Place Embedded against Place Linked, and resize the frame and its contents independently. Then rebuild the same effect with a clipping mask and clip several images and adjustment layers to one shape.
Enjoying This Free Tutorial?
We publish a new free tutorial every week, each one with sample images and PSDs you can download and follow along with. Sign up and they land straight in your inbox, along with early word on sales, events and subscriber-only offers.
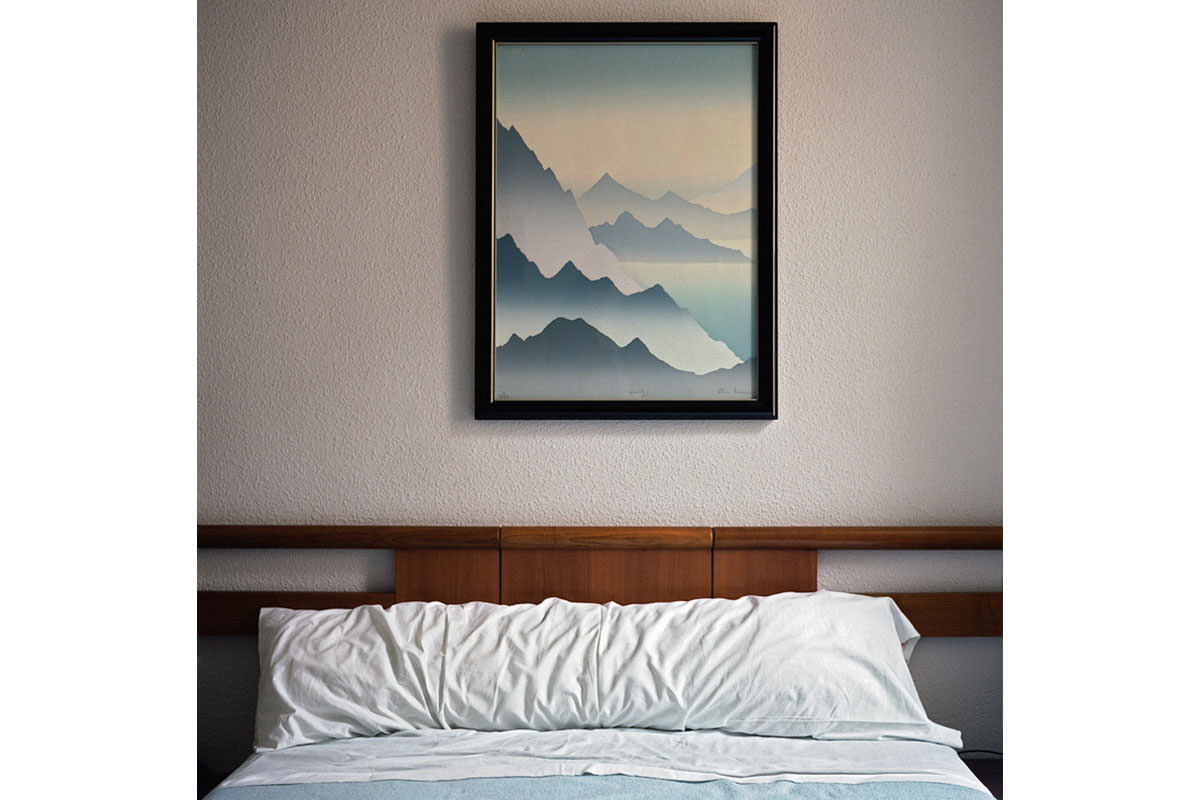
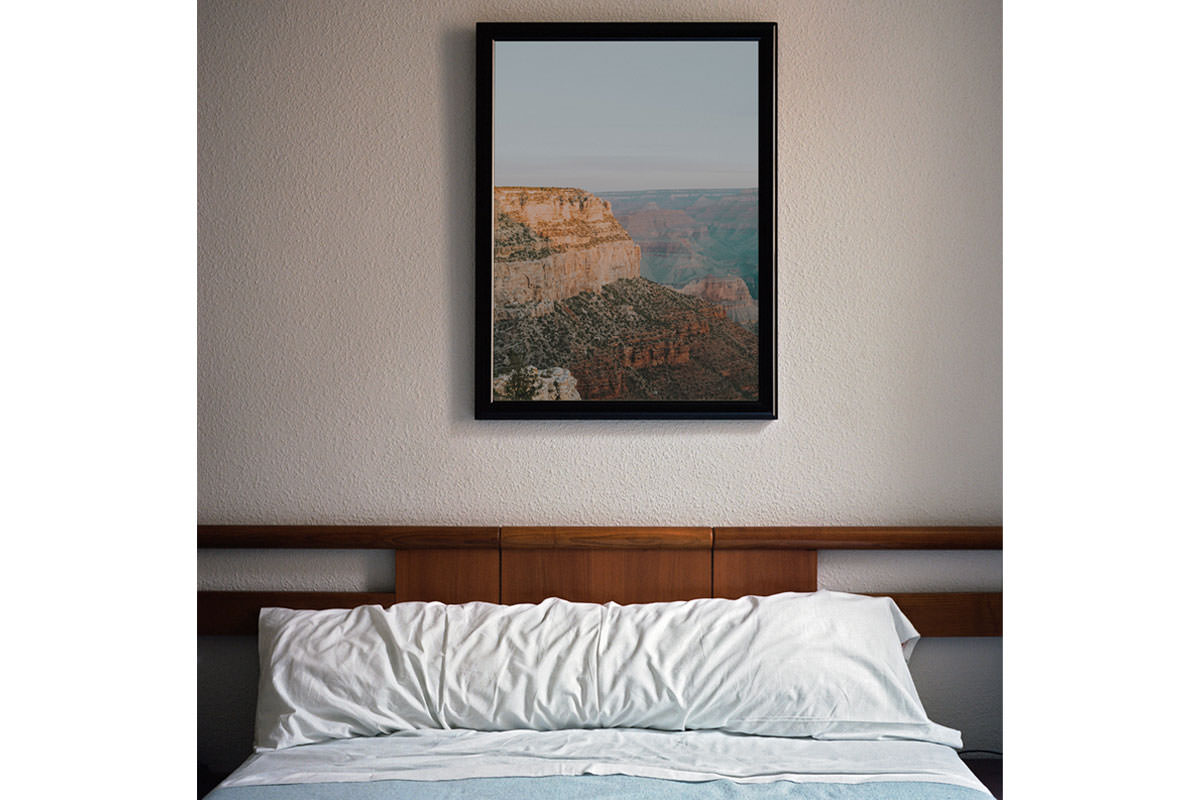
How to Composite with the Frame Tool and Clipping Masks
Photoshop CC 2019’s new Frame tool makes it simple to drop an image into a rectangle or circle, but for anyone doing more advanced compositing work, clipping masks can do everything the Frame tool does and quite a bit more. This tutorial covers both, starting with the beginner-friendly Frame tool and building up to clipping multiple images, adjustment layers, and even a complex shape selected out of a photo.
Create a Frame with the New Frame Tool
The Frame tool gives you two shapes you can draw directly, Rectangle or Ellipse, and clicking and dragging draws the frame directly on the canvas; holding the spacebar while dragging repositions the frame mid-draw if it needs to shift slightly. Once drawn, the frame appears as its own dedicated Frame layer in the Layers panel, ready to have content placed inside it.
Place a Smart Object Inside the Frame
File > Place drops an image directly inside a selected frame, and because the Frame tool works with smart objects, even a large source image placed into a small frame can be scaled up or down later without losing resolution.
Why Smart Objects Keep File Size Down
A linked smart object placed inside a frame doesn’t add its full file size to the document, which means several large source images from a computer can all be placed into different frames across a project without ballooning the overall file size the way embedding each one directly would.
Choose Between Place Embedded and Place Linked
File > Place offers both Place Embedded and Place Linked. Place Embedded copies the external file directly into the document, which increases file size but keeps everything self-contained, useful when a file needs to travel somewhere else, like a portable hard drive, without its source assets. Place Linked instead keeps the file where it already lives on the computer and simply references it, which keeps the working document’s file size much smaller but means the source file needs to stay in place for the link to keep working.
Resize the Frame and Its Contents Independently
Clicking the frame itself and dragging its handles resizes the visible window without affecting the image placed inside it, while clicking the placed image and using Free Transform (Command/Ctrl+T) scales the actual content within that same frame boundary. Both the frame’s shape and its contents can be adjusted completely independently of each other at any time.
Four Shapes You Can Use for a Frame
Beyond a plain rectangle or ellipse, text can be converted directly into a frame, letting an image show through the shape of a typed word, and any custom shape drawn with the Shape tools or the Pen tool can become a frame as well. For simple compositing needs, these four options, rectangle, ellipse, text, and custom shape, cover most everyday use cases, but more advanced work, multiple images in one frame or a genuinely complex shape, calls for clipping masks instead.
Recreate the Frame Tool with a Clipping Mask
Drawing a plain rectangle with the Rectangle tool, or anything at all on a layer, a brush stroke, a filled marquee selection, gives a clipping mask something to attach to.
Turning Any Shape Into a Clipping Mask
Placing an image (again via Place Linked, to keep the benefits of a linked smart object) and right-clicking that image layer to choose Create Clipping Mask makes it visible only where the rectangle layer beneath it has content, indicated by a small arrow pointing down to that base layer. Both the rectangle and the clipped image can still be freely moved and resized independently with Free Transform, producing functionally the same result as the Frame tool while opening up more advanced possibilities.
Clip Multiple Images and Adjustment Layers to One Shape
A clipping mask isn’t limited to a single image the way a frame is: placing a second image and clipping it to the same rectangle layer stacks two different photos into the exact same shape at once.
Blending Two Clipped Images Together
Lowering the opacity of the top clipped image produces a simple double-exposure effect, and changing its blend mode instead lets the two images blend together in more varied and interesting ways, all while both stay confined to the exact same shape. A Black and White adjustment layer, clipped to the same rectangle the same way, only affects what’s visible inside that shape rather than the whole document, and each individual layer, the rectangle, either image, or the adjustment, can be toggled on and off independently for full control over the final combined look.
Clip an Image to a Complex Shape Like a Leaf
A shape far too complex for the Frame tool, the outline of an actual leaf in a photo, still works fine with a clipping mask.
Selecting the Leaf with Color Range
Select > Color Range, clicking on the plain background and lowering Fuzziness, isolates the background rather than the leaf; Select > Inverse flips that selection to the leaf itself, and Command/Ctrl+J copies just that leaf shape onto its own new layer. From there, any new layer clipped to that leaf layer, whether it’s a painted brush stroke or a placed photo scaled up to cover the whole frame, becomes visible only within the leaf’s exact outline. A Levels adjustment layer, with the Blue channel pulled from the right to the left, then clipped the same way and given a little of the same in the Green channel, can darken just the sky visible through that leaf-shaped window without touching anything else in the image, proving clipping masks handle a shape this intricate just as easily as the simple rectangle from earlier.
When to Reach for the Frame Tool Versus a Clipping Mask
The Frame tool’s real strength is speed and simplicity for a one-image, one-shape composite, especially for anyone newer to Photoshop who just needs an image to fit cleanly into a rectangle, circle, piece of text, or basic custom shape. A clipping mask takes a few more clicks to set up but removes every one of those limits at once: multiple images stacked in the same shape, adjustment layers that affect only what’s inside that shape, and genuinely complex shapes, like an object selected directly out of a photo, that the Frame tool was never built to handle.
Final Thoughts
The new Frame tool and clipping masks aren’t really competing techniques, they’re the same core idea, showing an image only within a defined boundary, at two different levels of complexity. Starting with the Frame tool for anything simple and switching to a clipping mask the moment a project needs multiple images, clipped adjustment layers, or a shape more complex than a rectangle or circle covers the full range of compositing needs this technique can solve.
Quick Reference: Keys, Menus and Settings
- Draw a frameFrame Tool, Rectangle or Ellipse; hold Spacebar while dragging to move it
- Place an imageFile > Place Linked (Place Embedded puts the file inside the document)
- Scale itClick the image, Cmd/Ctrl + T; click the frame to resize the frame
- Clip a layerRight-click the top layer > Create Clipping Mask
- Blend two imagesLower the top image’s Opacity or change its blending mode
- Complex shapeSelect > Color Range on the background, Fuzziness down; Select > Inverse; Cmd/Ctrl + J
- Darken the skyLevels: Blue channel right to left, clip it, then a little Green
No AI, no generative credits.

Free Downloads
Follow Along on the Same Photos
Get the four photos from the video (the picture frame on a wall, the Grand Canyon, the jungle and the leaf) and the 3-page PDF guide. Free with a PHLEARN account.
Frame Tool and Clipping Masks: Common Questions
Should I use the Frame Tool or a clipping mask?
The Frame Tool is perfect for simple jobs: one image in a rectangle, ellipse, text or basic shape. Use a clipping mask when you need several images in one shape, clipped adjustment layers or a complex shape.
What shapes can a frame be?
The Frame Tool draws a rectangle or an ellipse. You can also convert text into a frame, or turn a shape made with the shape tools or the Pen Tool into one.
How do I move a frame while I am drawing it?
Hold the Spacebar while you are still dragging. Move the frame where you want it, let go of the Spacebar and keep sizing it.
Should I use Place Linked or Place Embedded?
Place Linked leaves the image where it is on your computer, so your file does not get larger. Place Embedded puts the image inside the file, which is handy when you need to take the file on the road, but it increases file size.
How do I resize the image inside a frame?
Click the image and press Cmd/Ctrl + T to scale it; it stays visible only inside the frame. Click the frame itself to make the frame larger or smaller.
How do I make a clipping mask?
Put the image on a layer above a shape, or anything else on a layer. Right-click the top layer and choose Create Clipping Mask. A small arrow points down to the layer it is clipped to.
Can I put two images in the same shape?
Yes, with clipping masks. Clip a second image to the same layer, then lower its opacity for a bit of a double exposure or change its blending mode. Both stay inside the shape.
How do I apply an adjustment only inside the shape?
Add the adjustment layer, such as Black & White, then right-click it and choose Create Clipping Mask. It now shows only where the shape is.
How do I clip an image to a complex shape like a leaf?
Use Select > Color Range, click the background and bring Fuzziness down. Then Select > Inverse and press Cmd/Ctrl + J to put the leaf on its own layer, and clip the image to that layer.
Are the sample files free?
Yes, with a free PHLEARN account. You get 4 sample images and 1 PDF guide: the picture frame on a wall, the Grand Canyon, the jungle and the leaf, plus a 3-page walkthrough.
From the Magazine View all
Stories, interviews and guides for photographers, new every week.
 EditingLightCraft vs Lightroom: I Edited the Same RAW Files in BothThe free clone on the same RAW files: what matches, what breaks and who should switch.
 InspirationRare Historical Photos: 13 of the Rarest Pictures Ever TakenFrom the earliest surviving picture of a person to the last passenger pigeon: who took each one and why it survives.
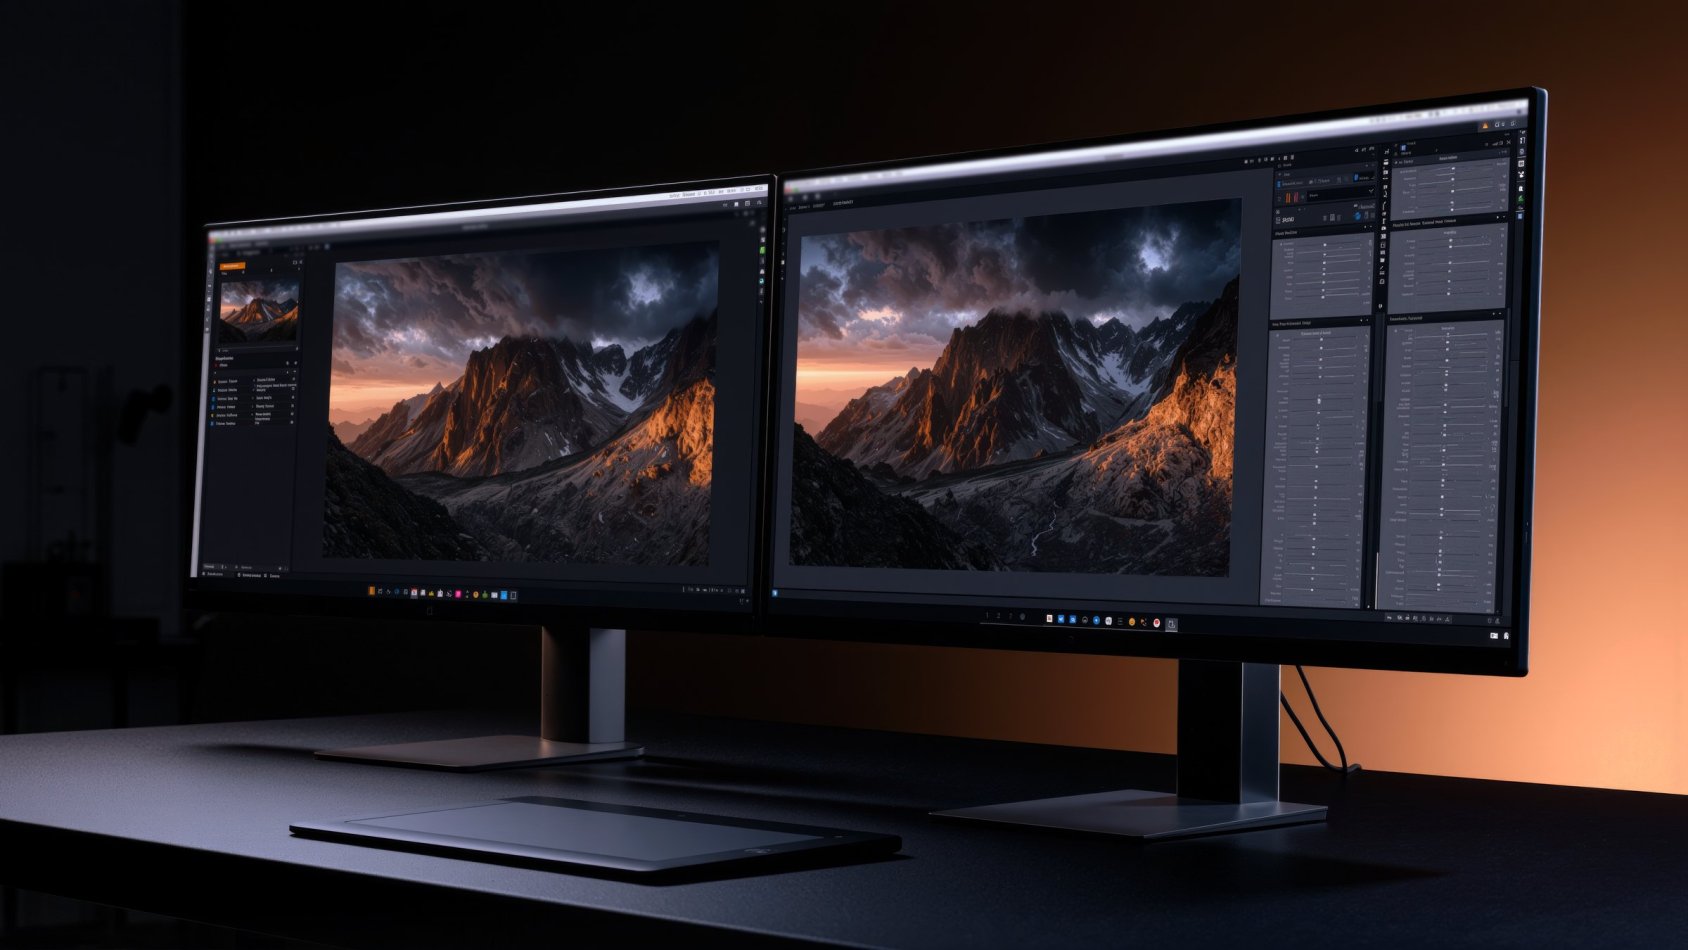 EditingArtCraft: Photoshop Cloned by AI in Two Weeks. Is It Legal?ArtCraft cloned Photoshop and Lightroom with AI and gave them away. Any good? Legal? Safe?
Master Photoshop, Lightroom and Photography
Join PHLEARN PRO for $12.99 a month, or $99.99 a year (save 36%). Cancel anytime, with a 30-day money-back guarantee.