Product Retouching for E-Commerce
-
Add to
favorites
-
DifficultyMedium
-
Length5 hours
-
Videos18
-
Software
description
From Amazon to Etsy, online shopping has taken over–and that’s great news for photographers and retouchers! Learn how to help products look their best on any website or online store while working with a client to bring their brand to life.
In this tutorial, we show you how to cut out products from their backgrounds, enhance details with dodging and burning, and export images that are perfect for the web. And best of all, we include 28 RAW images from our product photoshoot with photographer Ross Floyd!
THIS COURSE INCLUDES
- 28 Sample Images
- 2 Photoshop Actions
- 2 Sample PSDs
Share
Table of Contents
-
01 - What You'll Learn2:04m
-
02 - Working with a Client and Photographing Products11:39m
-
01 - White Balance & RAW Prep in Lightroom7:51m
-
02 - Cut Out Products20:54m
-
03 - Retouching Products24:49m
-
04 - Sharpening, Cropping & Exporting15:48m
-
01 - RAW Prep in Lightroom8:12m
-
02 - Blemish Removal & Object Enhancement21:29m
-
03 - Background Extension with Frequency Separation25:48m
-
04 - Changing Background Color15:40m
-
05 - Sharpening & Exporting for the Web12:05m
-
01 - RAW Prep in Lightroom10:12m
-
02 - Retouching & Frequency Separation26:16m
-
03 - Dodging & Burning14:44m
-
04 - Sharpening, Cropping & Exporting16:13m
Shopping online never looked so good.
How to Retouch E-Commerce Photography
When shopping online, it’s important to know how a product is going to look and feel before it arrives at your door. Capturing all of that information in a photograph is the job of the photographer and retoucher. Learn how to use photography and Photoshop to create beautiful, accurate product photos that fit in perfectly with a client’s brand and style.
Product Images for the Web
Most online stores have multiple images for each of their products. Learn how to create and edit photos that will fit with any web design, advertisement, or banner–all while staying consistent with the look and style of each image.
RAW Images Included!
Learn professional e-commerce editing while working with high end image files! We include 28 100-megapixel RAW images taken with a Phase One medium-format camera. That means you’ll be able to practice with incredible detail, color, and quality.
Perfect Backgrounds
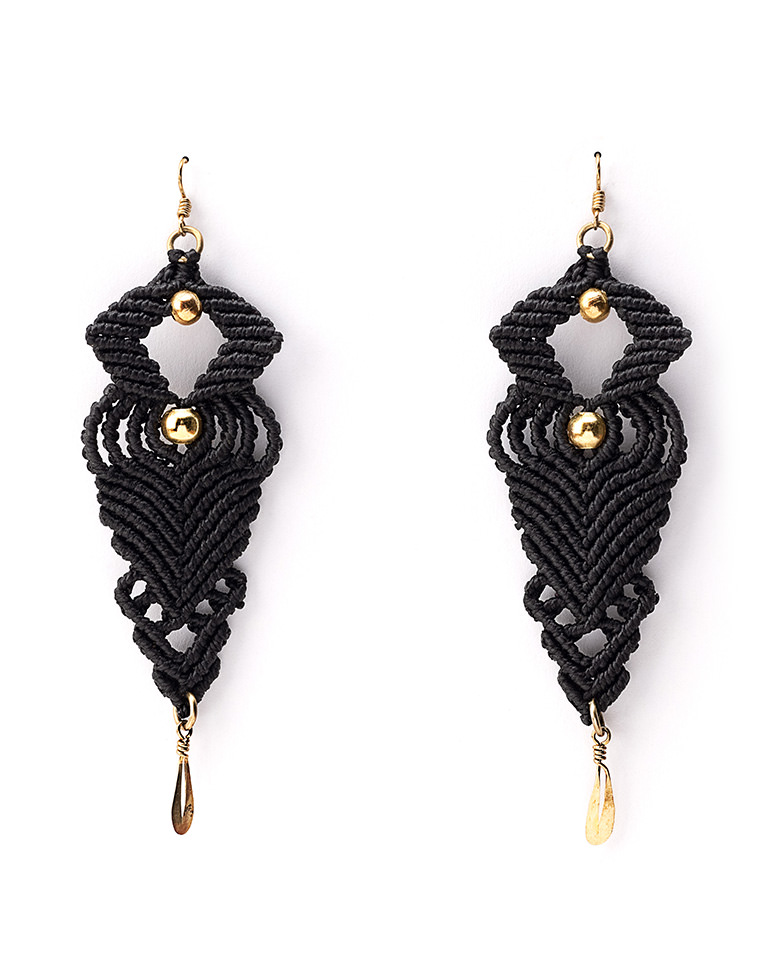
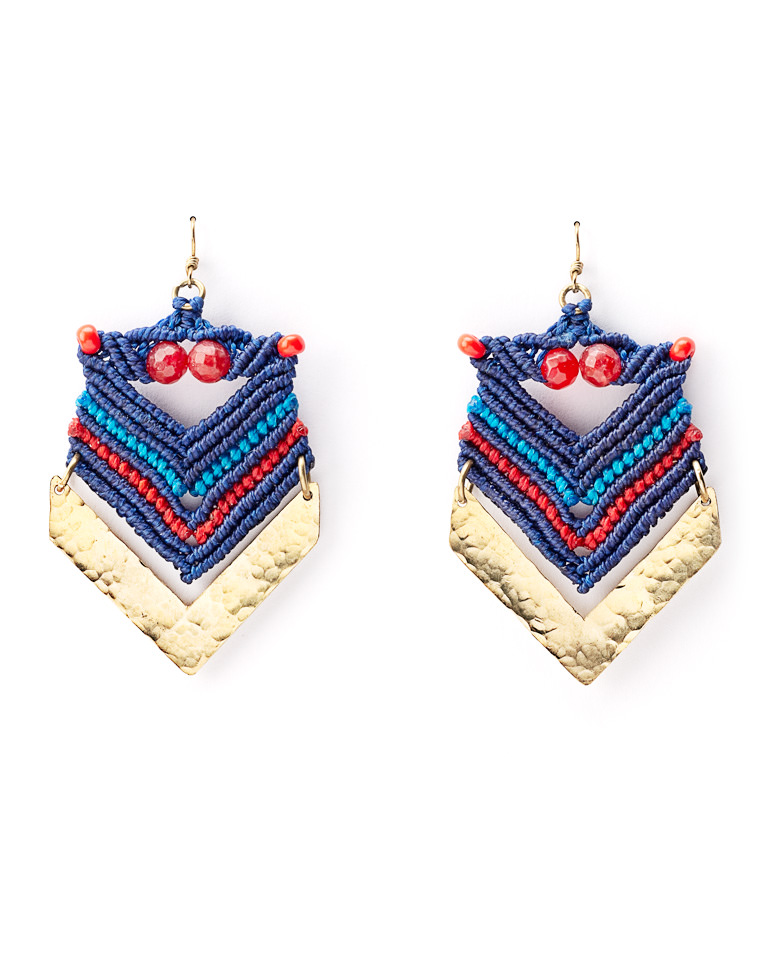
Clients will often ask for photos that have clean, white backgrounds to fit in with a web design or online shop. We show you how to take a photographed backdrop and remove it, replacing it with a pure white background that helps the products stand out.
Professional Sharpening
Sharpening can help enhance details and help draw the attention of the viewer. We show you how to apply sharpening at multiple levels, from general image sharpening to more precise sharpening for the products, keeping the focus on the areas that matter most.
Export for the Web
Learn how to export your final images for the web, at the the right size and with accurate colors. We walk you through a professional workflow that will help you deliver photos to your clients faster and with perfect results.
Light & Color
Even exposure and accurate colors are both essential to great product photos. We take you through Lightroom Classic to make adjustments to light and white balance, and then into Photoshop to wrap it up with additional lighting and coloring to help the products stand out.
Bring out the Details
Learn how to enhance the textures and details of products using Photoshop! Add contrast, shape, and definition with professional techniques like sharpening and dodging and burning.
Dodging & Burning
Give a product a three-dimensional feel with dodging and burning. Learn how to dodge and burn at multiple levels, enhancing the shape and definition of an entire image and then zooming into the product to help the details shine.
Real products. Real clients.
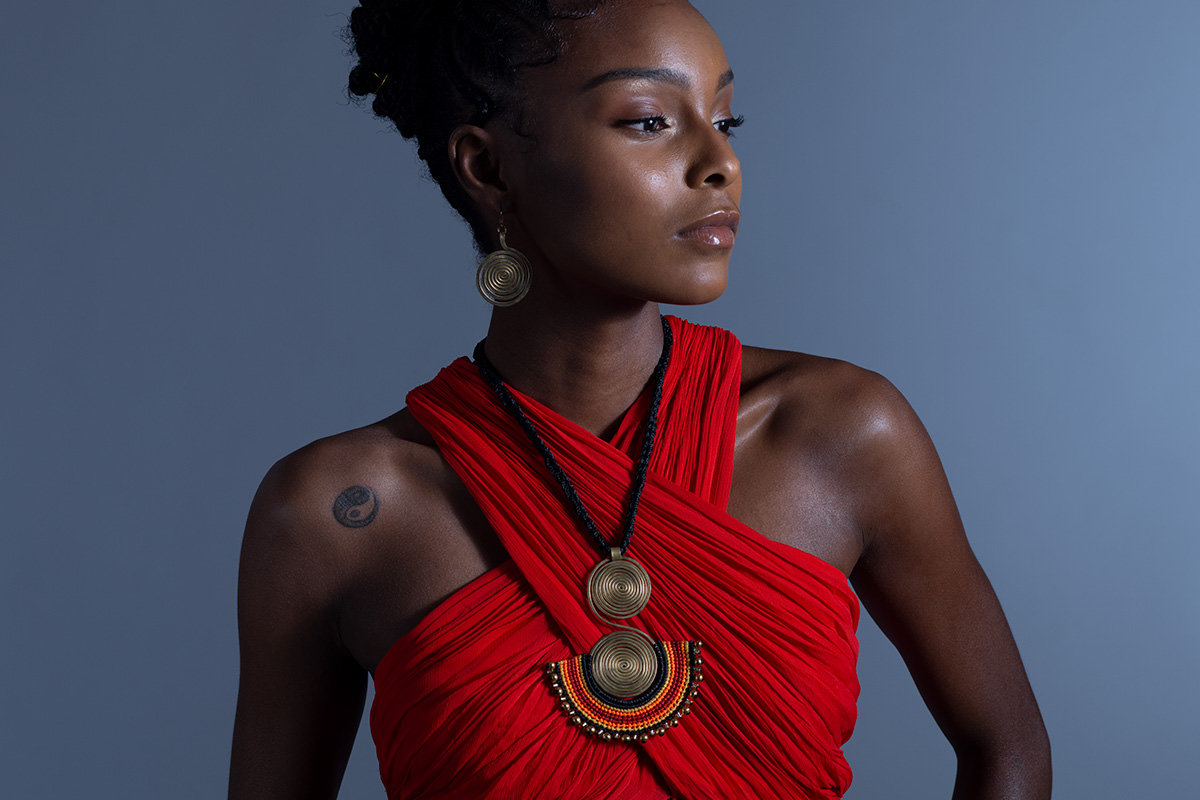
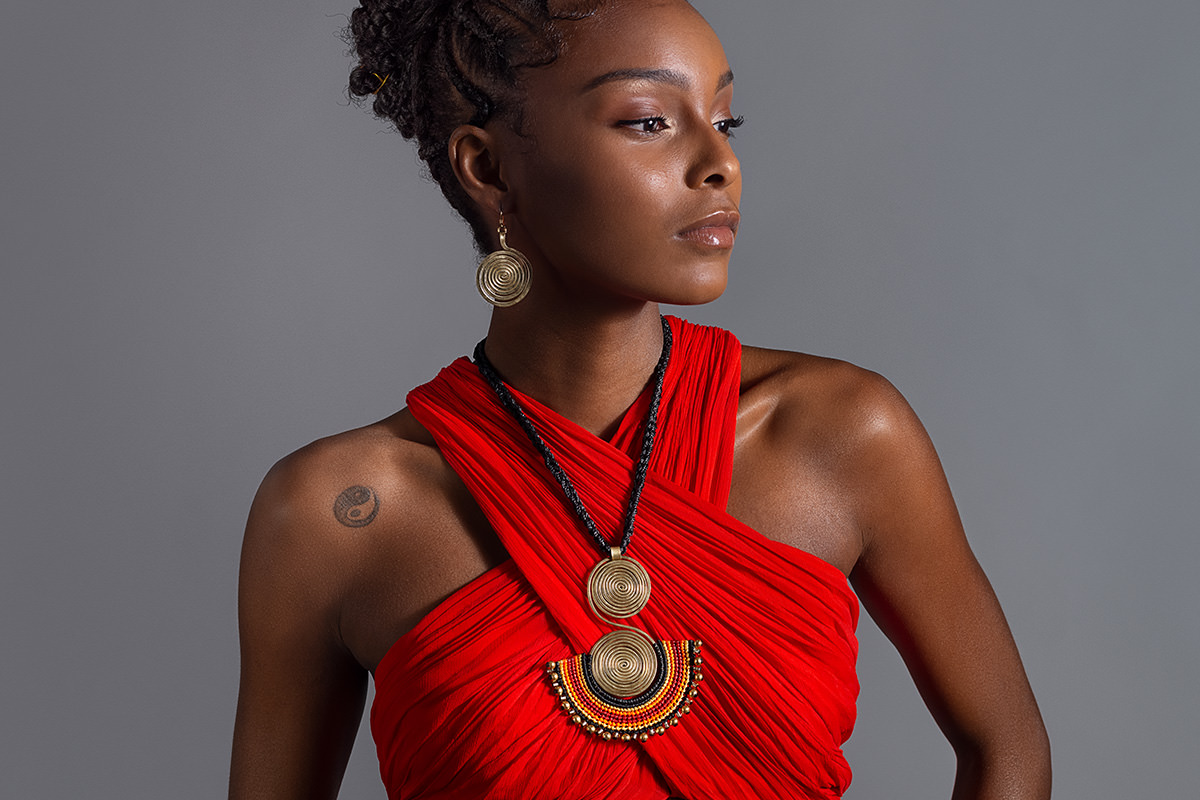
AFTER
BEFORE
50 RAW Images Included
See just how powerful Lightroom is as you follow along with the 50 RAW images included with this tutorial. Upload, edit, and share RAW photos from any device!
Products & Portraits
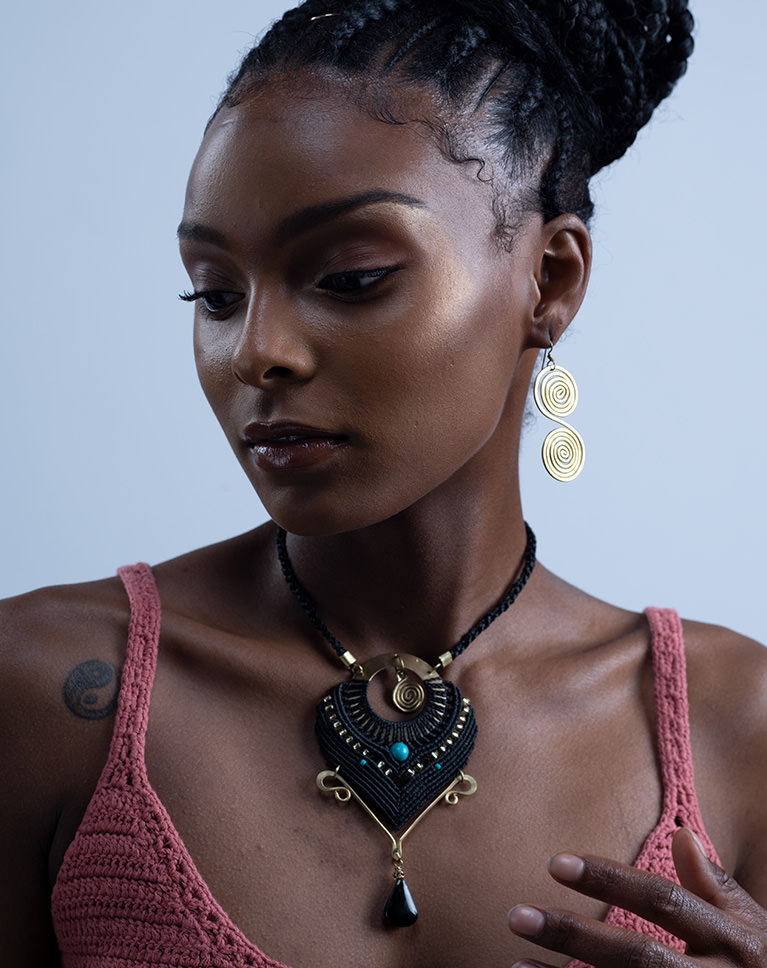
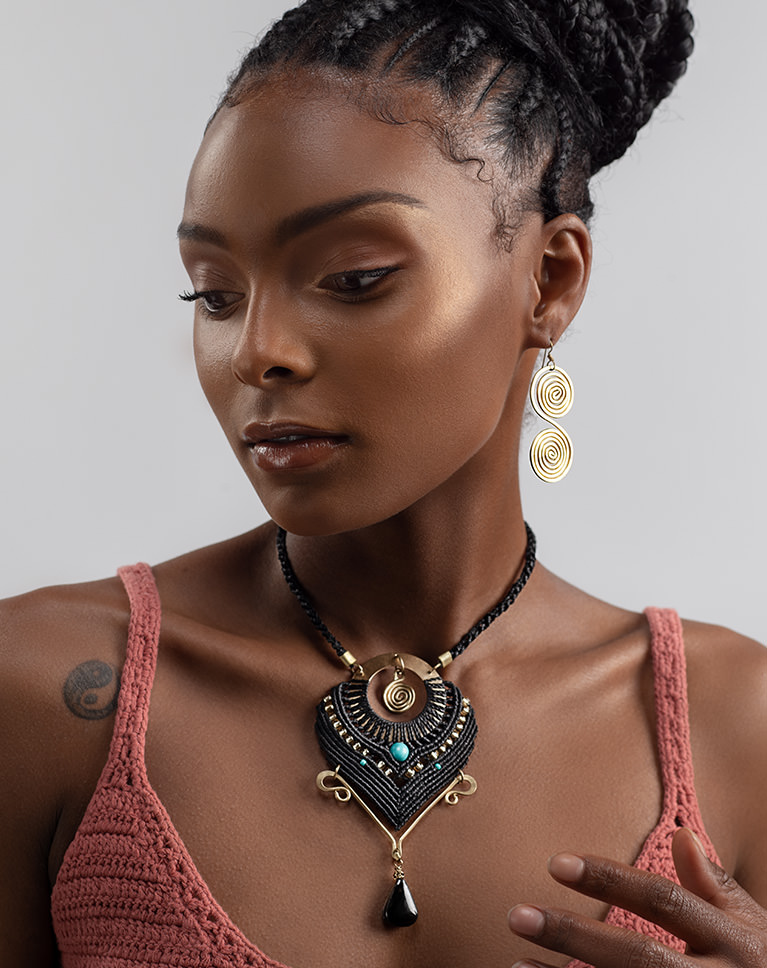
Not only do we show you how to make products look beautiful, we show you how to retouch product images that include people as well! Learn how to retouch a model with minor blemish removal, dodging and burning, and frequency separation. Then we show you how to keep the emphasis on the product using the same techniques.
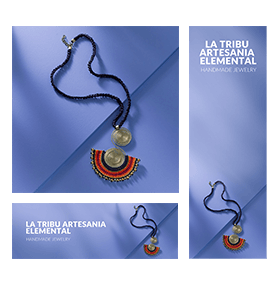
Banners & Advertisements
We show you how to resize, crop, and export images in a variety of common formats and aspect ratios. These tips are helpful when a client wants to use images for large banners, advertisements, or when they want to integrate text.
Create Multiple Sizes & Formats
Learn a professional workflow for managing multiple exports at different sizes and formats. See how a professional organizes and saves their work, keeping layered files, full-resolution JPEGs, and images resized for the client’s website.
Style & Theme
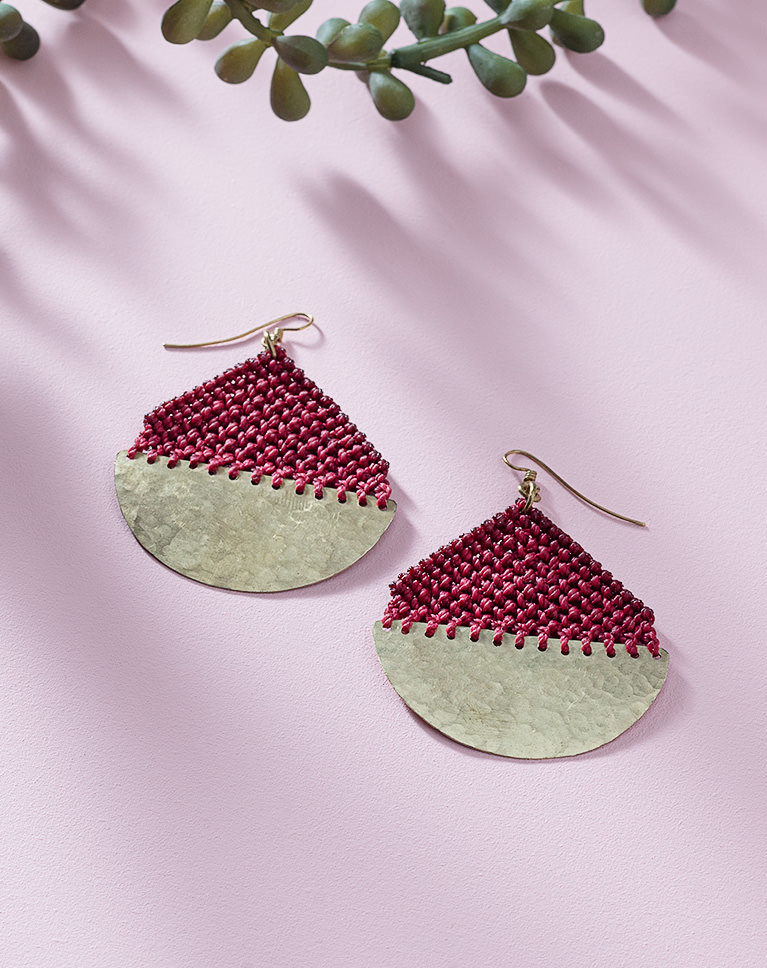
Understanding a client’s brand and needs can help you deliver better images that will keep them coming back for more. Follow along through three different types of examples: retouching products on white, retouching products on colored backgrounds, and retouching products on a model.
Object Removal
Working with products, it’s impossible to avoid little imperfections in your photos. Whether it’s dust, loose fibers, or unusual shapes, we show you how to remove distractions and fix composition using easy and powerful techniques.
Photoshop Actions
We include two of our most powerful Photoshop Actions to help you work faster and with great results. Try our Frequency Separation Action to smooth out skin tones and preserve delicate textures. Then use our Sharpening Action to enhance the details in an image–at any size or resolution.
E-Commerce Product Photography
We take you behind the scenes of our e-commerce photoshoot with professional product photographer Ross Floyd! See how we took the clients vision and used simple lighting setups and photographic principles to make a it reality.
Build a Brand
Learn how to build a relationship with a client and help bring their brand and vision to life. This tutorial uses a real client in a real-world scenario. We show you step-by-step how to use photography and Photoshop to help the client tell their story.
Consistency is Key
The key to great e-commerce photography and editing is delivering consistent photos of every product. Learn how to edit a series of images, all using the same type of background, the same sizes, and the same approach to editing and retouching.

Aaron Nace
PHLEARN Founder – Class Instructor
Aaron Nace is a photographer, Photoshop artist and founder of PHLEARN. He is the #1 Photoshop instructor in the world with millions of YouTube subscribers.

Ross Floyd
Featured Artist – Professional Product Photographer
Ross Floyd is an award-winning product and interiors photographer and director based in Chicago, IL. He specializes in telling the story of the designed object and space. Ross uses bright and graphic imagery to elevate objects while emphasizing line, shape, form and material with light. He is hired by clients around the world for his ability to convey the experience of an object or space through brilliant images.
Carlette Balcázar Otárola
Featured Client – Jewelry Artist
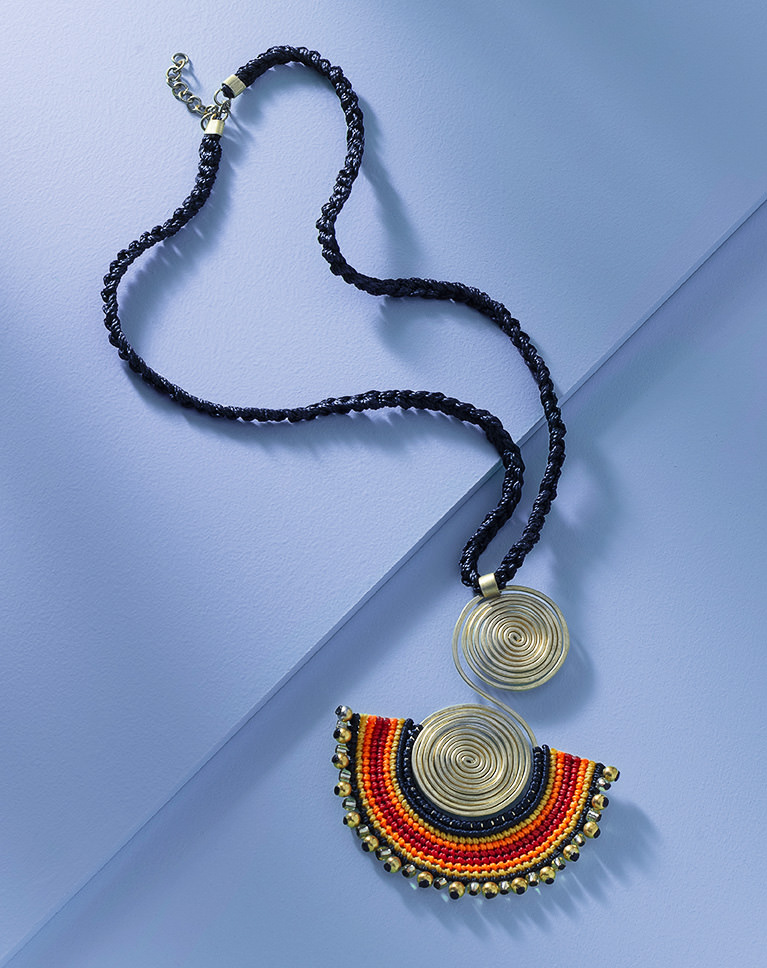
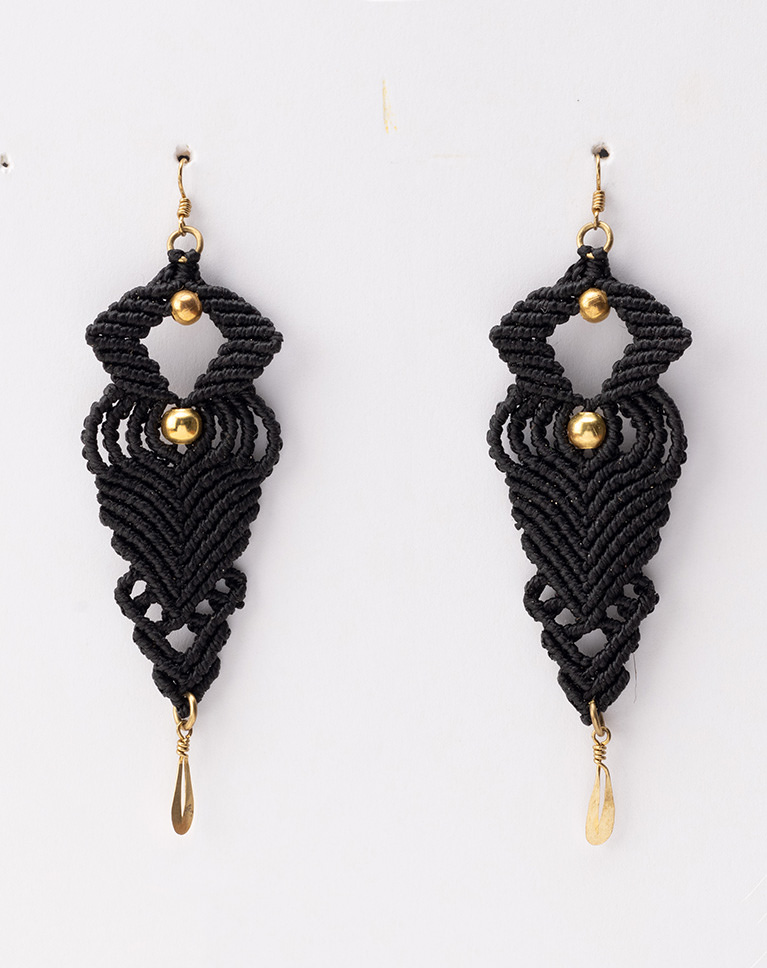
Carlette is an artist and jewelry maker based in Chicago, IL. Inspired by her Chilean roots, she handcrafts jewelry from macrame, bronze, copper, stones, and other natural elements. Each piece is unique and exquisite, an expression of her colorful spirit and love of individuality.
Reviews
New & Popular Tutorials
Training Site in
the World
Tutorials!
Ratings
and Counting
Subscribers








Aaron Nace is hands down the best Photoshop instructor out there! His ability to explain complex techniques with such clarity and enthusiasm is unmatched. You can truly see his passion for teaching and for Photoshop itself, which makes the tutorials not only easy to follow but also highly enjoyable. The videos are incredibly professional—top-notch quality in every aspect. While I’ve watched plenty of free tutorials on YouTube, what you get here is an all-in-one package that takes learning to an entirely new level. I searched YouTube for 3-4 years and got more of my questions answered in just a few hours here, and it was not boring at all. If you’re on the fence about investing in the subscription, trust me—it’s worth every penny. Save your time, invest in yourself, and start learning from the BEST. Just from this single tutorial, Product Retouching for E-Commerce, I can confidently say it was the best investment I’ve made in 2024. Highly recommended! 🌟
I have learned a lot from this tutorial and not only from this. E-commerce photography is complex and requires a good set of skills that you are showing here. I like how methodical you are and how much time you spend on details, it’s good that you are not rushing and it’s a teaching moment every time you slow down and focus on the details. Thank you so much for all your knowledge sharing!
A great breakdown into great tools for retouching and use of actions for beginners and experienced users.
tutorials on watches please :)))
Very easy to follow, very informative. I’m just starting to learn Photoshop and Aaron is the only person, I kid you not, whom I understand and can follow the classes and know what do to. Thanks a lot!
Another great tutorial. Shout out to whoever edited the music.
This was an amazing course, I simply love how Aaron makes the learning so easy.
Great course that shows you the full spectrum from understanding the client to the final saving, obviously with the focus and in-depth process of retouching. What I really love about it is that you get to learn from Aaron’s workflow and the stream of thoughts, which I believe is where you learn most about how to use each tool, not only about the technical side of it.
This was a great tutorial to learn about a broad spectrum of techniques for retouching images. Taking images from Lightroom over to Photoshop was made simple and approachable. Aaron demonstrates techniques clearly and provides excellent explanations as to the steps in his process. It was awesome to work on a set of photos that had such interesting features and elements.
Amazing again Aaron! This is the most straight forward and fun product retouching I have ever seen.
Great as always, it’s been months now that I have been learning from Aaron, and the confidence is there, together with the skill set that just keeps growing! Amazing way of dealing with the background while re-touching an e-commerce product, my favorite take from the tutorial. Thanks!
Great Tutorial, I found some fabric samples that I was able to photograph and easily make them the background of some jewellery photos using Aarons’ frequency separation technique.
Awesome tutorial!
Fantastic tutorial. I find it very helpful when the tutorials revolve around real products. I also find it very helpful to have more than one photo to work with. Being able to apply the concepts many times help me to improve my skill level.
thx you very much but I hope you put a translation of the lessons plz .
When we have contrast between the motif and the background, the work is greatly simplified by the tools and techniques in Photoshop. Okay. But … and if our jewelry is gold, silver and diamonds? The technique of adjustment of pure white through levels does not work, since we have many very light and gray mirror reflections. What technique do you use for these cases? I believe that the only way is to create paths for each piece. Could you give us a tutorial with silver, diamonds, steel, etc … Fantastic the background color change chapter.
Excellent tutorial, hopefully leading to high quality work!
Thank you for a great tutorial, exactly what I need to give make my handmade jewellery photos a professional looking finish
This course appeared on Phlearn at just the right time for me as I need to do some photos for my wife’s handmade jewellery business. The level of detail in the course is fantastic and having the sample images will help me really understand each step of the processes involved. Thanks Aaron and the Phlearn team 🙂
I very love your retouching videos ! <3