FREE Coloring Tutorials

There are many ways to make an image Black and White in Photoshop. In most cases you will be best off using the “Black and White” Adjustment Layer.

In this episode, we use an image taken by a member of our Phlearn Phamily to show some cool color dodging techniques.

Today we’re using this incredible image from Chris to show how to use Photoshop to bring back detail into the Shadows of an image and then doing some Coloring and stylizing.

Today we are using an image from our latest Halloween contest to show you how to add Color to enhance the overall feel of an image.

Camera sensors are very powerful tools that capture tons of information, you just need to know how to massage that information out of it. This episode shows you how to bring out those details from your Shadows.

In today’s episode we start off with an image that has been resized for the Web and saved as a .jpg. It is a very small and compressed image yet we are still able to bring out a ton of detail.

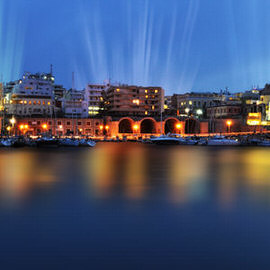
Sunrise and sunset are both amazing times to own a camera. Take advantage of this light as often as you can. There is a reason that it is called “golden hour”. It will turn your photos into gold.

Today we are going over some great techniques that can be applied to most images to make them a bit more interesting. By adding Color and Contrast to the image as a whole you can make your subject stand out a bit better in a few easy steps.

If you have a Color cast that is a result of a Light being a different color than the rest of the Lights in the image, you will need to get a bit more in Depth when editing to remove it. That is what today’s episode is all about.

We came across this tutorial by Juan Melara that shows how to get the Colors often seen in summer blockbuster movies. Today we’re going to show you how to achieve a very similar affect on your images with techniques that can be used in Photoshop.

Photographing a sunset can be really tricky, but we have some wonderful tips for you.

After adding Adjustment Layers to our photographer to pump up the blues and yellows, we can further intensify this image by adding Color Blurs.

These are the three major variables that go into creating a composite. To create a believable end result, the color, light, and perspective has to match as much as possible between the images you’re compositing.

In this episode we discuss something that sounds extremely boring but is actually quite interesting: Light Falloff.

It’s always great to have shadows in your photographs to add definition, but sometimes they become too dark and Subtract from the detail in your image.

It can be hard to pump up the Colors in a photograph without making it look unnatural. In RGB mode, changing your Colors in Curves will also produce changes in Brightness and Exposure. To fix this, we can easily switch to LAB Mode.

We’ll be editing Jason’s image and showing you how to make your subject stand out better from the Background by using some simple Coloring techniques.

These will make the biggest Difference! Curves can be used to easily adjust Light Levels and Colors in your images.
Today we work on a user submitted landscape image. We are going to add some lights and effects requested by Sam.
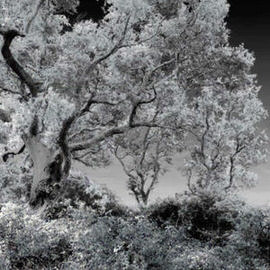
There are a few different ways to get these effects, you can shoot with IR film and a red Filter, convert a digital camera, OR get the same type of look in post.