20 Most Common Photography Mistakes and How to Avoid Them
At first photography seems easy, but the more you learn, the more you realize how little you actually know.
When you start falling in love with it, you are enamored with the idea that you can just point your camera toward something that interests you and voilà, it is captured for all time! And, in fact, that is a bit of a miracle, when you think about it.
It’s only when you start trying to do more than simply capture life that you start to realize how much there really is to photography. Suddenly, you’re not just taking shots, but trying to create them. And that’s when the images begin to not come out the way you want them.
If this is you, take comfort in knowing that, at some point, this was all of us.
Here’s how to avoid the most common mistakes photographers make and a few tips on how to rise above them.
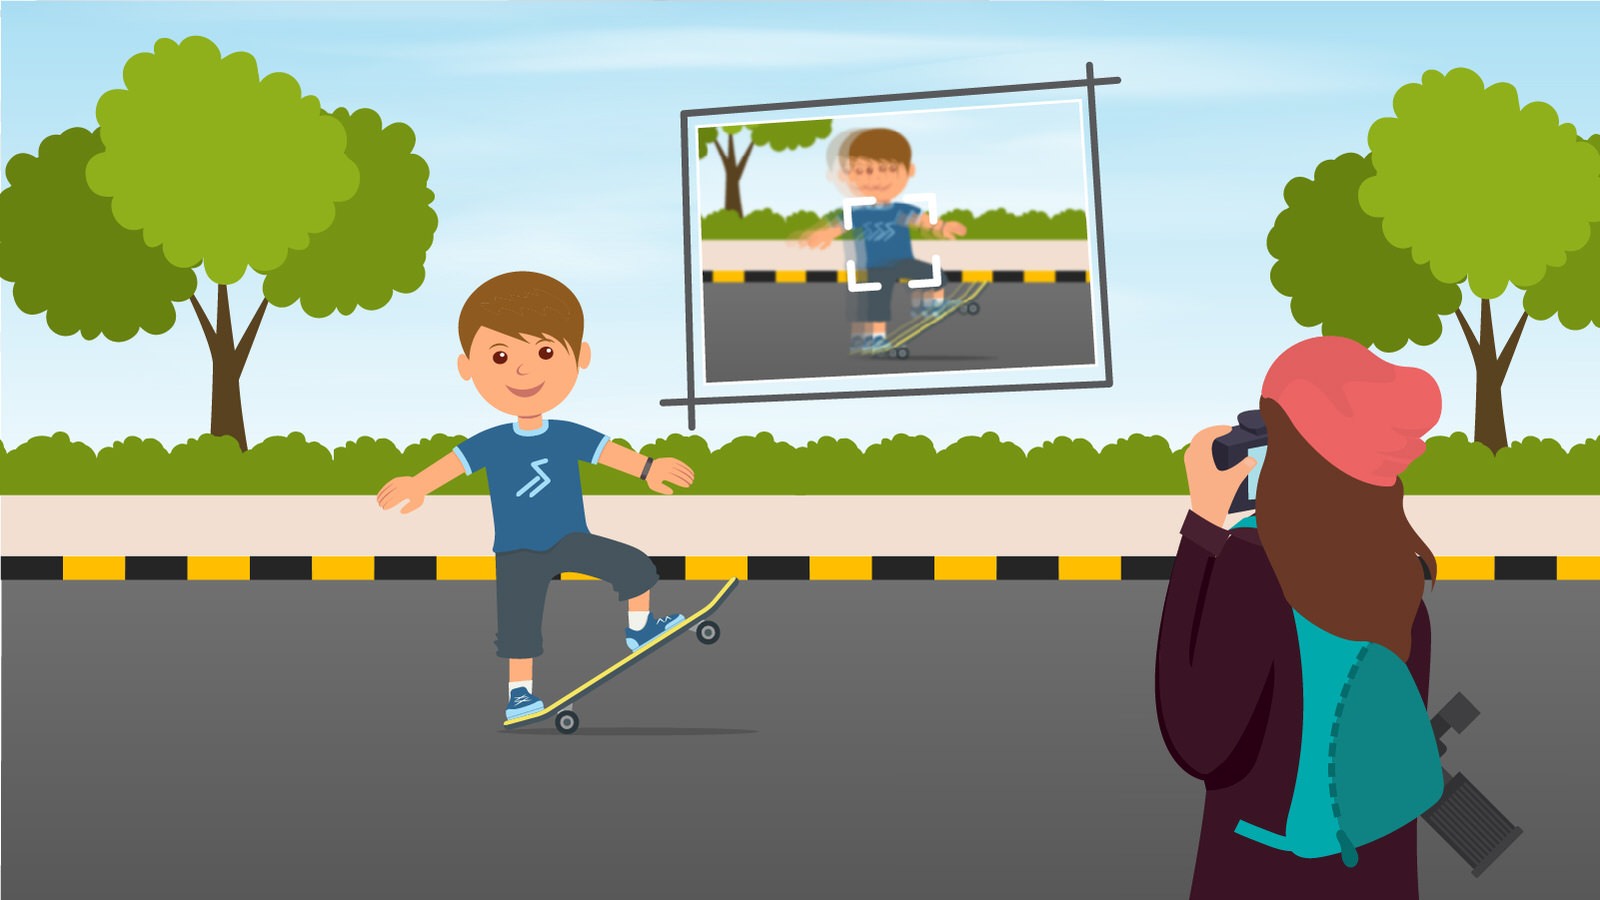
Blurry Photos That Aren’t in Focus
I’m many years into photography and this mistake can still find its way into my shoots. Out-of-focus images are probably the most common of all mistakes in photography because it’s such an easy one to make. One small move by a subject or misinterpretation by your camera and you’re in for an unpleasant surprise when you review your images later.
Just remember, there are two kinds of focusing techniques: manual and auto (which also means you can mess up in multiple ways). If you’re in manual mode, you’re going to need to get used to keeping your hand on the focus ring and constantly making careful adjustments as you and your subject move. And if you’re leaving it up to the camera, in auto mode, you’re going to have to make sure that it’s in the right focus mode and the reticle that tells the camera where to focus is in the right place. Both of these techniques take practice and mastery of your camera’s most complex settings. This complexity makes this the #1 mistake, not just for new photographers, but all photographers!
PRO TIP: Become a master of both manual focusing (and be sure to adjust the knob next to your viewfinder to match your particular eyesight, especially if you wear glasses), as well as in-camera auto focus features. Most cameras have assist features like Auto Zoom and Focus Peaking – these can really come in handy.
Photos That Aren’t Sharp and Lack Detail
An unsharp photo is a bit like an out-of-focus photo, but where the whole image (or even the part that is in focus) just lacks detail. This is a very common issue for beginner photographers, as getting good detail in your images requires a lot of things working right for you. For one, you need a lot of light to get good detail. And two, when your camera’s shutter speed slows, you make yourself susceptible to camera shake, which also ruins your detail. And then, of course, you have to be in focus, too!
PRO TIP: When letting your camera do the work and finding yourself indoors, instead of auto, set it to shutter priority, then set it to 1/125, or faster. Your camera will adjust from there, but you assure yourself of not having your shutter open so long as to ruin your sharpness with movement.
Photos Just Aren’t That Interesting
A lot of things can cause a viewer to disregard your image: it can be over-cluttered, badly composed, an over-shot subject or simply something people don’t understand. Uninteresting photos are something even the most technically adept photographer can suffer from, as a lot of it comes down to taste and creativity, and those are things that they don’t teach in a manual, or even a YouTube video. How to make an interesting photograph is something you have to figure out over the years, with trial and error as well as an education in the medium of photography.
PRO TIP: Keep a running folder of images from other photographers that you think are incredibly interesting and start to look for themes in them – how did they compose it? Where were they standing? What’s interesting about it to you? Keep these notes in your head when you head out to your own shoot.
Cheap Glass Is Holding You Back
Oftentimes when just starting out, you’re using just one lens – and it’s usually whatever came with the camera. Sometimes referred to as a “kit lens,” these are generally all-purpose lenses that can cover a lot of ground, but not expertly. Most kit lenses are zooms with an aperture that changes as you zoom in and out. This starts to limit what’s possible with these lenses in different situations. Zoom too far in and your aperture closes down, decreasing how much light can come in. Zoom all the way out and it becomes harder to get that beautiful depth of field when you want it. These limitations become frustrating for even beginner photographers and can end up creating more questions than answers.
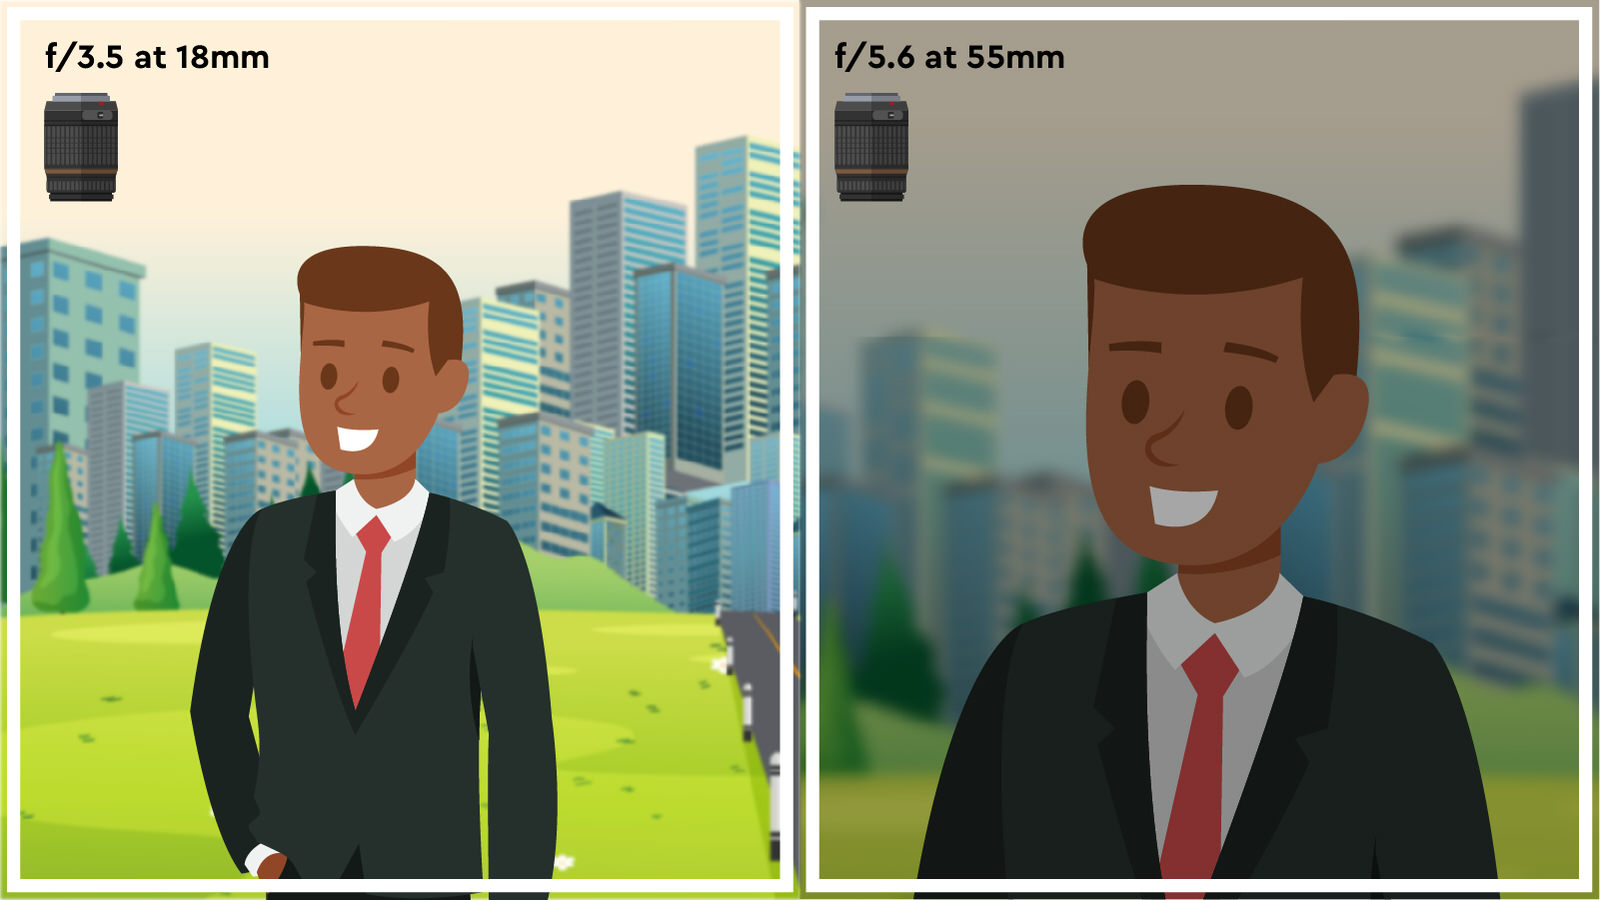
PRO TIP: Start with one prime lens that can do a lot of work for you – 35mm or 50mm – that also has a good wide open aperture, like f/2 or wider. Your shots will look amazing with these prime lenses and you don’t have to pay a lot for them, either.
There Are Spots All Over Your Images
So you’ve got a few lenses now! That’s great, but be careful about switching them out in the outdoors, especially on windy days or in weather of any kind. It’s a sure-fire way to get sensor dust. Most pros I know rarely switch a lens once out on a job, preferring to make those choices before heading out of the house. When you take a lens off, you expose your sensor to the elements and within a second, particles and dust can make their way into your camera and start creating spots in your images, requiring some expert cleaning, which isn’t cheap.
PRO TIP: Keep a blower on hand, and if you have to switch a lens outside, hold the camera upside down and blow up into it with the blower (never your mouth), to use gravity a little bit to clean the sensor off. Also, many cameras can perform a little bit of sensor cleaning on their own. Check your manual.
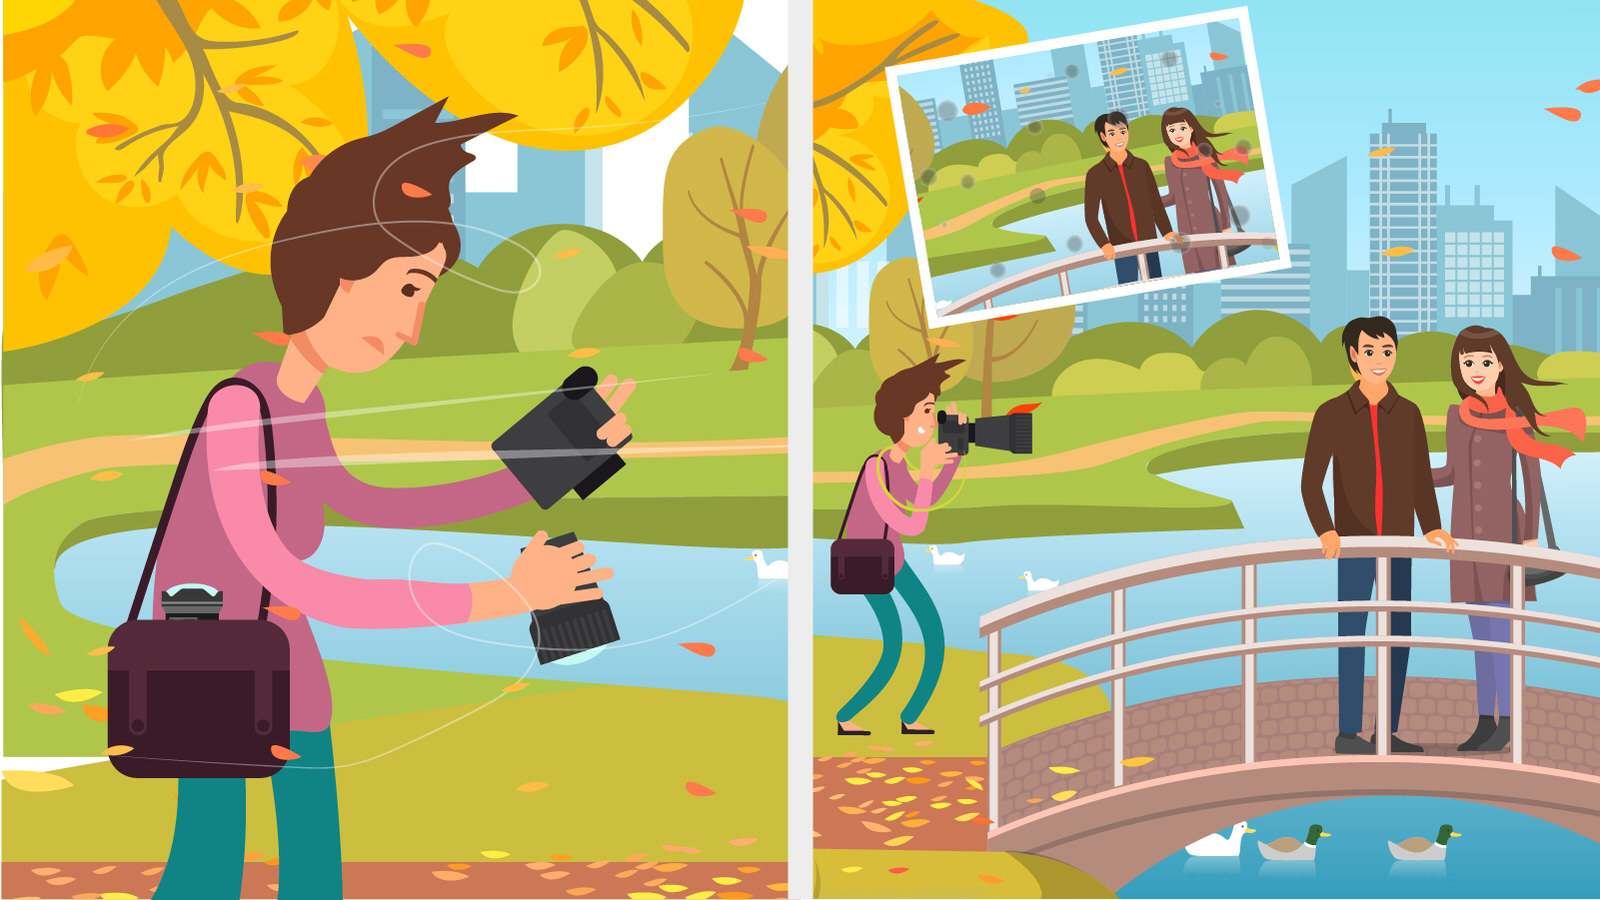
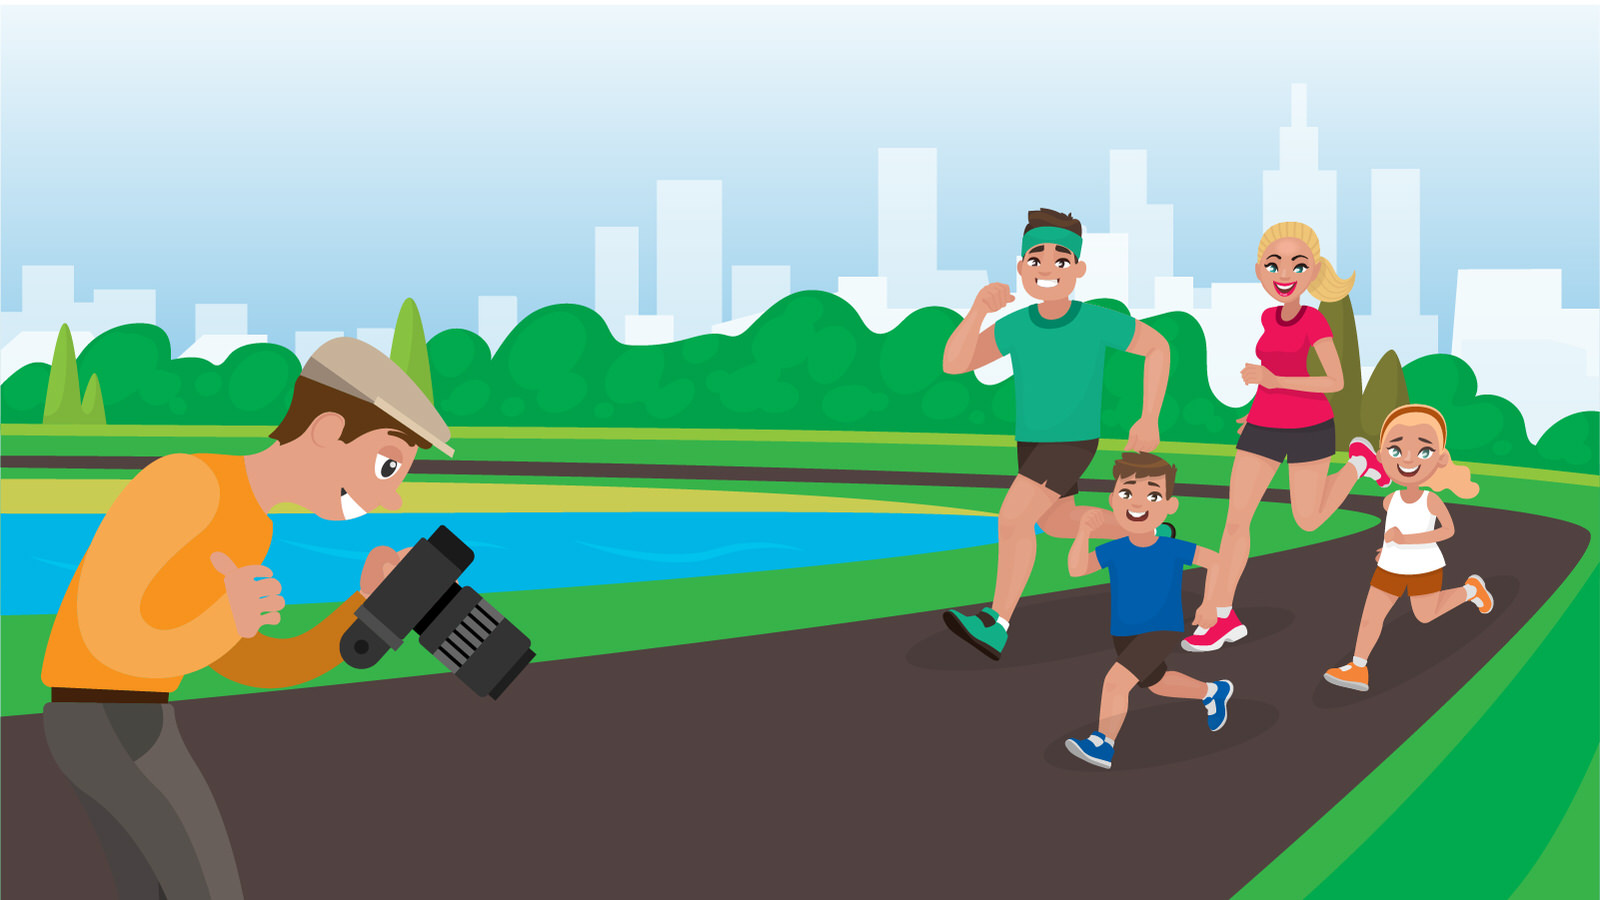
Frantically Running After Images
When you see an interesting person walking by, it’s natural as a photographer to want to go chase the photo. This rarely leads to a great shot. Photography is an art form requiring careful planning and composition – even in live situations. As a photographer, you want to always be in control of your craft. This can mean staking out a location before you go or pre-visualizing the image you want before heading in.
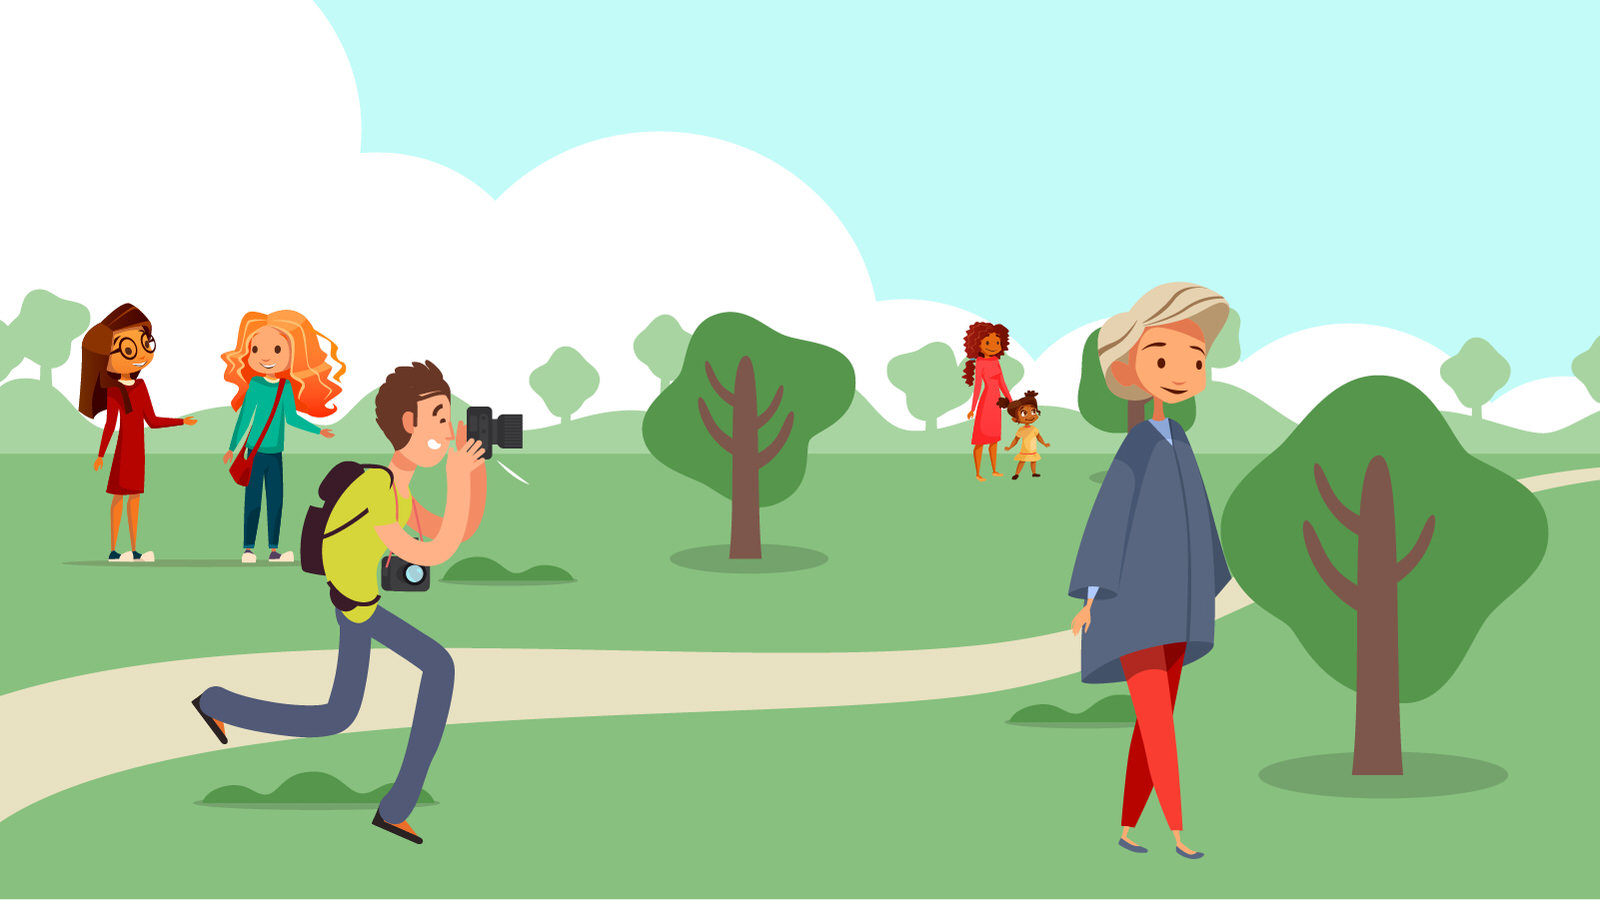
PRO TIP: When you see someone walking by who you really want to shoot, walk far ahead of them and compose a shot that you know they will be walking through. Then sit and wait.
You Just Spray and Pray
Another common technique among new photographers (and some older ones, too) is to just shoot tons of images in hopes of getting a good one. This technique is called “spray and pray” and it rarely does much to help the cause. The reason it doesn’t work is that a very good shot takes some thought and consideration – and there simply isn’t any in the spray and pray technique. It gets you more images, but mostly more of the same.

PRO TIP: Try to get your image in one shot. Make that your goal. This will force you to try to find a great composition and moment. If you end up taking more, that’s fine, but in photography, aiming for one trumps aiming for a hundred. And almost always garners better results.
Looking at Your Display More Than at Your Subject
The act of looking at every image that comes into your camera on your screen is referred to as “chimping.” Most people will tell you not to do it. I’m not in that camp. I just don’t recommend doing it while you’re in the middle of a moment, or interacting with a model, as it takes you out of the relationship too much and tends to look like you don’t know what you’re doing.
PRO TIP: Take a set of photos, then take a break and review. From there, you can make decisions for your next set of shots.
Talking About Photography as “Just a Hobby”
When starting out, it’s common to refer to your photography as a hobby. But if you say it enough times, it becomes very hard to define it as anything else. Hobbyists tend to repeat actions, finding enjoyment in the familiarity of something they can lose themselves in. But to get better at photography, it’s important to always be improving and pushing to understand more about it. That’s not a hobby – it’s an art, an education or a passion. Just because it’s not your career, that doesn’t mean you have to define it as a hobby. Find a way to describe it that continues to push you to do it better and better.

PRO TIP: Get business cards that say “Photographer” on them. This can help you get past thinking of it as a hobby and have it live more as something that you (and others) take seriously.
Spending All Your Money on Equipment
This is, of course, a luxury problem that not everyone gets to complain about – but it’s not uncommon for beginner photographers to throw a whole bunch of money at equipment as a way to fast track their success. And we can often get in the mindset that our images will become better if we just get that new thing. Yes, some things you buy will help you get better shots – but not everything. And most professionals end up using a small portion of their overall set of gear on any given day. Establish your go-to set of things and do the majority of your work with it until work demands you get something new.
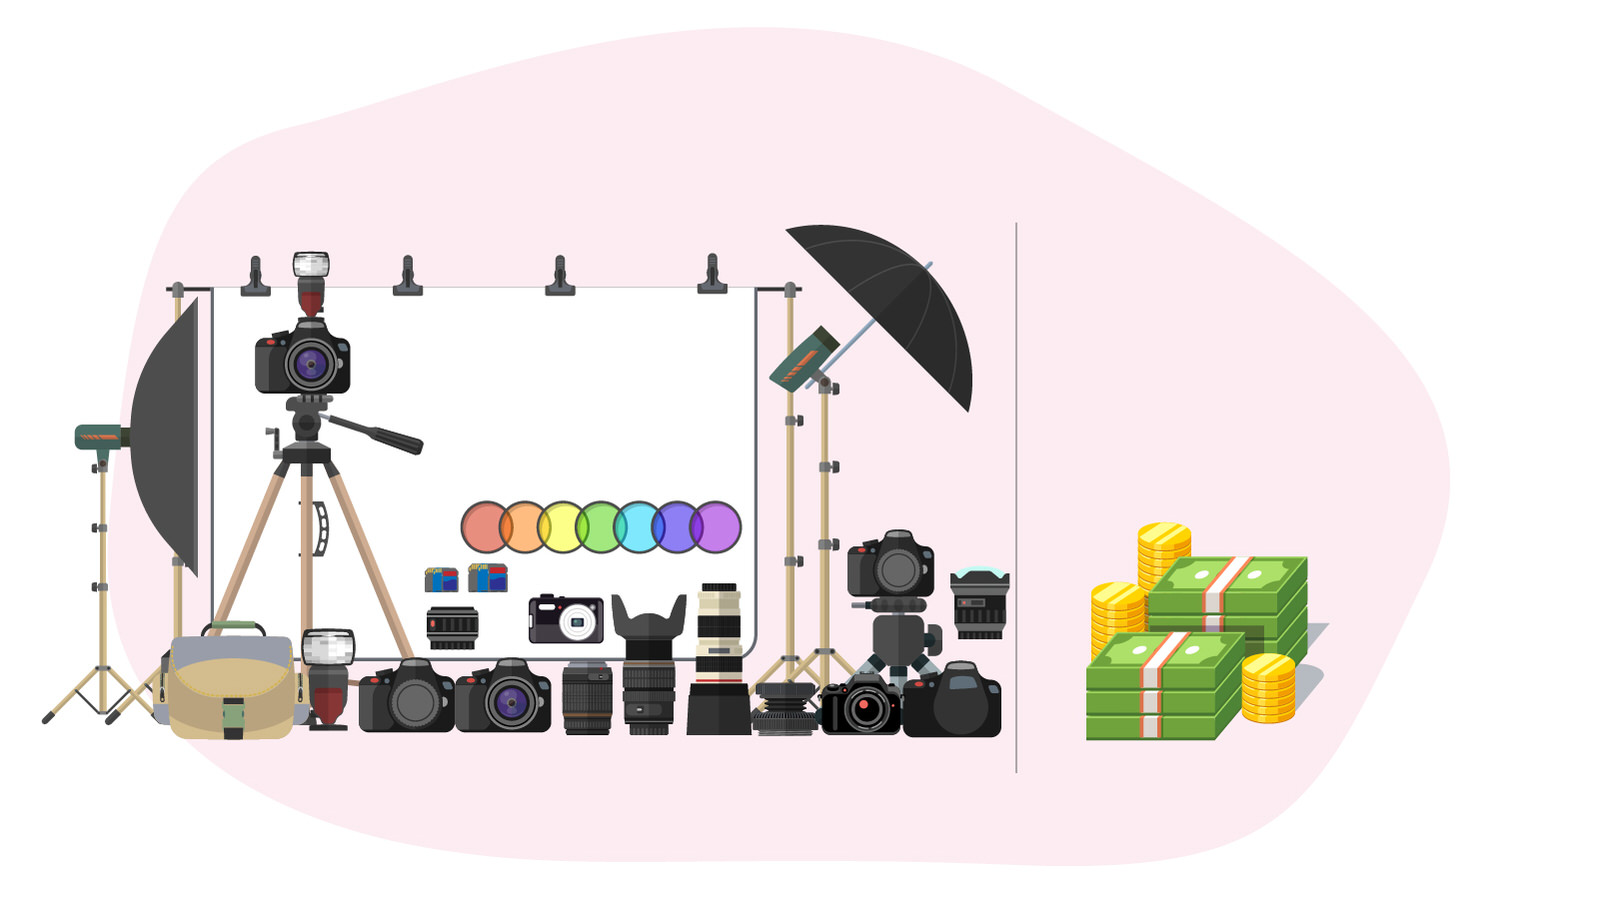
PRO TIP: While it seems daunting at first, there is great value in renting equipment. No pro shops nearby? Look at sites like BorrowLenses.com or Lensrentals.com. A little pre-planning can get you exactly what you need for any given shoot.
Shooting in the Wrong Format
Most digitals camera these days can shoot in RAW format, offering a much higher range of tones than a JPG image. Yet, a lot of beginning shooters shy away from RAW because the file sizes are so much bigger. Make choices about your file type depending on what you’re shooting. If it’s important to be able to bring up shadows or make some fine adjustments on your final image, shoot RAW.
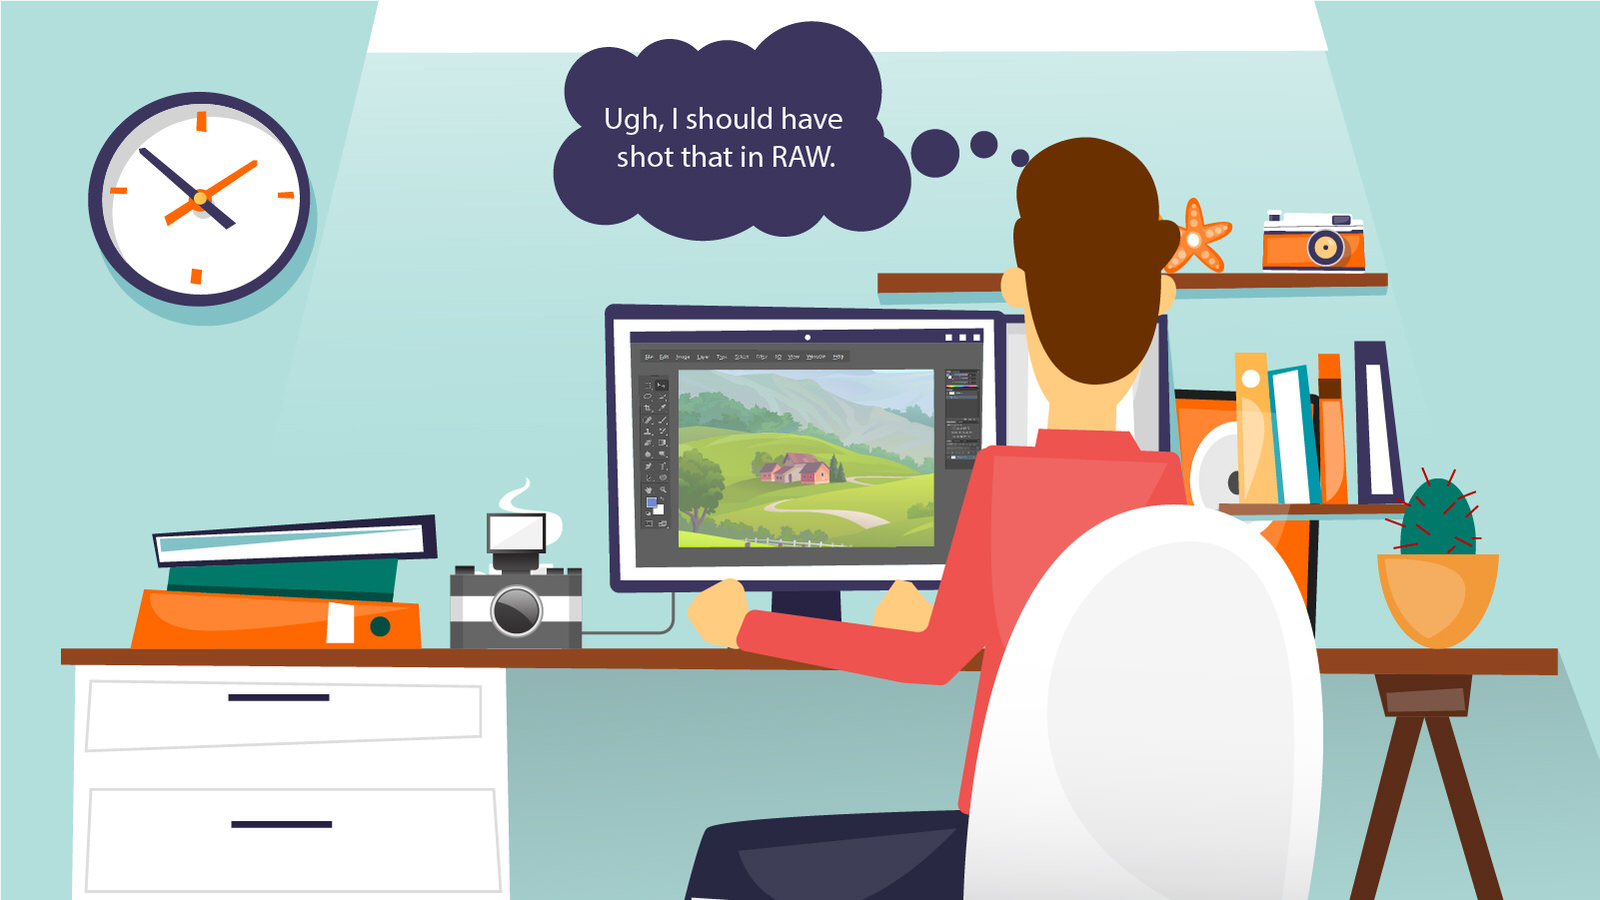
PRO TIP: Take a look at your settings – you might find that you can shoot smaller file RAW images that still offer all the tones, but take down the file size for you, too.
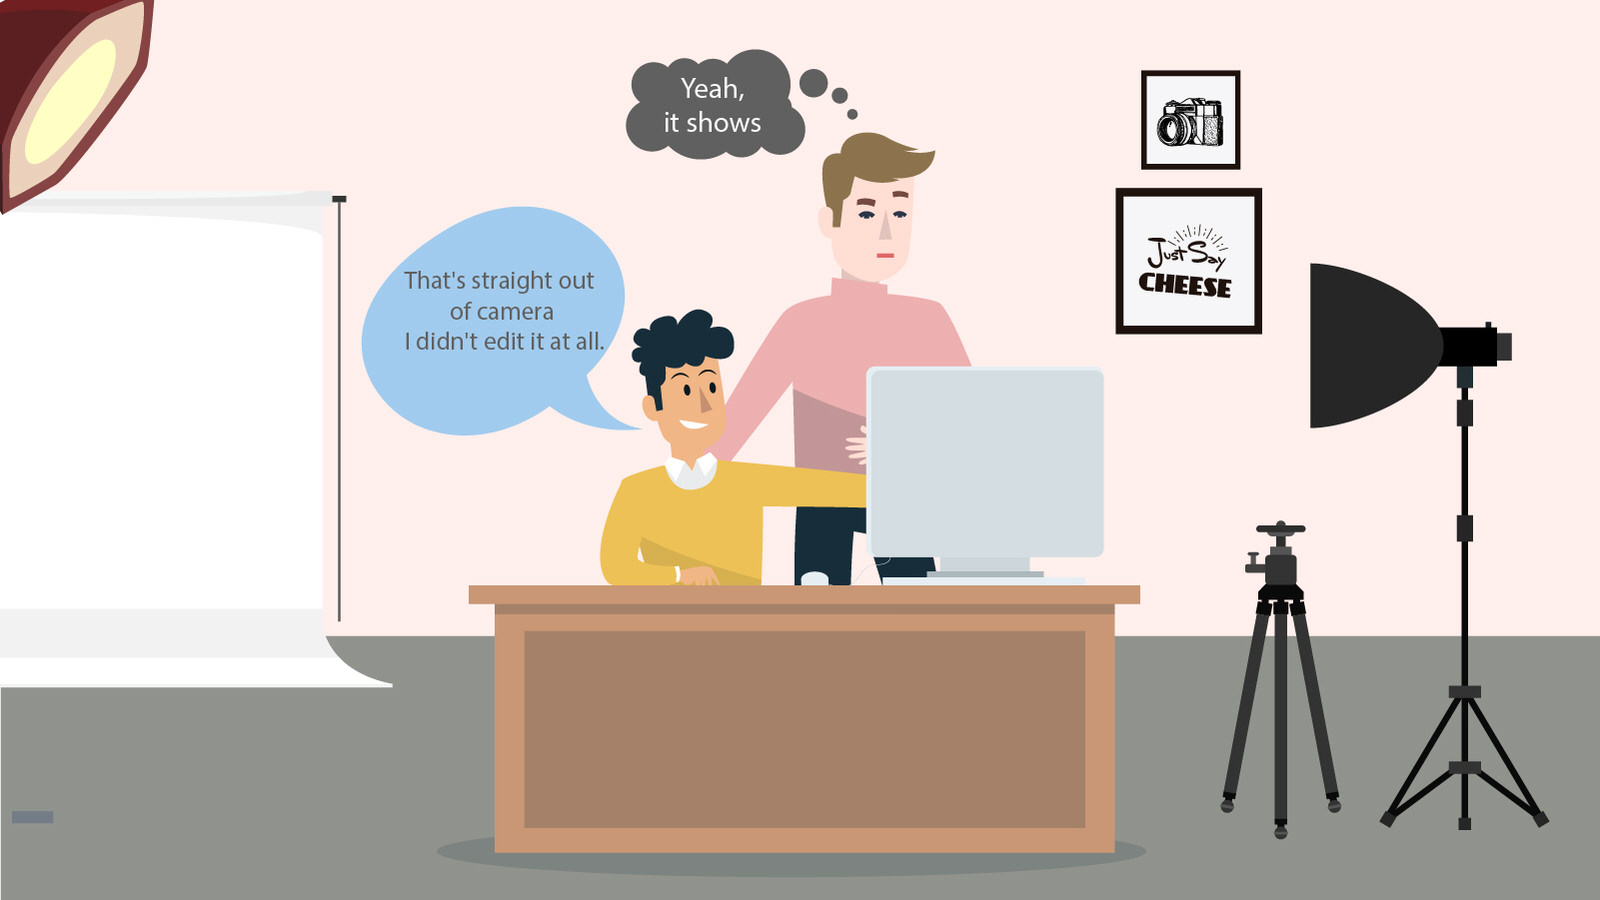
Not Doing Post Work
Sometimes those shots you see from other photographers look as good as they do because the photographer did a lot of work on them. In fact, it’s most likely any shot that has gotten recognition has had some kind of work done on it. Some photographers are adamant about getting everything perfect in camera – and some genres demand it – but a lot of photography is not dependent on that kind of realism. If you’re seeking a very specific look to your shots and not seeing it in the results, consider what needs to be done in post that might be able to elevate your shot to that level.
PRO TIP: Once you’ve found a look you want, reach out to the photographer, or a professional, to find out what kind of process is being used in that situation – then go learn it inside and out. When I want to learn something new, I head straight to a tutorial on YouTube or call up some of my other professional photographer friends and figure it out.
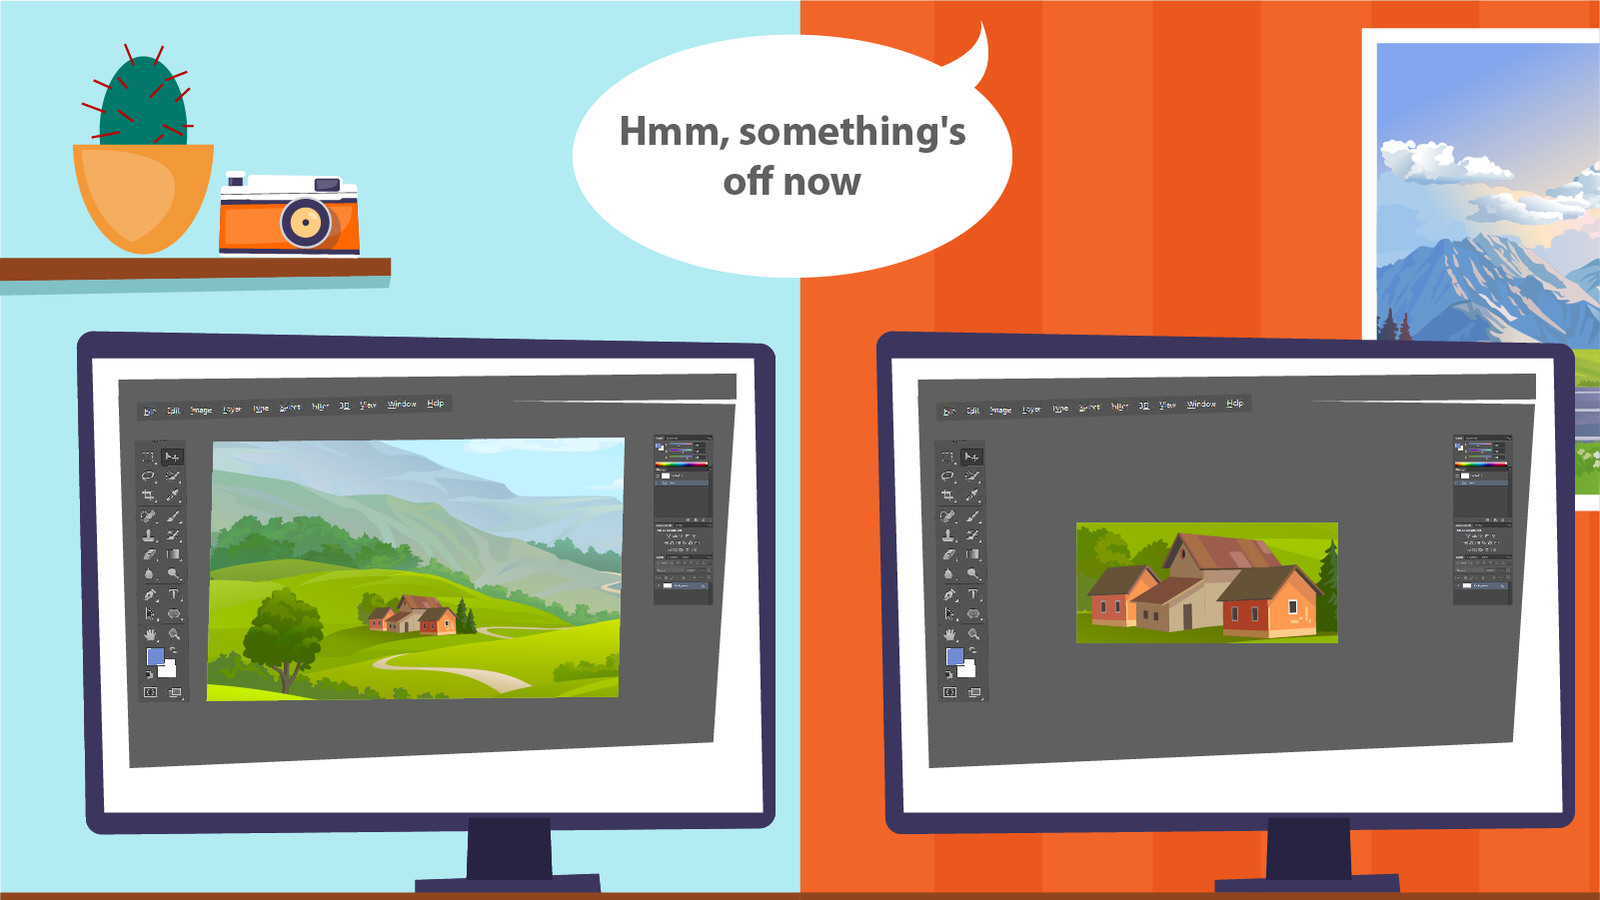
Doing Too Much to Your Photos
The other side of not doing post work is doing too much post work. And this can be quite a bit worse than doing none at all. Too much HDR or over-coloring something can feel like making art to a new photographer, but ends up just making an image look too unreal and only serves to strip all the emotion out of it.

PRO TIP: If you find a look you really like, first try to achieve it in-camera before you ever try to recreate it with a filter or color adjustment. Sure, a little tweak here or there can help your image get to the next level, but 80 percent of it should already be in your image.
Cropping Your Photos
It happens to everyone – you get an image in and there’s something in it that distracts you from the singularity of your main subject. It’s a common mistake to believe you can simply crop it out of your photo and have a perfectly good image. But, in fact, this almost never works. The reason is, an image cropped does not look like it would if you’d stepped in and shot it from a closer distance – and the eye knows. The awkwardness of that difference is something the viewer feels at first glance and it can ruin your shot.
PRO TIP: If you find that you’re cropping a lot of photos, try switching to a longer lens. For example, if you’re shooting 35mm and end up doing a lot of cropping on your images, it might be a sign that you’re meant to be shooting with a 50mm or 24-70mm.
Forgetting to Charge Your Batteries
This might seem like an obvious one, but it still makes the list because of just how often it happens to nearly everyone – especially new photographers. It’s a new learned behavior to constantly and consistently charge your batteries before every shoot, so it takes a bit of time to get in the habit.

PRO TIP: Set up a charging station somewhere in your home that makes it easy to get batteries in and out. Also, get an extra portable charger that can stay in your bag or car.
Using Slow Cards
Your SD or CF cards have write speeds on them. While cards tend to all look the same, these write speeds make a huge difference in how fast images get on and off them. A cheap/slow card can severely slow down your shooting.

PRO TIP: Look for cards with 300MB/s write speeds – this will save you all kinds of time and headache.
Not Remembering What You Did Right
Most lists about mistakes are about what you did wrong, but don’t forget to remember what you did right, too! One of the main attributes of a professional photographer is being able to get a look consistently. This knowledge happens because the photographer is able to recreate something they’ve seen or done before. So, when you get a great shot, don’t chalk it up to happenstance, make sure you know exactly how you did it.
PRO TIP: Keep a journal of some kind that logs all of your favorite shots – time of day, type of light (or light setup), camera, lens and settings. This will be invaluable the next time you shoot something similar in the future.
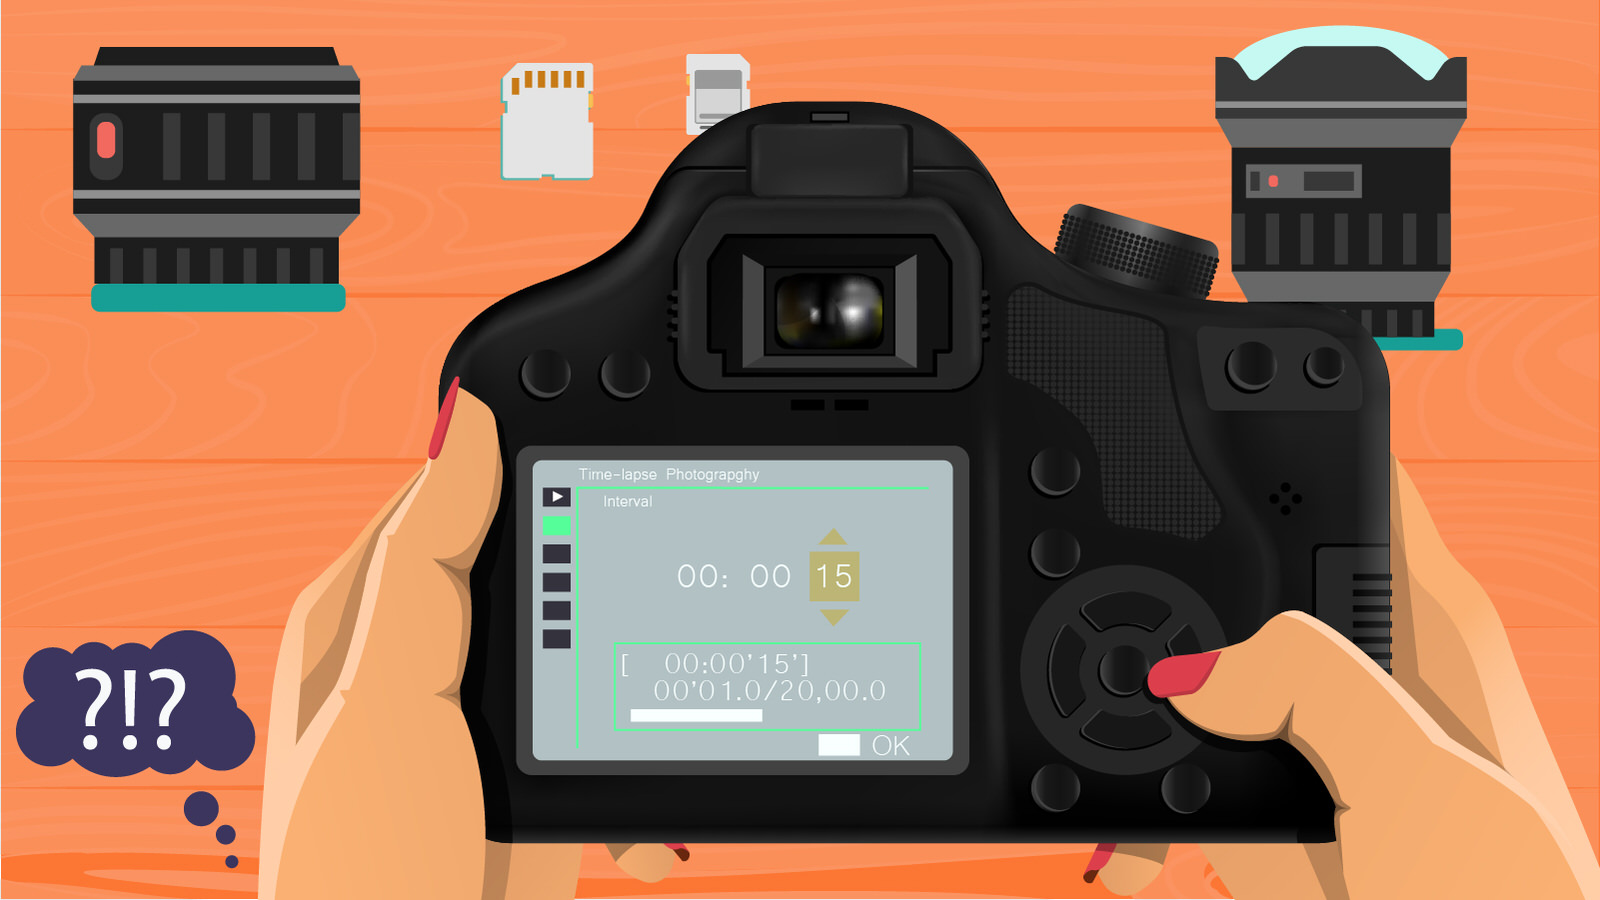
Not Learning How Your Camera Works
A lot of people buy new cameras with all kinds of great tricks and capabilities, but never learn even half of them. These days, cameras are practically full-blown computers, with tons of very interesting in-camera possibilities, from time lapse to remote control apps to advanced video capabilities. It’s right in your hands – and each of those functions can add to your creative potential, yet most people never explore it.
PRO TIP: Take the time to learn your camera inside and out – read the manual, take a class, or find a friend who is willing to go through the process with you and help push you along.
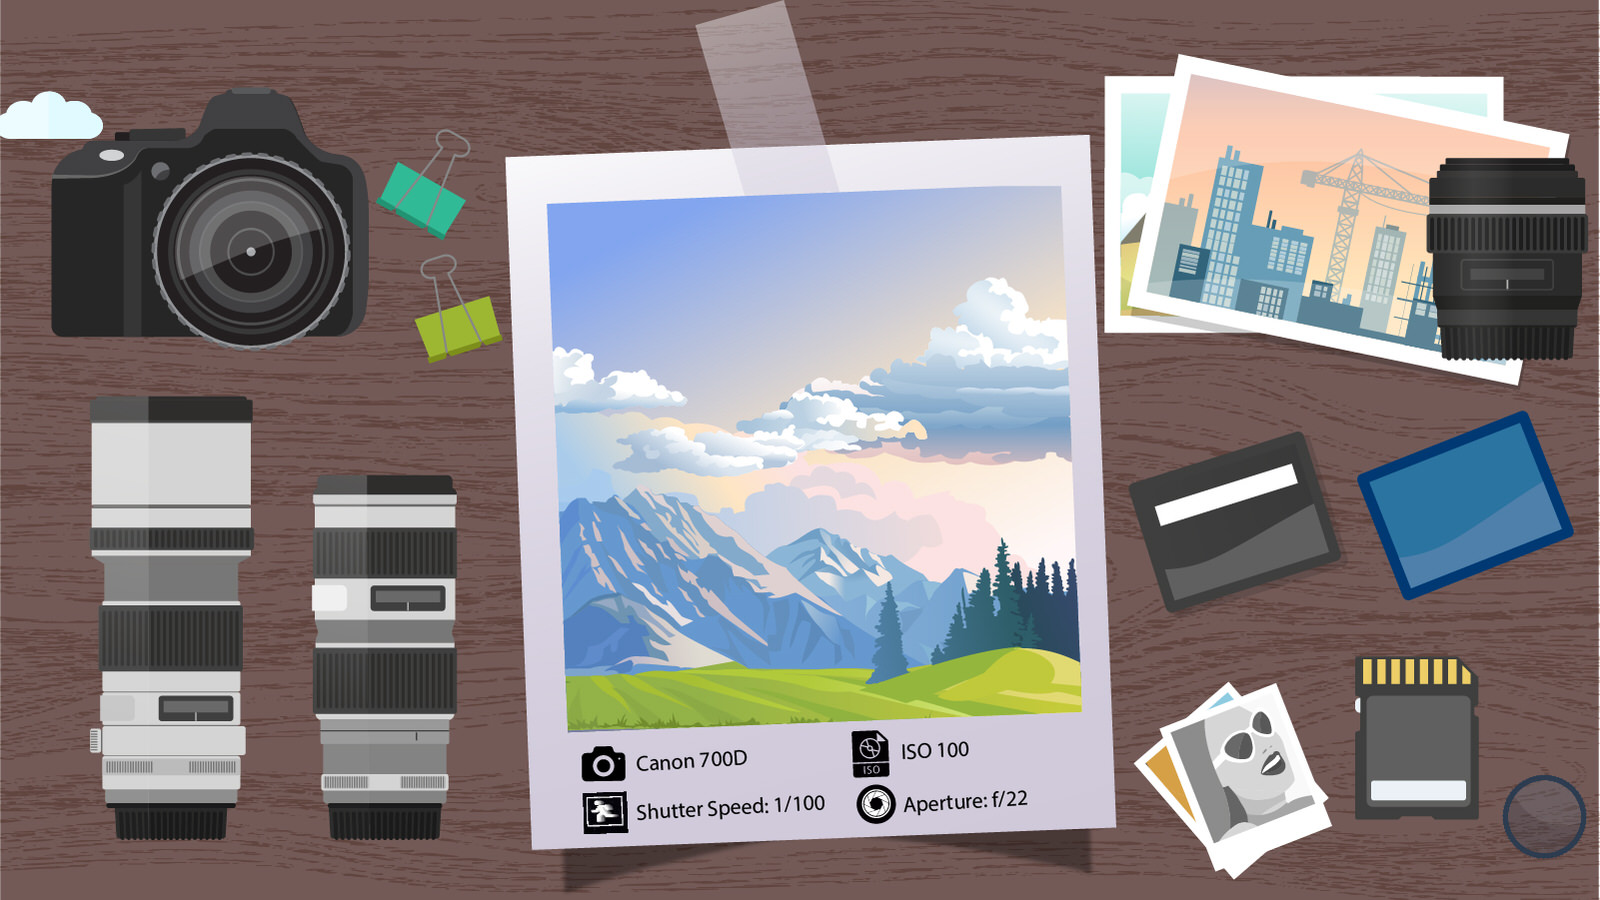
Not Learning the Big Three
Shutter Speed, Aperture and ISO. These make up the Big Three and they are the essential basic building blocks of any photograph. Each of them is designed to control how light comes into the camera and each has a different effect on the image. But even more, it’s how you use them in combination that really starts to make you an expert in the medium. It can be complicated, but over time, mastering all three of them is what will truly make you an expert at photography.
PRO TIP: Each one of the Big Three gives light by taking away something else. Don’t just learn what they do, but what the payoff is – camera shake, depth of field or noise. This knowledge will help you make your decisions.
You’re Getting Good
The best piece of advice I can give on avoiding making common mistakes is to never be satisfied with being a good photographer. When you’re good, people start giving you positive feedback on your images and it can make you complacent. Worse yet, once you start to really understand some of the principles here, it’s easy to start to get an ego about it. You see many people in photography forums spouting off their knowledge about the technical stuff, but they themselves do not do very interesting photography. This is the drawback with getting good – it removes that mentality that makes you great.

PRO TIP: Stay a student of photography forever. No matter how much success you get or how many likes your images get, constantly push to learn more and improve.
If you’re getting frustrated in the process of learning photography, congratulations, you’re now part of a gigantic club of every great photographer who ever lived. Unlike most professions, photography starts easy and gets harder and harder the more you care about doing it right. Consider your mistakes a rite of passage that leads to greater understanding and appreciation for the medium and, ultimately, makes you a true expert in the medium.
I’ve been doing this a long time and I still find mistakes in my work. I have come to enjoy these moments as they always reveal an opportunity to learn and get better. Approached correctly, you’ll find that mistakes are small lanterns that light your path to success.