
Leading Lines in Photography: What They Are and 15 Examples
Leading lines in photography are the roads, rails, railings and shadows that pull the eye back into a flat photo and drop it on your subject. Here is how to find them and how to build them, with 15 examples and the lines drawn on.
- Types of lines6
- Examples15
- Gear neededAny camera, including a phone
A photo is flat. Like a painting, it’s a two-dimensional representation of three dimensions. It has an X and a Y. Z is depth, and any depth we see in a photo is an illusion. To make a photo look like it has three dimensions, we have to add compositional elements that let our eyes travel backwards into Z space. Leading lines are one of the big ones.
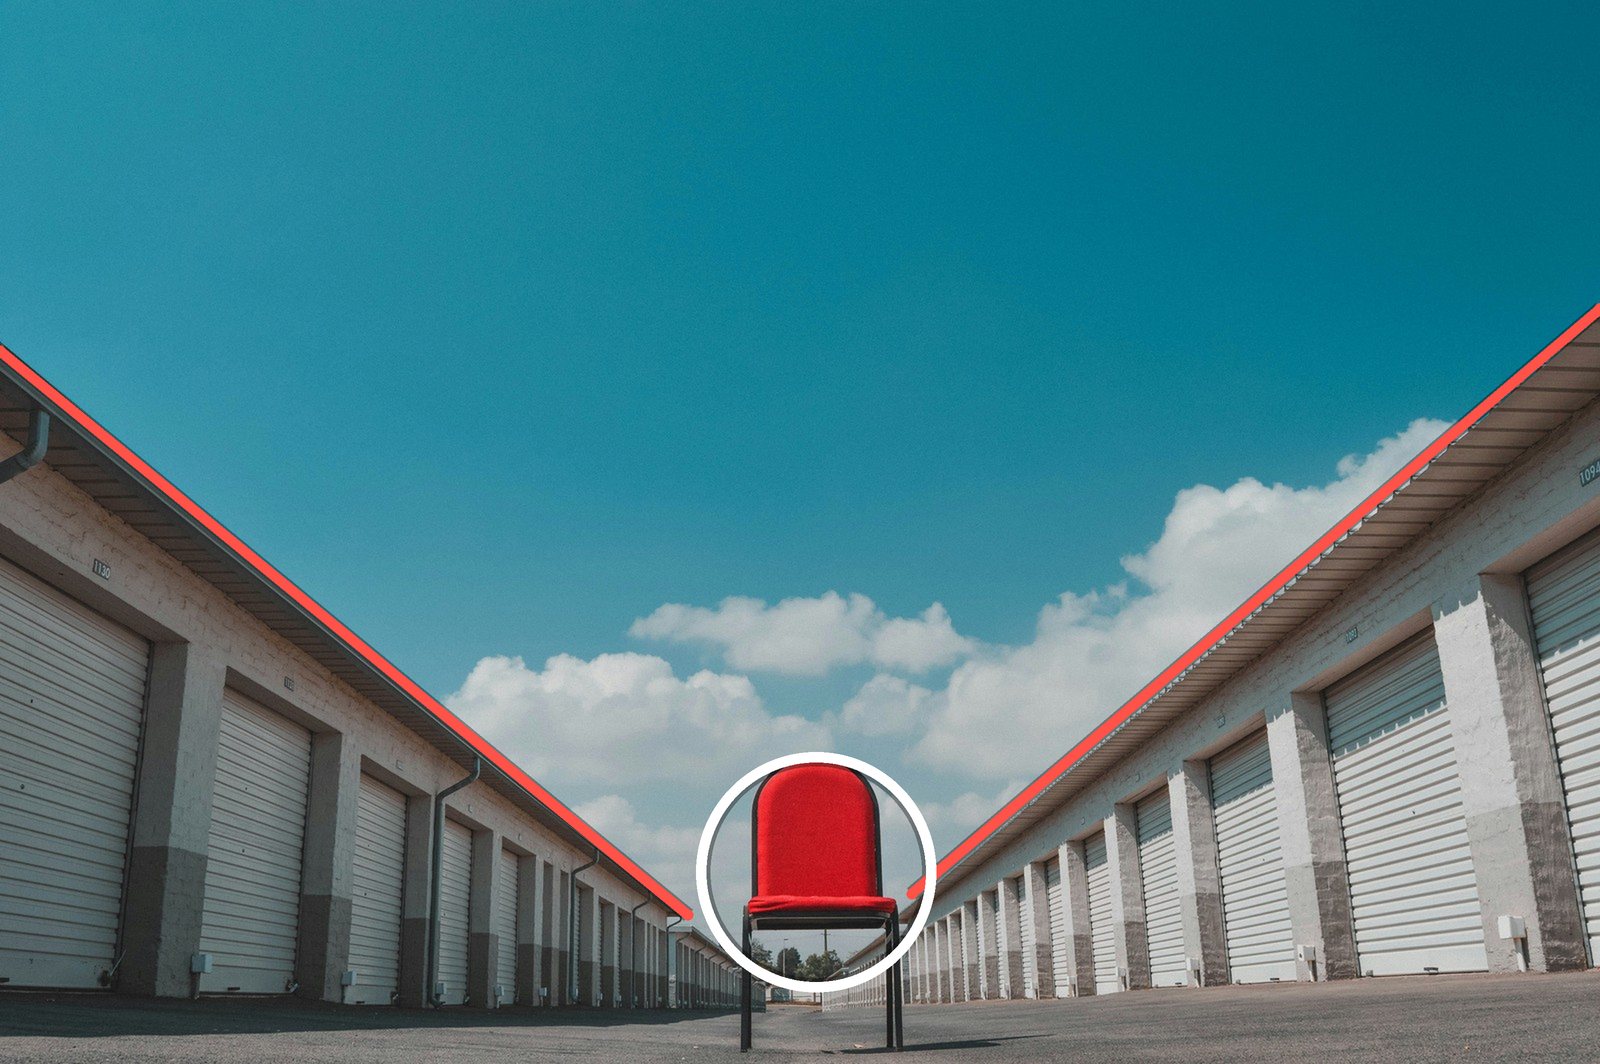
Look at the image at the top of this page (made with Midjourney and enlarged with generative upscale). Your eye probably ran down the row of arches and the stripes of light on the floor, and stopped on the figure in red. Nobody told you to look there. The lines did it. The red chair below works the same way.
That’s what leading lines in photography do: they’re lines in the scene that pull the viewer’s eye into the frame and through it to the subject. Below are the six kinds of line, fifteen examples with the lines drawn on, how to build a stronger line with a wide-angle lens, and the mistakes that send the eye out of the picture.
What Are Leading Lines in Photography?
A leading line is any line in a photo that the eye can follow from one place to another. It can be a real line, like a road edge or a handrail, or a line you only sense, like the direction someone is looking.
Besides depth, leading lines do a second job: they draw the viewer’s eye to certain parts of the photograph. If you have an important subject you want someone to look at, you can use the lines in the photo to point to it. The eye follows edges and contrast without being asked, so your job is to decide where that trip ends. If it ends at the edge of the frame, the eye leaves with it.
How Do Leading Lines Add Depth?
There are a lot of ways to add depth to a photograph. Having a strong foreground, midground and background is one. Leading lines are another, and they work because of perspective. As parallel lines get closer to the horizon, they look like they converge. Rails, the two sides of a road and the rows in a field all do it. When lines like these run back into the frame, they push our eyes back into Z space, so we look further into the photo and it takes on the illusion of depth.
If you don’t have any depth in your photo, it looks really flat. There’s nowhere for your eyes to go, and it doesn’t look three-dimensional.
Aaron Nace
The 6 Types of Leading Lines
Most lines you’ll find fall into six groups.
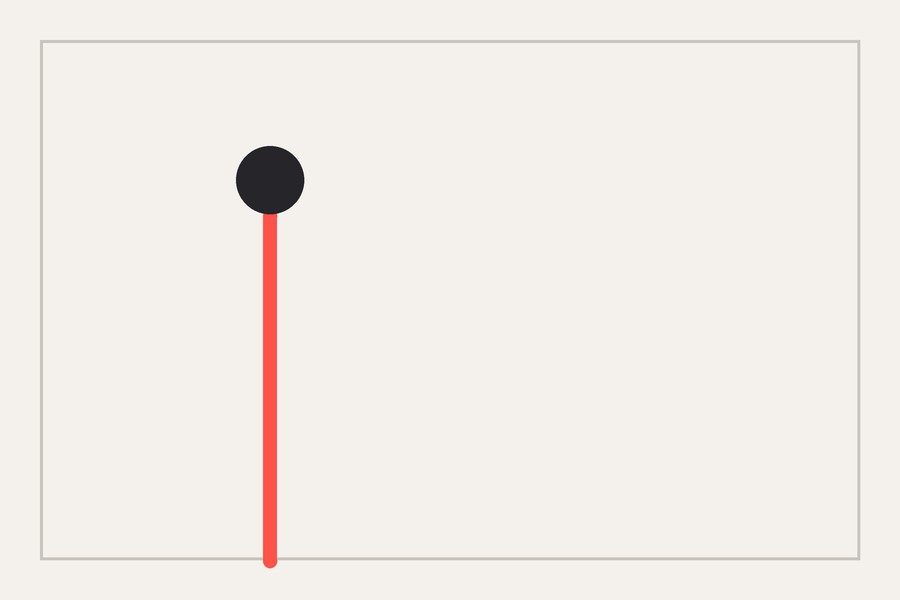
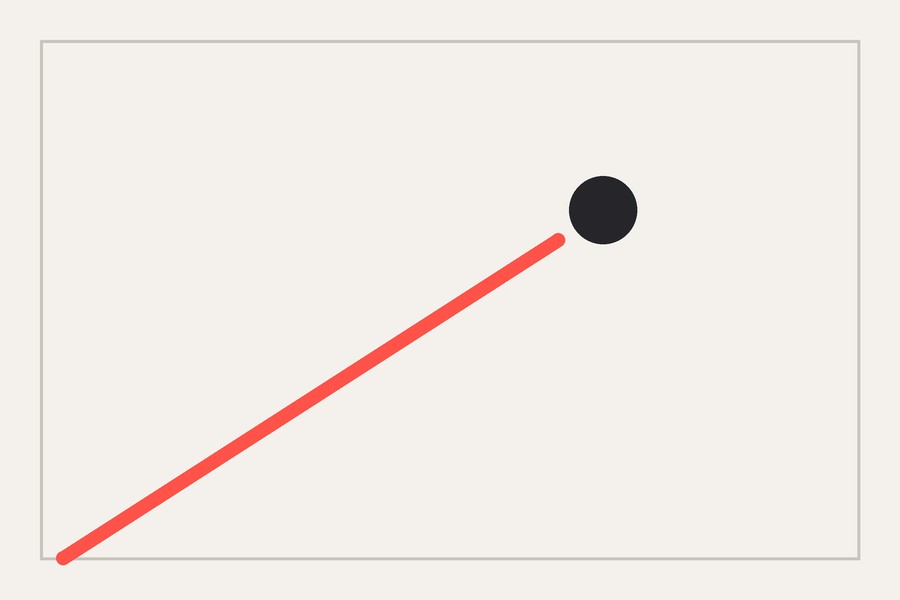
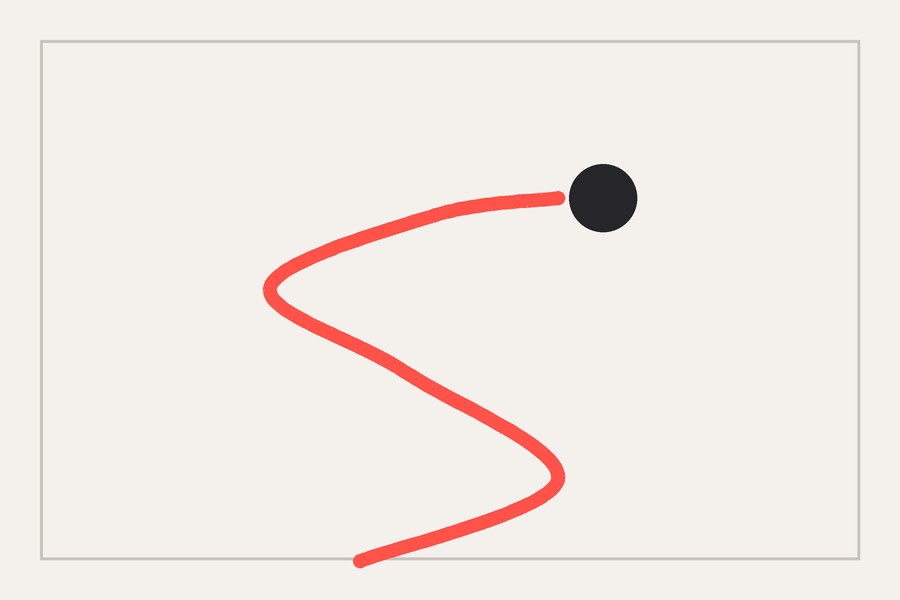
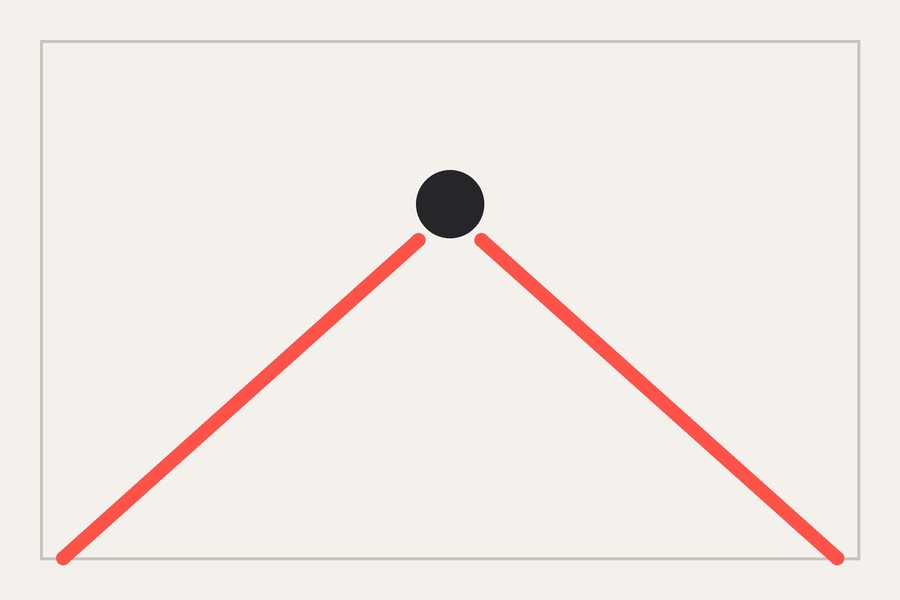
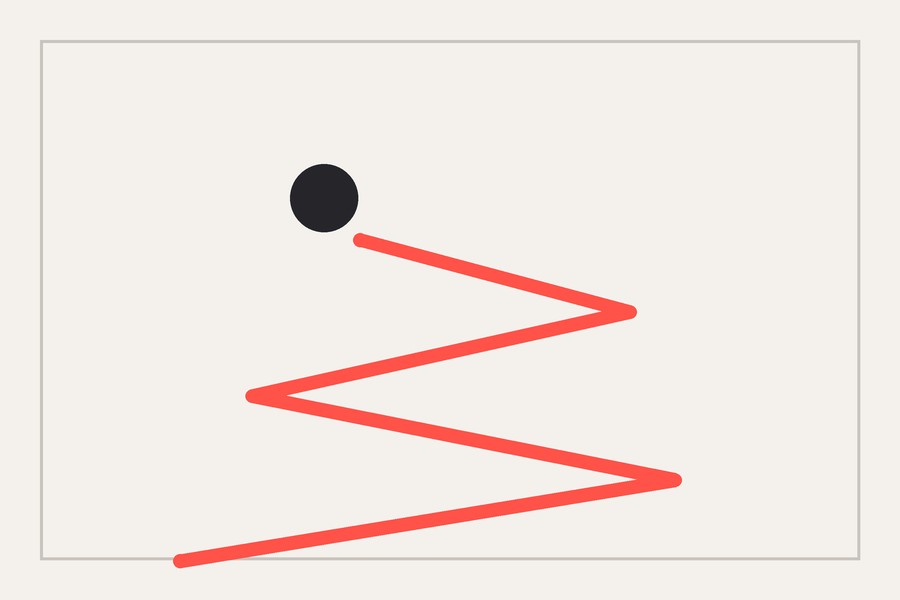

Straight lines, like a path or a pier running away from you, are calm and direct. Diagonals cross the frame at an angle and feel like movement. Curves, like a river or a country road that bends, slow the eye down, and the classic version is the S-curve. Converging lines meet in the distance, like train rails or the walls of a hallway, and they’re the strongest way to say “look here”, because every line points at the same spot. A zigzag, like a mountain road with switchbacks, sends the eye back and forth, so the photo feels busier. An implied line isn’t drawn in the scene at all, but you feel it: a gaze, a pointing arm, a row of footprints. People look where other people look.
Horizontal lines are missing from that list on purpose. A horizon running straight across the frame divides the photo, but it doesn’t lead anywhere. For where to put it, see the rule of thirds.
15 Leading Lines Examples and Where to Find Them
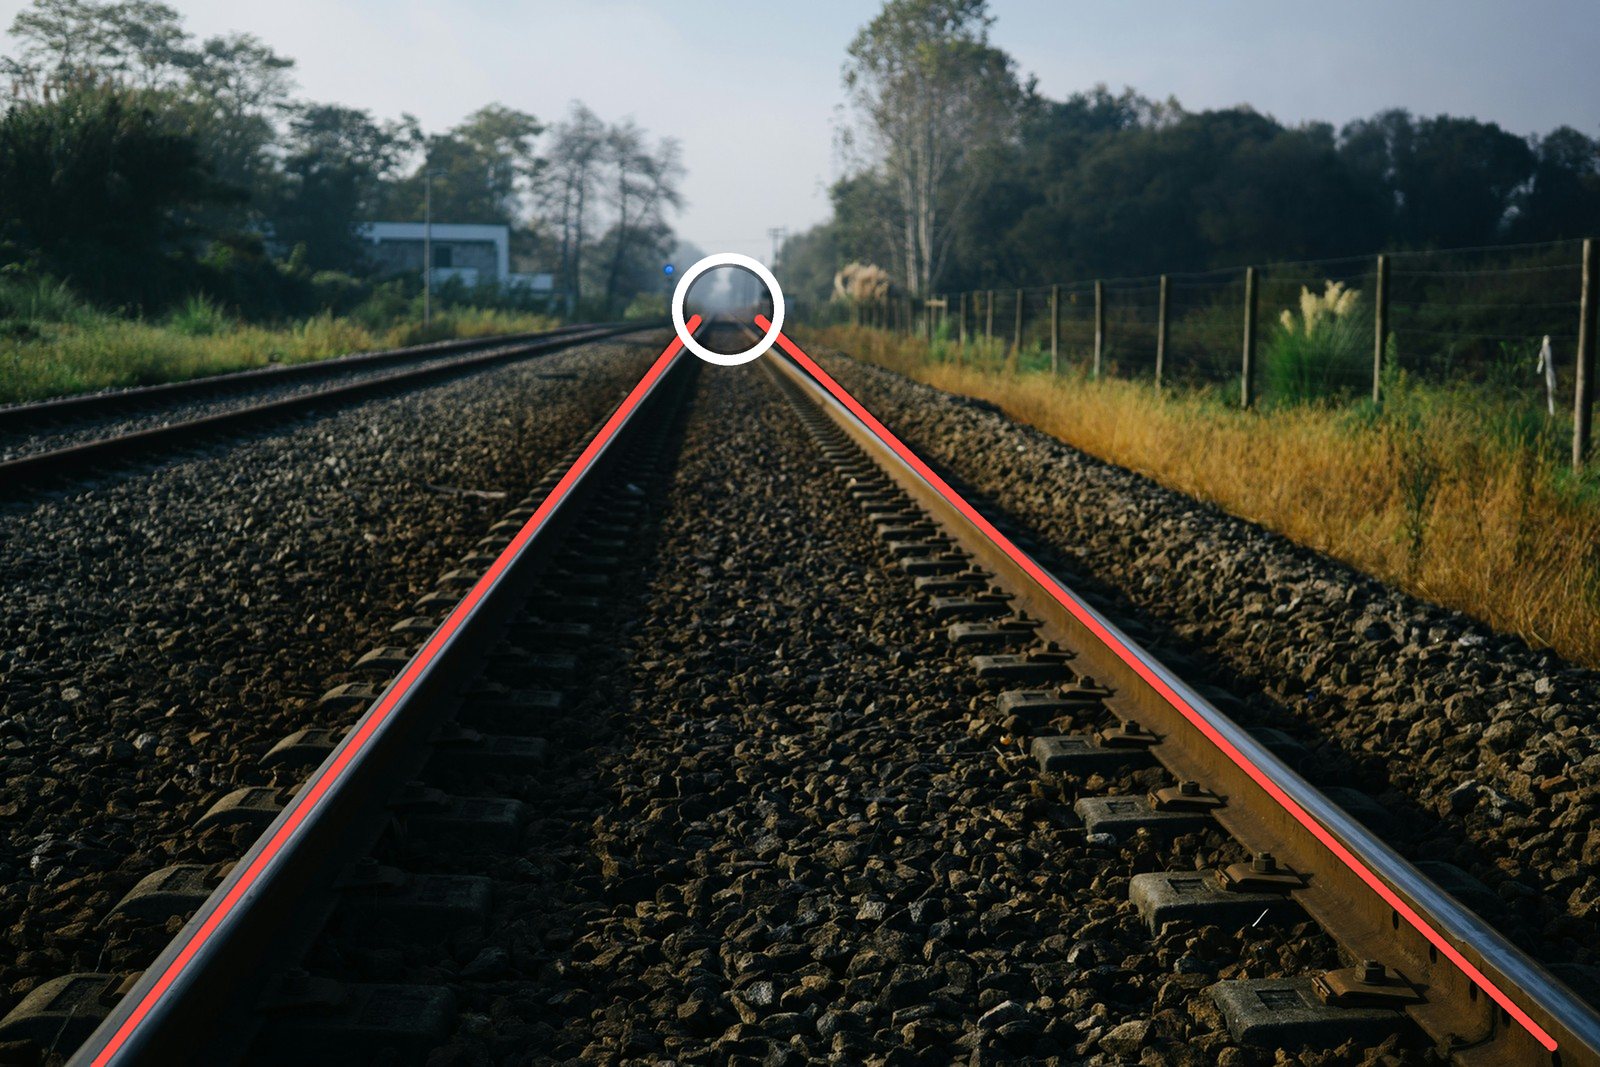
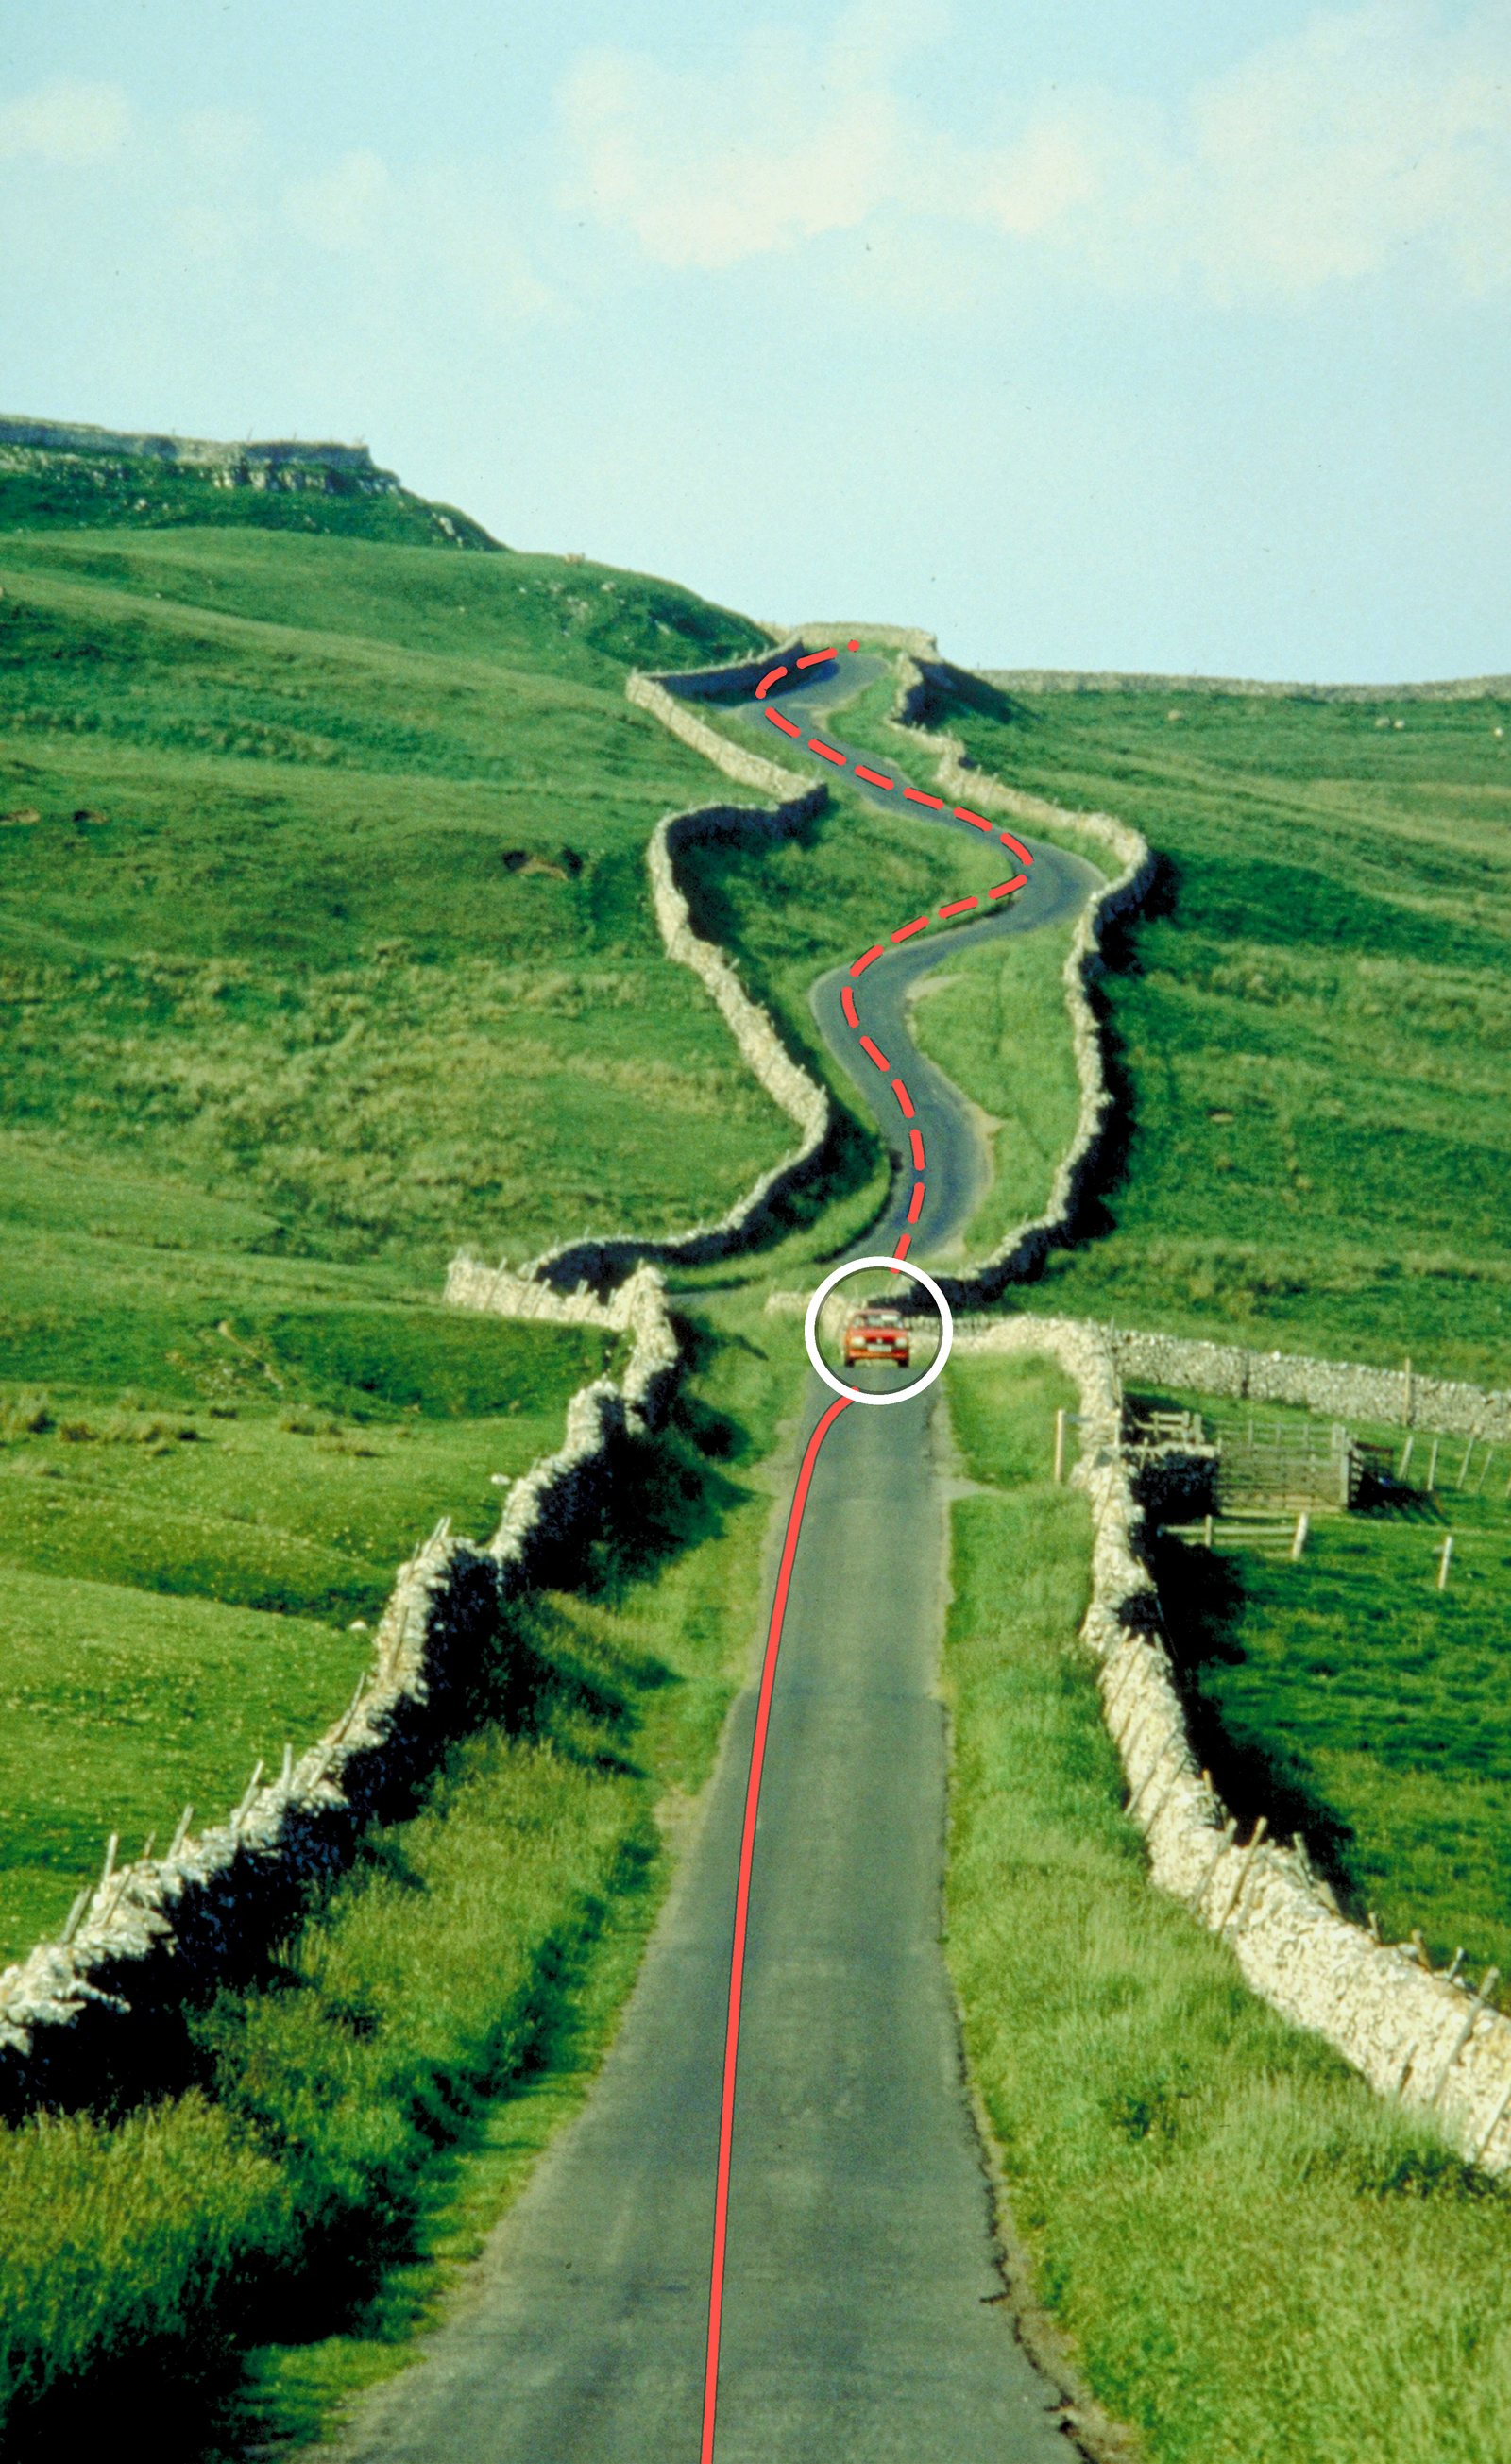
Once you start looking, leading lines are everywhere: roads, rails, shadows, buildings and bodies. The coral lines are drawn on, and the white circle marks where the line takes your eye. Where the line is already obvious, we drew less or left the photo alone.
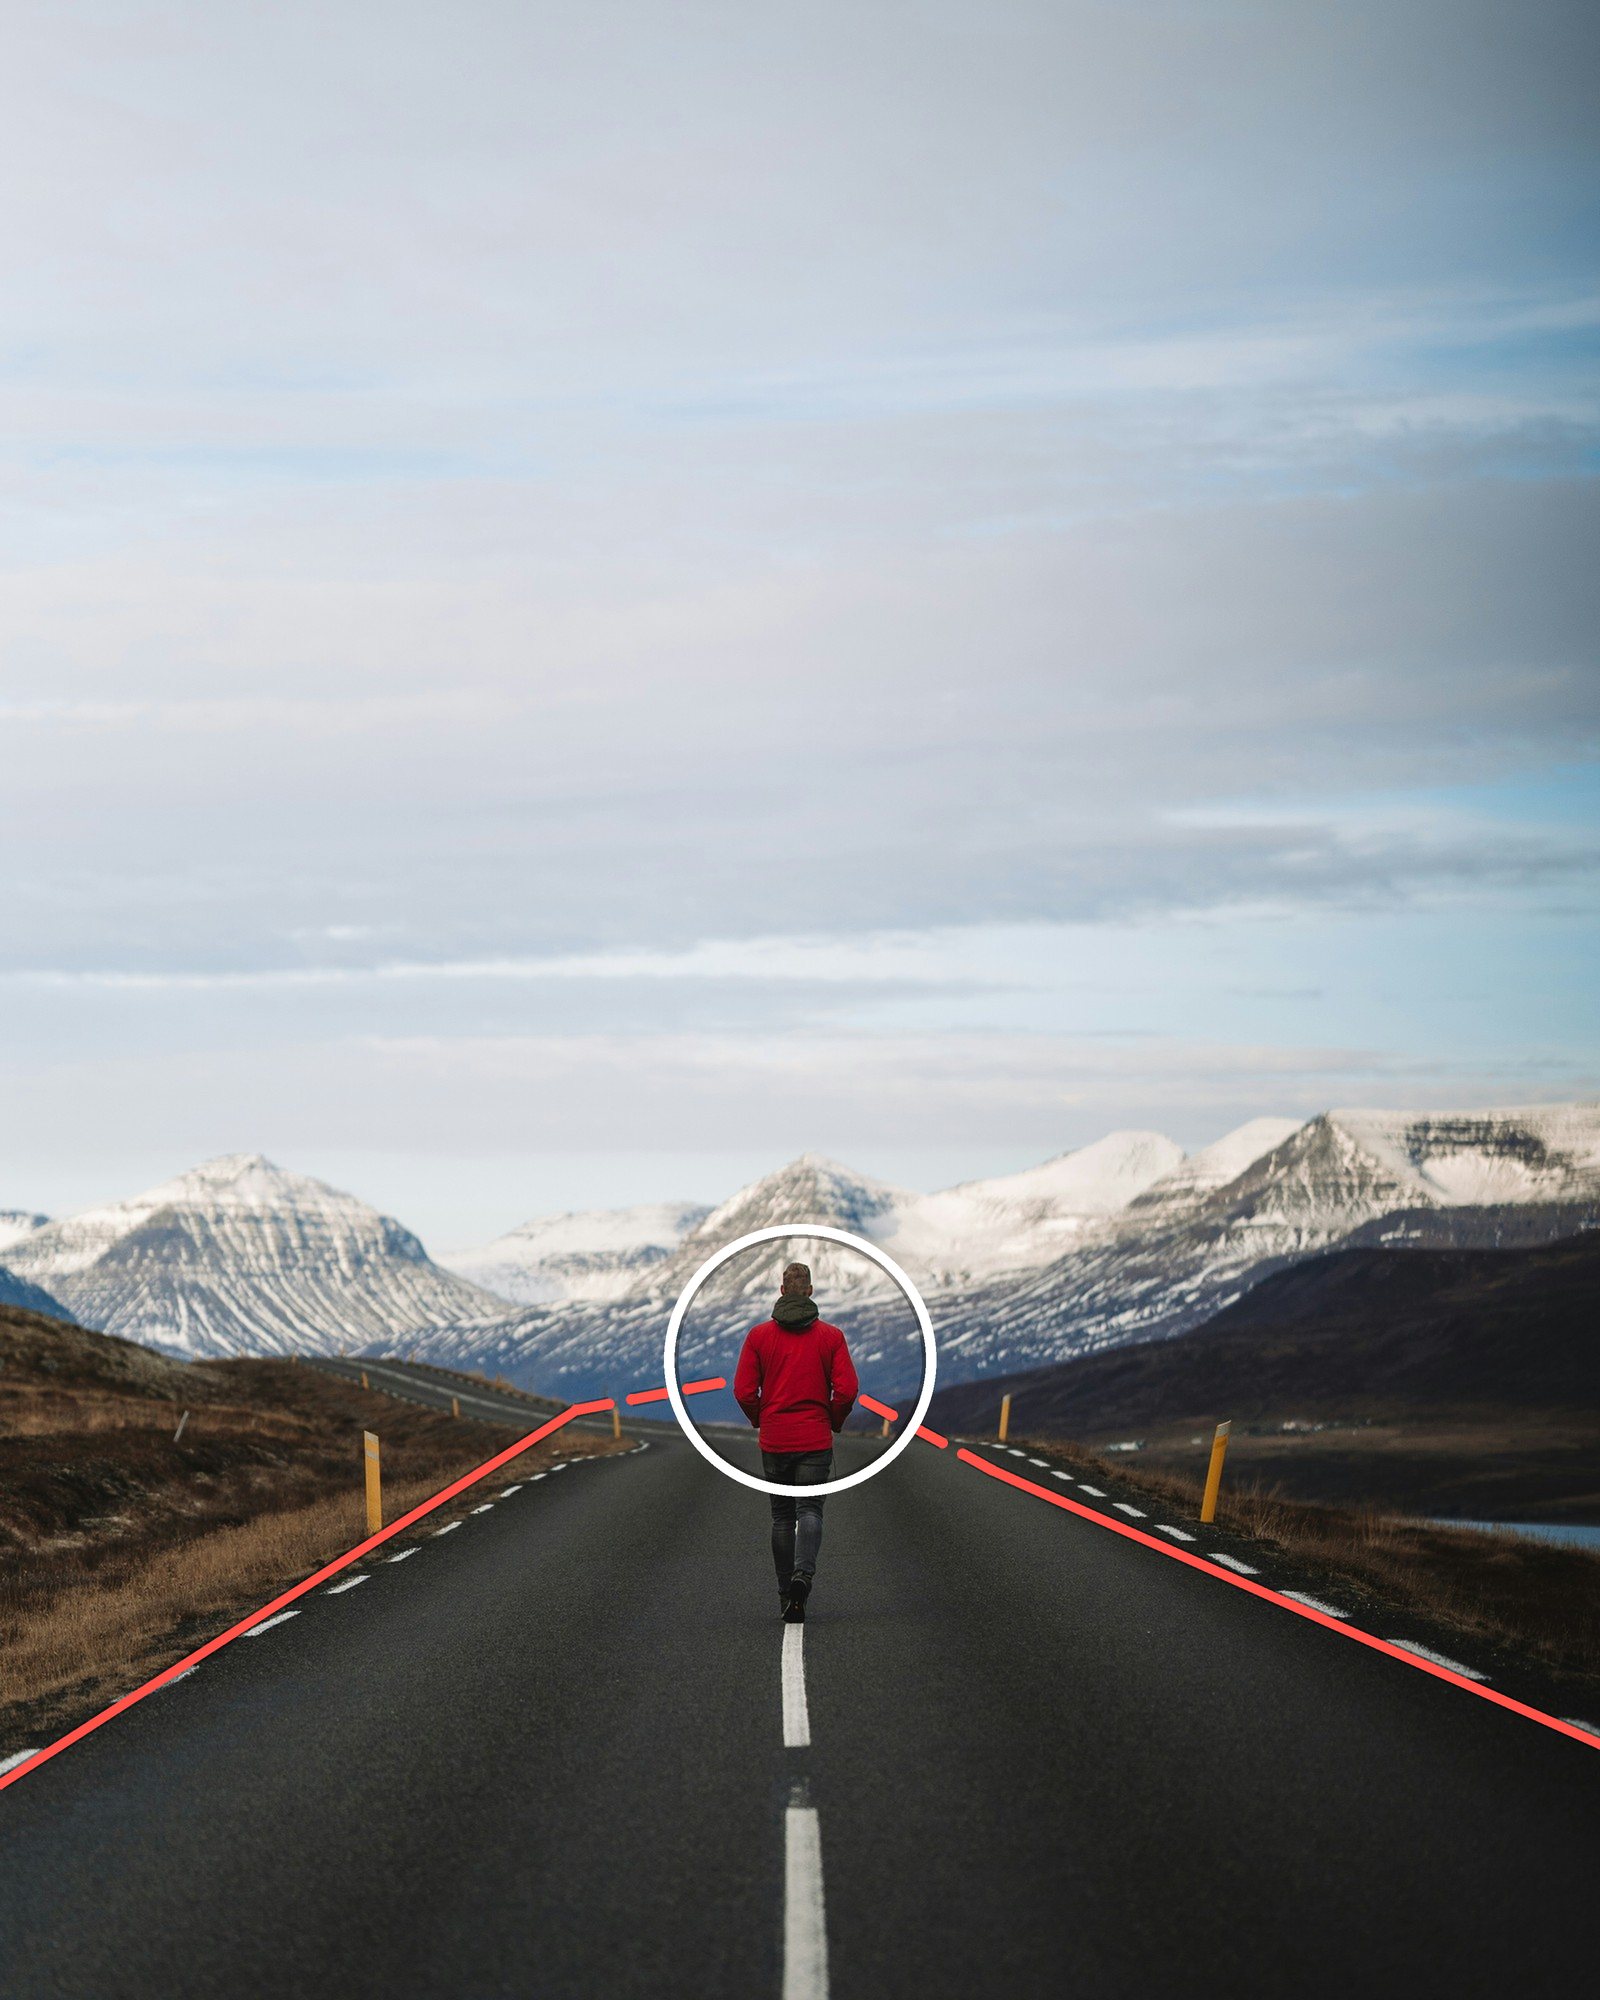
1. A road with someone on it. The road edges converge on the walker, and the red jacket against the grey road makes sure you stop there. Without the person, the lines would lead to the mountains, and the photo would be a quieter one.
2. Railway tracks. Shot low and straight down the line, the two rails run in from the bottom corners and meet near the horizon. Railway tracks are private property: being on them is trespassing in the US and a criminal offence in the UK, and trespassing is the leading cause of rail deaths in the US. Shoot from a platform, a bridge or the edge of a public crossing, never from the track, and treat every track as live.
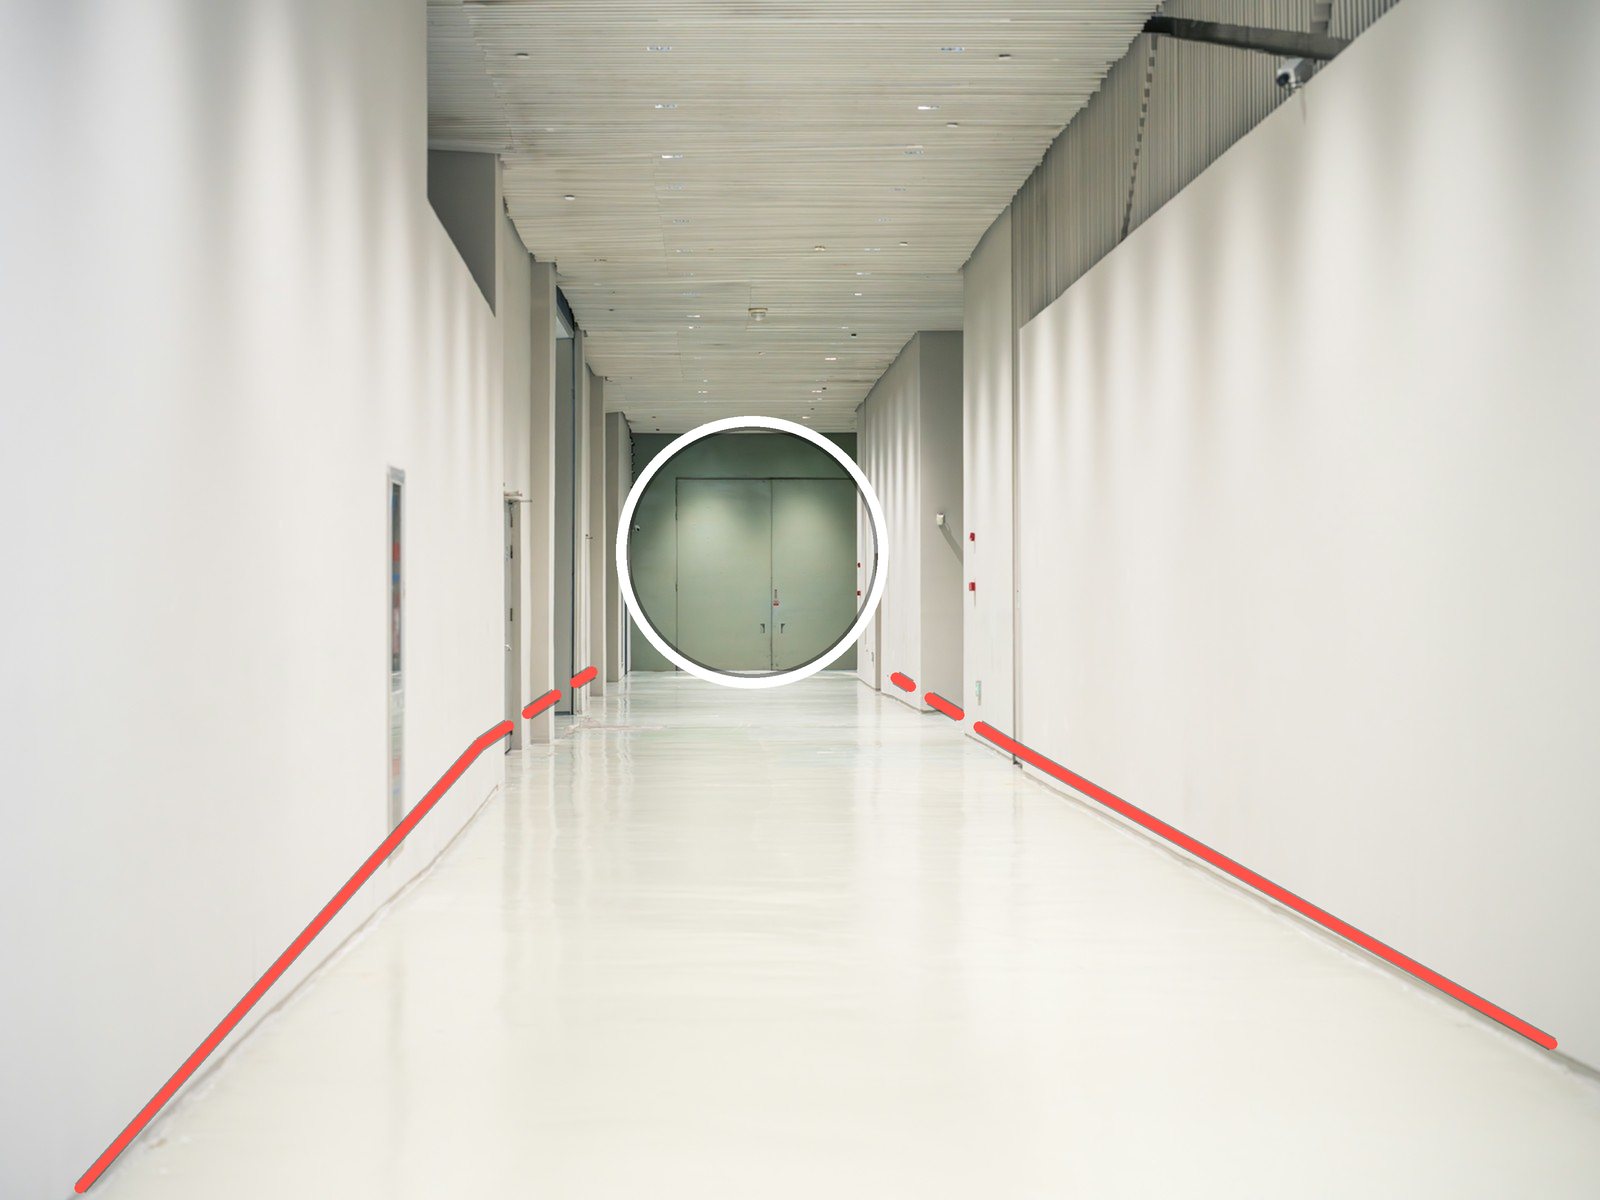

3. A hallway. Floors, ceilings and rows of lights all meet. Stand in the middle and the whole space points at the far wall, so whatever is there becomes the subject. Here it’s a green door, the only real color in the photo.
4. A city street. The building fronts work like the walls of a hallway. Shoot from a traffic island, a pedestrian street or a crosswalk (only while the walk signal is on, and keep moving), and the street becomes one long arrow.


5. A pier. These lines lead into fog, and the mood is the subject. It works because the pier is the only thing in the frame.
6. A boardwalk. The subject doesn’t have to stand at the very end. The hiker is a little way along the line, and that works as long as nothing brighter is waiting further on.

7. Crop rows. The middle rows run straight to the tractor, and the outer rows bend away on either side, which frames it. Without the tractor, the middle rows would lead to an empty spot on the horizon.
8. A winding road. The straight part brings you to the red car, then the S-curves carry you on up the hill. The car is tiny, but it’s the only red thing in a green photo, so it holds.
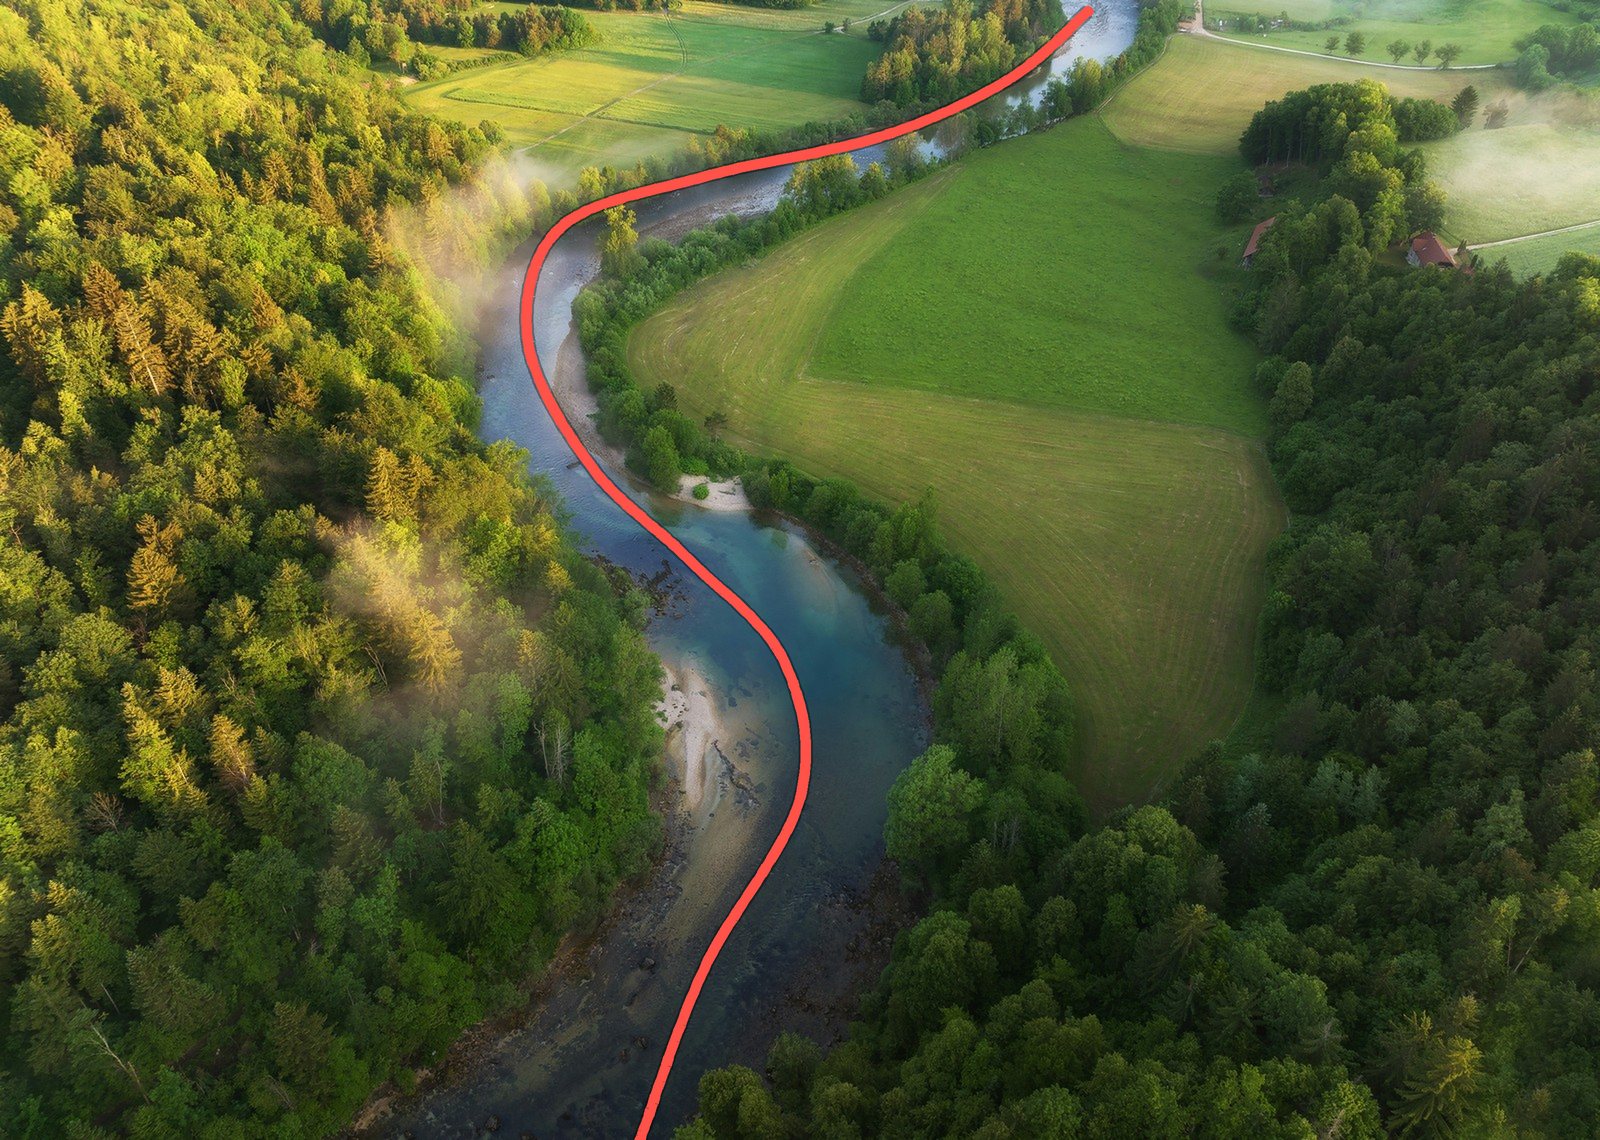
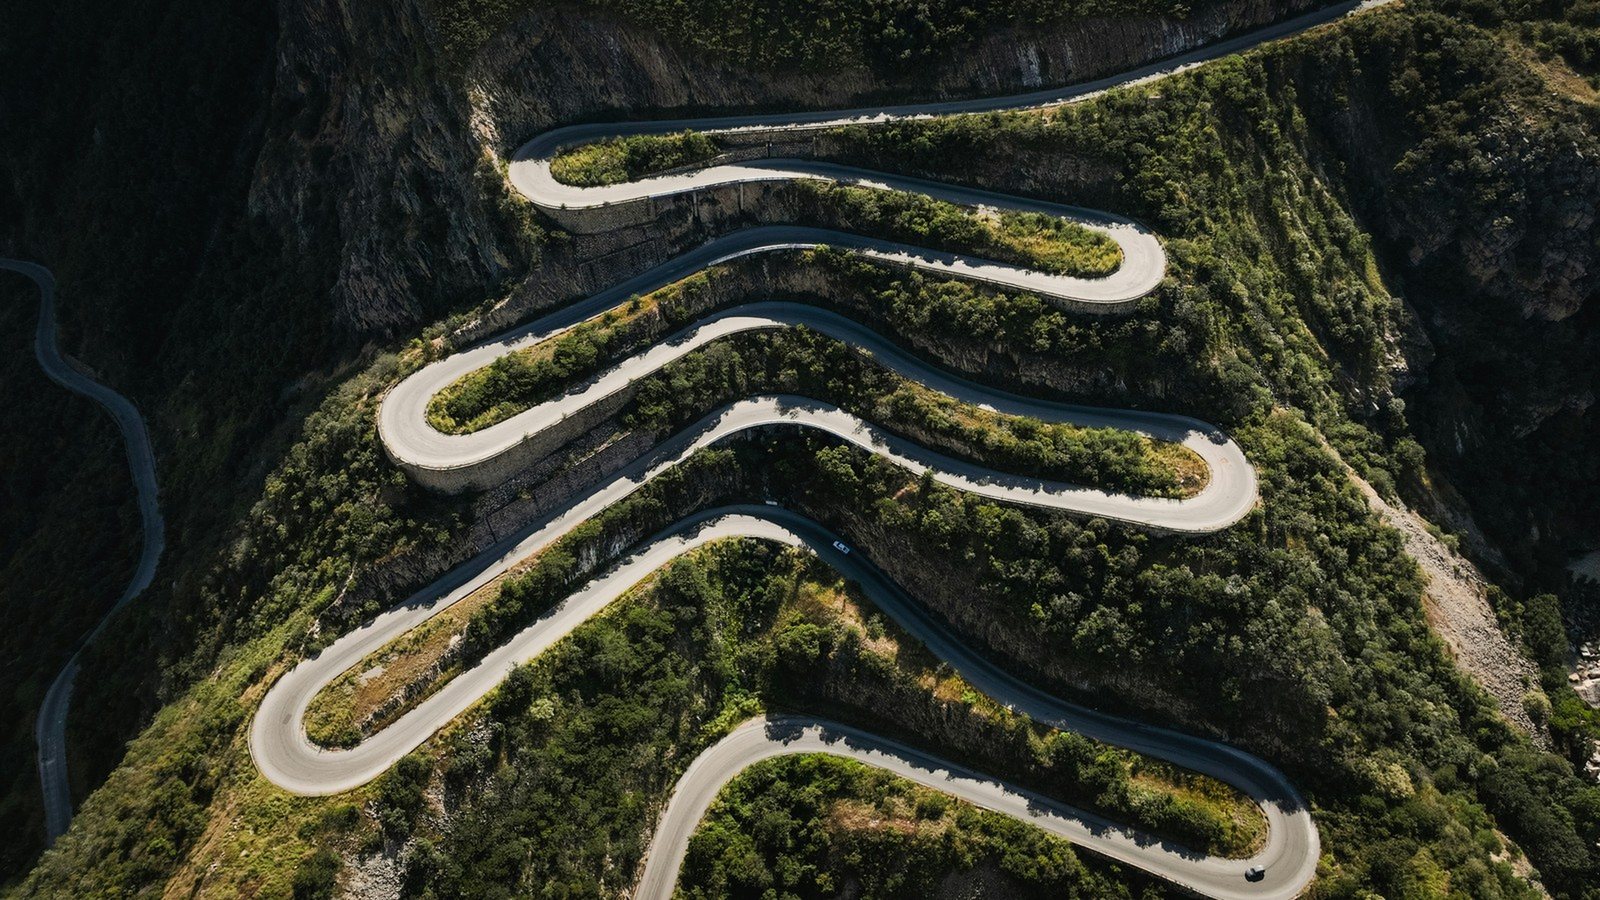
9. A river from above. Drones and high viewpoints turn rivers and roads into curves you can’t see from the ground. Here the S-shape itself is the subject.
10. Switchbacks. Each bend sends the eye back across the frame, so the photo is about the climb rather than one destination.
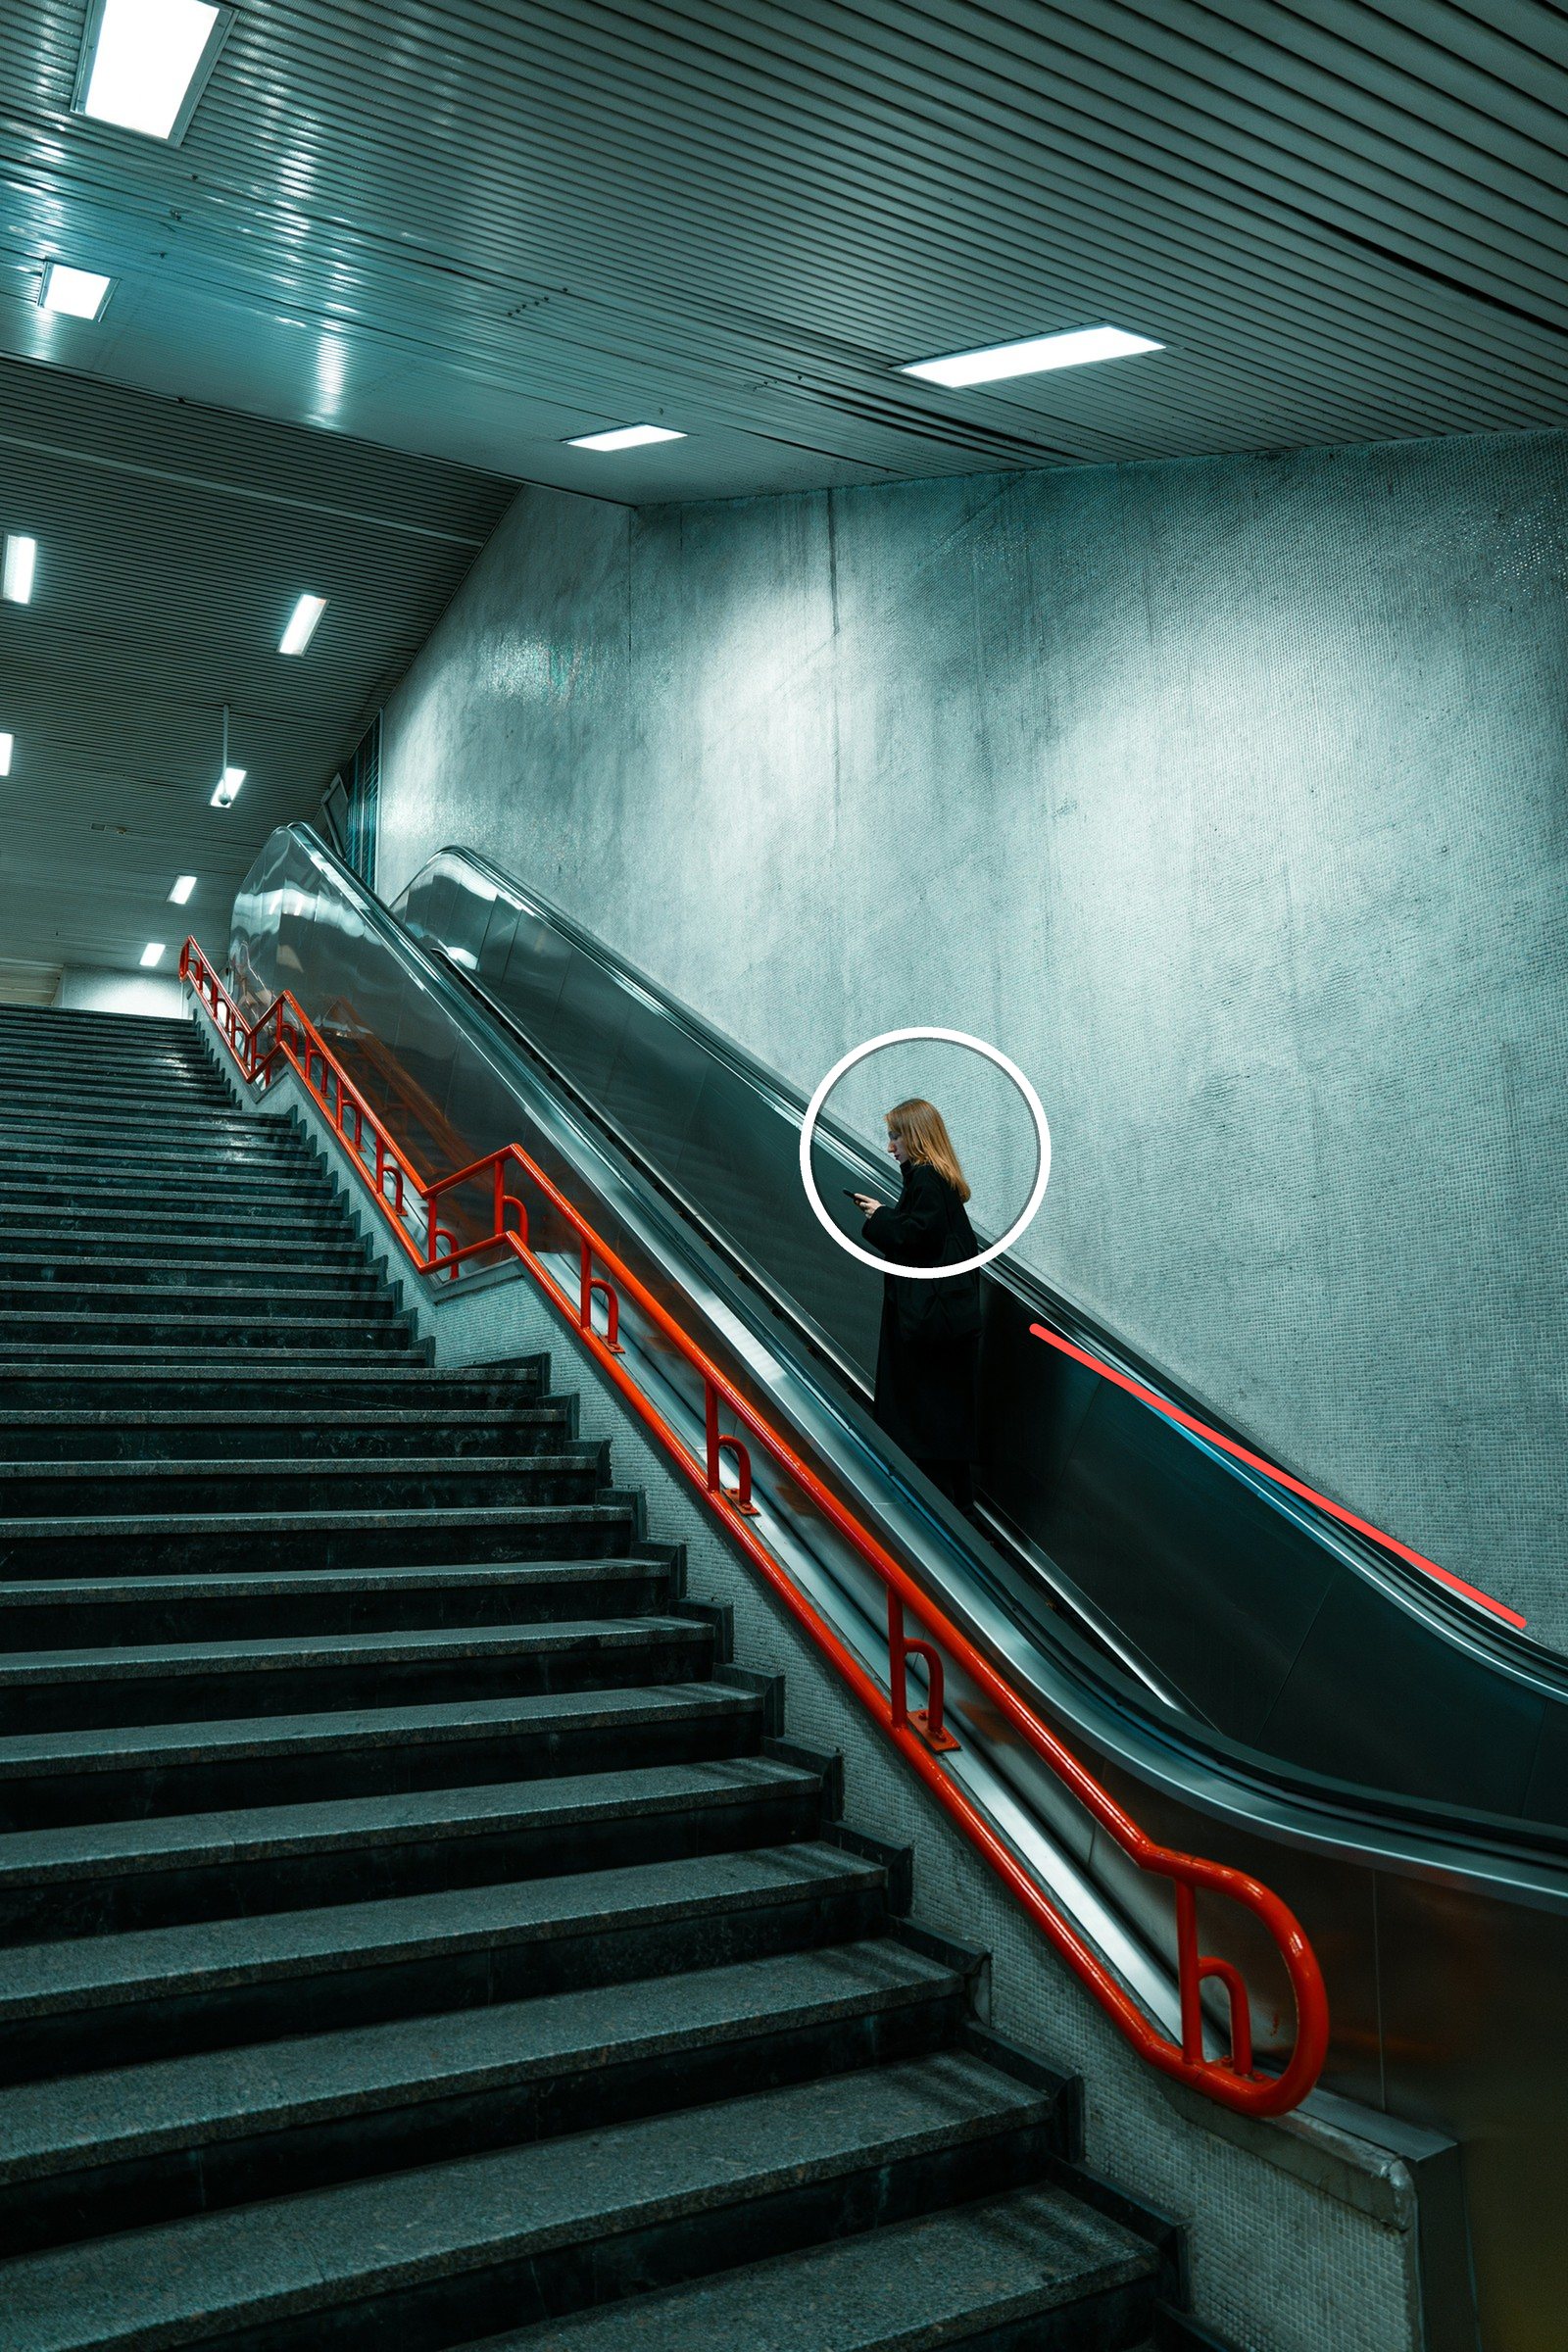

11. Stairs and escalators. Handrails and steps are diagonals built into every station and stairwell. Here the escalator rail runs in from the right edge past the woman, and the red handrail repeats the angle.
12. Shadows. Low sun in the morning and late afternoon stretches shadows across floors and streets. Here the stripes run back into the frame and pull the eye along with them.


13. Bridge cables. Look up. Cables, beams and roof struts often converge overhead, and against a plain sky they’re the whole picture. Here every cable runs to the top of the pylon.
14. A tunnel. The eye goes to the lightest part of a photo anyway, so a tunnel that ends in daylight sends you to the end twice over.

15. Bodies and gazes. The joined arms form one line between the two skaters, and his gaze makes a second, implied line straight to her face.
How to Put Your Subject at the End of the Line
- Find the line, then follow it to where it ends. Look for edges with contrast, like a white road marking or a red handrail. If nothing is at the end, wait for something or put something there.
- Move your feet, not the zoom. Step to the side and the line becomes a diagonal. Get low and it starts at the bottom edge, where the viewer seems to stand, and pulls them in.
- End the line on a strong spot. The center works for hallways and tunnels. Otherwise, try one of the rule of thirds intersections.
- Give the subject contrast. A subject the same color and brightness as the line tends to disappear into it.
How to Exaggerate Leading Lines With a Wide-Angle Lens
Leading lines can be built in a number of ways, and one of my favorites is a wide-angle lens. Objects close to the camera look very large and then shrink off to be very small quickly, which is a great way to exaggerate leading lines. Put any line or edge close to the camera, like the edge of a table, a wall or a sidewalk, and you have a strong leading line. The stretch comes from how close you are. A wide lens is what lets you stand that near the start of the line and still fit its far end in the frame, while a longer lens from further away makes the same lines look flatter and closer together.
Be careful when you’re photographing people. With a wide-angle lens like a 16mm, a face near the edge of the photo is going to look extremely distorted, so keep faces away from the edges. Arms and legs are different: it’s okay to have them distorted sometimes, and it’s definitely a look. Faces are the part to protect.
Just be careful if you’re photographing people. You don’t want to put their faces anywhere near the edge of your photograph.
Aaron Nace
Five Leading Lines Mistakes to Avoid

Lines that lead out of the frame. If a strong line runs off the edge, the eye follows it off the edge too. Re-frame so the line ends inside the photo, or crop so it turns back in.
Lines that lead to nothing. Converging lines create a spot that everyone looks at. If that spot is empty sky or a blank wall, the photo feels unfinished. The pier into fog is the exception, because there the fog is the mood. A tiny subject at the end of a long road only holds if it’s the brightest or most colorful thing there. Otherwise, walk closer or use a longer lens.
Too many lines going different ways. Power lines, road markings and a fence all heading in different directions fight each other. Pick one line, then frame out or blur the rest. Sometimes the better photo has no line at all, just a subject and plenty of empty space around it.
Crooked lines. A horizon that tilts by a couple of degrees looks like a mistake, while a diagonal at a clear, strong angle looks like a choice. Straighten in camera with the electronic level, or afterward with Photoshop’s Straighten tool.
A line that slices through the subject. A pole or a roof line running straight through someone’s head pulls attention the wrong way. Move a step to the side so the line arrives at the subject instead of cutting through it.
Using Leading Lines When You Edit
Most lines are found in camera, but the edit can make them stronger. Photoshop’s Crop tool has composition overlays, among them Rule of Thirds, Diagonal, Triangle and Golden Spiral; press O to cycle through them. Day 13 of 30 Days of Photoshop shows the Crop tool and its overlays on a sample photo. After the crop, brighten the spot where the line ends a little, since the eye goes to light, and remove any power line or crack that cuts across your main line.
Common Questions About Leading Lines
What is the difference between leading lines and converging lines? Converging lines are one type of leading line: two or more lines that appear to meet in the distance, like rails or the sides of a road. A leading line can also be a single line, a curve or an implied line such as a gaze.
Do leading lines have to be straight? No. Curved and S-shaped lines often look more natural, especially in landscapes, and zigzags and implied lines count too.
Are leading lines a rule? They’re a tool, like the other photography composition rules, and they pair well with the rule of thirds and with juxtaposition, where a line can join two contrasting things.
Practice One Kind of Line at a Time
Leading lines are incredibly important, and they help us to view our photos more like we would view real life.
Aaron Nace
Leading lines are one of the easiest skills to practice, because you can do it on a walk to the shop. Pick one kind of line before you go out, say diagonals, and photograph only that for twenty minutes. Then look at your shots and ask one question of each: where does the line take the eye, and is anything there? Do that once a week and you’ll start to see lines before you lift the camera.
In this article
- What Are Leading Lines in Photography?
- How Do Leading Lines Add Depth?
- The 6 Types of Leading Lines
- 15 Leading Lines Examples and Where to Find Them
- How to Put Your Subject at the End of the Line
- How to Exaggerate Leading Lines With a Wide-Angle Lens
- Five Leading Lines Mistakes to Avoid
- Using Leading Lines When You Edit
- Common Questions About Leading Lines
- Practice One Kind of Line at a Time
Free with PHLEARN
Follow along, freeCrop Tool in Photoshop: 5 Easy Framing Moves

Related articles
 PhotographyPhotography Composition Rules: The 25 That Matter, With Examples
 PhotographyRule of Thirds in Photography: How to Use It and When to Break It
 PhotographyThe Golden Ratio in Photography and Design: What It Is and How to Use It
 PhotographyAdd Something New to Your Photography with Juxtaposition