

Download Assets
This tutorial includes 1 sample image, 1 Photoshop brush and 1 PDF guide. Downloads are free with a PHLEARN account.
- Download the sample images and PSDs from every free tutorial on PHLEARN
- New free tutorials published every week
- One free account — sign up once, then download anything
Free PDF Guide · 4 Pages
This Tutorial as a Step-by-Step PDF
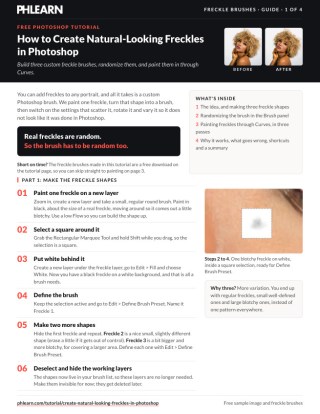
The guide walks through making three freckle shapes with Edit > Define Brush Preset, randomizing them in Window > Brush with Spacing, Size and Angle Jitter, Scattering on Both Axes and Flow Jitter, then painting white on an inverted Curves mask and fading with a soft eraser at 10% Flow. Keep it next to your keyboard.
description
Freckles have to look random to look real — one repeated brush shape stamped across a face gives itself away immediately. This tutorial paints three freckle shapes by hand, defines each as a brush preset, then randomizes size, angle, scatter and flow in the Brush Settings panel. Painting them onto an inverted, darkened Curves mask keeps the tonal shift subtle and fully non-destructive.
Enjoying This Free Tutorial?
We publish a new free tutorial every week, each one with sample images and PSDs you can download and follow along with. Sign up and they land straight in your inbox, along with early word on sales, events and subscriber-only offers.
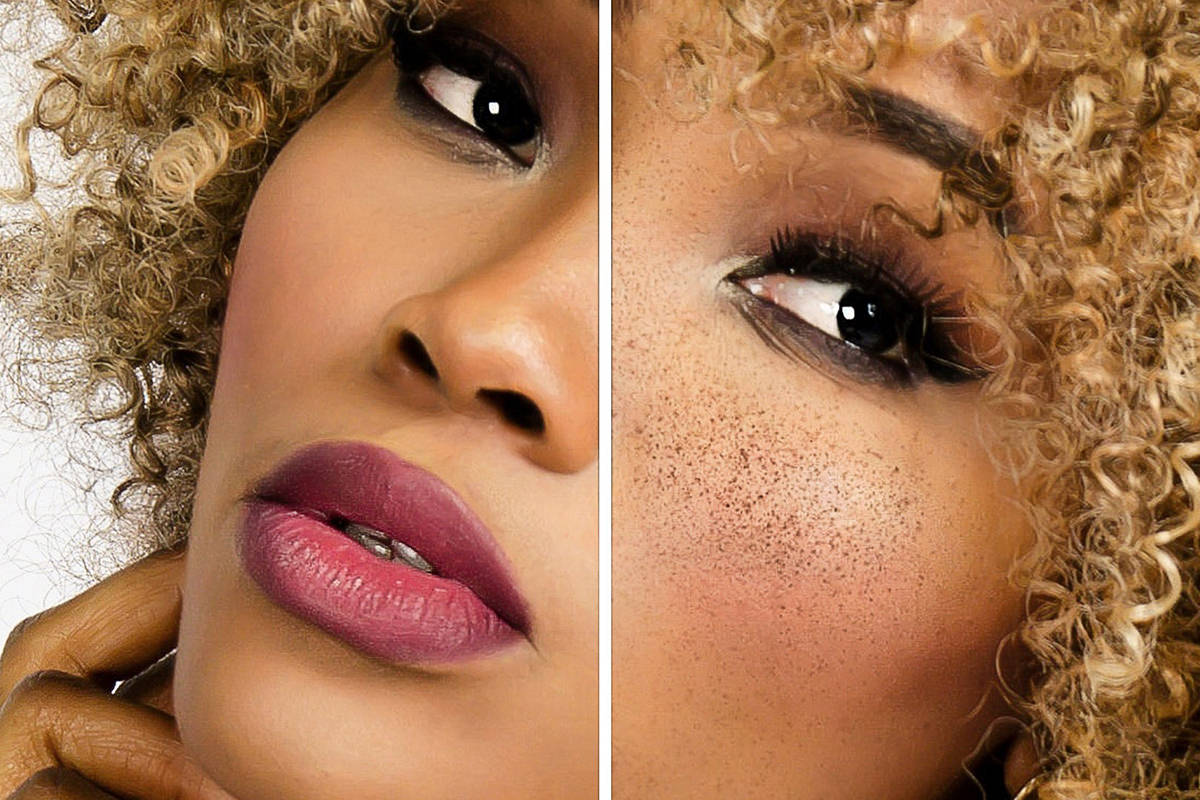
How to Create Natural-Looking Freckles in Photoshop
Freckles have to look random to look real — a single repeated brush shape stamped across a face reads as fake instantly. This tutorial builds three custom Photoshop brushes from hand-painted freckle shapes, randomizes them with the Brush Settings panel so no two marks look identical, then applies them through a darkened, inverted Curves adjustment layer so the freckles blend naturally into the skin.
Painting the First Freckle Shape
Start on a new layer with a small, regular round brush set to a low flow, and paint a single loose, blotchy little shape about the size of a real freckle. Building it up gradually at low flow, rather than stamping one hard-edged dot, gives the shape some organic texture right from the start.
Turning the Shape into a Custom Brush
Use the Rectangular Marquee tool and hold Shift to make a square selection around the painted shape, then add a new layer underneath it and fill that layer with white using Edit > Fill. With the black freckle shape sitting on a white background inside the selection, go to Edit > Define Brush Preset and name it — this captures the exact shape as a reusable brush.
Creating Two More Freckle Shapes
Repeat the same painting-and-defining process to build a second, slightly different and more pinpoint-sized freckle shape, and a third, larger and more blotchy shape meant for bigger sun-spot-style marks. Each new shape goes through the same steps: paint it with a low-flow brush, select it with the Marquee tool, put white behind it on a new layer, and define it as its own brush preset. Having three different base shapes available gives real variation to pull from later, rather than one freckle pattern repeated everywhere.
Randomizing the Brush in Brush Settings
A freshly defined brush still stamps the exact same shape every time it’s used, which is the opposite of how real freckles look. Open the Brush Settings panel (Window > Brush) with one of the new freckle brushes selected to fix that. In Brush Tip Shape, increase the spacing so individual marks don’t overlap in a repeating pattern.
Shape Dynamics, Scattering, and Transfer
In Shape Dynamics, turn Size Jitter all the way up with the minimum diameter at zero, and turn Angle Jitter all the way up as well, so each mark varies in both size and rotation. Turning on Scattering along both axes spreads the marks out naturally across the brush stroke rather than lining them up in a row. Finally, enabling Transfer and turning up Flow Jitter varies how visible each individual mark is — with a pressure-sensitive tablet set to control by pen pressure, lighter strokes produce faint freckles and harder strokes produce more visible ones; without a tablet, Flow Jitter alone still introduces that same visibility variation using the mouse.
Painting Freckles with a Curves Adjustment Layer
Since the randomized brush has been painting in white for testing, add a Curves adjustment layer and drag the curve down slightly to darken the tone that will represent the freckles. Invert the layer mask (Ctrl/Cmd+I) so it starts fully black and hides the adjustment, then paint directly onto that layer mask with the freckle brush — wherever the brush touches, the darkened curves adjustment shows through as a freckle.
Placing Freckles Where the Sun Actually Hits
Since sun exposure is what causes real freckles, concentrate them on the areas that catch the most light: the tops of the cheeks, the bridge and top of the nose, the forehead, and the top of the chin, while keeping areas like underneath the chin much lighter or freckle-free.
Fading Freckles with a Soft Eraser
Freshly painted freckles read more naturally once their edges are softened rather than left as a hard-edged cluster. Switch to the Eraser tool with a very large, soft round brush and a low flow (around 10%), and gently erase over areas where the freckles look too concentrated or too visible, especially around the eyes. The goal is to fade the freckles so they blend into the skin, not remove them entirely. Make the same brush larger to paint a couple of bigger sunspot-style areas on the same mask. Once the settings are dialed in, choose New Brush Preset in the Brush panel and name it something like Freckle Final 1, so the shape and all of its settings stay together.
Layering in Additional Brush Passes
Once the first freckle brush pass looks good, repeat the whole process with the second, more pinpoint-sized brush and its own Curves adjustment layer, adding a finer level of detail on top of the first pass, including scattering a few freckles onto the shoulders since sun-exposed skin there would realistically develop them too. Then repeat once more with the third, larger and blotchier brush for a few bigger sun-spot-style marks, adjusting spacing and scattering on the fly if a pass looks too scattered or too concentrated, and softening any harsh spots with the same large, low-flow eraser.
Why Multiple Brush Shapes Matter
Using three different brush shapes, rather than randomizing a single one, produces a mix of small well-defined freckles, larger blotchy sun spots, and everything in between, which is much closer to how freckles actually vary across real skin than any single randomized brush could achieve alone.
Grouping and Refining with a Master Mask
Once all three freckle passes look right individually, select all of their layers and group them together, then add a single layer mask to the group. Painting black on that group mask hides freckles from any specific area that doesn’t look natural — for example, fading them out just below the nose or anywhere else the pattern feels too dense — while painting white restores them, giving one final, easy layer of control over the whole effect.
Why This Technique Works
Real freckles vary constantly in size, shape, rotation, and intensity, so a single repeated brush mark, no matter how well drawn, will always look artificial under scrutiny. Building three separate hand-painted shapes and then randomizing each one’s size, angle, scatter, and flow through the Brush Settings panel introduces exactly that kind of natural variation. Applying the brushes through an inverted Curves adjustment layer mask, rather than painting color directly onto the skin, keeps the tonal shift subtle and non-destructive, and finishing with a soft eraser and a group mask lets the density and placement be refined until it matches where sun exposure would realistically produce freckles.
Final Thoughts
Once these three freckle brushes exist, or once you download the PHLEARN freckle brushes from this page, they can be reused on any portrait, adjusting scatter, size jitter, and flow on the fly to match the density and placement each new image calls for. The combination of custom brush shapes, randomized settings, and a soft, sun-aware placement strategy is what separates convincing freckles from an obviously stamped Photoshop pattern.
Quick Reference: Keys, Menus and Settings
- Make a freckle shapeBlack, low-Flow round brush; Shift-drag the Rectangular Marquee; Edit > Fill with White on a layer below; Edit > Define Brush Preset
- Space the marksWindow > Brush > Brush Tip Shape: increase Spacing
- RandomizeShape Dynamics: Size Jitter and Angle Jitter all the way up, Minimum Diameter 0; Scattering on, Both Axes
- Vary visibilityTransfer: Flow Jitter, Control: Pen Pressure with a tablet or Off with a mouse
- Brush size[ smaller, ] larger
- Paint the frecklesLayer > New Adjustment Layer > Curves dragged down a little; Cmd/Ctrl + I to invert the mask; paint white
- Fade them inE, a very large soft eraser at Flow around 10%
No AI, no generative credits.
Free Downloads
Follow Along on the Same Photo
Get the portrait from the video, the PHLEARN freckle brush file so you can skip straight to painting, and the 4-page PDF guide. Free with a PHLEARN account.
Freckles in Photoshop: Common Questions
How do I turn a painted freckle into a brush?
Paint a blotchy black freckle at low Flow, Shift-drag a square Rectangular Marquee around it, fill a layer below with white (Edit > Fill) and choose Edit > Define Brush Preset.
Why make three different freckle brushes?
More variation. You end up with regular freckles, small well-defined ones and large blotchy ones, instead of one pattern repeated everywhere.
Why does my new brush stamp the same shape in a line?
A freshly defined brush repeats its exact shape. In Window > Brush, increase Spacing, turn Size Jitter and Angle Jitter all the way up, and turn on Scattering with Both Axes checked.
Can I make freckles without a pressure-sensitive tablet?
Yes. In Transfer, set Control to Off and turn Flow Jitter up, so some marks come out more visible and some less. With a tablet, set Control to Pen Pressure instead.
My freckles are too big. What do I change?
It is a brush, so resize it with the bracket keys: [ for smaller and ] for larger.
Why paint freckles through a Curves layer?
The brush only paints a mask. The Curves layer, dragged down a little and with its mask inverted to black, darkens the skin wherever you paint white, so nothing is painted onto the photo itself.
Where should freckles go on a face?
Where the sun hits: the tops of the cheeks, the top of the nose, the forehead and the top of the chin, with fewer underneath the chin. Add a few to the shoulders too.
The freckles look fake. How do I blend them in?
Press E and use a very large, soft eraser with Flow around 10% over the mask, especially around the eyes. Fade them; don’t remove them completely.
My freckles land everywhere. How do I control them?
Bring Scattering and Spacing down so the marks land closer to where you paint. You can change brush settings at any time, even in the middle of painting.
Are the sample files free?
Yes, with a free PHLEARN account. You get 1 sample image, 1 Photoshop brush and 1 PDF guide: the portrait from the video, the PHLEARN freckle brush file and a 4-page step-by-step guide.
Master Photoshop, Lightroom and Photography
Join PHLEARN PRO for $12.99 a month or $99.99 a year. Cancel anytime, with a 100% money-back guarantee.





