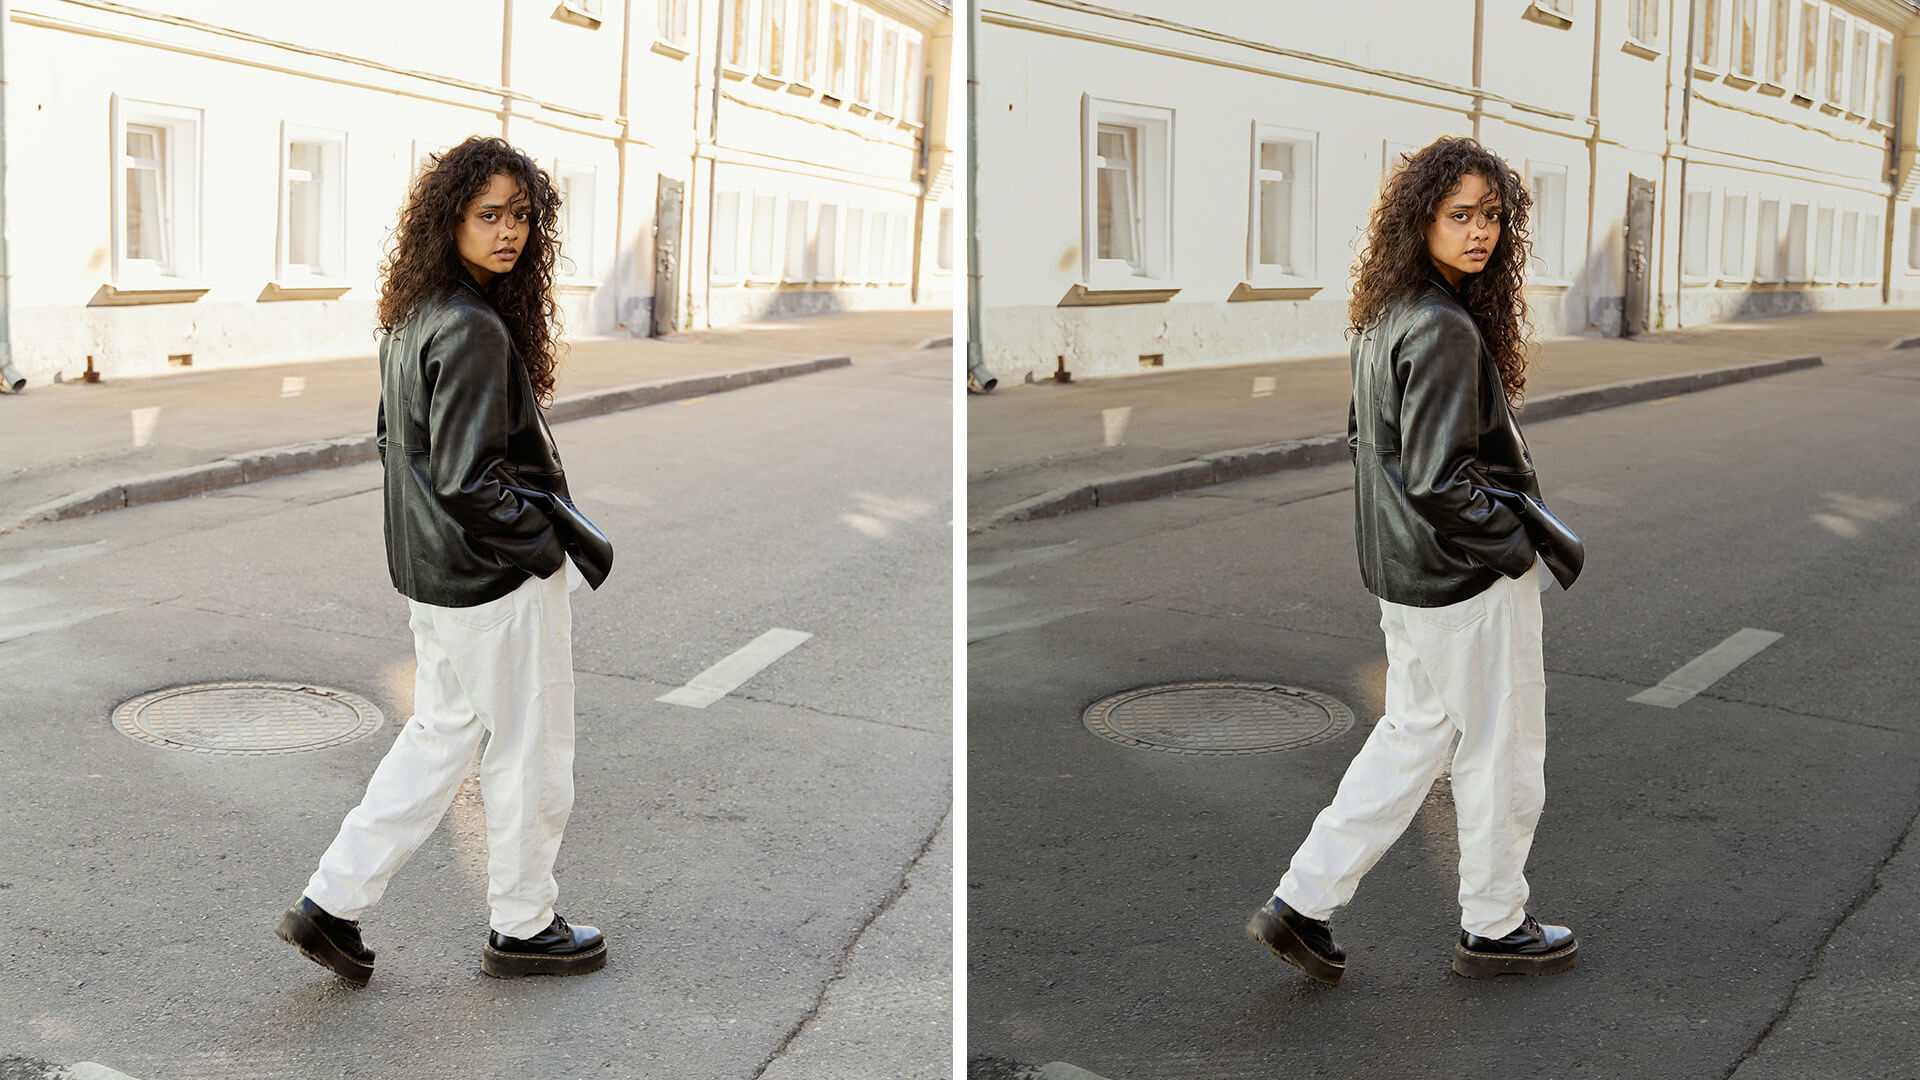

Download Assets
This tutorial includes 1 sample image and 1 PDF guide. Downloads are free with a PHLEARN account.
- Download the sample images and PSDs from every free tutorial on PHLEARN
- New free tutorials published every week
- One free account — sign up once, then download anything
Free PDF Guide · 2 Pages
This Tutorial as a Step-by-Step PDF
Walks through four masks in 12 steps: Select Subject inverted with Exposure and Highlights down, a Linear Gradient with Subtract > Select Subject to darken the ground, Subtract > Brush to leave only the pants, Shadows up on the subject, and Saturation at -11 on the background mask. Keep it open next to Lightroom.
description
Learn how to correct exposure in Lightroom Desktop by fixing the subject and background separately with masks. Use Select Subject and invert it to recover a blown-out background with the Exposure and Highlights sliders, then darken the ground with a linear gradient that has the subject subtracted out. Refine smaller areas like a pair of pants with the Subtract brush, brighten shadows on the subject, and revisit any mask later to fine-tune saturation.
Enjoying This Free Tutorial?
We publish a new free tutorial every week, each one with sample images and PSDs you can download and follow along with. Sign up and they land straight in your inbox, along with early word on sales, events and subscriber-only offers.
Image Source
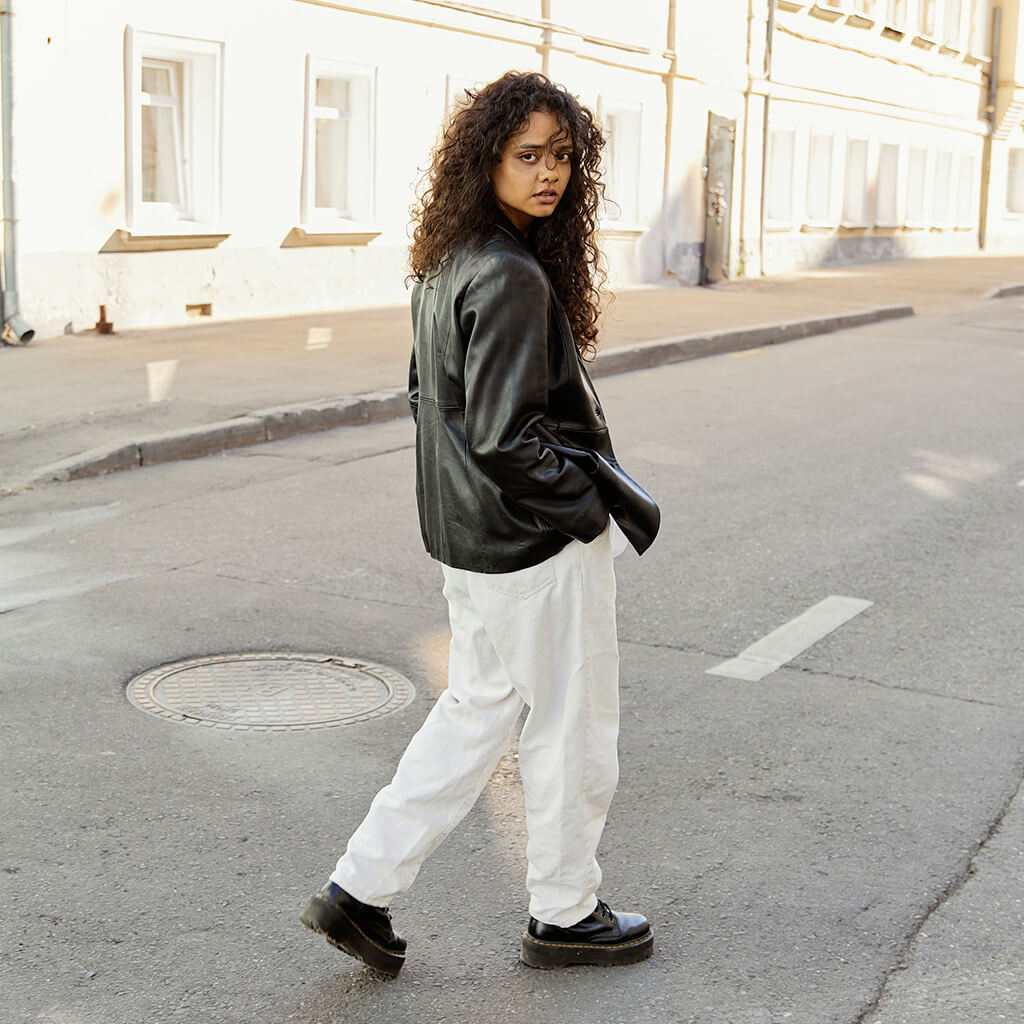
Photo by Darina Belonogova via Pexels
How to Correct Exposure Separately on Your Subject and Background in Lightroom Desktop
Fixing an overexposed background with a single global exposure slider almost always creates a new problem: the subject, which was already exposed correctly, gets pushed too dark in the process. Lightroom Desktop’s masking tools solve this by letting the subject and background be corrected completely independently.
Why a Single Global Exposure Edit Fights Itself
A normal Exposure adjustment from the Edit tab affects the entire photo at once, so recovering an overexposed background inevitably drags a correctly exposed subject down with it. Separating the two into their own masks is what makes it possible to fix one without touching the other.
Selecting the Subject — or the Background — with the Select Subject Mask
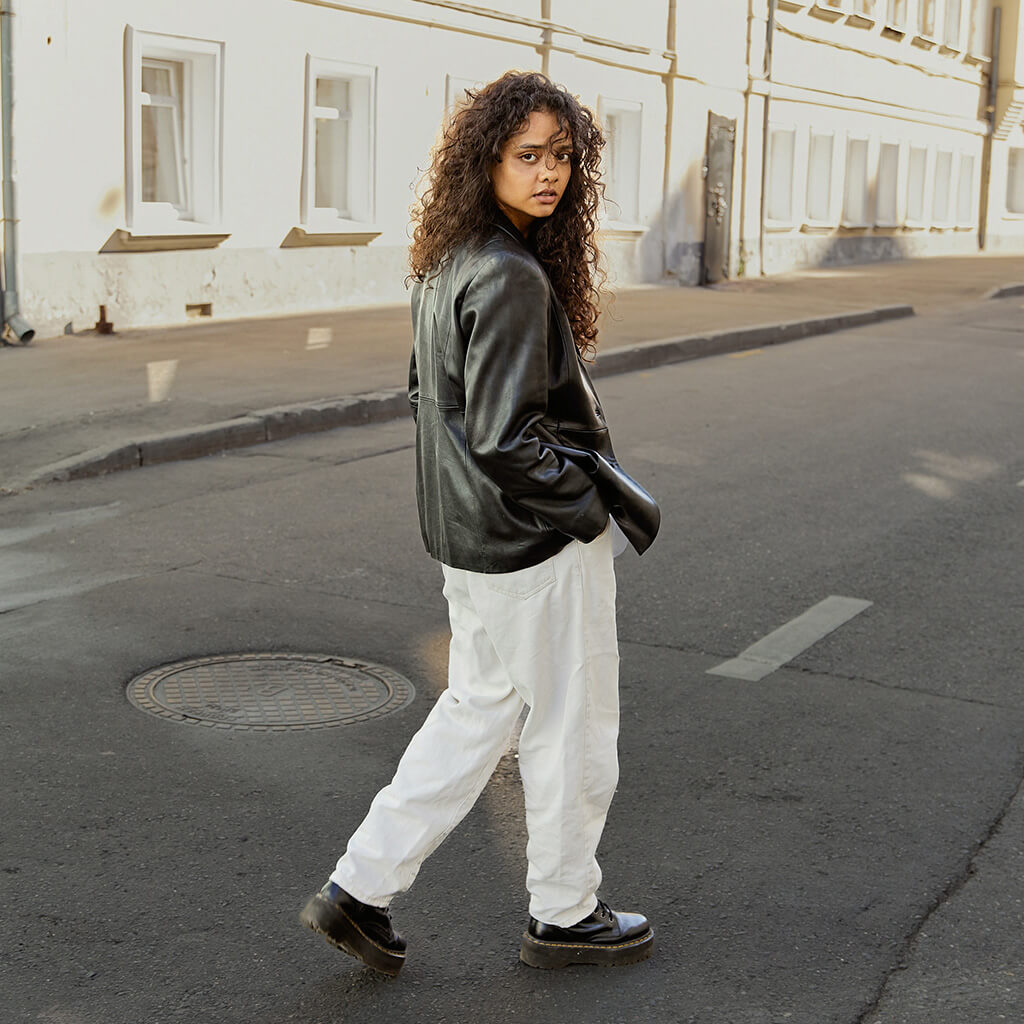
In the Masking panel, choosing Select Subject automatically isolates the person in the frame. To target the background instead, clicking the Invert icon flips the mask to select everything except the subject — from there, adjustments like Exposure and the Highlights slider apply only within that masked area, bringing back blown-out detail in the background without affecting the subject at all.
Toggling Before and After with the Mask Preview
Clicking and holding the small eye icon above the Masks panel shows a live before-and-after comparison, making it easy to judge exactly how much a mask-confined adjustment is actually changing.
Darkening the Ground with a Linear Gradient Mask, Minus the Subject
To darken just the ground, a Linear Gradient mask dragged up from the bottom of the frame naturally catches the subject’s feet and lower body too, which isn’t wanted.
Subtracting the Subject from a Gradient Mask
Selecting Subtract on that gradient mask and choosing Select Subject removes the subject from the masked area entirely, leaving the gradient affecting only the ground — after which lowering Exposure darkens the ground on its own and helps the subject stand out more from the background behind them.
Isolating Small Areas Like Clothing with the Subtract Brush
For something even more specific — like just a pair of pants that read a touch too bright — start with a Select Subject mask, then choose Subtract and select the Brush tool to paint away everything except the area that actually needs adjusting, such as a jacket or shoes that should stay untouched.
Painting Away Parts of a Selection with the Brush
Painting directly over any part of the masked selection that shouldn’t be affected removes it from that mask immediately, leaving a precise, custom-shaped area — in this case just the pants — for a highlights adjustment to target on its own.
Brightening Shadows on the Subject with Its Own Mask
A separate Select Subject mask, this time with the Shadows slider raised rather than Highlights lowered, brightens shadow detail on the subject specifically — a small, targeted adjustment that would be much harder to isolate with a single global edit.
Returning to an Existing Mask to Adjust Saturation
Masks stay fully editable after they’re created, so if the background’s color later reads too strong — an overly warm yellow cast, for instance — reopening that original background mask and lowering Saturation slightly softens the color without needing to build a new mask from scratch.
Non-Destructive Editing at Any Time
Because every adjustment lives inside its own named, reopenable mask, nothing here is ever locked in — any mask can be revisited and refined later as the rest of the edit evolves.
Why Mask-Based Exposure Correction Works
The core problem with a single global adjustment is that a photo’s subject and background are almost never exposed identically to begin with, so any one slider setting that fixes one will typically hurt the other. Confining each adjustment to its own mask — whether generated automatically with Select Subject or refined by hand with Subtract and the Brush — removes that conflict entirely, letting several small, targeted corrections stack up into one well-balanced final image.
Final Thoughts
Correcting exposure doesn’t have to mean compromising between a subject and a background that need different treatment. A handful of masks — Select Subject, an inverted background mask, a gradient with the subject subtracted out, and a small brush-refined area for something as specific as a pair of pants — make it possible to dial in each part of the image on its own, all without ever leaving Lightroom Desktop.
Quick Reference: Menus and Settings
- Mask the backgroundMasking tool > Create New Mask > Select Subject, then Invert; Exposure down a little, Highlights to the left
- Before and afterClick and hold the eye icon above the masks
- Darken the groundCreate New Mask > Linear Gradient, drag up from the bottom; Subtract > Select Subject; Exposure down
- Just the pantsCreate New Mask > Select Subject; Subtract > Brush over the jacket and shoes; Highlights down
- Brighter shadowsCreate New Mask > Select Subject; Shadows up a little
- Calm the colorClick the background mask again, Saturation to -11
Lightroom is cloud-based, so these mask edits sync to Lightroom on your iPad and phone.

Free Downloads
Follow Along on the Same Photo
Get the street portrait from the video and the 2-page PDF guide that walks through all four masks, step by step. Free with a PHLEARN account.
Exposure in Lightroom Desktop: Common Questions
Why does lowering Exposure make my subject too dark?
Exposure in the Edit tab moves the whole photo. Bringing it down rescues a bright background but underexposes the subject, so reset it and use a mask for each part instead.
How do I select just the background in Lightroom?
Click the Masking tool, choose Create New Mask > Select Subject, then click the Invert icon at the top of the panel. The mask flips to everything except the subject.
Which sliders fix an overexposed background?
With the inverted mask selected, bring Exposure down a little, then drag Highlights to the left. Both changes stay inside the mask, so the subject is untouched.
How do I see the before and after of my masks?
Click and hold the small eye icon right above your masks to see the photo without the mask adjustments. Let go to see them again.
How do I darken the ground without darkening the person?
Add a Linear Gradient mask dragged up from the bottom. It catches the subject too, so click Subtract on that mask and choose Select Subject, then lower Exposure.
Can I mask just one piece of clothing?
Yes. Make a Select Subject mask, click Subtract and choose Brush, then paint over everything you do not want, like the jacket and shoes. In the video, lowering Highlights then affects only the pants.
How do I brighten the shadows on my subject only?
Create one more mask with Select Subject and bring the Shadows slider up just a little.
Can I change a mask after I have made it?
Yes, masking is non-destructive. Click any mask and move its sliders again; here the original background mask gets Saturation lowered to -11 to calm the yellow.
Will my mask edits show up on my phone or iPad?
Lightroom is a cloud-based editing program, so the changes you make on the desktop sync automatically to your other Lightroom apps on iPad and phone.
Are the sample files free?
Yes, with a free PHLEARN account. You get 1 sample image and 1 PDF guide: the street portrait from the video and a 2-page guide to all four masks.
Master Photoshop, Lightroom and Photography
Join PHLEARN PRO for $12.99 a month or $99.99 a year. Cancel anytime, with a 100% money-back guarantee.





