

Download Assets
This tutorial includes 1 sample image, 1 sample PSD and 1 PDF guide. Downloads are free with a PHLEARN account.
- Download the sample images and PSDs from every free tutorial on PHLEARN
- New free tutorials published every week
- One free account — sign up once, then download anything
Free PDF Guide · 3 Pages
This Tutorial as a Step-by-Step PDF
Every step from the video in order: the align buttons in the Move tool options, which layer stays put, grouping two lines so their spacing holds, Select All to center on the canvas, Cmd/Ctrl-clicking a shape to align to it, and arrow-key and Shift-drag nudging. Keep it next to your keyboard.
description
The alignment tools do in one click what most people nudge at with the arrow keys. This tutorial shows you how to perfectly align text, objects, and groups within your images and selections. Say goodbye to guesswork and create beautifully balanced designs with ease. Discover powerful techniques for precise placement every time.
Enjoying This Free Tutorial?
We publish a new free tutorial every week, each one with sample images and PSDs you can download and follow along with. Sign up and they land straight in your inbox, along with early word on sales, events and subscriber-only offers.
Image Source


How to Use the Alignment Tools in Photoshop
Nudging elements around with arrow keys until they look about right is one of those habits that quietly costs hours. Photoshop can align things exactly — to each other, to the canvas, or to any area you define — and the controls live somewhere most people never look.
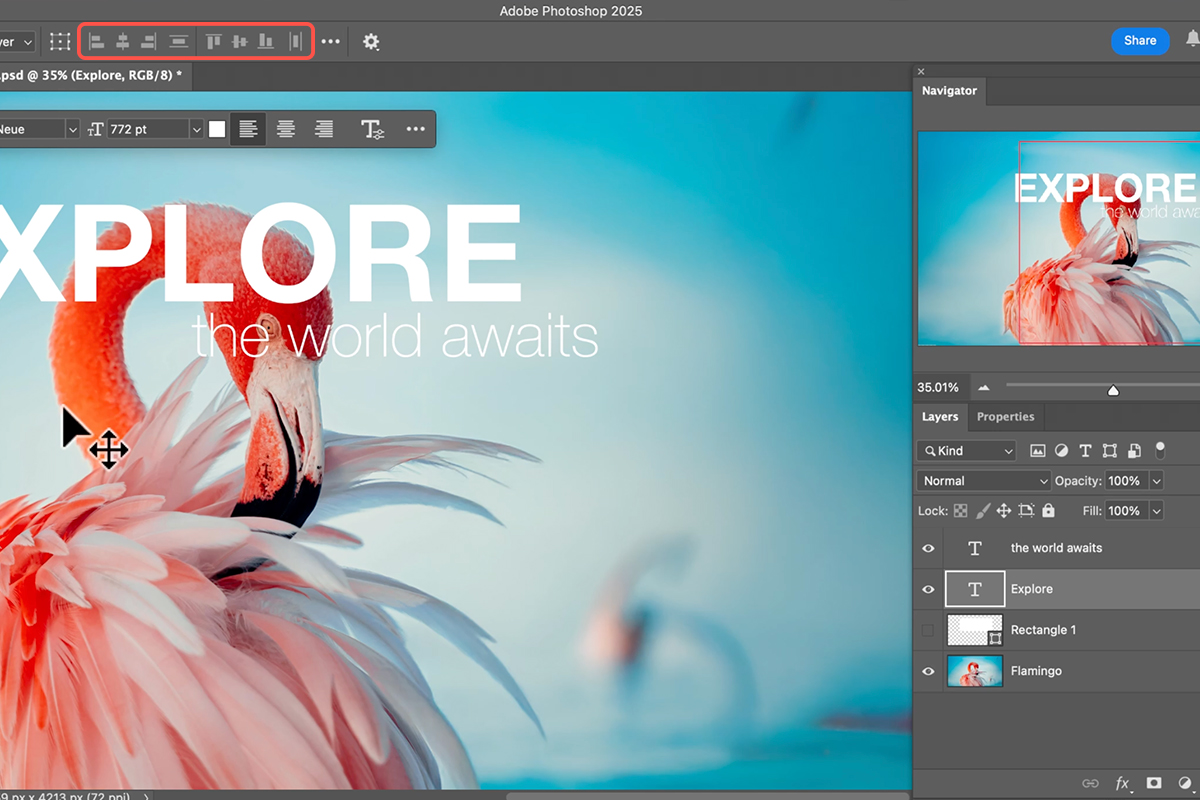
They sit in the options bar of the Move Tool, which is why they go unnoticed. Press V and they are there.
Aligning Layers to Each Other
-
Select the layers you want to align
Shift-click them in the Layers panel to select more than one.
-
Press V for the Move Tool
The alignment buttons appear in the options bar at the top.
-
Choose an alignment
Six options: align left, horizontal centers, right, top, vertical centers, and bottom.
With several layers selected, Photoshop aligns them relative to their collective bounding box. Align left and every selected layer moves to the leftmost edge among them; align horizontal centers and they all share a common vertical axis.
The distinction that matters
Alignment works on whatever is currently selected, so what you select determines what happens. Two layers selected means they align to each other. That is straightforward.
Where it catches people out is with a set of elements that should stay in a fixed arrangement — which brings us to groups.
Grouping to Preserve Spacing
Say you have a heading, a paragraph and a button that already sit correctly relative to one another, and you want the whole block centered on the canvas.
Select all three and hit align horizontal centers, and they will each center individually — stacking on a single axis and destroying the arrangement you built.
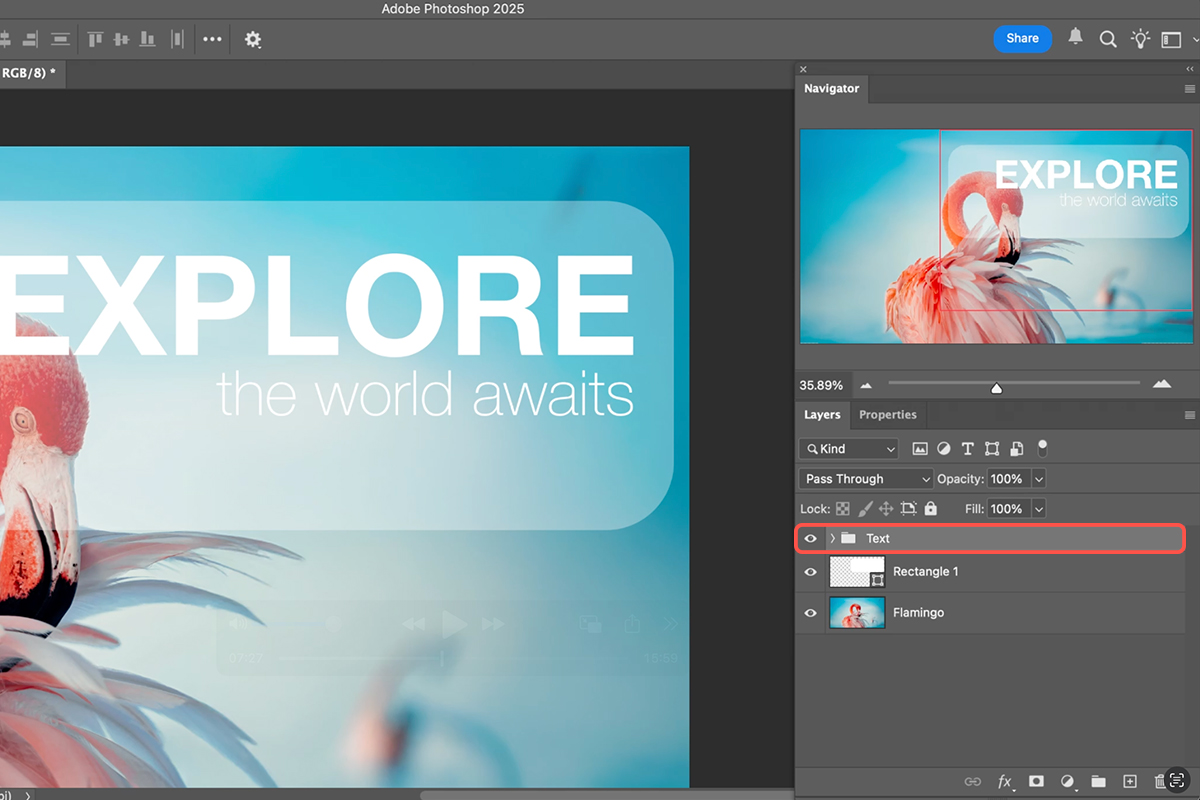
The fix is to group them first with Ctrl or Cmd + G. A group aligns as a single object, so the internal spacing is preserved and the block moves as a unit.
This is the single most useful thing to know about alignment in Photoshop. Anything that should hold its internal relationships gets grouped before it gets aligned.
Aligning to the Canvas
With only one layer or group selected, there is nothing for it to align against — so Photoshop needs a reference. A selection provides one.
-
Press Ctrl or Cmd + A to select the whole canvas
The selection now defines the alignment boundary.
-
Select the layer or group you want to position
The selection stays active while you do this.
-
Click an alignment button
The element aligns to the canvas edges or center rather than to another layer.
-
Press Ctrl or Cmd + D to deselect
Otherwise the selection keeps constraining later operations.
Centering something perfectly on the canvas is Select All, then align horizontal centers, then align vertical centers. Three clicks, exact every time.
Aligning to a Custom Area
The same principle extends to any region you care to define, which is where it becomes genuinely powerful.
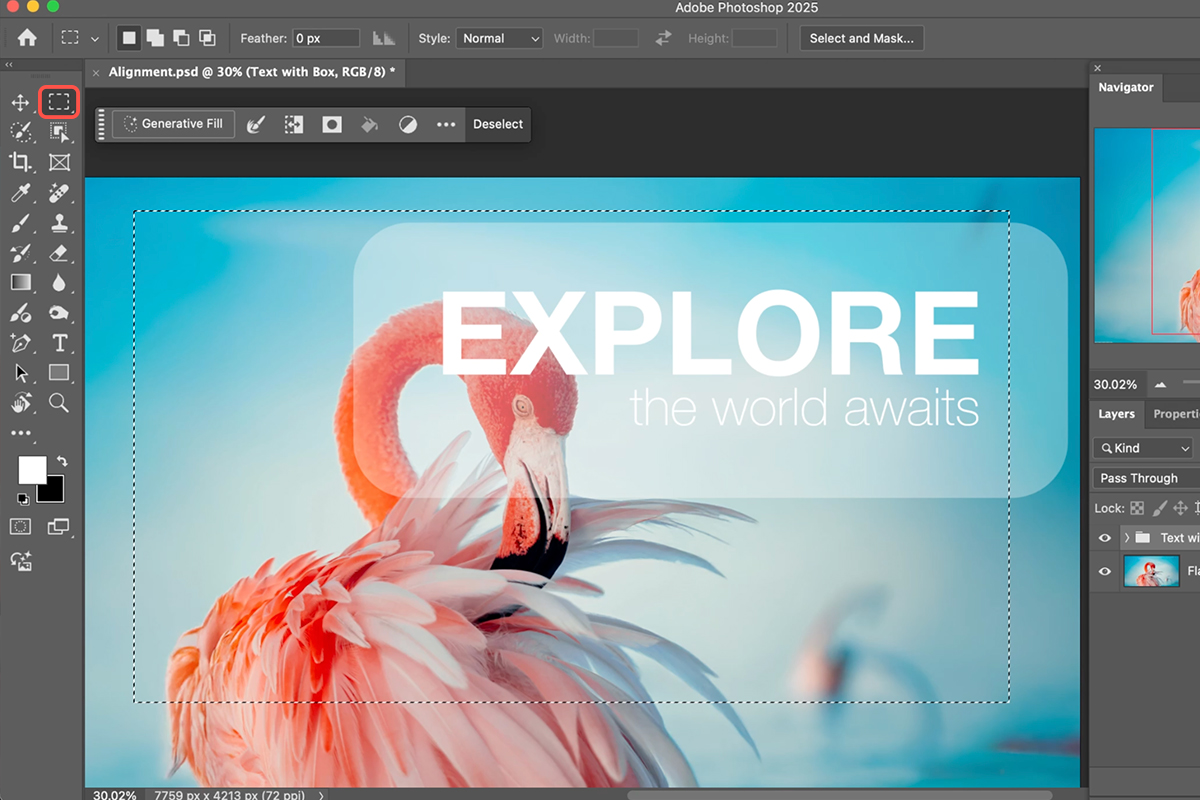
Press M for the Marquee Tool and drag a selection around any area — one half of a layout, a panel, the space beside a subject — then align a layer to it. The element positions itself within that region rather than the whole document.
You can also load an existing layer’s shape as the reference by holding Ctrl or Cmd and clicking its thumbnail in the Layers panel. That turns the layer’s contents into a selection, so you can center text inside a shape, or align a badge to an object, without measuring anything.
Fine Positioning
Alignment gets you to exact positions. For everything in between, the arrow keys are more precise than dragging.
With the Move Tool active, each arrow key press moves the selected layer one pixel. Hold Shift and it moves ten pixels at a time — the fast way to shift something across a layout while staying on a round number.
Holding Shift while dragging with the mouse constrains movement to horizontal or vertical only, which stops an element drifting off its line while you reposition it along one axis.
A Practical Order of Work
Layouts come together fastest in this sequence:
Build the individual elements first without worrying about position. Align the elements that relate to each other — a heading to its paragraph, an icon to its label. Group each finished cluster. Then align the groups to the canvas or to each other.
Working outward like that means every alignment operates on something already internally correct, and you never find yourself rebuilding an arrangement that a careless align flattened.
Name the groups
A layout with six groups called Group 1 through Group 6 is difficult to work with a day later. Naming them as you go costs seconds and makes revisions far quicker — particularly when a client asks for one section to move.
Why This Is Worth the Habit
Eyeballing alignment is one of the clearest tells between amateur and professional layout work. The eye is very good at detecting misalignment and very bad at achieving it — something two pixels off looks wrong without the viewer being able to say why.
Using the alignment buttons removes that entirely, and it is faster than nudging. The whole system amounts to three ideas: select what you want to move, define what it should align to, and group anything that must keep its shape. Once those are habit, precise layouts stop taking any real time at all.
Quick Reference: Keys, Menus and Settings
- Where the buttons areV (Move tool), then the align icons in the options bar: left, horizontal center, right, top, vertical center, bottom
- Layer to layerShift-click both layers, click an align button; the layer already furthest that way stays put
- Keep spacing between linesGroup them (Cmd/Ctrl + G), then align the group to the other layer
- Center on the canvasCmd/Ctrl + A, then center both ways
- Align to a shapeCmd/Ctrl-click the shape’s thumbnail to load it as a selection, then align
- Align to any areaM, drag a marquee, then align; Cmd/Ctrl + D to deselect
- NudgeArrow keys 1 px, Shift + arrow 10 px, Shift-drag locks to one axis
- Behind the subjectSelect Subject on the background, select the group, Alt/Option-click Add Layer Mask
Inside a group, Cmd/Ctrl-click individual layers to align them to each other.
Free Downloads
Follow Along on the Same Photo
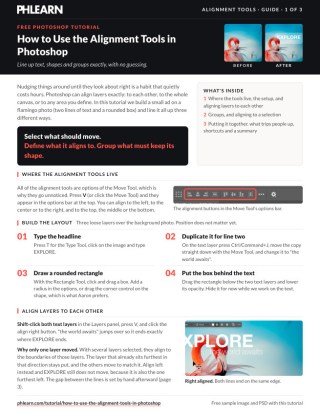
Get the flamingo photo from the video, the PSD with the text, rounded rectangle and group, and the PDF guide. Free with a PHLEARN account.
Alignment Tools: Common Questions
Where are the alignment tools in Photoshop?
In the options bar of the Move tool. Press V and the six align buttons appear: left, horizontal center, right, top, vertical center, bottom.
Which layer moves when I align two?
The one that isn’t already there. Right-align two text layers and the one furthest right stays; the other moves to meet it.
Why did my two lines of text collapse onto each other?
You aligned three layers at once, so each line centered itself on the rectangle. Group the two lines first; the group aligns as one object and the spacing holds.
How do I center something on the whole image?
Select All (Cmd/Ctrl+A), then click both center buttons. With a selection active, the align tools align to the selection.
How do I center text inside a shape?
Cmd/Ctrl-click the shape layer’s thumbnail to turn it into a selection, select the text (or its group) and center both ways.
Can I align to an area I choose?
Yes. Draw a marquee anywhere and the align buttons use it. Deselect with Cmd/Ctrl+D when you’re done.
How do I move something a little without breaking the alignment?
Arrow keys move one pixel, Shift plus an arrow ten. Shift-dragging with the Move tool locks to a straight line.
Can I still align layers inside a group?
Yes. Cmd/Ctrl-click the individual layers rather than the group and align them to each other.
Are the sample files free?
Yes, with a free PHLEARN account. You get the flamingo photo, the PSD with the text and rectangle, and the PDF guide.
Master Photoshop, Lightroom and Photography
Join PHLEARN PRO for $12.99 a month or $99.99 a year. Cancel anytime, with a 100% money-back guarantee.





