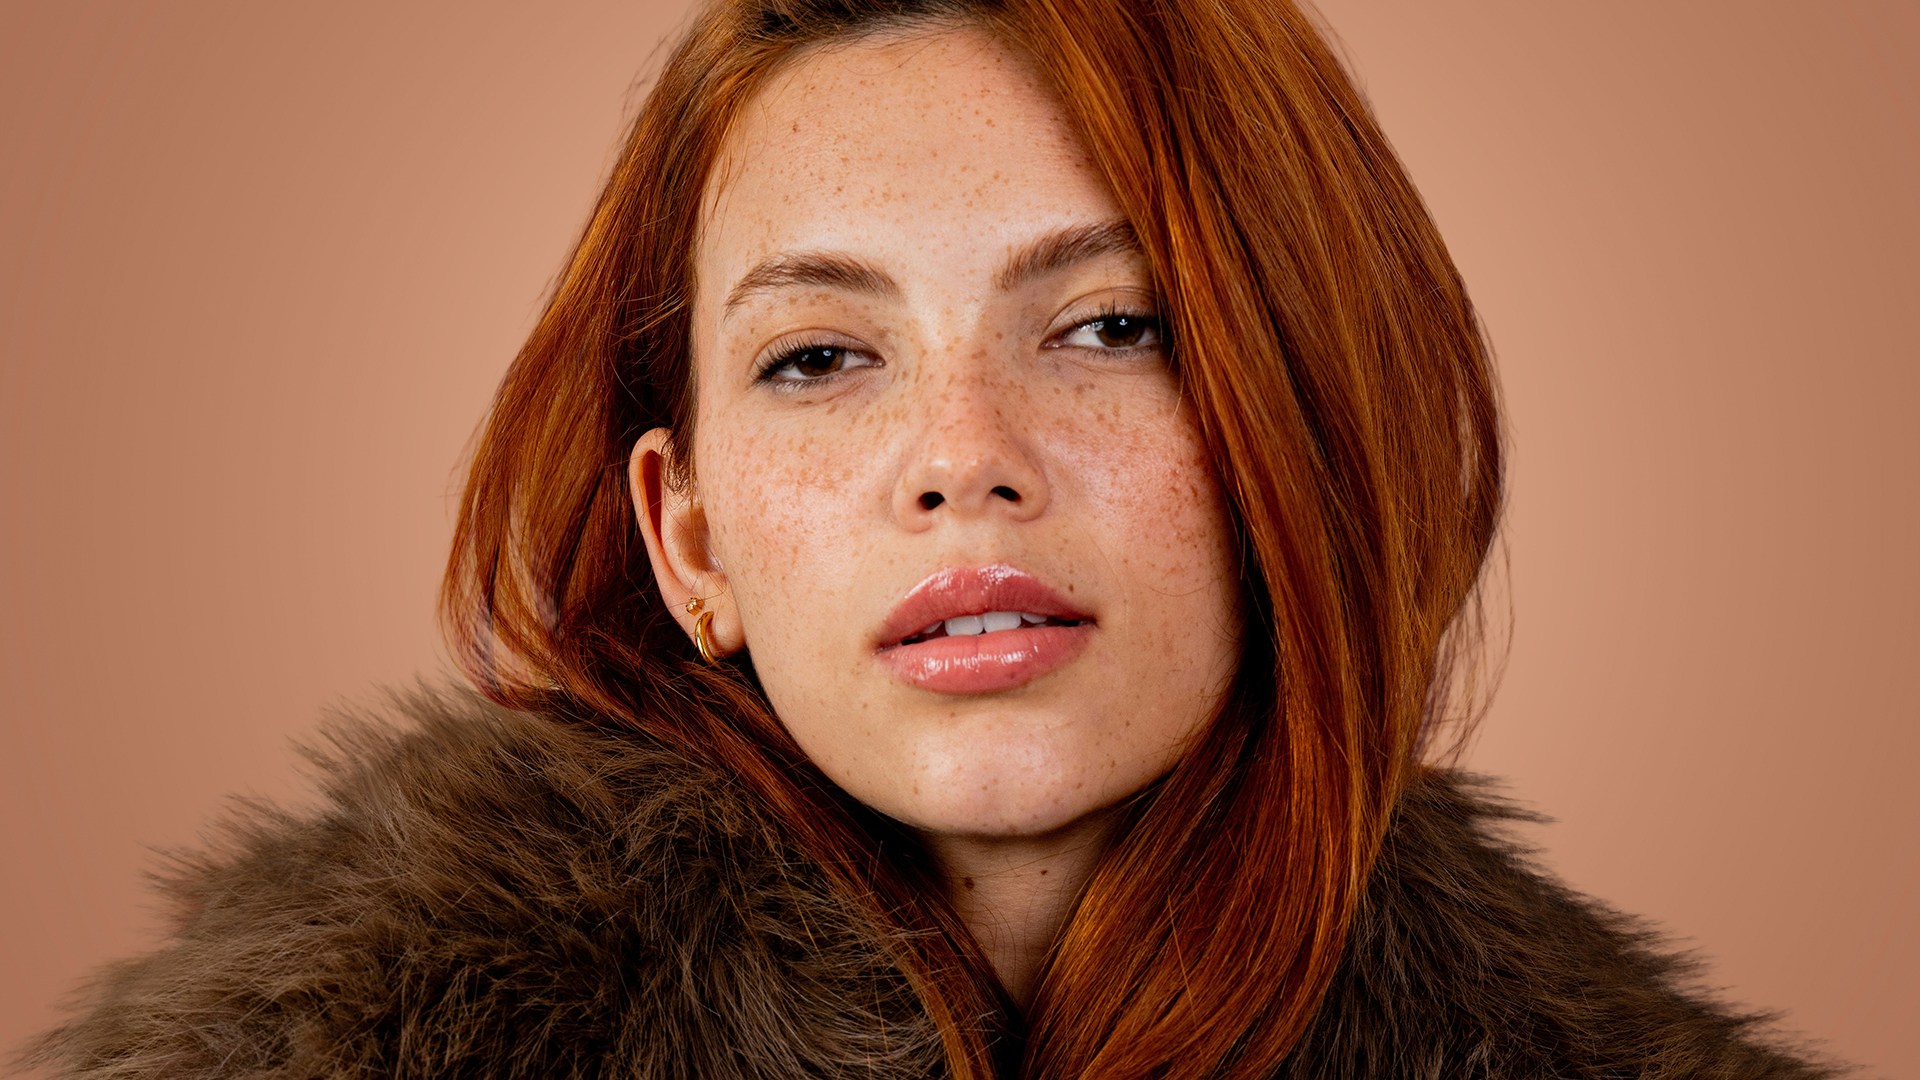

Download Assets
This tutorial includes 1 sample image, 1 sample PSD and 1 PDF guide. Downloads are free with a PHLEARN account.
- Download the sample images and PSDs from every free tutorial on PHLEARN
- New free tutorials published every week
- One free account — sign up once, then download anything
Free PDF Guide · 5 Pages
This Tutorial as a Step-by-Step PDF
Every step from the video in order: Remove Background, checking the mask, the three ways to make a clipping mask, the Clone Stamp from the inside out, the Brush for color, and warping cloned hair to fit a curve. Keep it next to your keyboard.
description
Learn how to isolate subjects in Photoshop and eliminate edge fringing on hair and fur using clipping masks in Photoshop. A professional, non-destructive technique for flawless cutouts — no AI required.
Enjoying This Free Tutorial?
We publish a new free tutorial every week, each one with sample images and PSDs you can download and follow along with. Sign up and they land straight in your inbox, along with early word on sales, events and subscriber-only offers.
Image Source
Photo by Fellipe Ditadi via Unsplash
Isolate Subjects in Photoshop and Kill the Halo
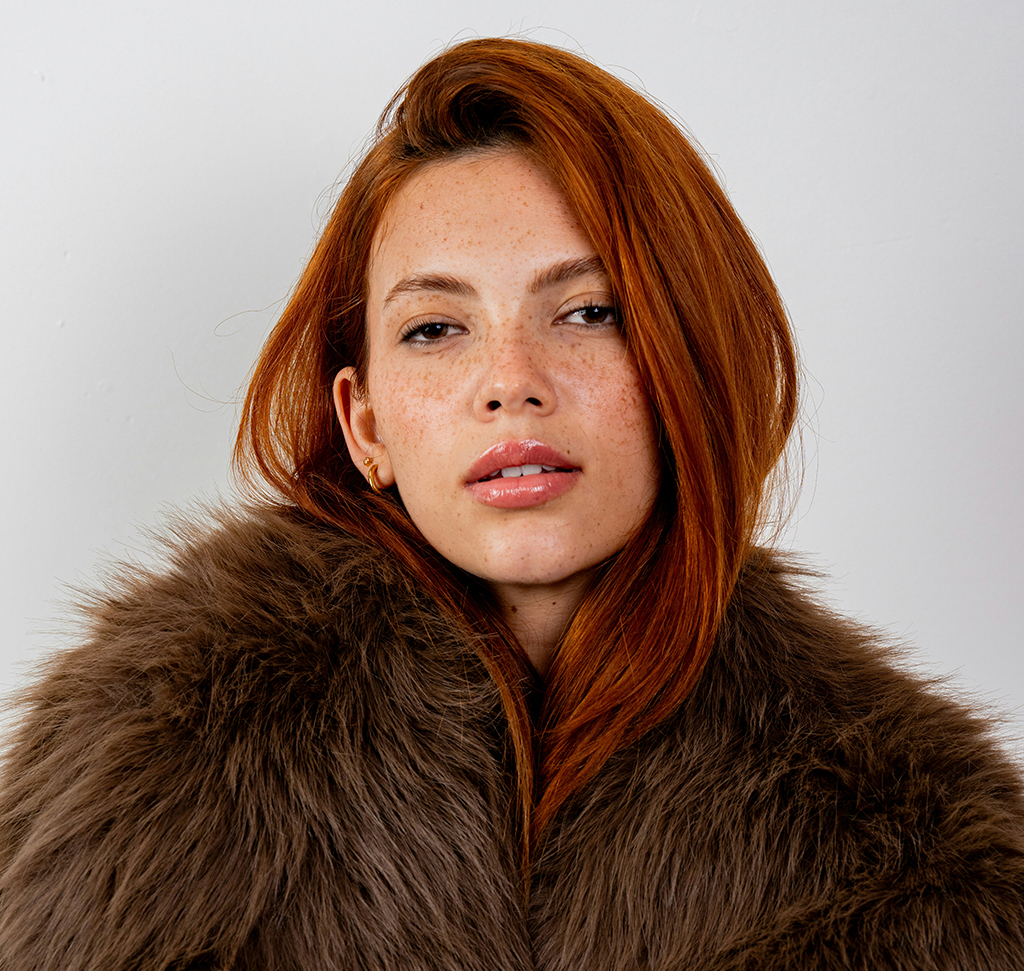
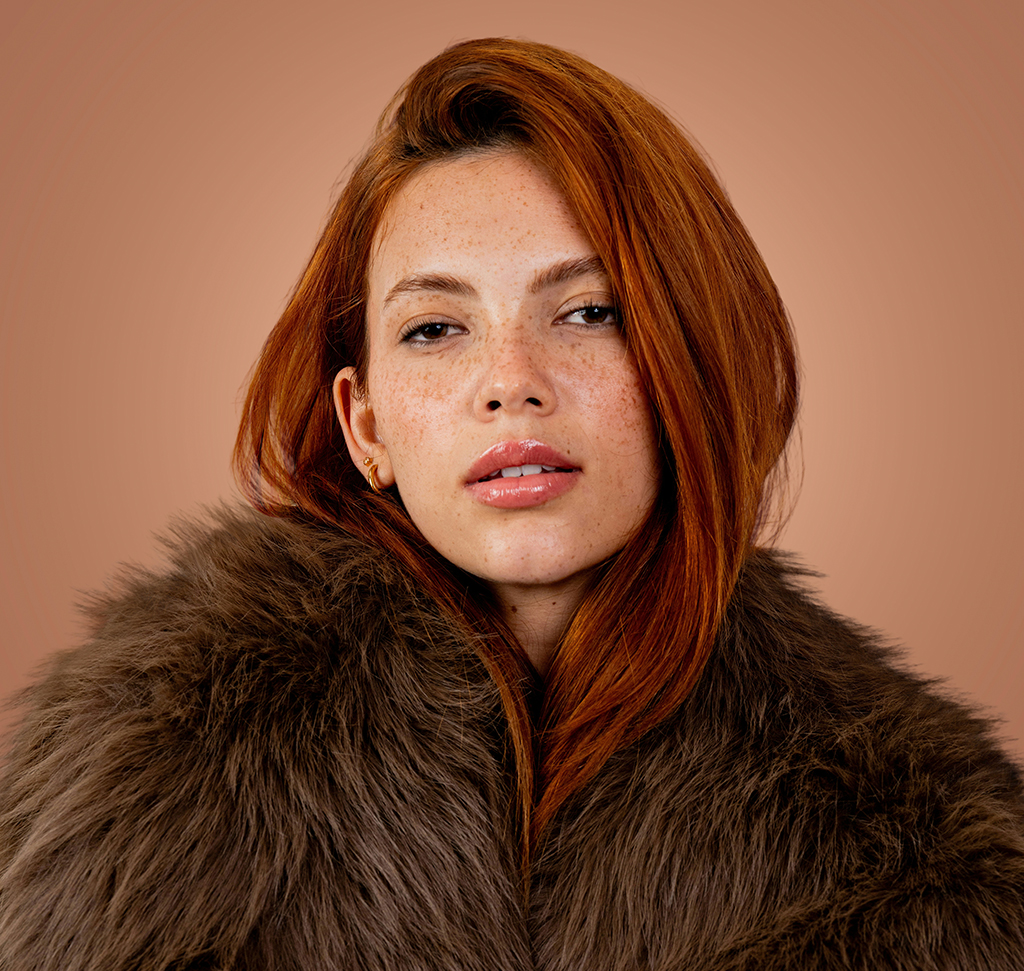
You spend twenty minutes refining a selection, catching every strand of hair, and then you drop a dark background behind it and a pale halo appears around the entire subject. The instinct is to blame the mask and start fiddling with Refine Edge again — and that instinct wastes hours, because the mask is usually fine.
The halo is old background colour trapped inside the semi-transparent edge pixels. No amount of mask editing removes it, because there’s nothing wrong with the mask. What you need is to repaint those pixels, and there’s a clean, non-destructive way to do it that doesn’t involve a single AI tool.
Why Refining the Mask Never Fixes It
Edge Pixels Are Partly Transparent
A strand of hair doesn’t fill a whole pixel. That pixel ends up a blend of hair colour and whatever was behind it — and when you cut the isolated subject out, the blend comes along. Against the original background you never noticed. Against a new one it’s a bright outline.
Contracting the Mask Just Eats Detail
Shrinking the selection removes the halo by removing the hair. You trade a fringe for a hard, chopped silhouette, which usually looks worse.
The Fix Is Colour, Not Selection
Once you understand it as a colour problem, the solution is obvious: paint correct colour over the contaminated pixels, constrained to the shape you already have.
Isolate Subjects and Expose the Problem
You can’t fix edges you can’t see, and against a white canvas a white fringe is invisible.
-
Mask Out the Subject
Create a standard layer mask around your subject. The fastest route is the Contextual Taskbar (turn it on under Window > Contextual Taskbar) and Remove Background. For more difficult edges, our free guide to object masking in Camera Raw covers the selection side in depth.
-
Put a Dark Solid Colour Underneath
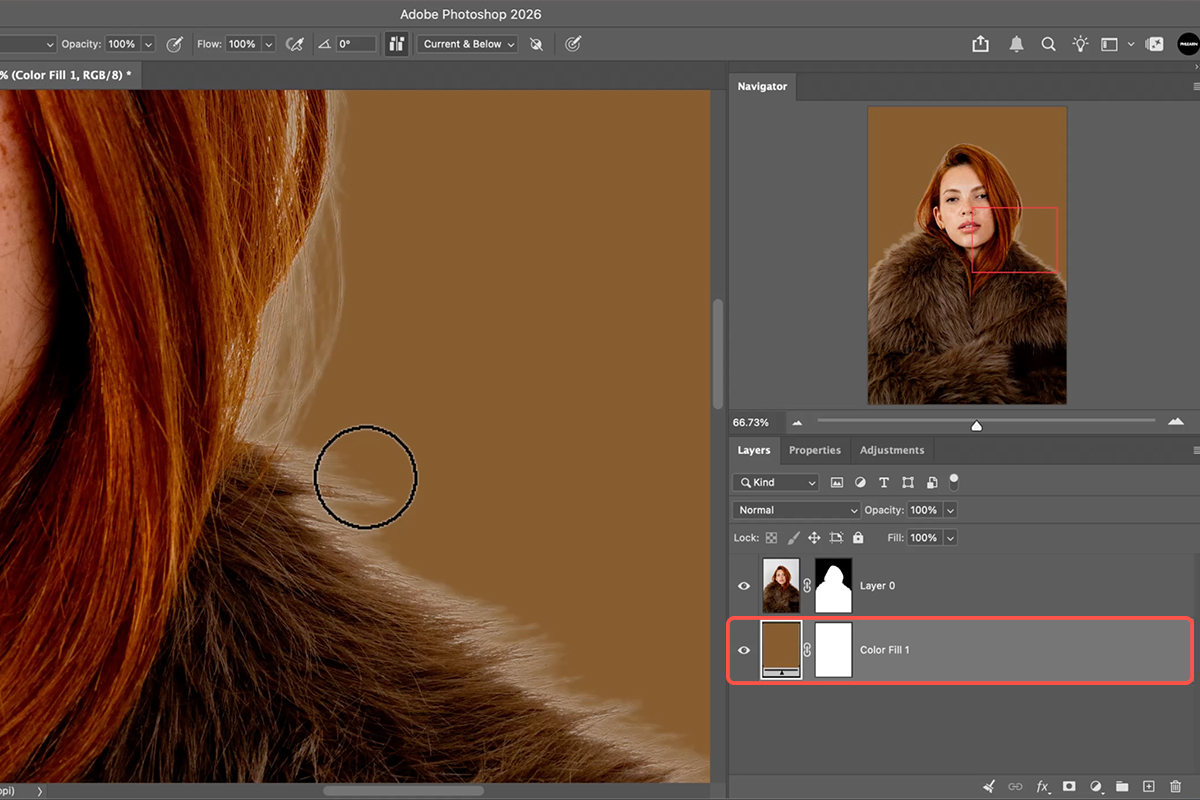
Add a solid colour fill layer below the subject and set it to something dark and strongly contrasting. Every flaw in the edge appears immediately. This is a diagnostic layer — you’ll delete it or replace it with your real background later, but work against it the whole time.
Build a Clipped Repair Layer
Everything you paint from here lives on its own layer, clipped to the subject. That’s what makes it safe: your original pixels are never touched and the repair can never spill outside the silhouette.
-
Add a Blank Layer Above the Subject
New empty layer, directly above the subject layer.
-
Clip It to the Subject
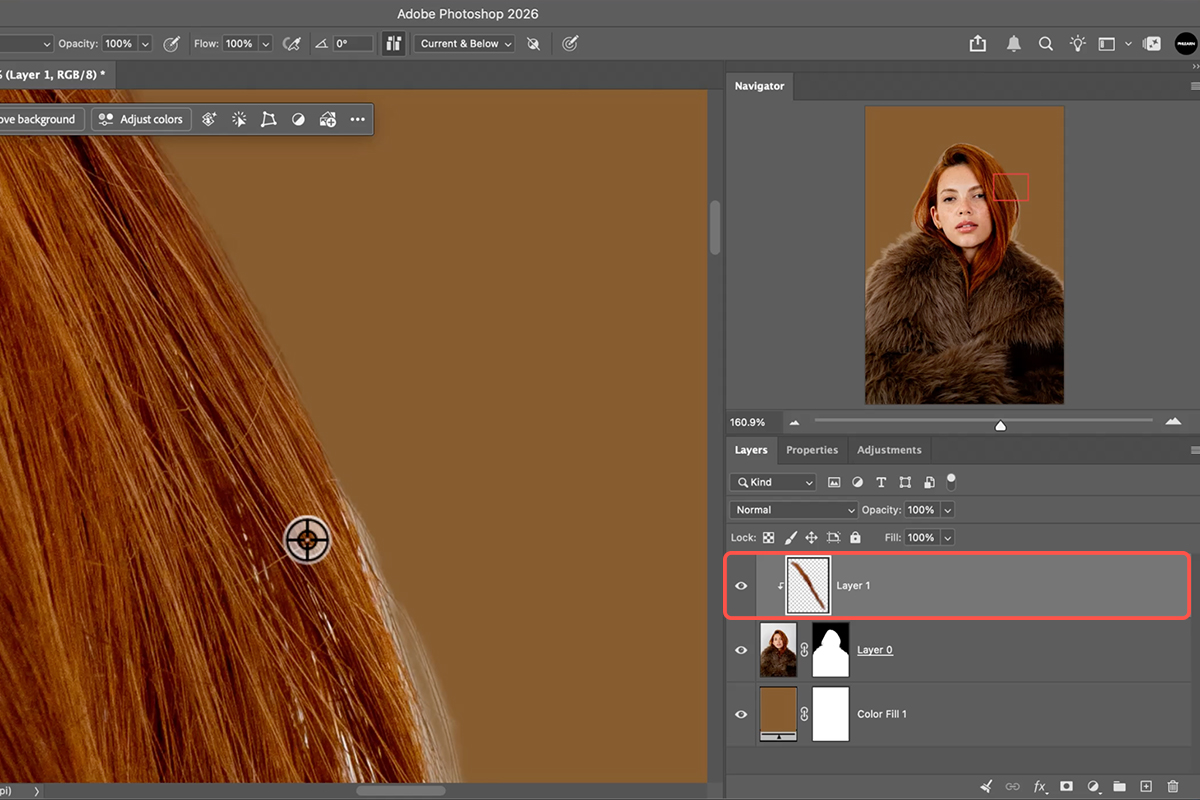
Hold Alt/Option and hover on the line between the two layers until the cursor becomes a square with a down arrow, then click. Or use Cmd/Ctrl + Option/Alt + G. Now anything you paint appears only where the subject is visible — you can brush wildly past the edge and nothing escapes.
Clone Real Texture Over the Fringe
Rather than painting a flat colour over the halo, you’re going to borrow actual hair from just inside the edge. That’s the difference between a repair that reads as hair and one that reads as a smudge.
-
Set the Clone Stamp to Current & Below
Press S for the Clone Stamp, then find the Sample dropdown in the options bar and set it to Current & Below. Without this the tool samples only your blank layer and picks up nothing at all — it’s the single most common reason isolating subjects this way appears not to work.
-
Sample Clean Hair, Brush Outward
Zoom in properly. Alt/Option-click on clean hair or fur just inside the edge, then brush outward across the fringing. The clipping mask keeps the cloned texture inside the silhouette while it replaces the pale halo with real strands.
-
Warp Cloned Hair to Follow the Curve
Where the edge curves — the crown of a head, the line of a shoulder — straight cloned strands look wrong. Clone onto a separate layer, press Cmd/Ctrl + T, right-click and choose Warp, bend the strands to follow the natural flow, then clip that layer into place. It’s a small extra step and it’s what makes complex edges convincing.
Why Do It by Hand
It’s Predictable
Generative tools give you a different answer every time you run them, and on a fine edge the variance is the problem. Cloning does exactly what you tell it, every time, on every image.
It Costs Nothing
No credits, no upload, no waiting for a generation. On a batch of composites that difference compounds fast.
It Works Everywhere
Clone Stamp, clipping masks and Warp have been in Photoshop for decades and behave identically across versions. A technique built on them doesn’t stop working when a feature gets rebuilt.
Common Missteps
Leaving Sample on Current Layer
The default. Your brush picks up nothing because the layer is empty, and it looks like the tool is broken. Current & Below, every time.
Working Against a Light Background
A white fringe on a white canvas is invisible until you deliver the file. Always put something dark underneath while you work.
Sampling Too Far Inside
Hair near the centre of the head is denser and darker than hair at the edge. Sample close to the boundary so the cloned texture matches the density it’s replacing.
Painting Directly on the Subject Layer
It works right up until you want to undo one brush stroke from twenty minutes ago. The blank clipped layer costs nothing and keeps every stroke separable.
The Idea Worth Taking Away
The useful lesson here isn’t the Clone Stamp settings — it’s the diagnosis. When a cutout looks wrong, ask whether the shape is wrong or the colour is wrong. Those are entirely different problems with entirely different fixes, and confusing them is why edge work has a reputation for being endless.
Shape problems get solved in the mask. Colour problems get solved with paint. Almost every fringing complaint you’ll ever have is the second kind.
Put It to Work
Mask the subject, drop a dark fill underneath, add a blank layer clipped to the subject, set Clone Stamp to Current & Below, and brush real hair over the halo. Download the free sample image and PSD to follow the exact edit — then pull up an old composite you were never happy with and check whether the fringe was the actual problem all along. For the full manual approach to compositing, our PRO Ultimate Guide to Manual Compositing builds on exactly this kind of edge control.
Quick Reference: Keys, Menus and Settings
- Cut out the subjectRemove Background in the Contextual Task Bar (Window > Contextual Task Bar if hidden)
- A background to test onLayer > New Fill Layer > Solid Color, dragged below the subject
- Check the mask itselfClick the mask, task bar > overlay options > Black and White
- Clip a layerOption/Alt-click between the layers, or Option Cmd G · Alt Ctrl G, or Layer > Create Clipping Mask
- Clone StampS; Sample: Current and Below; Option/Alt-click inside the hair, paint outward; flow about 20%
- Brush insteadB; Option/Alt-click to sample the hair color; flow about 20%
- Hair that curvesClone onto its own layer, Cmd/Ctrl + T, right-click > Warp, Enter, then clip it
Mac first, then Windows where they differ.

Free Downloads
Follow Along on the Same Photo
Get the sample image, the layered PSD with the clipped repair layers, and the PDF guide, and clean up the same hair and fur. Free with a PHLEARN account.
Hair and Fur Cutouts: Common Questions
My cutout has fringing. Is my layer mask bad?
Usually not. View the mask on its own (click it, then choose Black and White in the task bar’s overlay options) and it’s often fine. The fringe is the old background color left in the hair and fur, and refining the mask won’t remove it. A clipping mask will.
Does this use AI or credits?
Remove Background makes the initial cutout, and it doesn’t use credits. The fix itself is the Clone Stamp and Brush on a clipped layer: no AI at all.
What is a clipping mask?
A layer that is only visible where the layer below it is visible. Any layer can be clipped: a regular layer, an adjustment layer, a Smart Object. The clipped layer still moves freely; it just can’t show outside the subject.
How do I make one?
Three ways: hold Option/Alt and click between the two layers (the cursor becomes a square with a down arrow), press Option+Cmd+G (Alt+Ctrl+G on Windows), or use Layer > Create Clipping Mask. The same actions release it.
How does the Clone Stamp fix the edge?
On a new layer clipped to the subject, press S, set Sample to Current and Below, Option/Alt-click inside the hair and paint outward over the edge. Real hair detail replaces the fringe, and the clipping mask keeps it inside the mask. If a stroke looks wrong, clone over it again.
When would I use the Brush instead?
For large areas or to paint individual hairs, press B, Option/Alt-click to sample the hair or fur color and paint at about 20% flow with a small brush. It works, but the Clone Stamp usually looks best because it brings real texture.
What about hair that curves, where cloning doesn’t match?
Clone a piece of hair onto its own new layer, press Cmd/Ctrl+T, right-click and choose Warp, bend it to follow the curve, press Enter and then clip the layer. You can warp it while it’s clipped to see the fit.
Does it work on photo backgrounds, not just colors?
Yes. Once the clipped repair layers are done, swap the solid color for any photo and the cutout holds up the same way.
Are the sample files free?
Yes, with a free PHLEARN account. You get the sample image, the layered PSD with the clipped repair layers, and the PDF guide.
Master Photoshop, Lightroom and Photography
Join PHLEARN PRO for $12.99 a month or $99.99 a year. Cancel anytime, with a 100% money-back guarantee.





