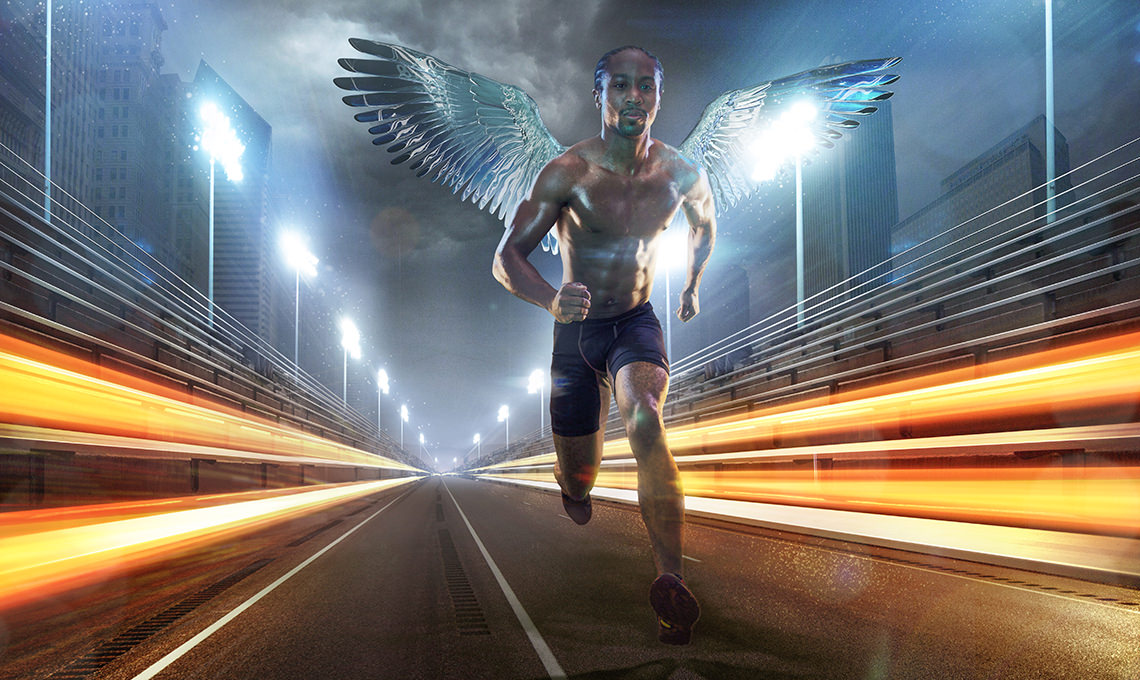
How to Composite Athletes into Any Background in Photoshop – Last Athlete
-

-
Add to
favorites

-
DifficultyAdvanced
-
Length3.75 hours
-
Software
Join PHLEARN PRO for instant access to this course and every tutorial on PHLEARN.
- Stream in up to 4K on any device
- Closed captions and chapters on every course
- Download all sample images and PSDs
- New PRO tutorials every month
- Cancel anytime
DESCRIPTION
Launch your Photoshop knowledge to a whole new level with this advanced Phlearn PRO Tutorial. Learn how to composite athletes into an entire world built from scratch, incorporating more than 20 photos, computer generated wings and lighting effects all with perfect perspective.
THIS COURSE INCLUDES
- 25 Sample Images
- 2 Photoshop Brushes
Table of Contents
-
01 - Backgrounds & Perspective34:39m
-
02 - Cutting Out a Subject on Green Screen7:27m
-
03 - Building the Background & Sky17:34m
-
04 - Light Sources & Perspective12:22m
-
05 - Buildings & Perspective21:11m
-
06 - Lighting Effects21:14m
-
07 - How to Add Color to Light Sources28:34m
-
08 - Retouching & Adding Wings40:11m
-
09 - Blending & Styling25:43m
-
10 - Behind The Scenes: Shooting for a Composite9:10m
Course Downloads
Learn Advanced Compositing.
Go Behind the Scenes to Composite Athletes
Learn how to photograph images like this with the included video identifying all the setups required. Each light is explained in-depth including the color temperature, gels used, placement and why we used them.
Shoot on Green Screen
See how easy it is to shoot with a green screen. Using a green screen is a great way to save time by allowing yourself to make faster, more accurate selections when you composite athletes out of the studio.
Build the Background
Learn how to combine multiple images together, even if they were taken in different locations with different lighting on completely different days. The background you composite athletes into here is built from many different images.
Perfect Perspective
Always build your composite images to the correct perspective using our tested techniques. By creating a plan and keeping true to real life perspectives, the way you composite athletes is guaranteed to be more amazing.
Professional Coloring
Subtle color adjustments can make a big impact in your images.
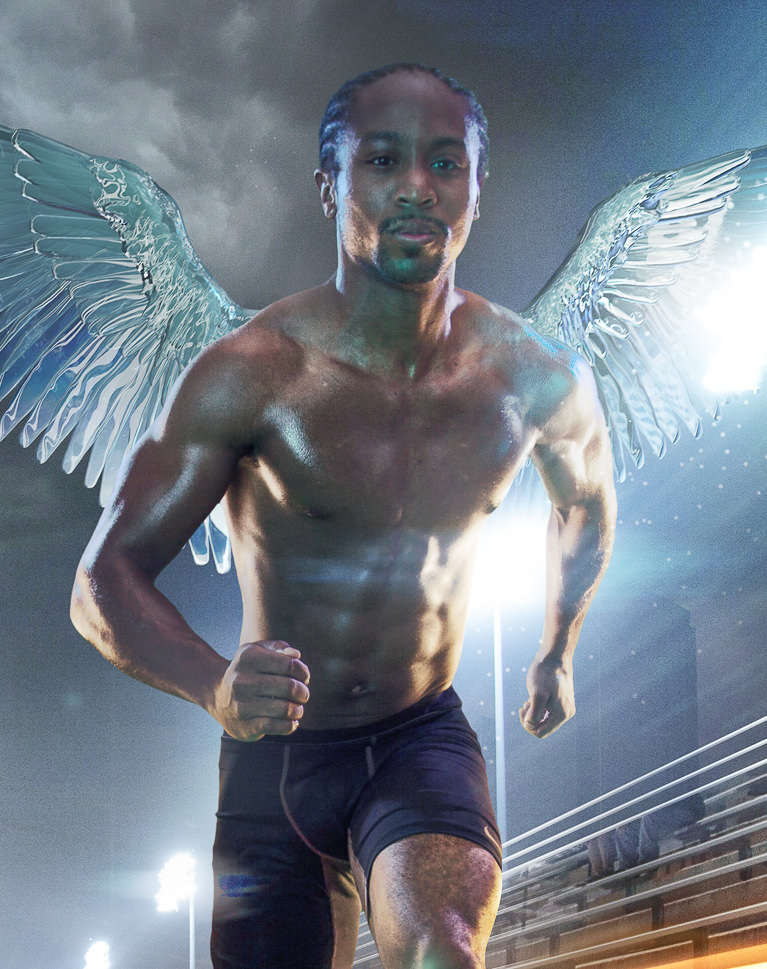
Warp and Distort to Composite Athletes in Perspective
Calculate the vanishing point, horizon and perspective of not only the composite, but of all the included images. Using warp effects to match the perspective of multiple images will vastly
improve your composites.
Blend and Composite
Learn the secrets to compositing and blending multiple photos together to create seamless, stunning effects. From start to finish, you will see how we composite athletes and every other image using Photoshop.
Advanced Layer Masks
Cut people out of their backgrounds while preserving all the detail from the original photo. Capture perfect detail in your layer masks, allowing you to keep the original hair when you composite athletes into a new background.
Add Light Bounces
By placing a new light source into the composite, you affect everything else in the image and must retouch accordingly. See how to match the lighting on the athlete, the ground and the bleachers.
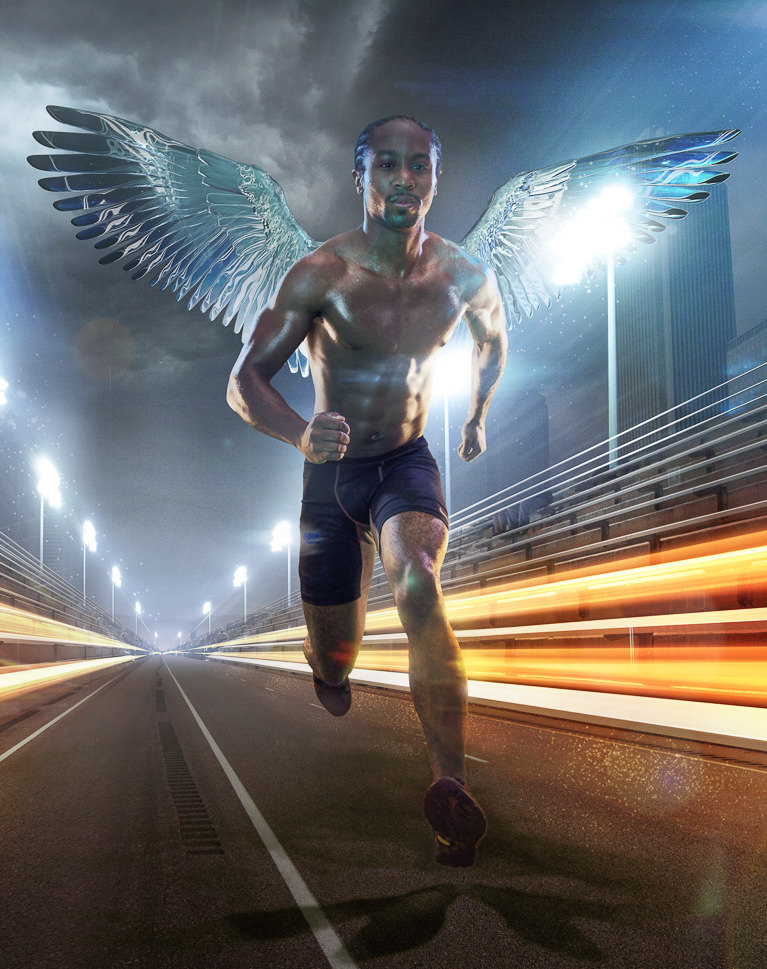
Create Light Flares
Learn how to take the lights from your image and bring them in front of your subject, integrating everything together to make the viewer believe that the entire image was photographed together.
Create Light Streaks
Easily add your own light streaks and learn the best methods for making them blend seamlessly into your image. Adding light with Photoshop is a great way to bring atmosphere and attention to your images.
Match Highlight and Shadow
Create stronger composite images by matching the subject highlights and shadows to the background. Learn how advanced selections can keep the rest your subject intact while only editing the highlights.
Grow Wings
Composite the included computer generated (CG) wings onto the subject. Use what you learn to add any foreign element or CG object into your future images.

Aaron Nace
PHLEARN Founder & Lead Instructor
Aaron Nace is a photographer, digital artist, and founder of PHLEARN. Driven by a deep passion for image creation and a dedication to sharing knowledge, he founded PHLEARN in 2011 to empower creators around the globe. With over 2 million YouTube subscribers, 8+ seasons speaking at Adobe MAX, and hundreds of tutorials published, Aaron continues to produce free weekly lessons alongside new in-depth PRO courses every month.
Reviews


Unlock This Course & Every PRO Tutorial.
Get Instant Access with PHLEARN PRO!

Stream in up to 4K on any device, with closed captions and chapters
Download full project assets, original PSDs, and sample images
Unlimited access to all PRO Photoshop, Lightroom, and Retouching courses
Includes full access to Photoshop Actions, Lightroom Presets, and LUTs
Flexible monthly and annual plans to fit your workflow
Cancel anytime with zero hassle or fees
The perspective lesson was the best part of learning how to composite. Not seen a tutorial like this elsewhere!
This has got to be one of my favorite Phlearn PROs until now. The thing which i struggle with most in Photoshop, that is placing everything in perspective, is clearly explained here and i am happy to have chosen a Phlearn PRO treating this theme in depth. This is what i love most about this tutorial, but aside from that, there are so many other things, which mix photography with physics, such as how a ray of light actually behaves, when creating light effects. I am very happy with this purchase!
It’s very helpful tutorial. Can’t wait to do it. I like it.Thanks for sharing.
Excellent Tutorial !!! packed full of useful tips and insight. Thanks for sharing!
This was a great tutorial, I learned so much and love composting. Thank you for showing us how to do this.
Nice Tutorial!!
I just wished you would have included the final psd file in that tutorial (so that their is a choice. Doing it step by step or just the steps that are really interesting to me).
But other then that: excellent work.
Great tut. I wasn’t a fan of the wings, but loved the Chicago background.
Great tutorial Aaron,
I have a question, in the trailer for this tutorial I noticed that you were using a set up in which your image capture software would automatically extract your subject from a green screen and do a rough composite of the subject in the scene while shooting in real time. I’m curious to know what software you were using and how you set it up.
Top Notch tutorial. Create your own background, match color, and add wings to someone come on what more can you ask for.