Master Retouching Eyes
-
Add to
favorites
-
DifficultyMedium
-
Length3 hours
-
Videos12
-
Software
Description
What makes a portrait great? Is it the lighting? The use of color? Beautiful skin, hair, or wardrobe? While all of these things can help create a more powerful image, we think the best portraits emphasize our most important feature. Eyes!
Learn a professional approach to retouching eyes in Photoshop. Brighten up dark eyes, change iris color, enhance the details with dodge and burn, and more. Picture-perfect peepers, every time!
THIS COURSE INCLUDES
- 7 Sample Images
- 2 Photoshop Brushes
- 2 Photoshop Actions
share
Table of Contents
-
01 - Dodge & Burn38:54m
-
02 - Sharpen13:17m
-
03 - Retouch Around the Eyes18:11m
-
04 - Lighten Dark Eyes15:55m
-
05 - Change Eye Color10:49m
-
06 - Remove Reflection from Eyeglasses20:04m
Course Downloads
Eyes that Captivate
Make Eyes Pop in Photoshop
Great portraits have a way of pulling you in. And the best portraits make it feel like the subject is right in front of you, looking you in the eye. Learn how to make captivating and powerful portraits by retouching eyes in Photoshop. If you’re looking for more retouching challenges, try Master Retouching Hair!
Enhance Color & Add Details
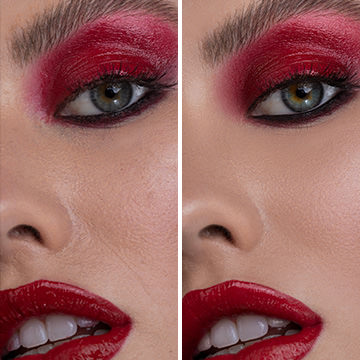
Eyes are full of color and detail that sometimes get lost in a photograph. Use techniques like dodging and burning, frequency separation, and sharpening to bring back all of the unique detail and beauty in your subject’s eyes.
Complete Eye Retouching
We break down the individual tools and techniques that will help you bring eyes to life in Photoshop. Then we take you through a complete eye retouch from start to finish. Learn how to make a plan, remove distractions, enhance detail, add color, and much more!
Professional Sharpening
Sharpening is sometimes all you need to make eyes look amazing! Learn how to apply the perfect amount of sharpening to eyes using our PHLEARN Sharpening Action. And sharpening is so important that we have a tutorial specifically designed to teach you how to Master Sharpening in Photoshop.
Keep it Natural
Retouching the eyes can have a powerful effect on a portrait, but it can be easy to overdo it. We break down some helpful tips, from understanding how light interacts with the eye, to the fundamentals of eye makeup application and how they can translate over to Photoshop–all so you can create the most subtle and realistic adjustments possible.
Dodge & Burn
Sculpt the areas of light and dark around the eyes using professional dodge and burn techniques. Enhance the natural highlights and shadows to add dimension and draw more attention to the eyes. We make the process even easier with our exclusive PHLEARN Dodge & Burn Photoshop Brush!
Frequency Separation
It wouldn’t be a PHLEARN retouching tutorial without a little bit of Frequency Separation! Learn how to smooth out harsh transitions between light and dark in the areas around the eyes, and clean up small blemishes and distractions in the skin without losing any of the original texture.
Eye Makeup Techniques
Eye retouching borrows a lot from the world of makeup. We break down the principles of making eyes stand out using common makeup techniques. Learn how to carefully darken certain areas around the eyes to help them appear brighter and more vibrant.
Add Contrast
The eyes are often the feature we want to stand out most in a portrait. How do we make it happen? By adding contrast! We show you multiple ways to increase the contrast around the eyes, from dodging and burning to professional-grade sharpening.
Eyes that Tell a Story
Brighten Eyes
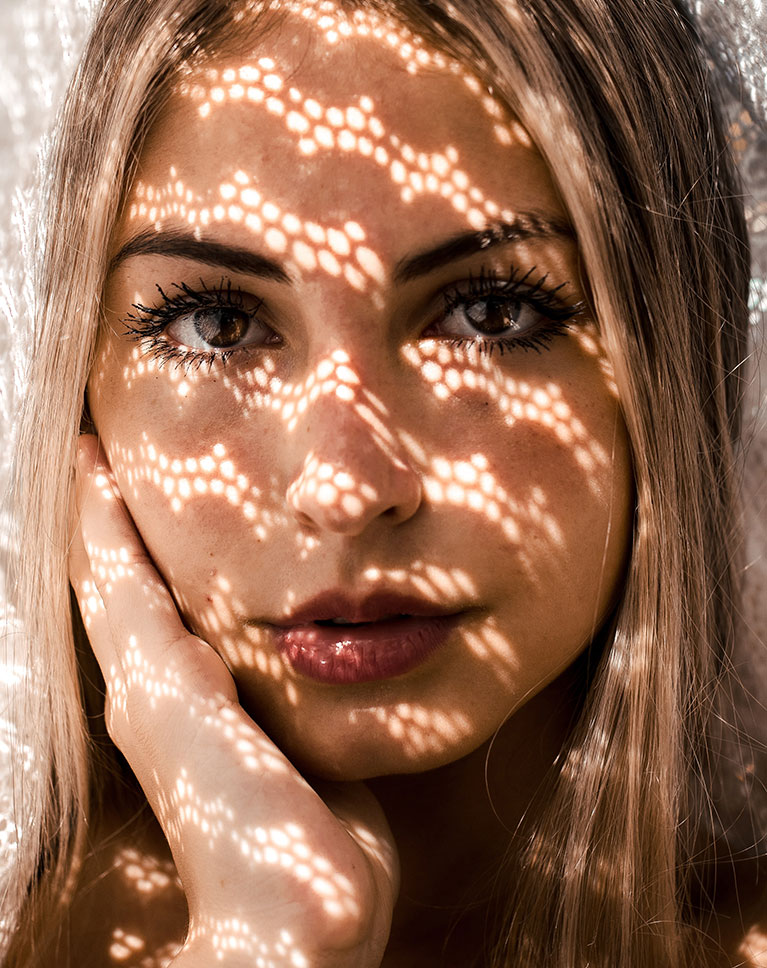
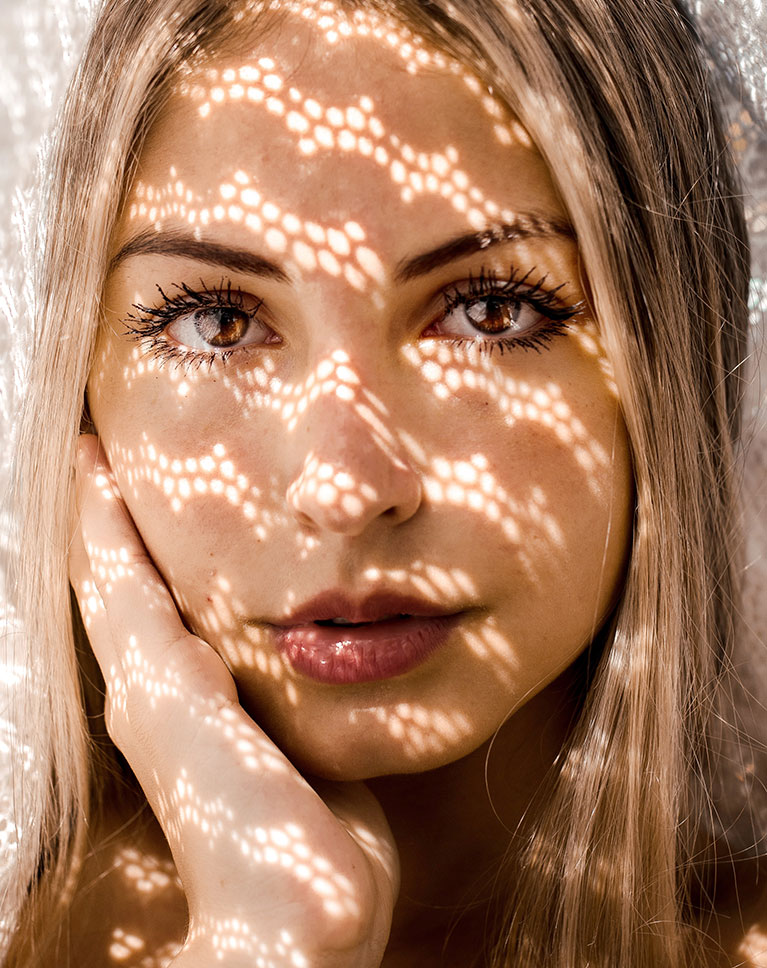
Brown eyes are beautiful, but the darker the eyes, the harder it is for our cameras to capture them. We show you how to brighten up dark eyes, recovering all of the natural colors and unique details.
Photoshop Actions & Brushes
We include several custom Photoshop Actions and Brushes that will make your retouching workflow smoother than ever. From using our Eyelashes Brush to fill in eyelashes, to our Frequency Separation Action to make skin look flawless, we set you up with powerful tools that will save you valuable time.
Remove Distractions
Tiny distractions add up. From flyway hairs to unwanted reflections, we show you how to seamlessly remove the most common objects and distractions that appear around the eyes.
Improve Any Portrait
Whether your taking corporate headshots, senior pictures, or studio portraits for a magazine cover, understanding how to retouch the eyes can improve your photos and help your subjects and clients look their very best.
Tools & Techniques
Frequency Separation, dodging and burning, blemish removal, and sharpening. These are just a few of the things you’ll learn to use to bring eyes to life in any photo. If you’re ready to tackle more, take the next step in high-end retouching with Professional Beauty Retouching in Photoshop.
Change Eye Color
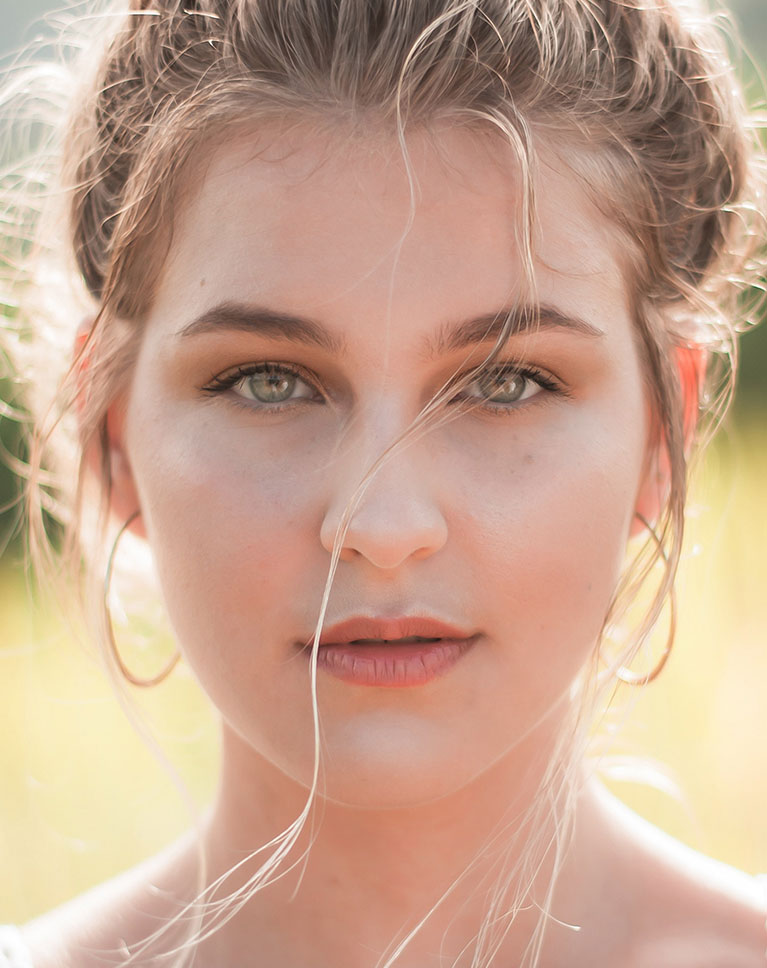
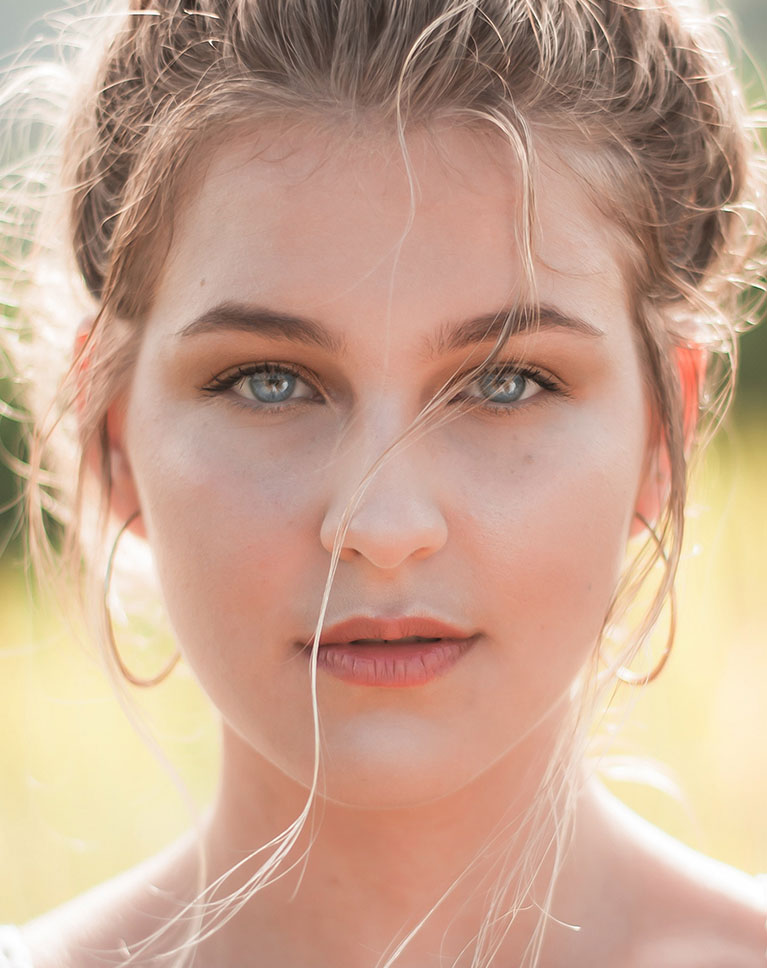
Going from baby blues to emerald greens has never been easier! We show you how to change any eye color while preserving the original highlights and details for a photorealistic effect.
Skin Retouching
A big part of retouching the eyes is working with skin around them. Learn how to remove blemishes and distractions, like flyaway hairs, and work with the complicated areas around the eyes like the eyelids and the dark patches under the eyes.
Lock Eyes with the Viewer
Windows to the soul. Doorways to the brain. No matter what you call them, the eyes are what pull the viewer into a portrait. We show you every trick and professional technique out there so that you can use your subject’s eyes to tell the story of an image.
Remove Flash, Reflections & Glare from Eyes
We know that eyeglasses can sometimes create editing challenges of their own. Learn how to reduce and remove pesky glare and reflections from glasses, ensuring that the eyes behind them are completely visible.

Aaron Nace
PHLEARN Founder – Class Instructor
Aaron Nace is a photographer, Photoshop artist and founder of PHLEARN. He is the #1 Photoshop instructor in the world with millions of YouTube subscribers.
Reviews
New & Popular Tutorials
Training Site in
the World
Tutorials!
Ratings
and Counting
Subscribers





I am loving the detail explanations of what Aaron does with each step. I think the loading of brushes & actions may have changed. I just clicked on the brush or action and it loaded because when I tried to load either, they didn’t show up, even though I was attempting to load them from the folder where I had them stored. Granted, this may be because I’m using the Beta version 26.8.0. . I had purchased this course previously, but didn’t have the time to explore it in depth. I wasn’t using Photoshop all that often, so I had forgotten some of the techniques I had learned but not mastered. This is GREAT value for the money. I am committed for a year now that I’m retired and have time to take advantage of as many lessons as I can. PS can be a bit overwhelming, but you have broken it down into doable doses which I greatly appreciate.
Thank you for this. Very helpful not only learning the tools but also to lean what to retouch!
Thank you for this great tutorial, Aaron. When it comes to dodging and burning while working with a raw file what would you recommend? Using the technique shown here, creating a curves layer and masking it or duplicating the .dng file, imported as a smart object in Photoshop, adjusting the curves in Camera Raw and then masking it in Photoshop? Thanks again, Mav
Amazing tutorial, i love it! Aaron is a really good teacher. All the chapters are really well explained and you can learn them really fast! Thanks Phlearn, you rocks! 🙂
“F A N T A S T I C !”
Love this tutorial! My wife being an eyelash artist and attaching false eyelashes to people’s eyes, I am usually the one ending up taking photos of her work putting them online. Thank you so much for this awesome tutorial!
I’m impressed by how much and fast I progress doing this tutorials. I’m doing it with wile I’m watching and then couple more times with my images and must say I’ve learn a ton. And the last but not least, learning is Really fun with Phlearn.
Love how clearly and lively Aaron describes the process with thorough examples. Another great tutorial!
Hi! My question is, how can I enhace the eyes, without effecting the eyelashes, that might be in the eye. ( for ex. a picture taken from slightly above the person) Thank you!!
my first full tutorial after taking the subscription, amazing, thank you
Excellent! Thank you
I’m new on PhLearn and I have already watched a few tutorials. I have tried to learn Photoshop on my own for a while now, and it’s just amazing how many answers I have got so far. I am totally ‘hooked’ up like I have been on a video game in the past. Sure you understand what I mean… Aaron makes me laugh out load sometimes when he is thinking out load as some quote stick into my mind…. like this one : ‘…. for FREEEEEE … ‘ :))
Well, of course the tutorial was great. But I’m detecting the development of Phlearn: The Musical. ‘Everybody Likes Tutorial Time’ and ‘Selfie Time’ are my picks for the singles charts.
Thank you AAron, Information is always innovative in your ability to productivity. You surprise me, Aaron
Another awesome tutorial. I find that watching these tutorials always refreshes my skills and helps increase my productivity and causes me to continually re-evaluate and optimize my processes and workflow.
Great tutorial, just what I needed. Showed me some things I already used, but in wrong places and also I learnt how to mix and match different techniques to get amazing results. Definitely adding this to fav tutorials!
Wow, what a fantastic tutorial ……. It was not too long and contained so much good information. Especially the hints around using apply image as a method to increase shadows and highlights. Bravo to Aaron and the team. Five stars all round.
Amazing tutorial. Really change the way I retouch eyes, thank you so much!
Great tutorial! So many tricks and good techniques implemented for an amazing results!
Fantastic tutorial … as always! Phlearn is by far the best resource for PS tutorials.
You have surprised me – again! in fact I know many techniques, but the way you use them is so precise! Excellent, very useful!
Fantastic tutorial. I appreciate how you break everything down and add little tips in between. What’s especially helpful is including the images you use so we can follow along. Can’t wait for the next one!!! Thank you!
I cannot say enough good things about every tutorial! I LEARN SO MUCH! I make myself cue cards as I am watching….