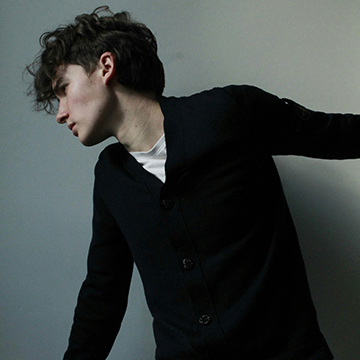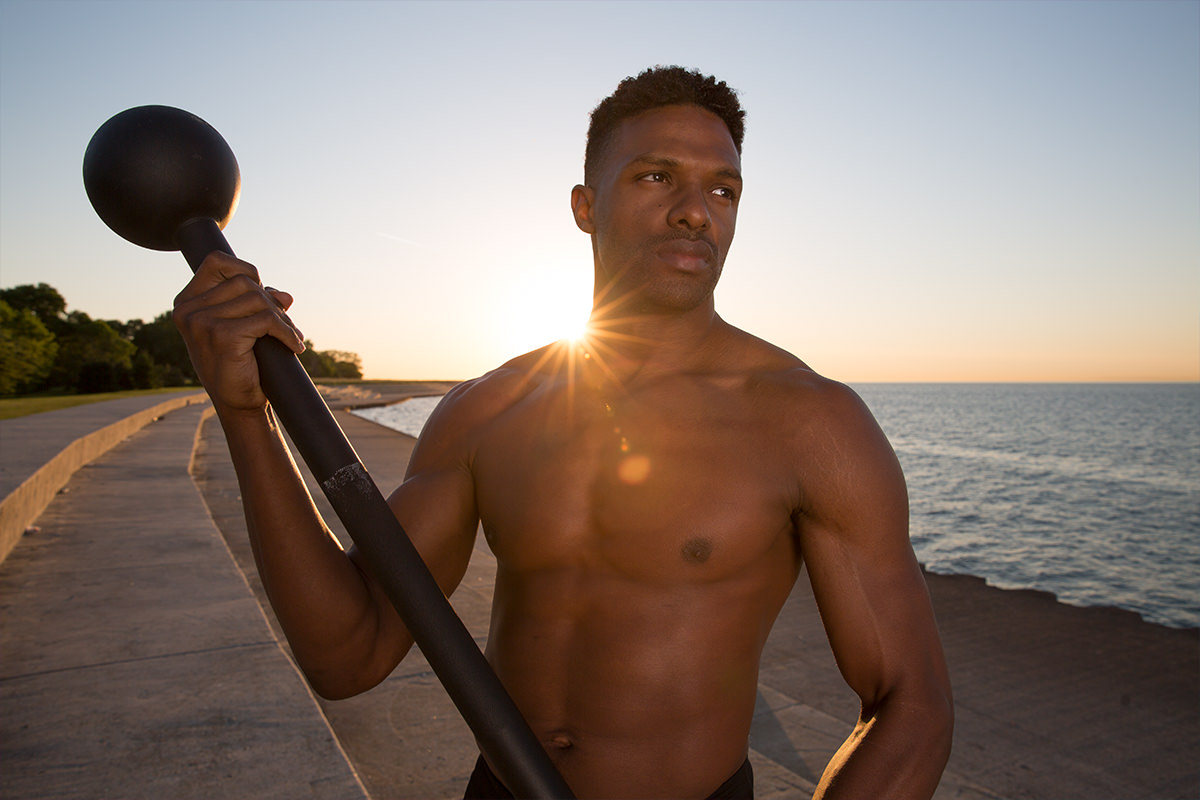
BEFORE
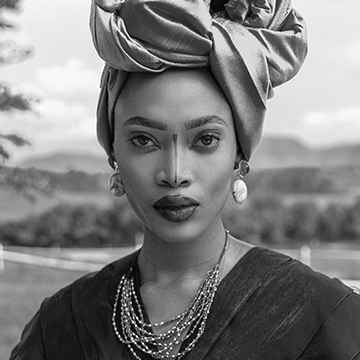
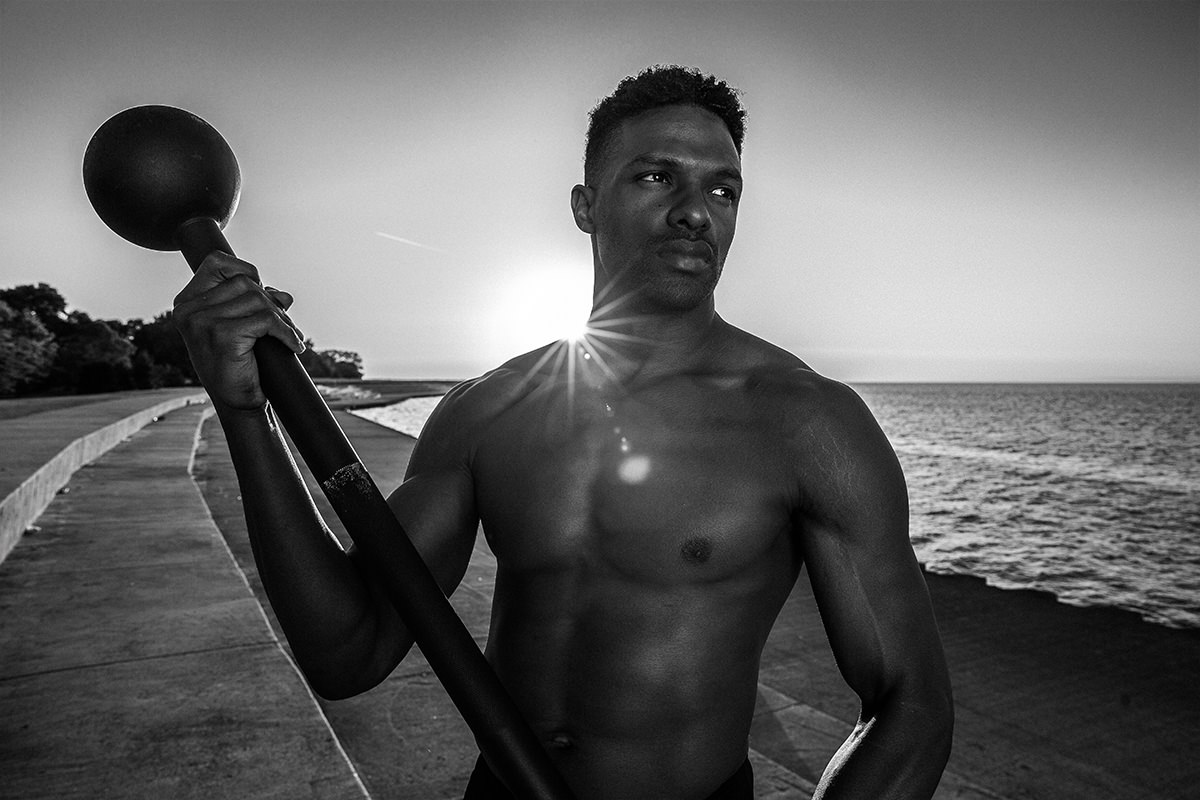
AFTER
Download Sample Images
Click the link below to download the sample images and follow along with this tutorial.
DownloadTutorial Description
Hop into Lightroom as we process these athletic photos from raw files to gritty black and white images.
Learn how to create multiple versions of your images and deliver more value to your clients!
Be Sure to Create Virtual Copies
Virtual copies allow you to process multiple versions of an image in Lightroom without increasing file size.
Learn More about virtual copies.
To create a virtual copy, right-click on an image and go to “Create Virtual Copy.” This will create a reference file on your computer that is much smaller than an actual copy of an image.
Add a “Gritty” Feel to Black and White Photos
The main reason for converting this image to Black and White is to create a more “gritty” feel. Because this is an athletic image, a bit of grit and clarity can help with the style. This is not the effect that you would do with a portrait of your mother. Unless of course, she is a fitness model.
To make the virtual copy black and white, click on the Develop tab on the top of the screen and go to “Black & White” the basic adjustment window.
Don’t Be Afraid to Crank Those Sliders!
When working with a color image, it is a good idea to be conservative with slider adjustments like Highlights, Shadows, and Contrast.
When editing a black and white photo, all bets are off! Feel free to crank those sliders as far as you please, just be sure you are working on a RAW 16-bit photo like the ones provided in this tutorial.
The reason is that colors tend to look bad when they are “too edited,” but removing color from the equation solves that problem.
How to Use the Black & White Mix
Scroll down the right column in the develop tab to get to “Black & White Mix.” This dialog will allow you to choose the luminosity values of different colors in an image. For instance, if a person’s skin is too dark, bring up the red, orange and yellow sliders.
How to Create and Apply Presets
After creating a Black & White photo you are happy with, click on the “+” icon in the left column in the Preset window. Create a new folder and give the preset a name. The next time you want an image to look the same as your original Black & White, click on it in the Develop Tab and choose the preset from the preset menu in the left column.