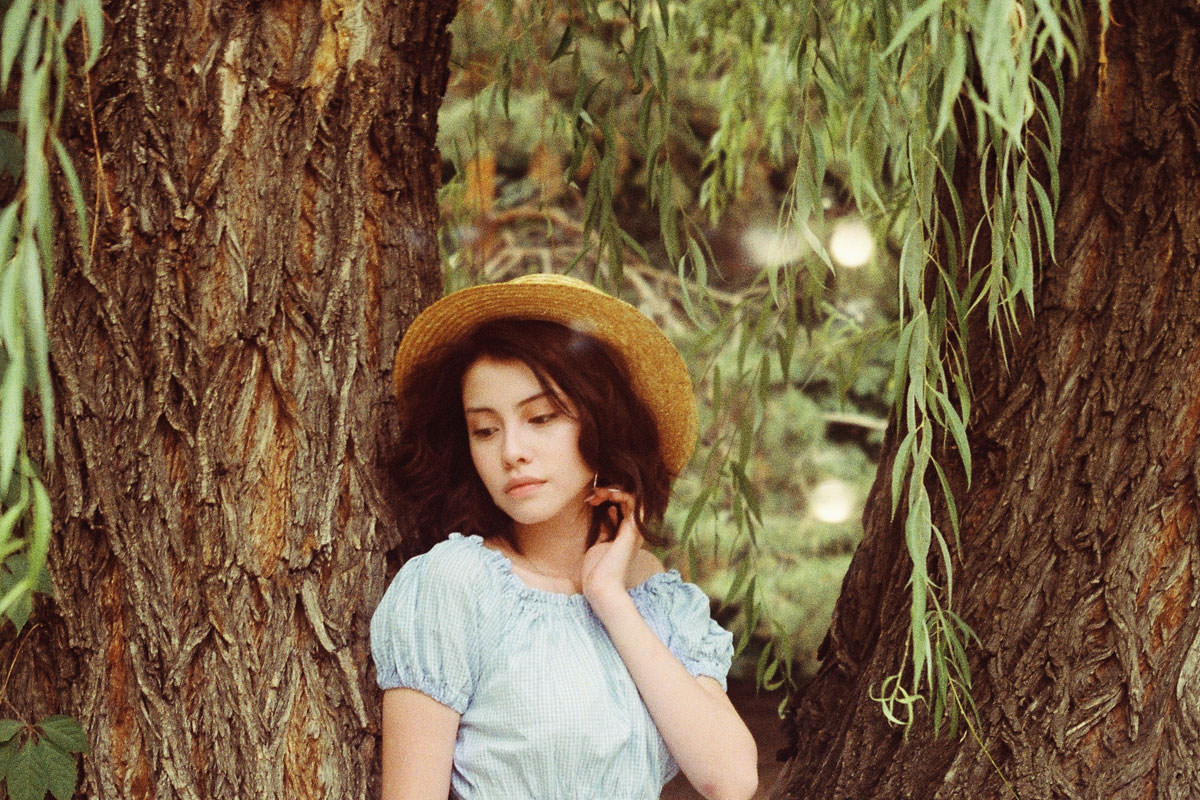
BEFORE
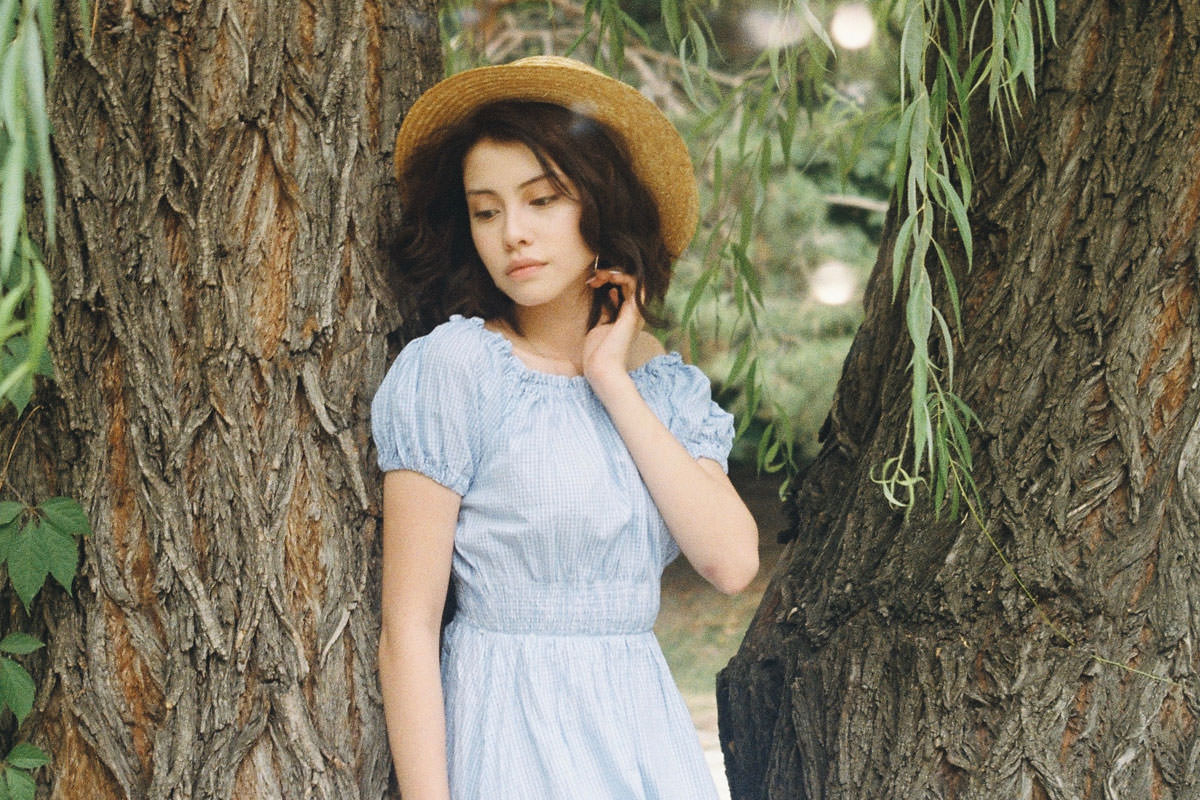
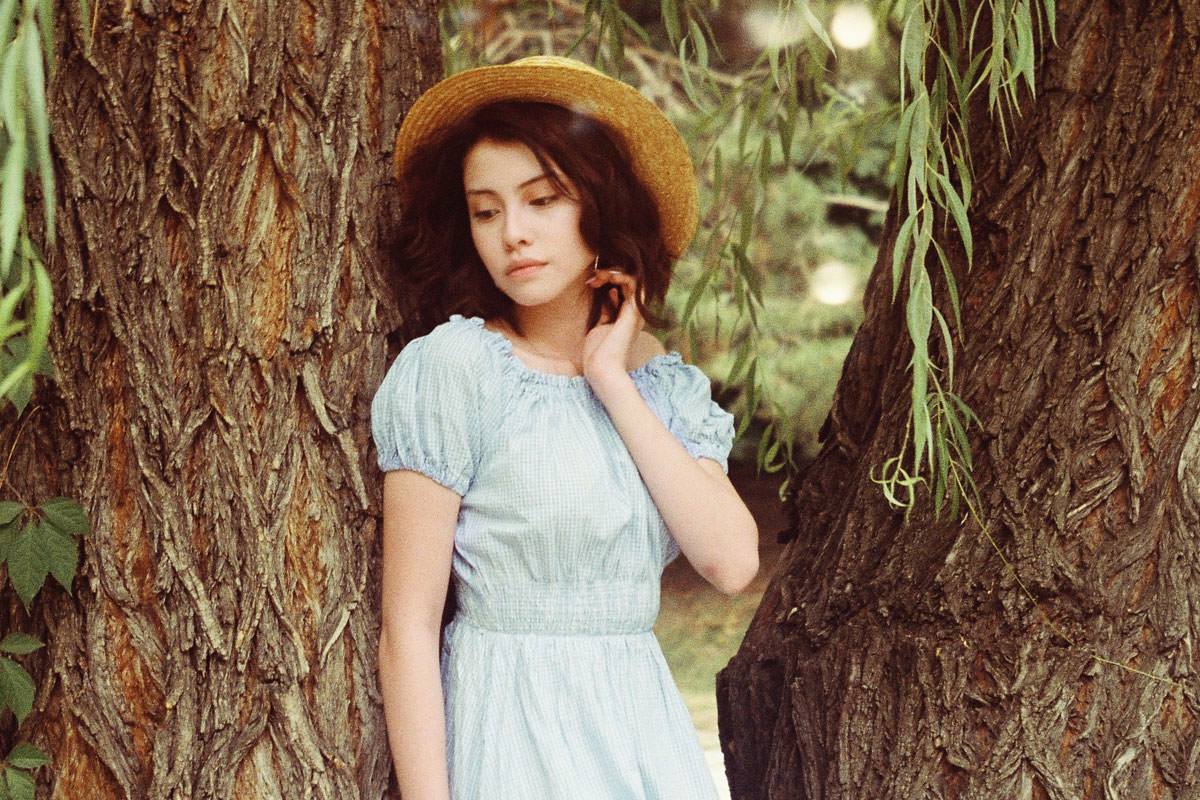
AFTER
Download Sample Images
Click the link below to download the sample images and follow along with this tutorial.
DownloadTutorial Descriptions
Adding style and color to an image doesn’t have to be a long, complicated process. In this tutorial, we use basic tools like Solid Color Fill Layers and Blending Modes to color a photo. Not only is this process quick and easy, it’s also very flexible, allowing you to color the highlights and shadows independently and go back to make changes at any time.
Solid Color Fill Layers
At first glance, it might seem like Solid Color Fill Layers are good for only one thing; filling a canvas with a single color. If this were the case, they would be great for changing a background color but not much else.
It turns out, Solid Color Fill Layers are an essential tool for adding color and style to your photos. When used in combination with Blending Modes and the power of Blend If, you can use them to independently color the highlights, midtones, and shadows of a picture!
Blending Modes
Blending Modes are the key to many of the most powerful techniques in Photoshop. Blending Modes will give you the ability to change how two or more layers interact with one another and, in most cases, will combine the layers using a certain set of rules. (The ‘rules’ will depend on which Blending Mode you’ve chosen.)
For our coloring example, we’re changing the Blending Mode of the Solid Color Fill Layer to Soft Light. Soft Light will make the underlying layers visible, while applying the color of the Fill Layer as well as adding contrast to the overall image.
If you’re following along, you have probably noticed that changing the Blending Mode alone won’t do the trick. We’ll need to call upon another amazing tool to dial in the look that we want.
Blend If Ya Do, Blend If Ya Don’t
If you haven’t used Blend If before, prepare to have your mind blown. Using Blend If in combination with Blend Modes provides incredible precision, allowing you to have a layer appear anywhere within the highlights, midtones, or shadows of another.
This means we can color the highlights and shadows separately from one another. In our example, we chose complimentary colors – red in the shadows and green in the highlights – to give the image a rich and overall pleasing look.
Two quick tips:
First, remember that the Blend If tool has two sliders, one in the highlights and one in the shadows. For a natural look, be sure to split the slider you’re adjusting by holding Alt or Optn while moving it. This feathers the effect, making a more seamless transition.
Second, if you want the layer you’re adjusting to only be visible in the highlights of another layer, you’ll want to move the Blend If slider from the left to the right. If you want the layer to only be visible in the shadows, move it from the right to the left.
Make Changes at Any Time
As always, a non-destructive and flexible workflow is key. One of the great strengths of using Solid Color Fill Layers to color an image is that they can be changed quickly and easily at any time.
Simply double-click on the color icon within the Fill Layer, and the Color Picker will appear. Here you can change the color of this layer and see what it will look like in real-time!
Coloring should be one of the most fun and enjoyable parts of the editing process. Solid Color Fill Layers can make that process smoother than ever, allowing you to focus on developing your own style and creativity.