


Download Assets
This tutorial includes 2 sample images and 1 PDF guide. Downloads are free with a PHLEARN account.
- Download the sample images and PSDs from every free tutorial on PHLEARN
- New free tutorials published every week
- One free account — sign up once, then download anything
Free PDF Guide · 3 Pages
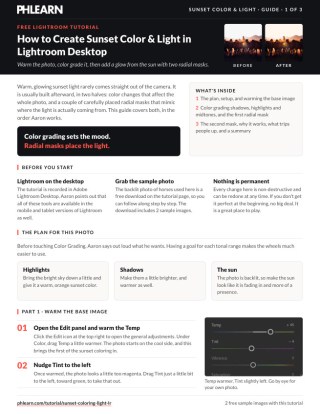
This Tutorial as a Step-by-Step PDF
Walks through warming Temp and nudging Tint toward green, grading the Shadows, Highlights and Midtones wheels in Color Grading, then a broad Radial Gradient mask with Exposure, Shadows and Temp up and Clarity and Dehaze down, and a smaller second mask for the center of the sun. Keep it next to your keyboard.
description
Learn how to create warm sunset color and light in Lightroom Desktop. Start by warming the base image with Temperature and Tint, then use the Color Grading wheels to shape shadows, midtones, and highlights, pulling the highlights toward a darker orange and removing any magenta cast from the midtones. Finish with two radial gradient masks, a broad glow and a smaller hot spot for the sun, using Clarity and Dehaze to add soft, hazy light.
Enjoying This Free Tutorial?
We publish a new free tutorial every week, each one with sample images and PSDs you can download and follow along with. Sign up and they land straight in your inbox, along with early word on sales, events and subscriber-only offers.
Image Source
Photo by Efecan Efe via Pexels
How to Create Sunset Color and Light in Lightroom Desktop
Warm, glowing sunset light rarely comes straight out of the camera — it’s usually built afterward with a combination of global color grading and a couple of carefully placed radial masks that mimic where the actual light is coming from. This tutorial covers both halves of that process in Lightroom Desktop.
Warming Up the Base Image with Temperature and Tint
Starting in the Edit panel, nudging Temperature warmer and adjusting Tint slightly toward green (away from magenta) lays the groundwork for a sunset feel before any more targeted adjustments come in.
Non-Destructive Editing at Any Time
None of these adjustments need to be perfect on the first pass — every slider here stays fully editable, so early decisions can always be revisited once the rest of the edit takes shape.
Using Color Grading Across Shadows, Midtones, and Highlights
The Color Grading panel offers three separate color wheels — Shadows, Midtones, and Highlights — each controlled by clicking and dragging the small slider out from center in the direction of the desired color, which is how a genuinely graded, cinematic look gets built one tonal range at a time.
Adjusting Hue and Saturation Within an Already-Set Color
Once a color is placed, dragging the outer ring rotates its hue, and dragging the inner circle from center outward increases or decreases its saturation — a slider at the bottom of each wheel also controls brightness for that tonal range, all independently adjustable after the initial color choice.
Darkening and Warming the Highlights for a Sunset Glow
For a moody sunset look, the Highlights wheel gets pulled toward orange while also being dragged darker, taming what would otherwise be blown-out, overly bright sky detail into something that reads as warm, late-day light instead.
Fine-Tuning Midtones to Remove an Unwanted Color Cast
If the midtones pick up too much magenta from the overall warming pass, returning to the Midtones color wheel and pulling some of that magenta back out keeps skin tones and other midtone detail from looking artificially pink.
Creating a Sun Glow with a Radial Gradient Mask
Global color grading affects the entire photo, but a believable sun glow needs to be localized. In the Masking panel (M), a Radial Gradient mask dragged out over one area of the frame creates a contained region where Exposure, brightened Shadows, and a warmer Temperature combine to suggest sunlight breaking through.
Adding Haze and Softness with Clarity and Dehaze
Lowering Clarity slightly softens the masked area, and lowering Dehaze adds a touch of atmospheric haze — together suggesting dust or moisture catching the light, which sells the sun-glow effect much more convincingly than sharp, clear detail would.
Adjusting a Radial Mask’s Size and Feathering
Dragging the mask’s corner handle resizes the radial gradient, and raising Feather (either with its own slider or by dragging the inner control ring) softens the mask’s edge until the transition between affected and unaffected areas becomes smooth and unnoticeable rather than an obvious hard-edged circle.
Changing the Mask Overlay Color for Easier Viewing
The colored overlay shown while editing a mask (red by default; the green in the video is a color chosen under Show Overlay) can be changed to whichever color is easiest to see clearly against a given photo, and toggled off entirely once the mask’s shape and position are already set.
Layering a Second Radial Mask for the Sun’s Center
A second, smaller Radial Gradient mask placed at the presumed center of the sun — pushed even warmer in Temperature and brighter in Exposure and Shadows than the first mask — adds a concentrated hot spot that reads as the actual light source, layered on top of the broader glow from the first mask.
Comparing Before and After at Any Point in the Edit
The slash key (just above Enter/Return) toggles a full before-and-after view of every adjustment made so far, and the small eye icon next to any individual mask in the Masks panel shows a before-and-after for just that one mask — both useful for judging whether an effect has gone far enough, or too far.
Why Global Grading Plus Local Masks Works
Color Grading’s three-wheel shadows/midtones/highlights split makes it possible to push a cohesive warm tone across the whole image without flattening it into one single color, while radial masks add the one thing global adjustments can’t: a believable, localized light source. Layering a broad glow mask with a smaller, brighter mask for the sun’s actual center is what gives the light a sense of falloff and direction, rather than an even wash of warm color across the entire frame.
Final Thoughts
Convincing sunset color comes from working at two different scales: a global color grade across shadows, midtones, and highlights to set the overall mood, and one or more radial masks to place a believable glow exactly where the light source should be. Every part of it stays editable, and the same tools are available in Lightroom on mobile and tablet too.
Quick Reference: Keys, Menus and Settings
- Warm the baseEdit panel > Color: Temp warmer, Tint a little left toward green
- Grade the tonesColor Grading: Shadows reddish orange and brighter; Highlights orange, slider pulled darker; Midtones to remove magenta
- Before and after/ (the slash key, above Return/Enter)
- Sun glowM for Masking > Radial Gradient; Exposure, Shadows and Temp up; Clarity and Dehaze down
- Soften the maskFeather slider at the top of the mask panel or the inner circles; drag the edge circle to resize
- Sun’s centerCreate New Mask > Radial Gradient, smaller; Temp, Shadows and Exposure up
- Compare the masksClick the eyeball in the Masks panel
Same keys on Mac and Windows. No AI, no generative credits.
Free Downloads
Follow Along on the Same Photos
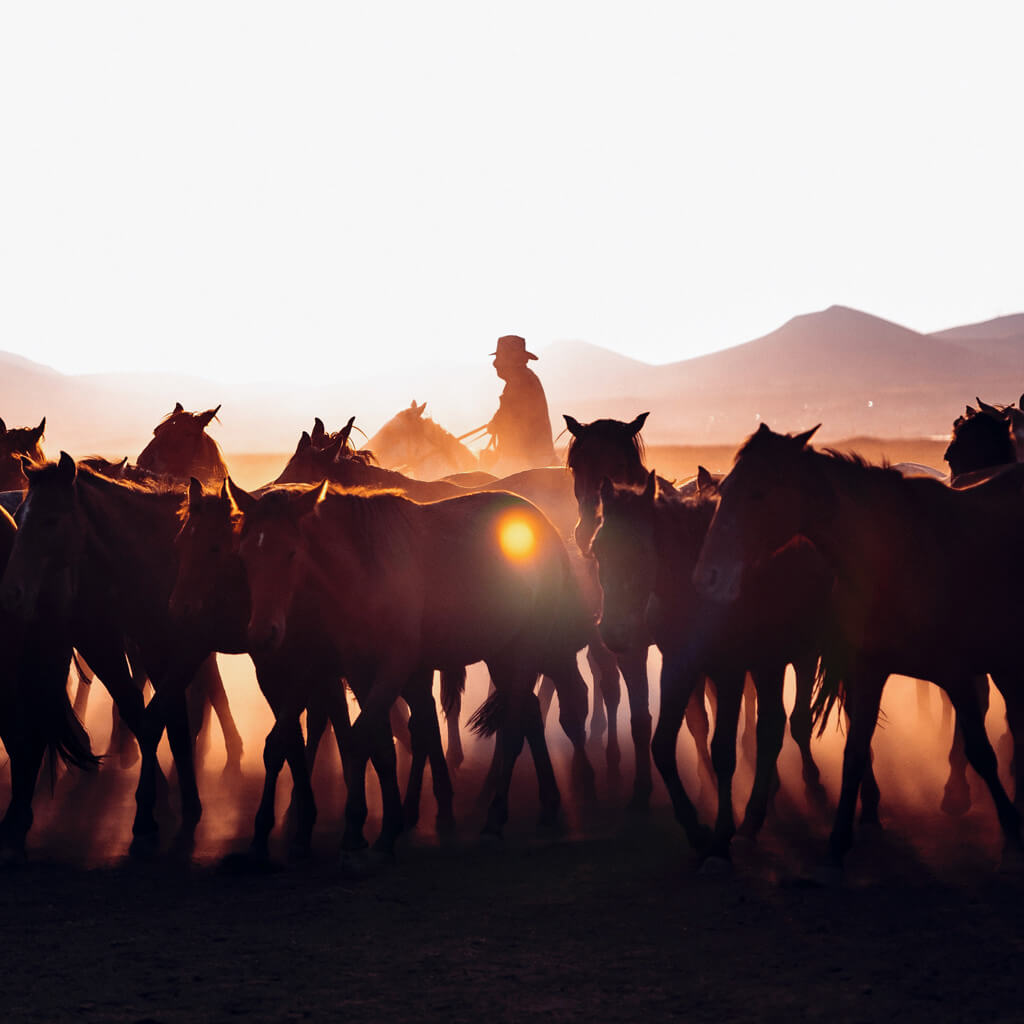
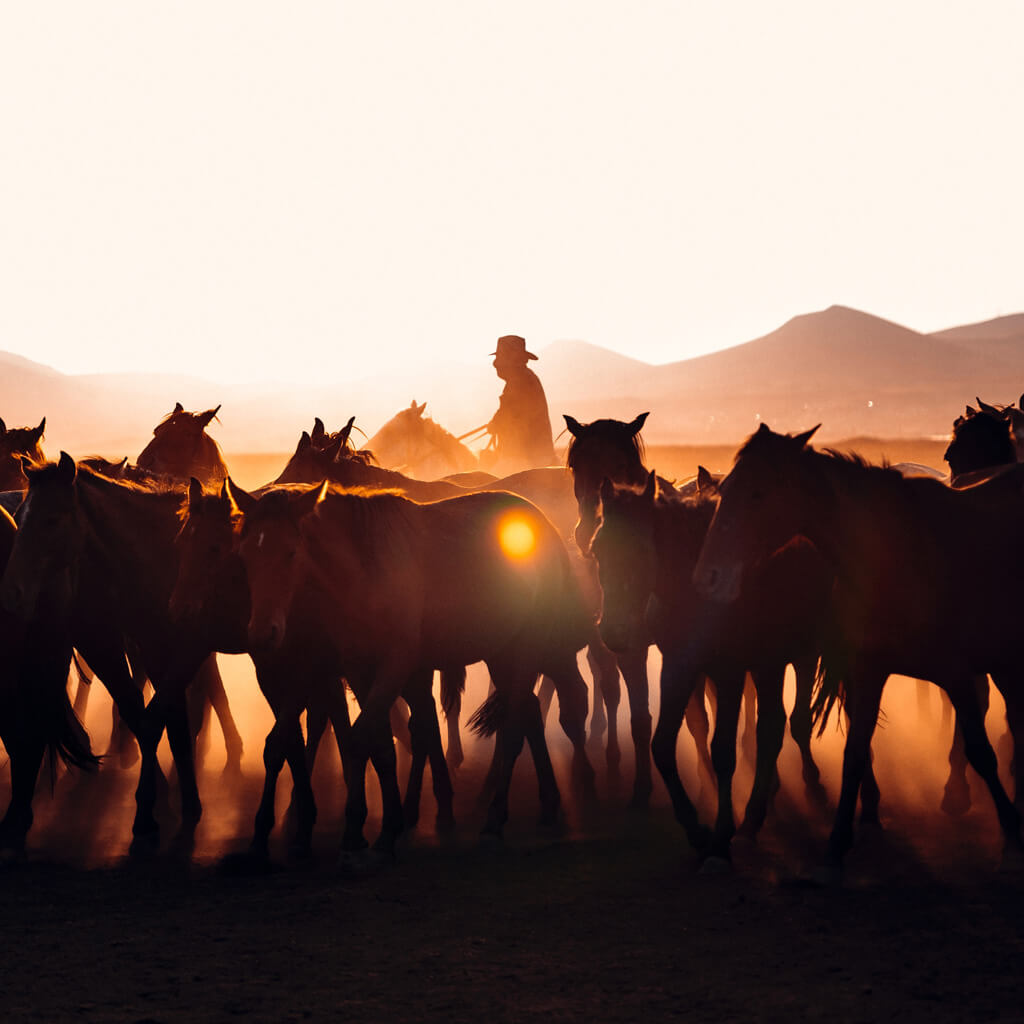
Get the 2 sample images, including the backlit photo of horses at sunset, and the 3-page PDF guide. Free with a PHLEARN account.
Sunset Color in Lightroom: Common Questions
How do I give a photo sunset color in Lightroom?
Open the Edit panel, drag Temp a little warmer and nudge Tint left toward green. Then use Color Grading to warm the shadows and highlights, and add radial masks where the sun is.
How do the Color Grading wheels work?
Drag the center handle out toward a color to push it into that tonal range. The outer circle changes the hue, the inner circle changes the saturation, and the slider underneath makes the range brighter or darker.
How do I warm and tone down a bright sky?
On the Highlights wheel, drag out toward an orange sunset color, then drag the slider under the wheel to the left so the highlights get a little darker.
Why does my photo look magenta after warming it?
Warming can push things toward magenta. Fix it where you see it: Tint a little to the left, the Midtones wheel in Color Grading, or the settings inside a mask.
How do I add a glow from the sun to one area?
Press M for Masking, choose Radial Gradient and drag it over the area. Nothing shows until you raise Exposure; then brighten Shadows, warm the Temp, and lower Clarity and Dehaze for a hazy look.
How do I stop a radial mask from looking like an obvious circle?
Raise Feather with the slider at the top of the mask panel, or drag the inner circles on the mask itself, until the edge is smooth. Drag the little circle on its edge to make it larger.
Why is my mask overlay red instead of green?
The overlay just shows the area you are affecting. Red is the default; the video shows green because that color was chosen under Show Overlay. Switch the overlay off once the mask is placed.
How do I see the before and after in Lightroom?
Press the slash key, just above Return/Enter, to compare the whole edit with the original. Click the eyeball in the Masks panel to see the photo with and without the masks.
Can I do this in Lightroom on my phone or tablet?
The video is recorded in Lightroom Desktop, and Aaron points out that all of these tools are available in the mobile and tablet versions of Lightroom as well.
Are the sample files free?
Yes, with a free PHLEARN account. You get 2 sample images and 1 PDF guide: the backlit photo of horses used in the video is one of them, and the guide is 3 pages.
From the Magazine View all
Stories, interviews and guides for photographers, new every week.
 EditingLightCraft vs Lightroom: I Edited the Same RAW Files in BothThe free clone on the same RAW files: what matches, what breaks and who should switch.
 InspirationRare Historical Photos: 13 of the Rarest Pictures Ever TakenFrom the earliest surviving picture of a person to the last passenger pigeon: who took each one and why it survives.
 EditingArtCraft: Photoshop Cloned by AI in Two Weeks. Is It Legal?ArtCraft cloned Photoshop and Lightroom with AI and gave them away. Any good? Legal? Safe?
Master Photoshop, Lightroom and Photography
Join PHLEARN PRO for $12.99 a month, or $99.99 a year (save 36%). Cancel anytime, with a 100% money-back guarantee.





