
Download Sample Images
Click the link below to download the sample images and follow along with this tutorial.
DownloadTutorial Description
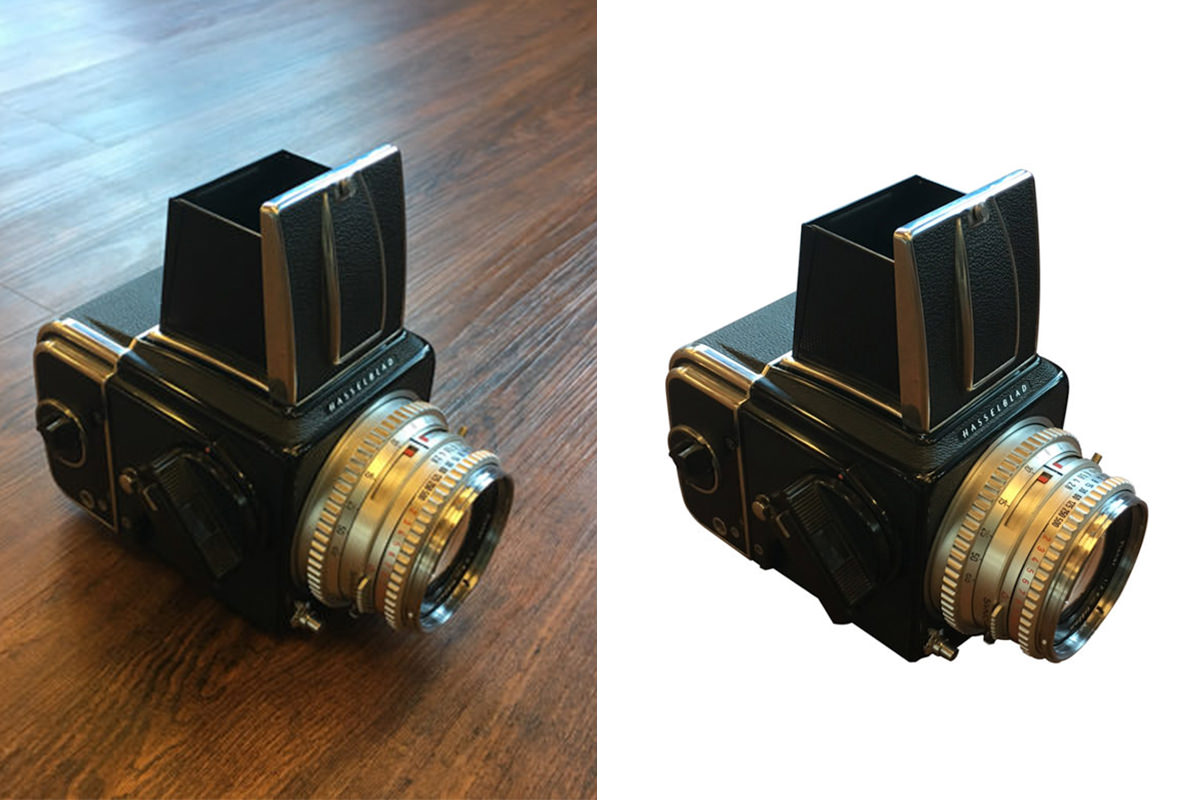
Learn how to cut any object out of its Background in today’s episode featuring the Pen Tool and Vector Masks.
Vector Masks Vs. Layer Masks
When cutting an object out, you can choose between Layer Masks and Vector Masks, here are some of the key Differences between the two.
Layer Masks
• Determines visibility based on pixels, not shapes.
• Paint white on a Layer Mask to make areas visible, black to make them invisible
• Allows Filters like Blur and Sharpen
Vector Masks
• Determines visibility based on Pen Paths and shapes
• Paths can be altered at any time, revealing different parts of an image
• Add feathering using the Properties Window
Density & Feathering
When cutting an object out of its Background, it is important to be able to see what you are cutting out. When using vector masks, the subject can get hidden by the mask. To reveal the subject, open the properties window and lower the Vector Mask density to “see through” the vector mask temporarily.
A Vector Mask will cut an object out with a sharp edge, to add feathering to the edge, open the properties window and slide the Feathering slider to Soften the edge.