Download Sample Images
description
In a recent episode we created a slick ’90s design inspired by risograph artwork. Now we’re going to take that image to the next level, adding some easy animation! Learn how to create a simple frame animation in Photoshop. Perfect for title screens and transitions in your videos!
Share
Easy Animation in Photoshop
Animation Tools in Photoshop
When you think about creating animations, Photoshop likely isn’t the first program to come to mind. While Adobe Premiere and Adobe After Effects might be more powerful tools for animation, Photoshop is still a very capable option for adding basic motion to an image. So if you’re most comfortable using Photoshop and are in the market for some simple animations, then this is the tutorial for you!
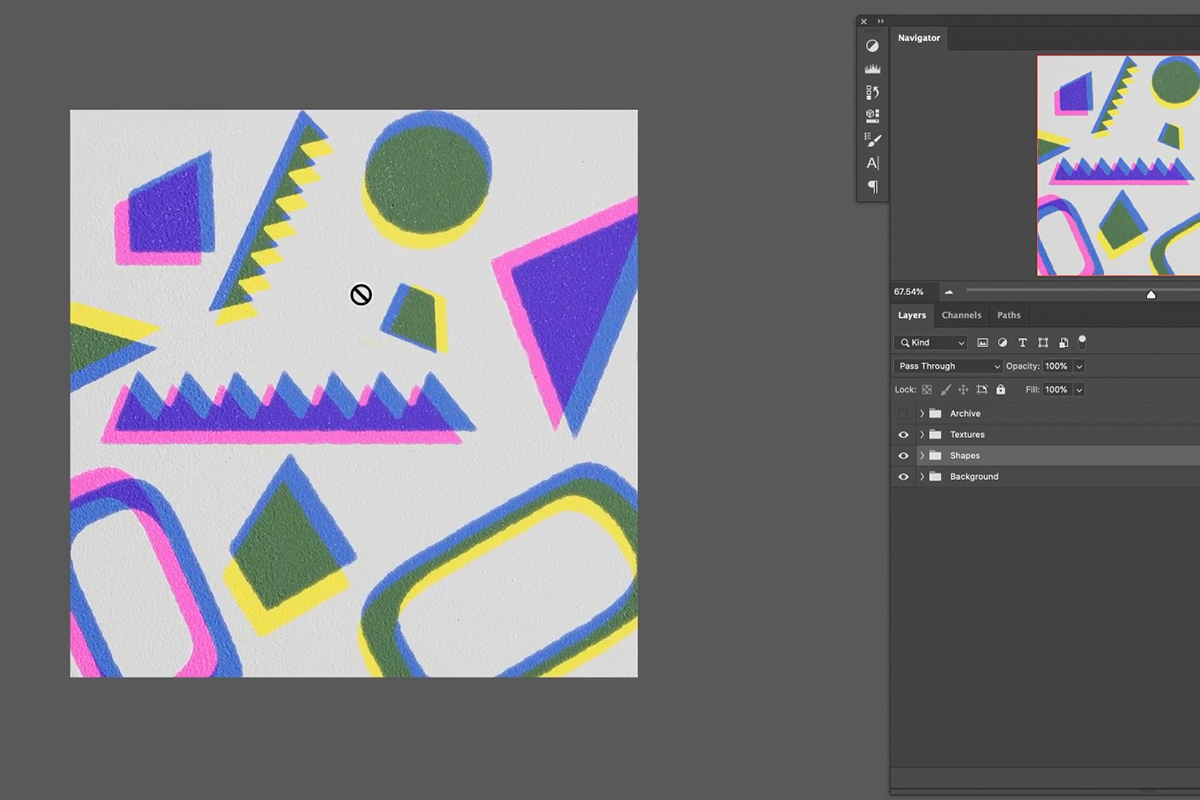
We’re going to take the risograph design we created in this episode and add a little bit of motion. This kind of effect is easy to pull off and is great for creating title cards and transitions for video.
If you do want to learn a little bit of After Effects, we have a 2-part tutorial where we create some text and a gradient in Photoshop and then use After Effects to add a beautiful animation!
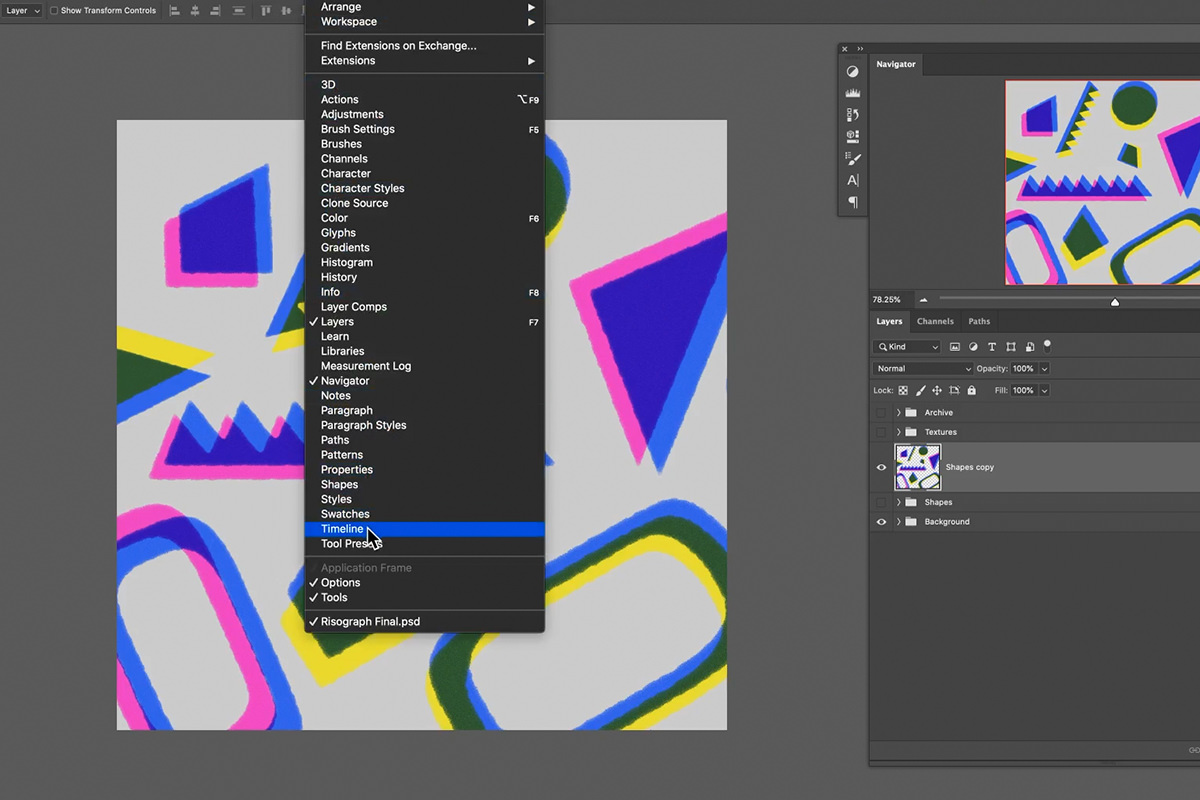
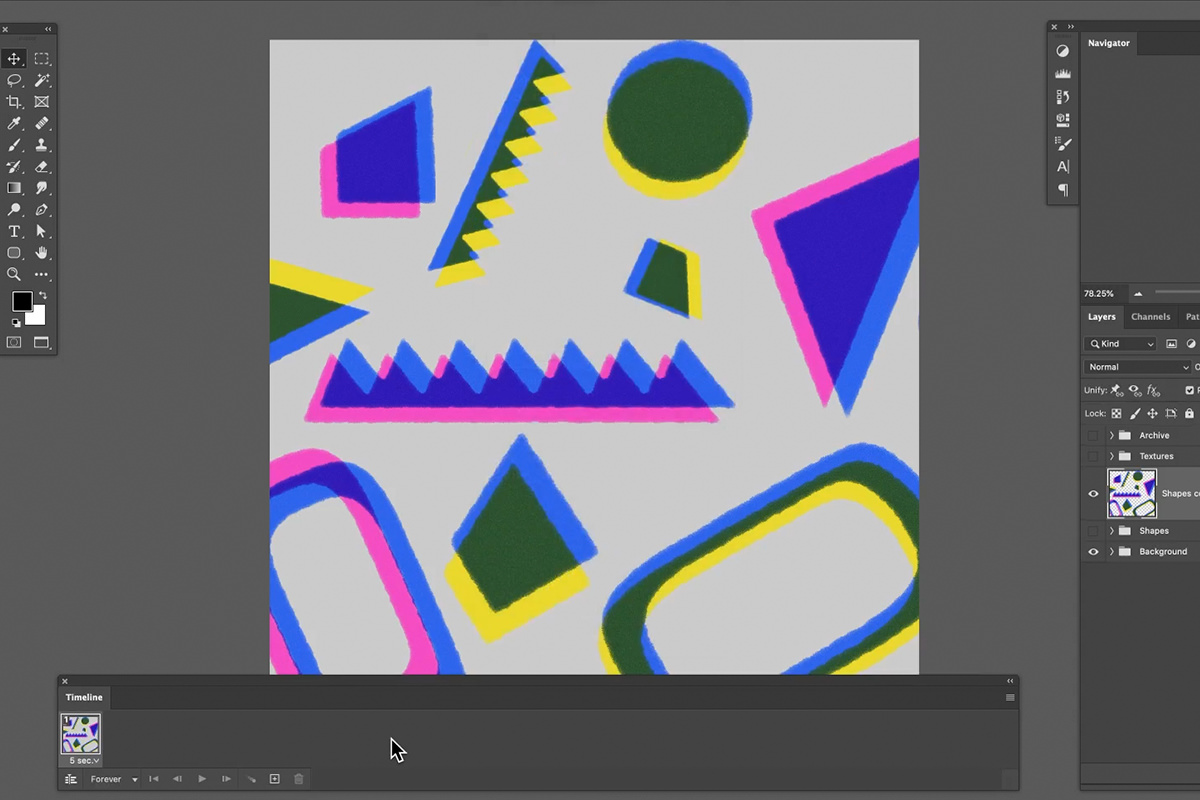
All the animation magic in Photoshop is made possible by the Timeline. If you’re familiar with the basics of video and animation, you’ll know that a timeline is simply a display of how different visual elements appear and change in a scene over a set duration of time. You can find the Timeline by clicking on the Window Menu and then the Timeline option.
In Photoshop, there are a couple of different Timeline options.
There’s the Video Timeline, which is great for more fluid and dynamic motion and more complex scenes. Then there is the Frame Animation Timeline which works like a slideshow, allowing you to create multiple frames and string them together. The Frame Animation Timeline is a little easier to use, so that’s the one we’ll be looking at today.
How to Create Frame Animations
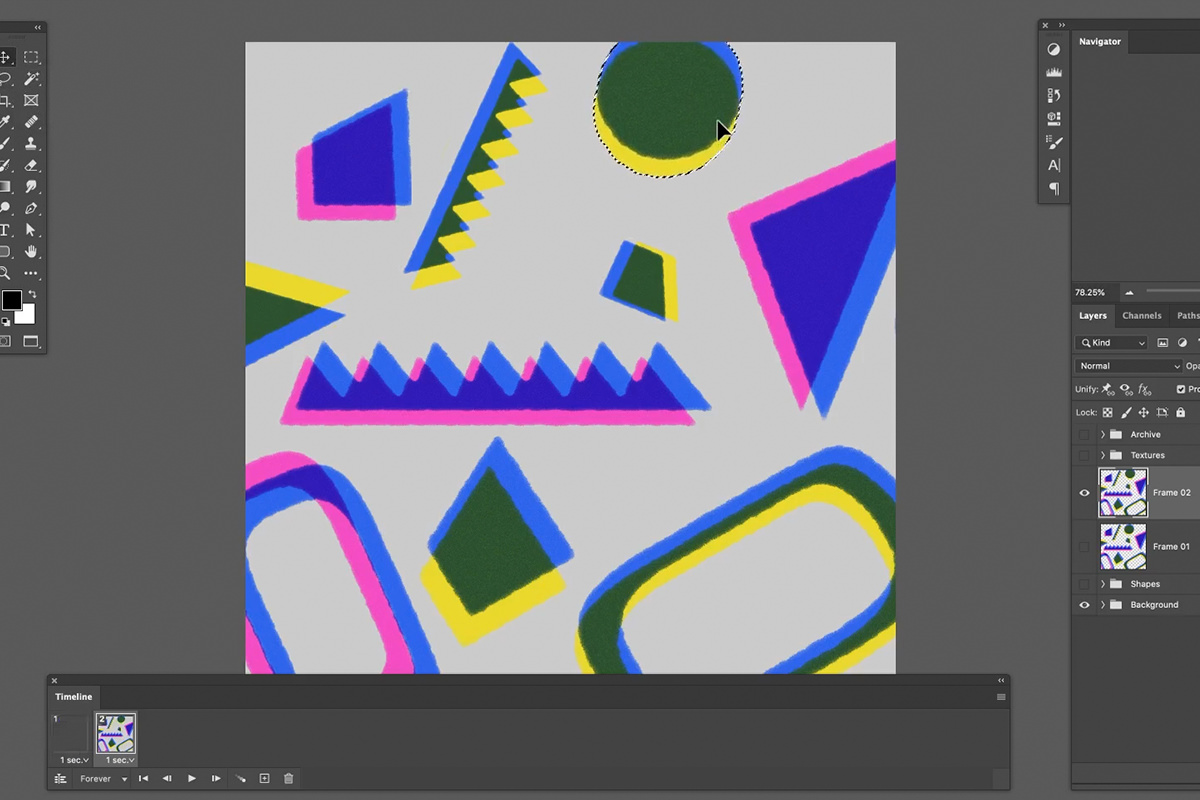
Frame Animations are pretty easy to work with. When you first create a Frame Animation, it will start with just a single frame that contains everything visible in your Photoshop project.
If you create a second frame, it will also contain everything visible in the project. But each frame can then be changed and edited independently.
Say, for example, you have a line of text that says “I LOVE PHLEARN” as the first frame in your timeline. You then create a second frame and then flip that text upside down. When you play the animation, you’ll see the text first, then see it flip upside-down, and then back again.
There’s no limit to the number of frames you can make! By combining multiple frames with simple changes to an image, you can create fun and easy animations that are perfect for websites, ads, or for video title cards. You can also set the duration of each frame within Photoshop, which gives you even more control over the speed and feel of your animations.
Move & Transform for Simple Animations
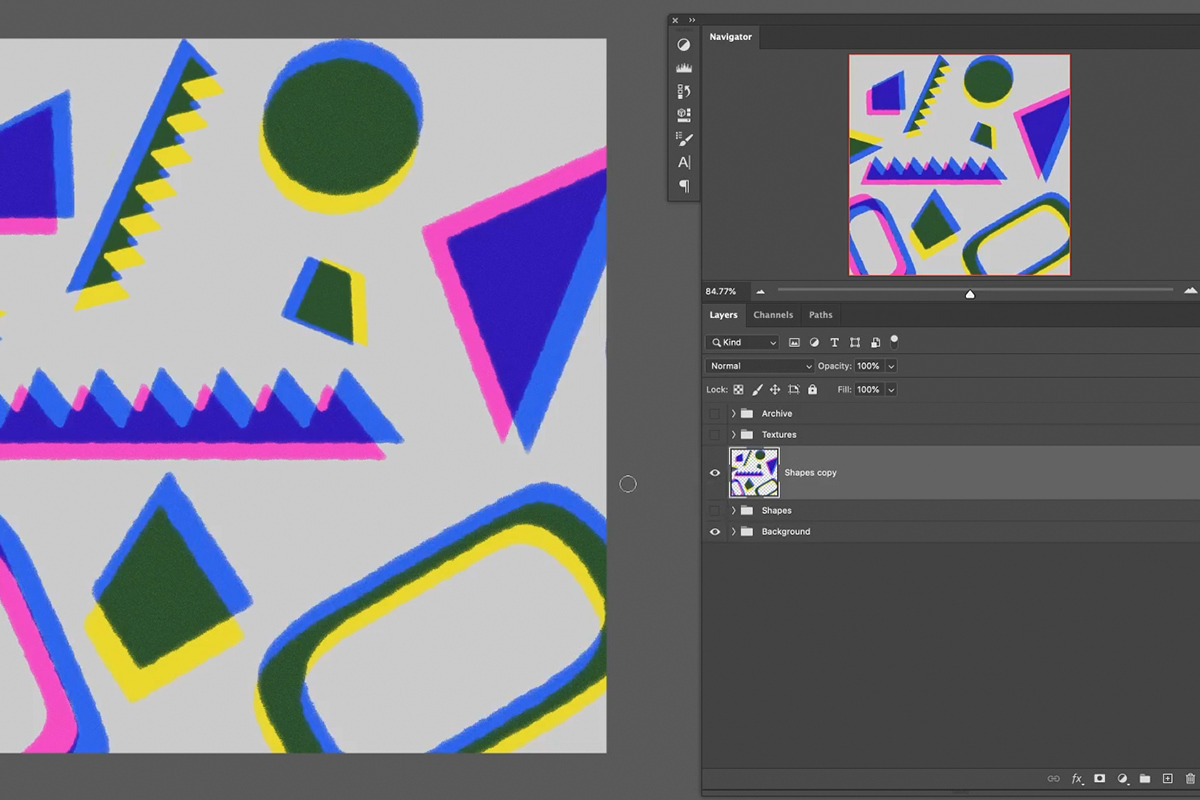
The Move and Transform Tools should be your go-tos for creating basic animations. You can scale objects, rotate objects, or move objects across the canvas for different effects. In our example, we have a bunch of abstract shapes. In order to add some motion in additional frames, we need to set our project up so we can easily move the shapes around without damaging any of the original assets.
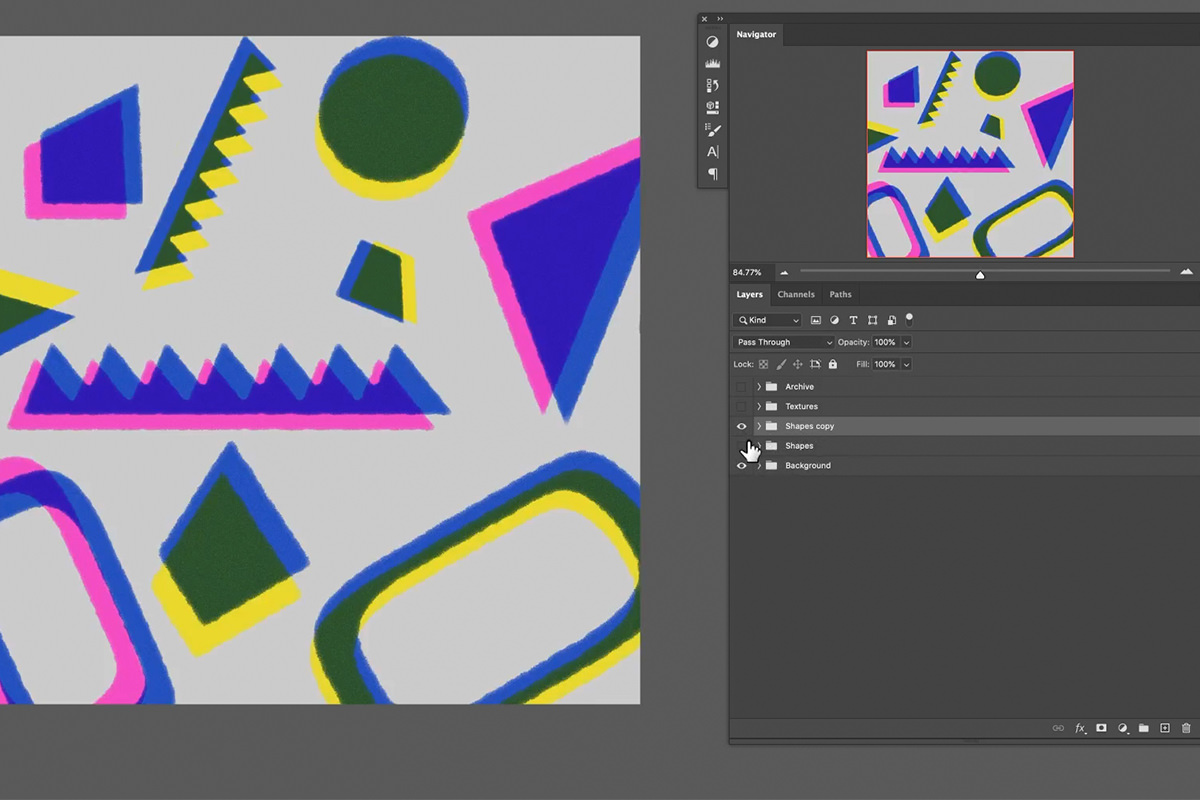
In the PSD, Duplicate the shapes Group. This will create a copy of all of our hard work from the previous episode.
Then select that copy of the Group and hit CTRL or CMD + E to merge all of that data together. This will make it easy to quickly select shapes and move them around.
Now that we have a copy of our shapes, we can edit this new Layer to create the second frame in our animation. Since our first frame is all of the shapes in their original positions, let’s just make rough selections of the shapes in the copied Layer and slightly move each of them around.
This might require you to cut some things out of their background or Duplicate a Layer multiple times, but it’s relatively easy to do and will make the final animation that much more dynamic. If you need to learn how to cut things out and remove backgrounds in Photoshop, check out our PRO course, How to Change & Remove Backgrounds in Photoshop
How to Export Animations in Photoshop
Once all of the frames are set, it’s time to export your animation. There are a couple of ways to do this depending on what type of file you want and where you want to display it. If it’s going on a website, a GIF is probably the best way to go. Go to File, Export, Save for Web (Legacy), and select GIF from the drop-down at the top right of the dialog.
If you want to use it as a title card in a video or if you want to upload it to a platform like YouTube, you’ll most likely want to save it as an MP4. To do this, go to File, Export, Render Video, and select MP4 while adjusting the settings to your preference.
Now your animation is ready to share!


