
Download Assets
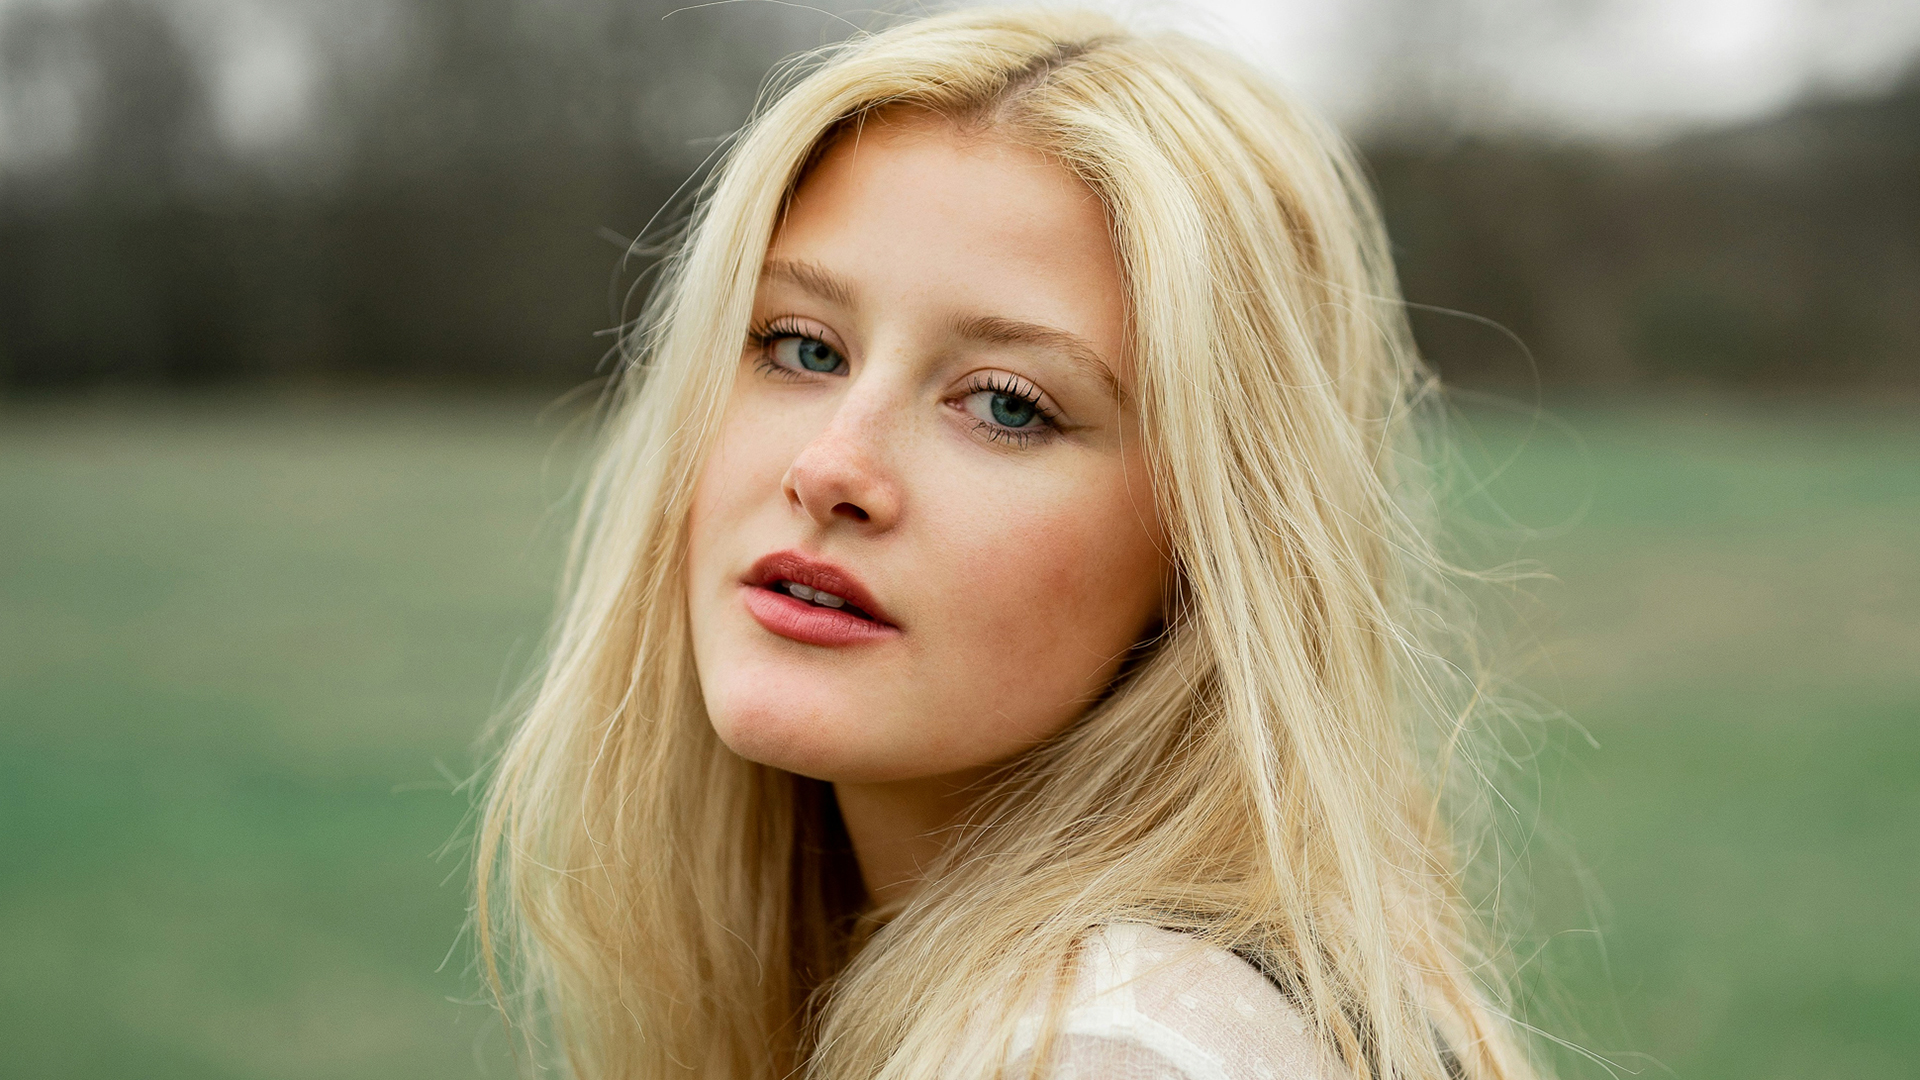
This tutorial includes 3 sample images, 3 sample PSDs and 1 PDF guide. Downloads are free with a PHLEARN account.
- Download the sample images and PSDs from every free tutorial on PHLEARN
- New free tutorials published every week
- One free account — sign up once, then download anything
Free PDF Guide · 3 Pages
This Tutorial as a Step-by-Step PDF
Walks through the core workflow: F for full screen, L for the Lasso, a loose selection, Generative Fill with an empty prompt, then Generate and pick a variation in Properties. Covers the chair and plants, the sign behind the hair, the boats, stray hair and railing, Shift to add pieces and second passes. Keep it next to your keyboard.
description
Remove distractions from portraits with an empty Generative Fill prompt: no text, just a selection a little wider than the problem, and Photoshop matches what surrounds it. This tutorial shows you how to use Generative Fill to seamlessly erase distractions, leaving your subject the star of the show.
Enjoying This Free Tutorial?
We publish a new free tutorial every week, each one with sample images and PSDs you can download and follow along with. Sign up and they land straight in your inbox, along with early word on sales, events and subscriber-only offers.
Artist Credit
- Jeffery Erhunse
- Joe Gardner
- Joshua Rawson-Harris
Images sourced from Unsplash.
Remove Distractions from Portraits Using AI in Photoshop
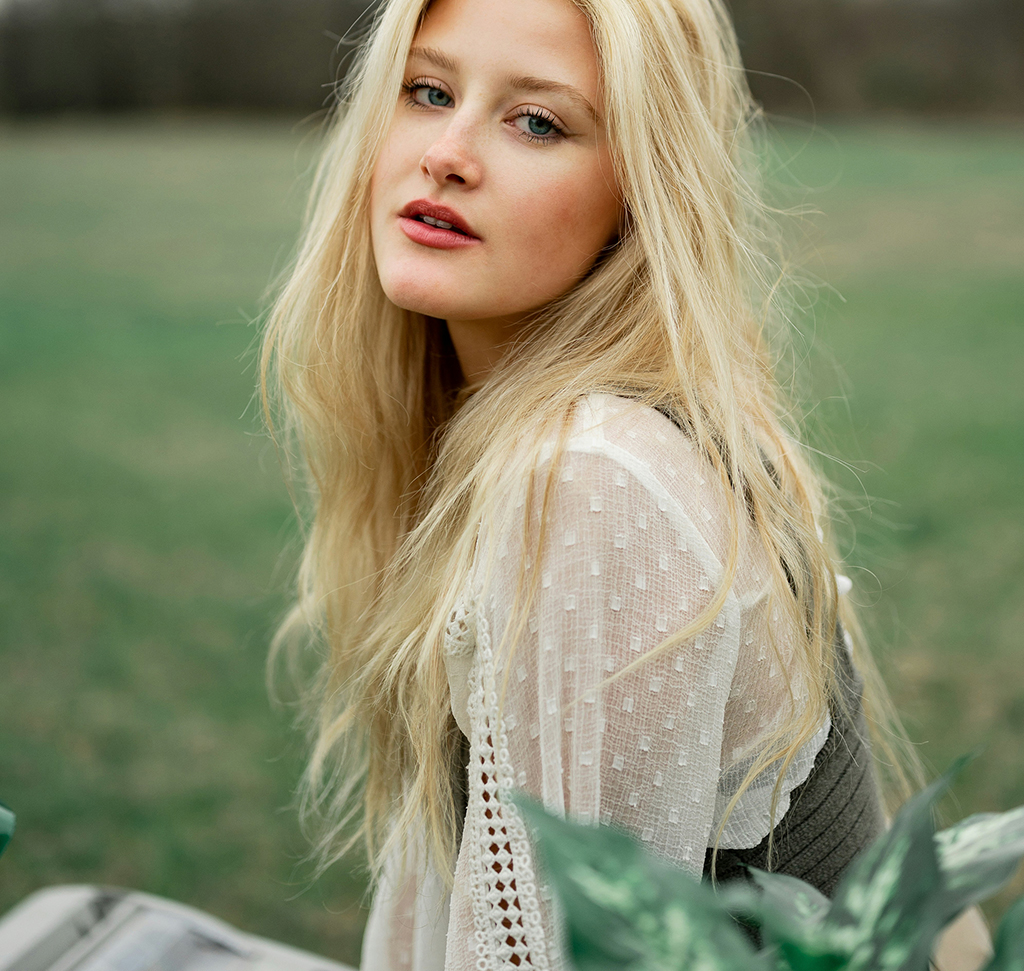
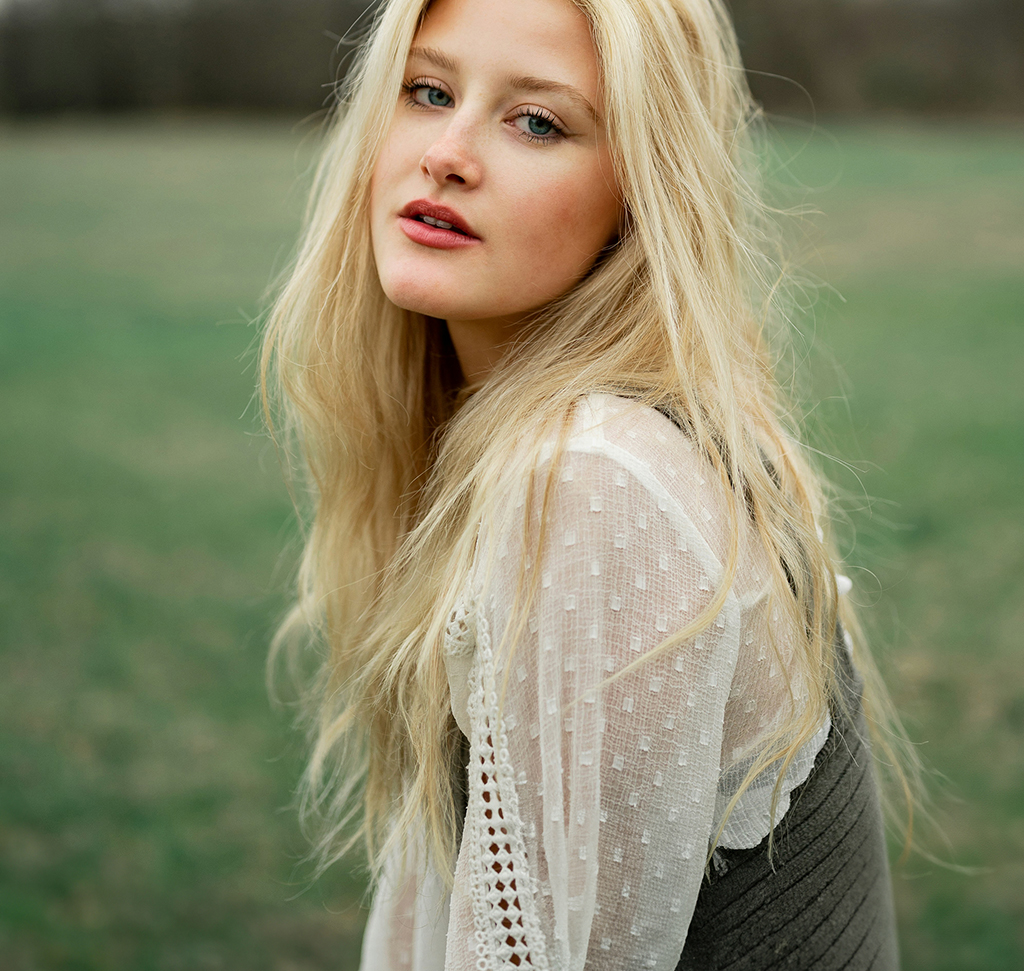
Almost every portrait has something in it you wish was not there. A sign in the background, a bright patch pulling the eye away from the subject, a stray hair across a cheek, a piece of litter on the ground. These are small problems that used to cost real time, because cloning over them means matching tone, texture and grain by hand.
Generative Fill handles most of them in seconds, and the technique has one detail that makes the difference between a clean result and a soft, obvious patch: what you type in the prompt box. The answer is nothing at all.
Why This Beats Cloning
The Clone Stamp and the Healing Brush copy pixels from elsewhere in your own image. That works beautifully when there is a clean, similar area nearby to borrow from, and it falls apart when there is not — a distraction against a complicated background, or one overlapping several different textures, leaves you nothing good to sample.
Generative Fill generates new content that fits the surroundings instead of copying existing content. It can reconstruct a background that never existed in the frame, which is precisely the case that used to take the longest.
Remove Distractions From Portraits: the Workflow
-
Press F for full screen
Not essential, but it gives you the whole image without panel clutter, which makes distractions much easier to spot.
-
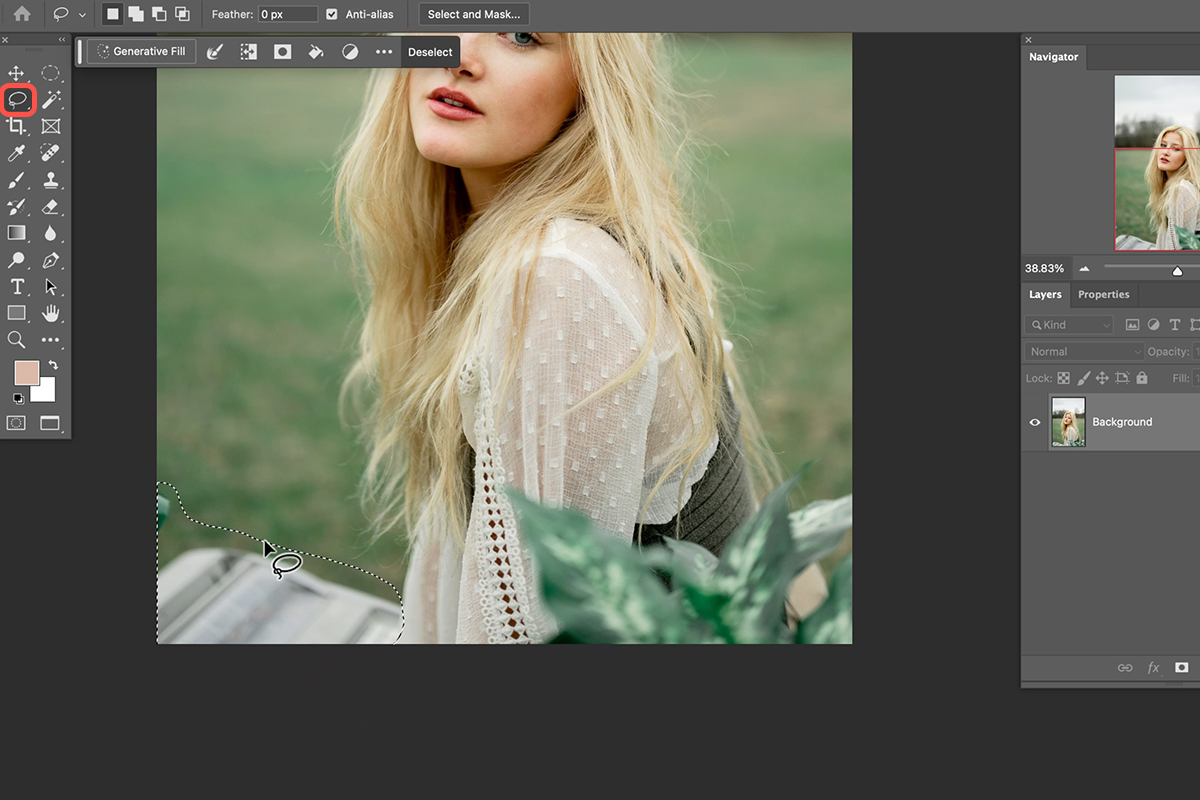
Press L for the Lasso Tool
The standard Lasso. Nothing more precise is needed for most of this.
-
Draw around the distraction
Include a margin of clean surroundings on all sides.
-
Click Generative Fill and leave the prompt empty
Do not type anything.
-
Click Generate
The selection is processed in the cloud and three variations come back.
-
Choose the best variation in the Properties panel
Then move to the next distraction. One at a time, each on its own layer.
The Empty Prompt
This is the thing most people get wrong. The prompt box invites you to describe what you want — “clean wall”, “grass”, “sky” — and doing so tells the AI to generate that thing. Generated grass is rarely as convincing as the grass already in your photograph.
Leave the box empty and Photoshop interprets it as a removal instruction. It extends what genuinely surrounds the selection rather than inventing something new, which is almost always the better result when your goal is for something to simply not be there.
Save prompts for when you actually want to add something. For taking things away, type nothing.
Making the Selection
Rough is fine, away from the face
For a distraction in an open background, precision buys you nothing. A quick loose lasso with a generous margin gives the AI more surrounding context to match against and produces a better blend than a tight tracing would.
Tight is essential, near the face
This is the important exception. When a distraction overlaps or sits close to a facial feature, keep the selection as close to the object as you possibly can.
Anything inside your selection is territory the AI is allowed to rebuild. Include part of an eyebrow, a lip, or the edge of an eye, and it will reconstruct that too — plausibly, but not as the person’s actual feature. The result is subtly not them, which is far worse than the distraction you were removing.
Zoom in and work carefully anywhere near a face. Elsewhere, be quick.
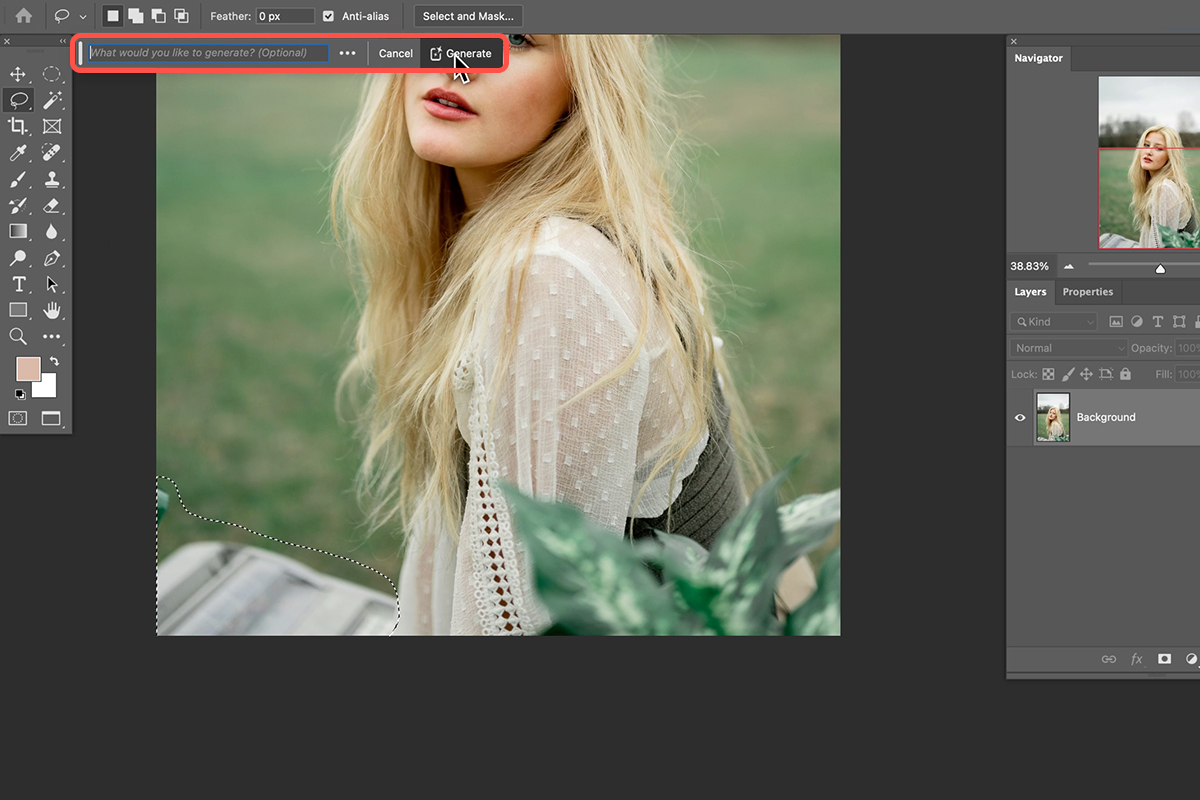
Hold Shift to add
If a single distraction is split into pieces — an object partly hidden behind the subject, or a mark broken across two areas — hold Shift and draw around each piece. They become one selection and are generated together, which keeps the result consistent between them.
Holding Alt or Option subtracts, which is how you carve a face or a hand back out of a selection that overshot.
Texture and Grain
One of the better things about this approach is that generated areas pick up the existing grain and texture of the photograph rather than coming back artificially clean. On most images the patch sits in without any further work.
On very high-resolution files it is worth checking at 100% anyway. Generated content is capped in resolution, so a large removal can come back slightly softer than its surroundings. If it does, adding a small amount of noise to that layer settles it — and selecting smaller areas in the first place mostly avoids the problem.
Working Small: Stray Hairs
Individual stray hairs are worth a mention because they are the most common portrait annoyance and they respond well to this.
Zoom in properly — 200% or more — and lasso a narrow band along the hair rather than a large blob around it. A thin, close selection gives the AI a small, well-defined job and the results are consistently good. A big loose selection around a thin hair asks it to rebuild a large area of skin or background for no reason.
When One Pass Is Not Enough
Generate again
The three variations are genuinely different. If none work, clicking Generate again with the same selection produces three more, and often one of those is right.
Change the selection
If several rounds all fail, the selection is the problem rather than the AI. Widening it slightly, or shifting it to include more clean surroundings, usually changes the outcome more than rerolling does.
Stack passes
For a stubborn removal, run a second pass over what remains. Because each generation lands on its own layer, you can build the fix in stages without losing any of the intermediate steps.
Knowing What to Remove
Things that pull the eye
Bright patches near the frame edge, high-contrast objects behind the subject’s head, litter, signage, distracting highlights. Removing these is straightforwardly improving the photograph, and nobody looking at the result would say anything was misrepresented.
Things that are part of the person
Skin texture, marks, scars, features. These are a different category, and the tool being fast does not make the decision for you. A portrait subject generally has a view about what they want smoothed away and what they do not, and it is worth asking rather than assuming.
The useful test: if removing it makes the photograph better, do it. If removing it makes the person different, ask first.
For portrait retouching taught in order, our PRO Portraits Learning Path is where to go next.
Quick Reference: Keys, Menus and Settings
- Spot the distractionsF for full screen
- SelectL for the Lasso Tool; loose in the background, tight near the face
- Combine piecesShift-drag to add; Alt/Option-drag to subtract
- RemoveGenerative Fill in the contextual task bar, empty prompt, Generate
- ChooseCompare the variations in the Properties panel; select leftovers and generate again
- Before and afterGroup the generative layers and toggle the group

Free Downloads
Follow Along on the Same Photos
Get the three outdoor portraits, the three finished PSDs with every generative layer and the 3-page PDF guide. Free with a PHLEARN account.
Removing Distractions With AI: Common Questions
How do I remove distractions from a portrait in Photoshop?
Press L for the Lasso Tool and draw around the distraction. Click Generative Fill in the contextual task bar, leave the prompt empty and click Generate, then pick the best variation in the Properties panel.
What should I type in the Generative Fill prompt?
Nothing. With an empty prompt Photoshop assumes you want the object removed and fills from what surrounds it. Typing something like grass or sky tells it to generate that instead.
Does my selection need to be precise?
Not in the background. A rough selection a little larger than the object works well. Near the face, keep it as close to the object as possible.
Why keep the selection tight near the face?
Anything inside the selection can be rebuilt. Select too much around a stray hair and Photoshop will remake part of your subject’s face, so it no longer looks quite like them.
Can I remove several objects at once?
Yes. Hold Shift and lasso each piece to add it to the same selection. The boats were removed together, and the railing on both sides of the subject in one generation.
I closed my lasso selection too early. Do I start over?
No. Hold Shift and draw the rest to add to the selection, as with the sign behind the subject.
Will the filled area match the grain in my photo?
Yes. The photo with the boats has grain, and Generative Fill reproduced that grain so the patch sits in.
What if part of the distraction is still there?
Select just what remains and run Generative Fill again. You can also click Generate again for more variations. Each pass lands on its own layer, so nothing is lost.
Is this better than the Clone Stamp?
For these jobs it is much faster. The Clone Stamp and Healing Brush copy pixels from elsewhere in the photo, while Generative Fill creates new content that fits the surroundings.
Are the sample files free?
Yes, with a free PHLEARN account. You get 3 sample images, 3 sample PSDs and 1 PDF guide: the three portraits, the finished files and a 3-page step-by-step guide.
Master Photoshop, Lightroom and Photography
Join PHLEARN PRO for $12.99 a month or $99.99 a year. Cancel anytime, with a 100% money-back guarantee.





