
Download Assets
description
Discover the power of Smart Objects in Photoshop! On day 16 we’ll teach you how to maintain image resolution when resizing and make non-destructive edits using Smart Filters. Learn to create a dynamic advertisement composite, update linked files easily, and work more efficiently with these essential tools.
Follow along with all 30 episodes as we explore the the magic of Photoshop together!
Watch Next
JOIN 30 DAYS OF PHOTOSHOP (FOR FREE!)
Ready to jump in? Sign up and we’ll email you a printable calendar and daily class schedule so you can get started right away!
Share

AFTER
BEFORE
The power Of Smart Objects
Smart Objects allow you to create a reference of any Layer in Photoshop. It makes a virtual copy of the image that you can transform and change in any way that you want, but no matter what, you can always get back to your original, full-quality photo.
Resizing Without Loss
The most significant advantage of Smart Objects is their ability to maintain image quality. When you import a JPEG, it’s automatically a Smart Object if your settings are configured that way. To compare, the tutorial duplicates the layer and rasterizes one of them, which removes its Smart Object properties. Try scaling both layers down to a very small size and then scaling them back up using Ctrl/Command+T. You’ll notice the Smart Object remains crisp and clear, while the rasterized layer becomes pixelated and loses detail. This is because the Smart Object “container” retains the original image data, regardless of how many times you transform it.
Non-Destructive Filters
Another powerful feature is the use of Smart Filters. When you apply a filter to a Smart Object, it appears as a separate, editable layer. The tutorial demonstrates this with a Gaussian Blur filter. Apply the filter to both a Smart Object and a regular rasterized layer. On the Smart Object, the filter shows up below the layer thumbnail. You can turn it on and off, double-click it to adjust the settings, or even delete it entirely. The rasterized layer, however, has the blur “baked into” the pixels, making it a permanent change that can’t be undone without reverting your history. This non-destructive workflow is invaluable for experimenting with different effects.
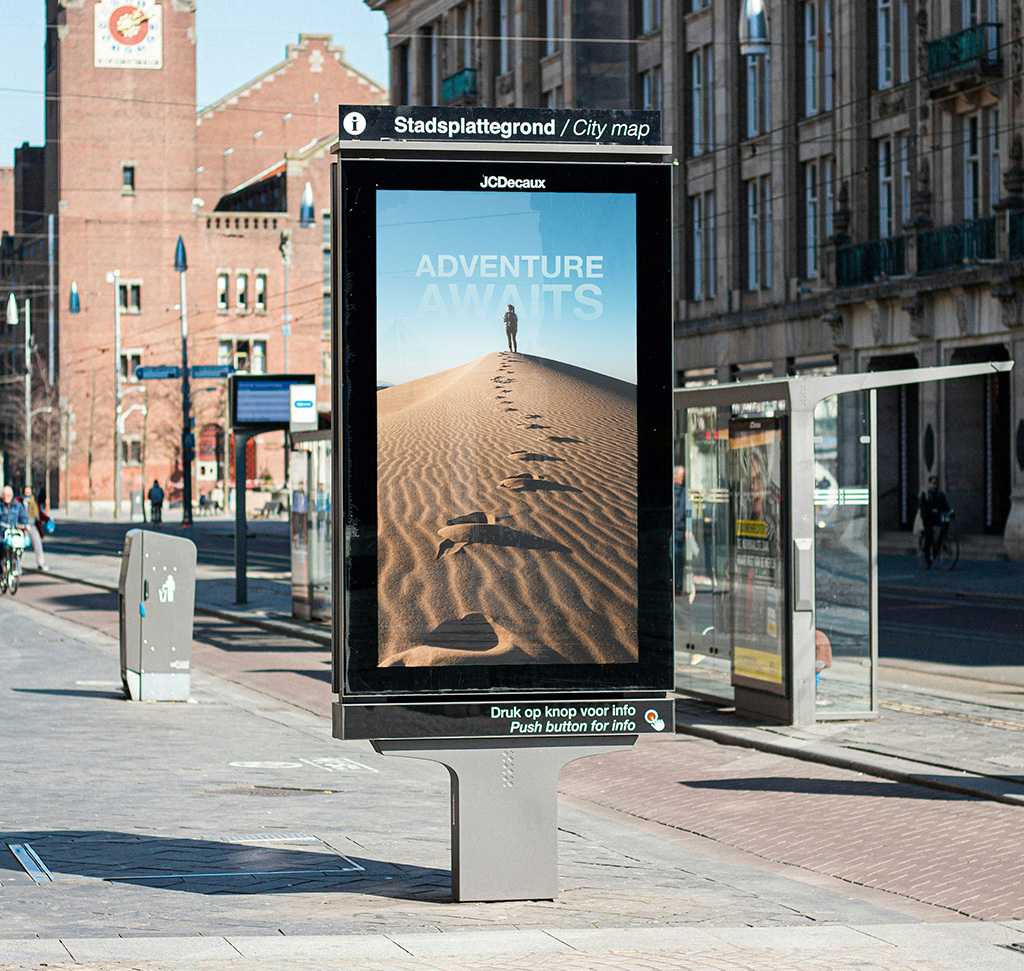
Editing Smart Composites
Smart Objects are perfect for complex compositing and mock-ups. The tutorial shows you how to place an image inside a designated area, like a box on a sign. By double-clicking the Smart Object thumbnail, you can open its contents in a new tab. Any changes you make in this new tab—adding text, new layers, or adjustments—will automatically update in your main composition when you save the file (Keyboard Shortcut “Ctrl/Command+S”). This allows you to edit the original content while keeping all the transformations, masks, and effects applied in the main document. To replace the content with a new file, go to Layer > Smart Objects > Relink to File.
That covers the essentials of Smart Objects for now. We hope you found this guide helpful and are ready to incorporate them into your workflow. Tomorrow, we’re moving on to another powerful tool: Blend If. This feature allows you to selectively blend layers based on the luminosity of pixels, giving you precise control over your compositions. See you then!


