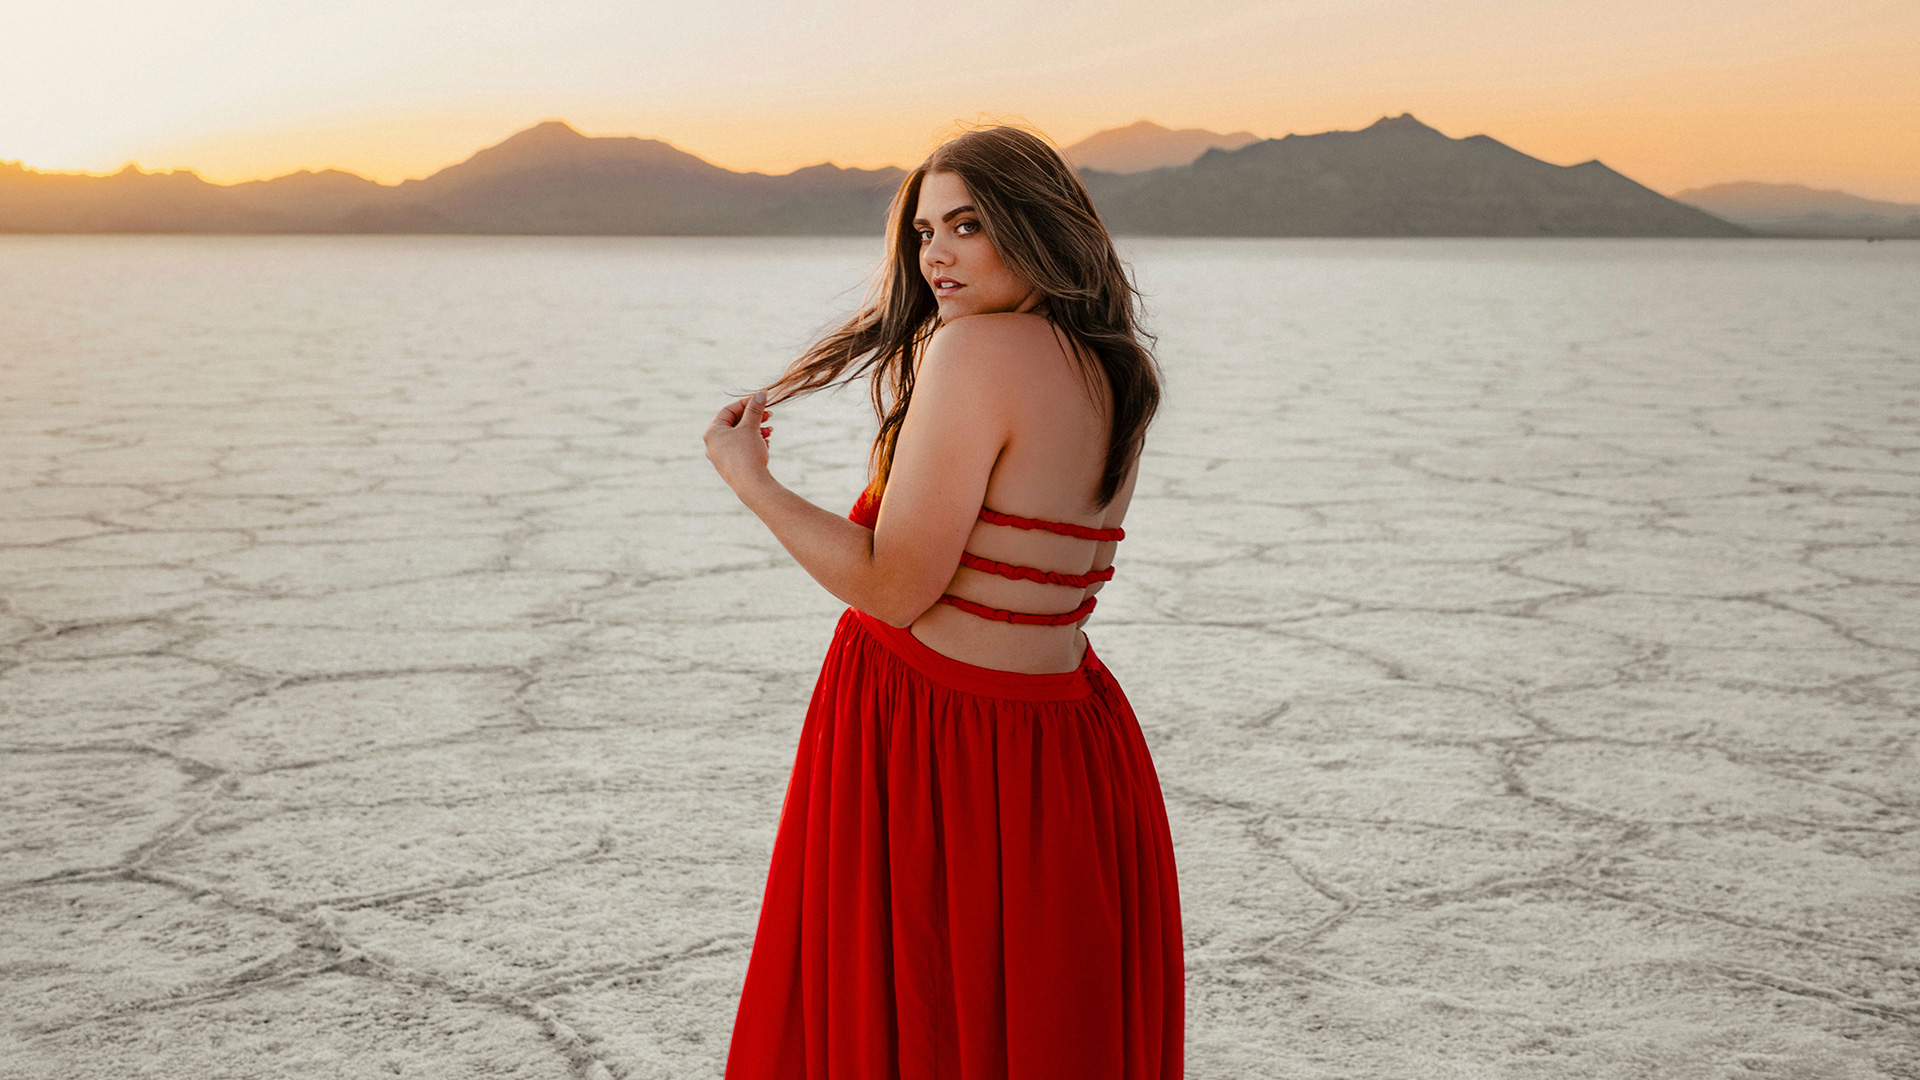

Dodge and burn properly and nobody can see where you did it. Photoshop has a Dodge tool and a Burn tool, and neither of them is how professional retouchers dodge and burn. Both write directly into your pixels, which means the moment you decide the effect was too strong, your only option is to undo everything you have done since.
Day 19 builds the version that stays editable forever: two adjustment layers painted through inverted masks, grouped and confined to the subject, with Blend If restricting the brightening to the highlights and the darkening to the shadows.
This is Day 19 of 30 Days of Photoshop, 2025 Edition — our most-watched series, rebuilt from the ground up for today’s tools.
Free practice files
Practice Files for This Tutorial
The sample image and the layered PSD from the video, so you can follow every step on the same files.
This tutorial includes 1 sample image and 1 sample PSD.
Create a free PHLEARN account to download, or log in if you already have one. One account gets you the files for every free tutorial.
Watch the Full Series
30 Days of Photoshop · 2025 EditionOur most-watched series, updated for 2025 — watch all 30 free
description
Continue Watching 30 Days of Photoshop
JOIN 30 DAYS OF PHOTOSHOP (FOR FREE!)
Image Source
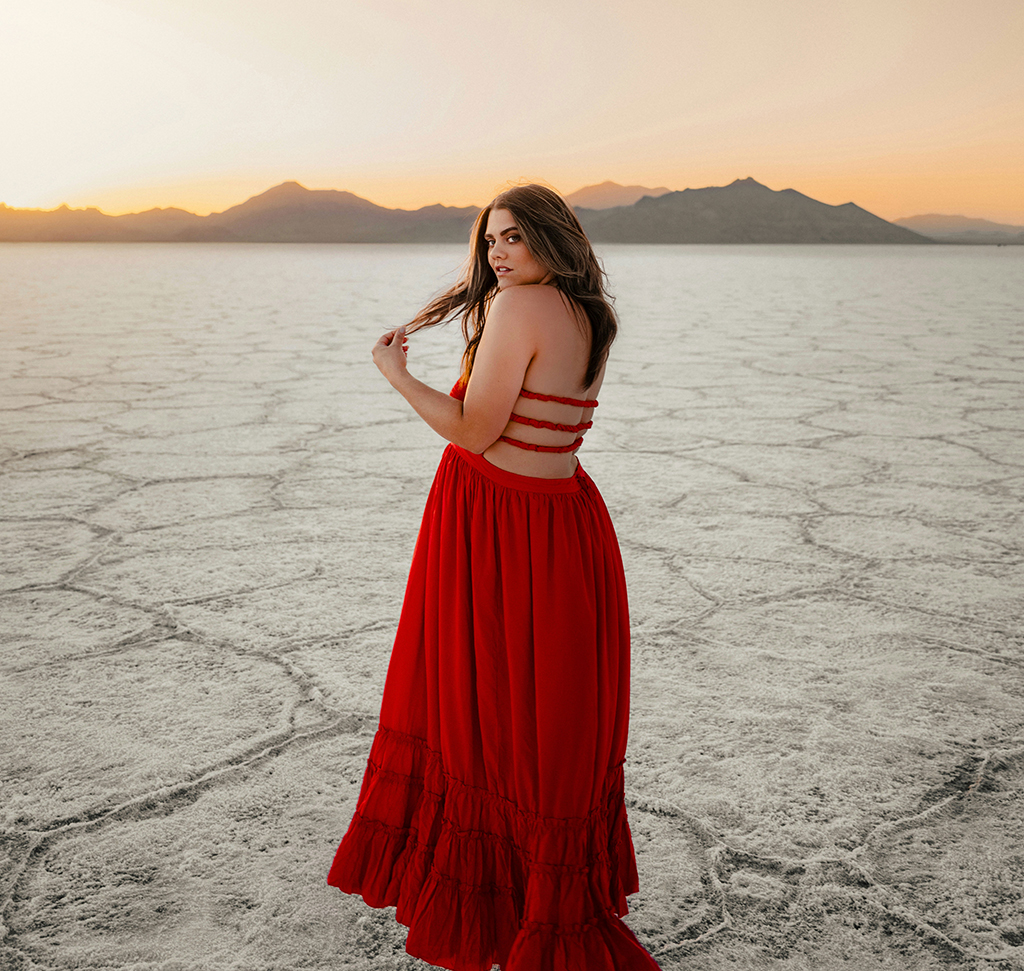
Dodge and Burn With Curves, Not the Dodge Tool
Dodging and burning is the oldest idea in photographic printing: hold light back from part of the print and it comes out lighter, give another part extra exposure and it comes out darker. Done well it adds shape and depth that no global adjustment can.
The version Photoshop names after it is the version you should not use. Here is why, and what to do instead.
The Dodge and Burn Tools Are Not the Answer
They work: pick the Dodge tool, set Range to Midtones and Exposure to about 10%, paint over your subject, and they get brighter. Burn does the reverse. The problem is what happens next.
They Only Work on Pixels
Make a new empty layer and try to dodge on it and nothing happens at all. These tools have to be used on the background layer or another layer with real pixels in it.
The Change Is Baked In Immediately
There is no opacity slider, no settings to revisit, no way to make it more subtle in twenty minutes when you look at the whole picture and realize you overdid it.
Your Only Undo Is History
Which means stepping backwards through everything you have done since. On any edit longer than a few minutes, that is not a real option.
Build a Dodge Layer Instead
-
Add a Brightness/Contrast Layer
Raise brightness, ease contrast down slightly. Curves, levels and exposure all work here — brightness/contrast is the simplest and does the job.
-
Invert Its Mask
Click the mask and press Ctrl/Cmd + I, or use Invert Mask in the contextual task bar. The mask goes black and the adjustment disappears completely. You are now going to paint it back in only where you want it.
-
Paint With White at Low Flow
Press B, then D for default colors — on a mask that gives you white in the foreground. Set the brush flow to around 20% and paint over the areas that should catch light.
-
Rename It “Dodge”
You are about to have two identical-looking layers. Double-click the name and label it now.

Build a Burn Layer the Same Way
A second Brightness/Contrast layer with brightness pulled down, mask inverted, painted with white where the image should recede. Name it “Burn”.
Both layers can be re-opened at any point — double-click the adjustment thumbnail and change the amount. This is the entire advantage over the tools, and it is a large one.
Why Dodge and Burn Needs Low Flow
Flow controls how quickly paint accumulates. At 100% one stroke applies the full effect and every overlap shows as a hard patch. At around 20% each pass adds a little, so you build the effect gradually and it stays smooth.
Opacity and flow are not the same thing. Opacity caps the total strength of a stroke; flow controls the rate of build-up within it. For dodging and burning, flow is the one to lower.

Group Them and Mask the Group to Your Subject
Painting freehand on the masks will inevitably spill onto the background. Rather than cleaning that up stroke by stroke, fix it once at the group level.
-
Select Both Layers and Press Ctrl/Cmd + G
Name the group “Dodge & Burn”.
-
Run Select Subject on the Background Layer
Click the background, then Select Subject from the contextual task bar.
-
Click the Mask Icon With the Group Selected
The group now carries a mask shaped to your subject, and nothing inside it can affect the background — however loosely you paint.
A group mask and a layer mask work together: the group decides the overall boundary, the individual layers decide where inside it the effect lands.
Blend If Is What Makes It Look Real
Here is the step that separates this from a competent edit. Light does not brighten a surface evenly — it lands on the parts already facing it. So dodging should mostly affect areas that are already bright, and burning areas that are already dark.
Double-click the empty part of a layer to open Blending Options, and use the Underlying Layer sliders from Day 17.
Dodge Into the Highlights
Alt/Option-split the left handle and drag it right. The brightening fades out of the shadows and concentrates in the highlights. Toggle Preview and the difference is immediate — it stops looking like paint and starts looking like light.
Burn Into the Shadows
On the burn layer, Alt/Option-split the right handle and drag it left, so the darkening disappears from the highlights and deepens only what was already dark.
Always split the handles. An unsplit Blend If gives you a hard cutoff, and on skin that is very visible.

What Finished Dodge and Burn Looks Like
A group masked to the subject, containing two adjustment layers, each with a hand-painted mask and its own Blend If range. Four independent controls, and every one of them is still live:
Change the brightness values. Repaint either mask. Re-tune the Blend If sliders. Drop the group opacity to fade the whole thing. Switch the group off to compare. Save the PSD, come back in a year, and change your mind about any of it.
Practice on the Sample File
Download the image and PSD and take the layer masks apart to see where the strokes went. Then build it yourself from scratch on a portrait of your own — the Blend If step is the one worth repeating until it is automatic, because it is the difference between an edit that reads as retouching and one that reads as lighting.
Day 18 covered blending modes. Tomorrow, Day 20 continues the series. For a fuller treatment of building light this way, our PRO Advanced Lighting Effects in Photoshop goes considerably deeper.
Quick Reference: Keys, Menus and Settings
- Dodge tool, for comparisonRange: Midtones, Exposure 10%; pixel layers only
- Dodge layerBrightness/Contrast adjustment layer: brightness up, contrast slightly down
- Hide it to startCmd/Ctrl + I on the mask, or Invert Mask in the contextual task bar
- Paint it inB, D for white on the mask, Flow about 20%
- Keep it on the subjectCmd/Ctrl + G to group; Select Subject on the background; layer mask icon on the group
- Light where light fallsDouble-click the layer, Underlying Layer: Alt/Option-split the left handle right to dodge, the right handle left to burn
Image source

Free Downloads
Follow Along on the Same Photo
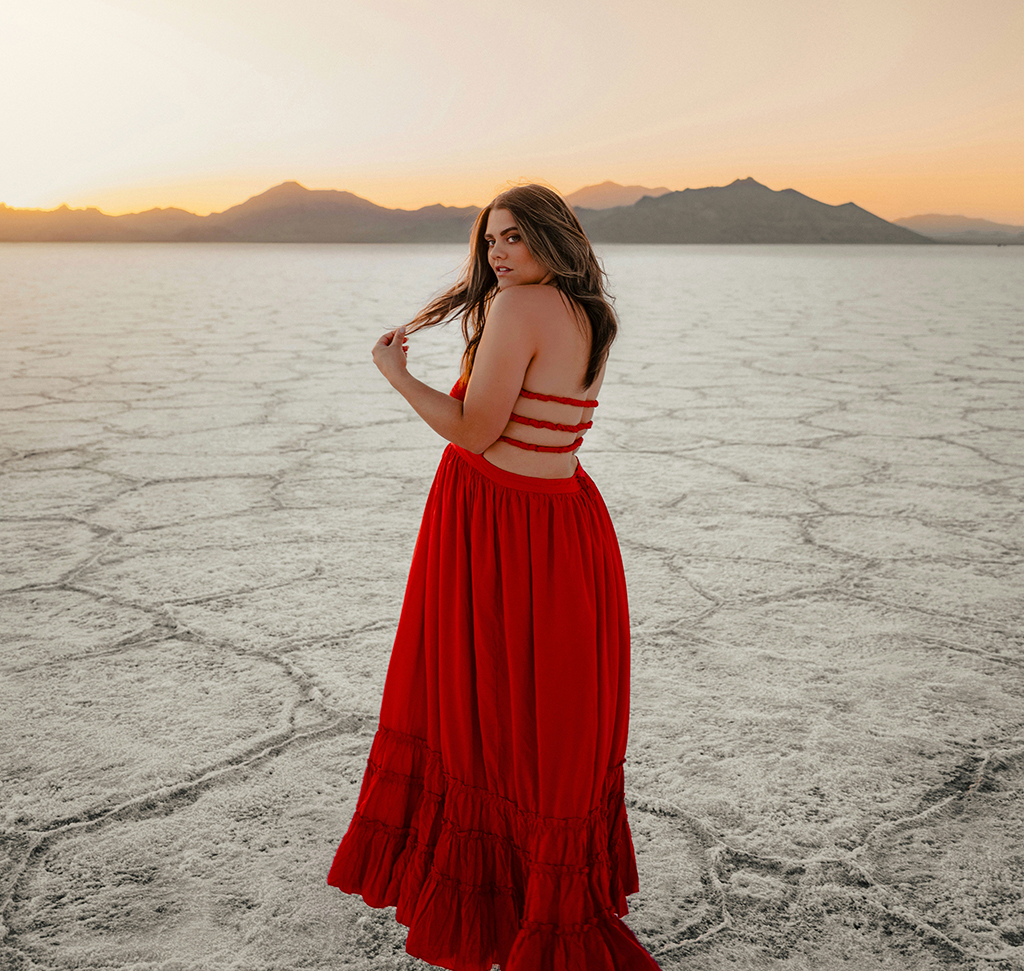
Get the portrait to dodge and burn and the layered PSD with the dodge and burn layers, their masks and the masked group. Free with a PHLEARN account.
Dodge and Burn: Common Questions
Why not just use the Dodge and Burn tools?
They bake the change into the pixels. There is no way to make it more subtle later; the only undo is Cmd/Ctrl + Z or stepping back in the History panel, which loses everything you did after.
Why does the Dodge tool do nothing on a new layer?
The Dodge and Burn tools only work on pixels. They have to be used on the background layer or another layer with pixels on it.
How do I dodge and burn non-destructively?
Add a Brightness/Contrast adjustment layer with brightness up and contrast a little lower. Invert its mask with Cmd/Ctrl + I, then paint white with the brush where you want it brighter.
How do I make the burn layer?
The same way: a second Brightness/Contrast layer with brightness down, mask inverted, painted with white where the image should get darker. Name the two layers Dodge and Burn.
Do I have to use Brightness/Contrast?
No. Levels, Curves and Exposure adjustment layers work too. Brightness/Contrast is just the simplest.
What brush flow should I use for dodging and burning?
Around 20%. Each pass adds a little, so the effect builds up smoothly instead of showing hard patches.
My dodging brightens the background too. How do I stop it?
Select both layers and press Cmd/Ctrl + G to group them. Click the background layer, run Select Subject, then click the layer mask icon with the group selected.
How do I make dodging and burning look natural?
Use Blend If. On the dodge layer, Alt/Option-split the left Underlying Layer handle and drag it right so it lands in the highlights. On the burn layer, split the right handle and drag it left so it stays in the shadows.
Can I change the effect later?
Yes. Double-click either adjustment layer to change its brightness, reopen Blend If, repaint the masks, or lower the group’s opacity. Save the PSD and you can change it a year from now.
Are the sample files free?
Yes, with a free PHLEARN account. You get 1 sample image and 1 sample PSD: the portrait and the layered file with the dodge and burn layers, masks and group.
Master Photoshop, Lightroom and Photography
Join PHLEARN PRO for $12.99 a month or $99.99 a year. Cancel anytime, with a 100% money-back guarantee.





