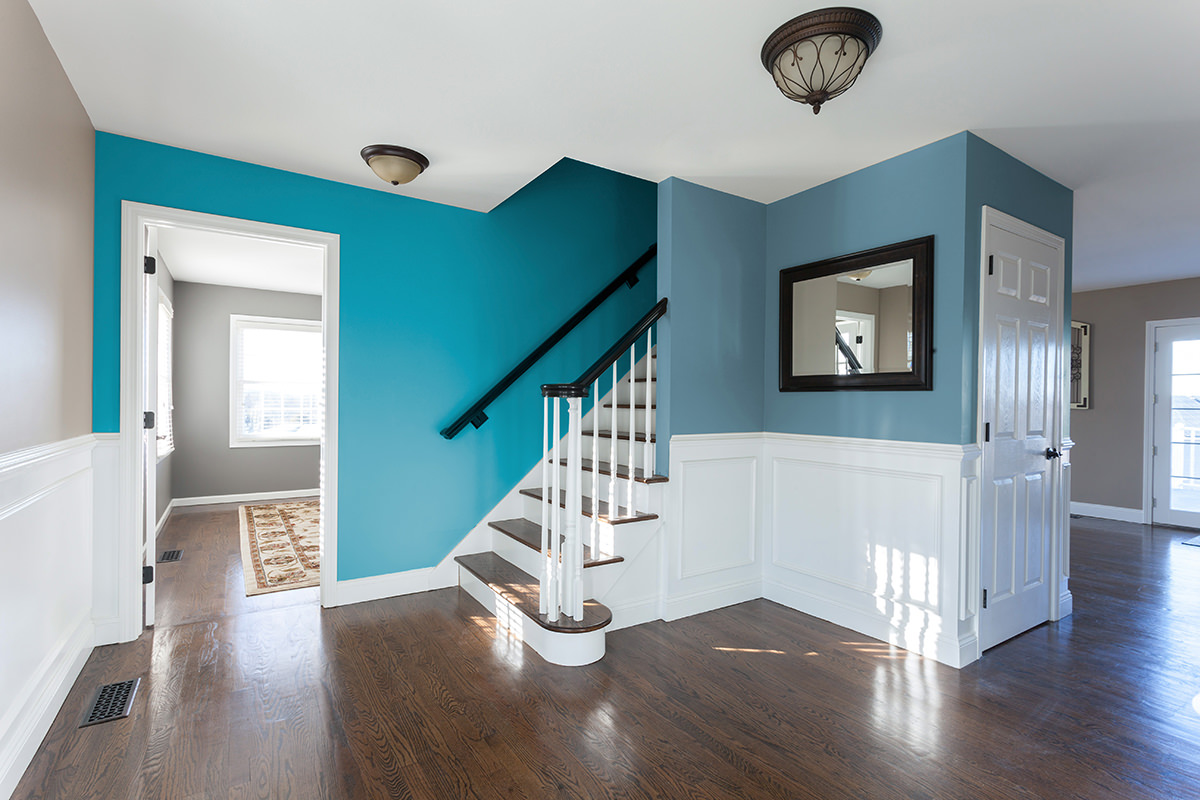


BEFORE
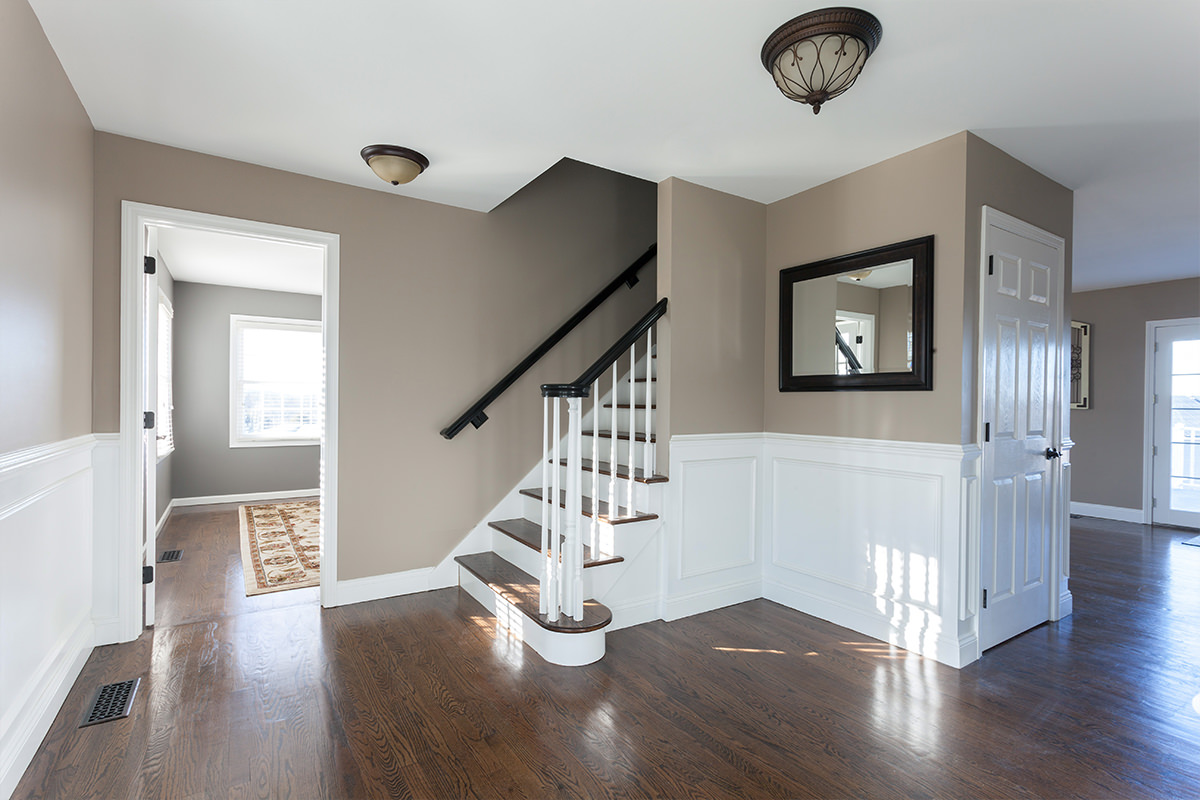
AFTER
Tutorial Description
Before spending time painting your walls, test out different Colors in Photoshop! This tutorial makes changing wall Color easy and fun!
Did you know you can change any color in Photoshop? Using our PRO Coloring tutorials, you can learn how to take full control over the color in your images.
Use the Pen Tool to Make Selections
The simplest way to make selections around walls is with the pen Tool. Select the Pen Tool and click on each corner of the walls. If you need to change a point, hold CTRL/CMD and click and drag the point to the desired location.
Once you have completed the path around the wall, right-click inside the path and go to ‘make-selection’. Feather the radius by .5 px to make a realistic edge.
Change Color with Hue/Saturation
After making a selection around the wall, go to ‘Layers – New Adjustment Layer – Hue/Saturation’. The selection you made with the pen Tool will automatically load as a Layer Mask for the Hue/Saturation Adjustment Layer.
Click on the ‘Colorize’ button, then adjust the Hue, Saturation and Lightness to set your desired Color.
If there is something on the wall you don’t want to Colorize, use the Pen Tool to create a path around it then right-click and make the path into a selection. Once the selection is active, go to ‘Edit – Fill’ and choose black. This will make the Layer Mask black in the selection, hiding the Hue/Saturation Adjustment Layer in that area.











Enjoying This Free Tutorial? Go Further with PRO.
Unlock Full Sample Files, PSDs, and Hundreds of Masterclasses!

Download full project assets, original PSDs, and RAW images for every lesson
Unlimited access to our complete library of PRO Photoshop & Lightroom courses
Instant 4K Ultra HD streaming on all devices, anytime, anywhere
Full access to our entire library of Photoshop Actions, Presets, and LUTs
Flexible monthly and annual membership plans
Cancel anytime with zero hassle or commitments