Cutting out complex subjects is not easy! Join us in cutting out our main subject from Pro tutorial Dark Force.

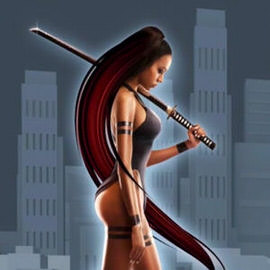
Today we focus on POP ART! Aaron hops into Photoshop to create a Pop Art style graphic out of an image of a gun.
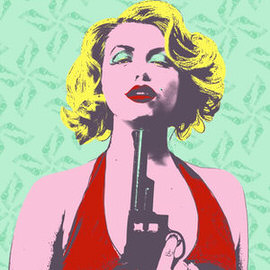
In today’s episode we continue creating the pop art image by filling in the Black and White Outline with Color.
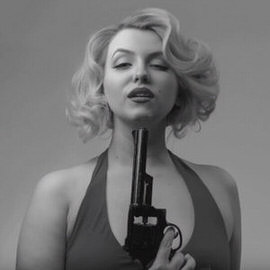
We are going behind the scenes on our Pop Art shoot, and sharing some Insights on how to create this stylized image in a fun way.
In today’s episode you will learn how to use Curves to take control of your Black and White. We use show you how to analyze your Histogram and use input and output Channels to dial in your Light and dark Levels.

Learn 3 different methods for creating a Black and White image in Photoshop as well as the pros and cons of each.

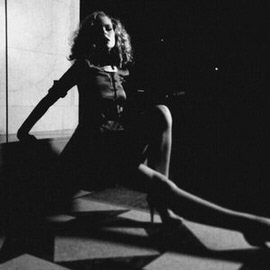
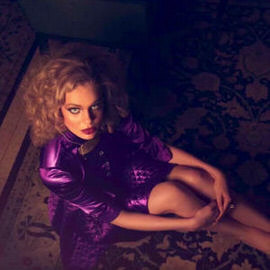
Part 2: Here is a behind the scenes of our latest “High Fashion” pro tutorial. See how we lit these amazing images and learn how to do it yourself.
Sometimes you take a great picture but the sky isn’t doing it any justice. We’ll teach you how to cut out and replace that sky!
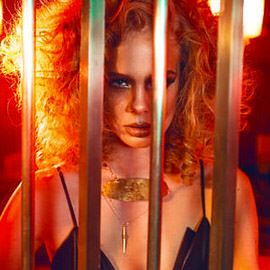
Part 1: Here is a behind the scenes of our latest “High Fashion” pro tutorial. See how we lit these amazing images and learn how to do it yourself.
First we recolor a dress from our Fashion shoot and then we adjust the colors of the background to match our new color scheme.
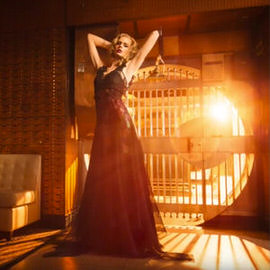
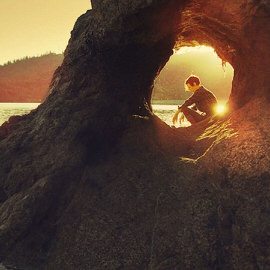
This tutorial is perfect for those images that have a strong backlight, such as when you are shooting into the sun. We show you how to enhance a lens flare and create lighting effects that will make your image more interesting.
In today’s episode we show you how to add layer FX to duplicates of a layer. The reason we use duplicates is to stack multiple effects.
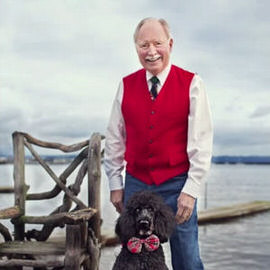
Here are 10 Phlearn submitted questions answered by photographer and editor Rob Woodcox.

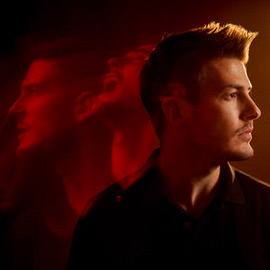
Rob Woodcox took over Phlearn this week and started editing images with Curves. He will show you his process of refining, and Styling the image to achieve the look he was going for.
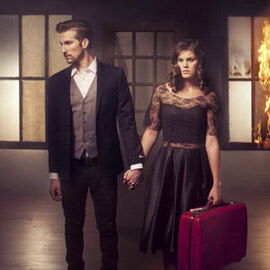
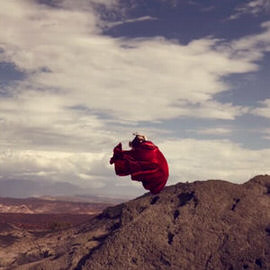
Warning please do not try this without the proper safety measures. After Rob Woodcox broke into the Phlearn studio, he literally lit it on fire! Not only did he bring the heat, he shared some great Insights on being a conceptual surreal artist.
Bags and Blemishes can be tricky to remove. We will teach you how to take them right out!
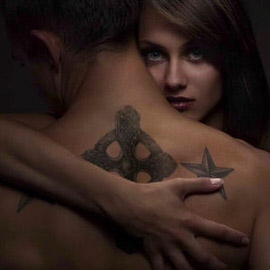
In this episode we combine a few various techniques to make the tattoo look real.
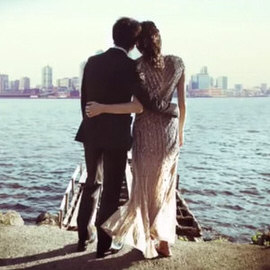
In this episode we combine two different images into one amazing memory. The the main learning points consist of coloring, and masking.
Adding some Texture back to the Skin of a model can help bring Depth and life back to their Face. Perfection often looks fake, and character and Texture adds personality to images.
In this tutorial we show you how to use the Pen Tool to cut out your subject, and then do some work to recovery detail in the sky.
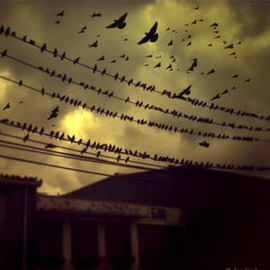
Learning how to create custom Brushes in Photoshop is a skill that will benefit many images. In this tutorial, we show you how to make a selection around a bird and promote it onto a new document in order to create the Brush.
Sample Images Included
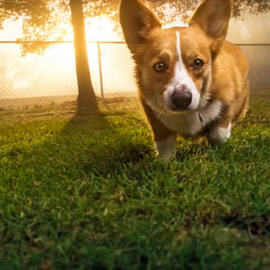
In most cases, using the Color Ranges that exist naturally in a photo will help to bring out the best in the image. In this image we focus on adding orange to the top of the image and green to the bottom.
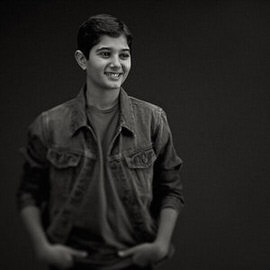
There are many ways to make an image Black and White in Photoshop. In most cases you will be best off using the “Black and White” Adjustment Layer.
In this episode, we use an image taken by a member of our Phlearn Phamily to show some cool color dodging techniques.
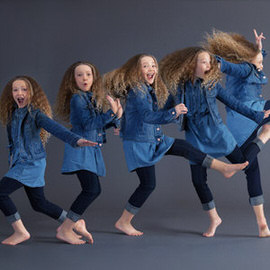
You saw the behind the scenes of our Gap inspired fashion shoot and part 1 of the post processing. Now we put the finishing touches on the image.
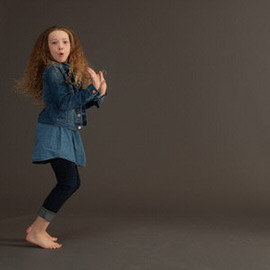
We take the images from our Gap inspired shoot into Photoshop to start the Compositing and Retouching process. Make sure to check back for part 2 of the post production later this week.
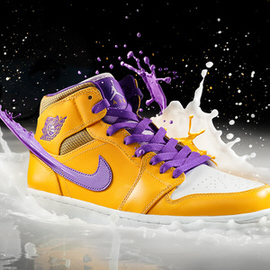
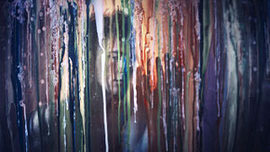
Sometimes it’s just fun to make a mess. We had wanted to play with paint for a while, and came up with this concept to create shoes splashing and blending with paint.
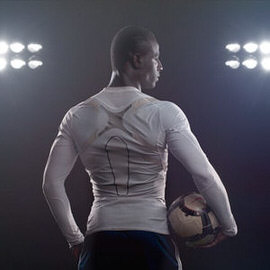
Portraits of athletes are a great place to experiment with using a contrasty, high energy, dramatic Retouching technique. Here are a couple of our favorite methods to achieve this look.
You saw the behind the scenes of our corporate/editorial photo shoot, and Part 1 and Part 2 of the Retouching. Now we’ll wrap up this image with some final Retouching and Styling.
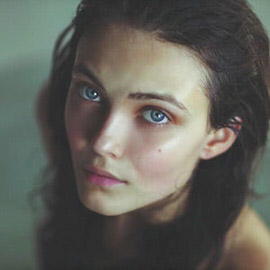
Now we’ll continue with the Retouching to get this image refined even more.
To start our headshot retouching, we use the clone to remove some blemishes, do some hair retouching, and add a bit of skin texture.