The Skull-timate Guide to the Perfect Halloween Photo Shoot
Halloween is an extra fun time for photographers, because really anything goes. It’s the time of year that lets photographers of every genre stray from the norm and take their shoots and compositing in a completely unique direction. When you can go for the bizarre, off-kilter, or maybe even downright terrifying – not flattering and picture-perfect.
There’s a lot of room to experiment, and we’re here to help with some creative, extra-spooky tips so you can really go crazy this year with your Halloween photo shoot! In this guide we’ll talk about some of the best places to go to find the creepiest atmospheres, how to light the location and props so that they’re sure to stand out, and some fun effects you can try both in-camera and after the shoot.
Finding a Halloween Shoot Location
If you want to go out on location, there are probably plenty of Halloween-y settings just a few minutes away from you.
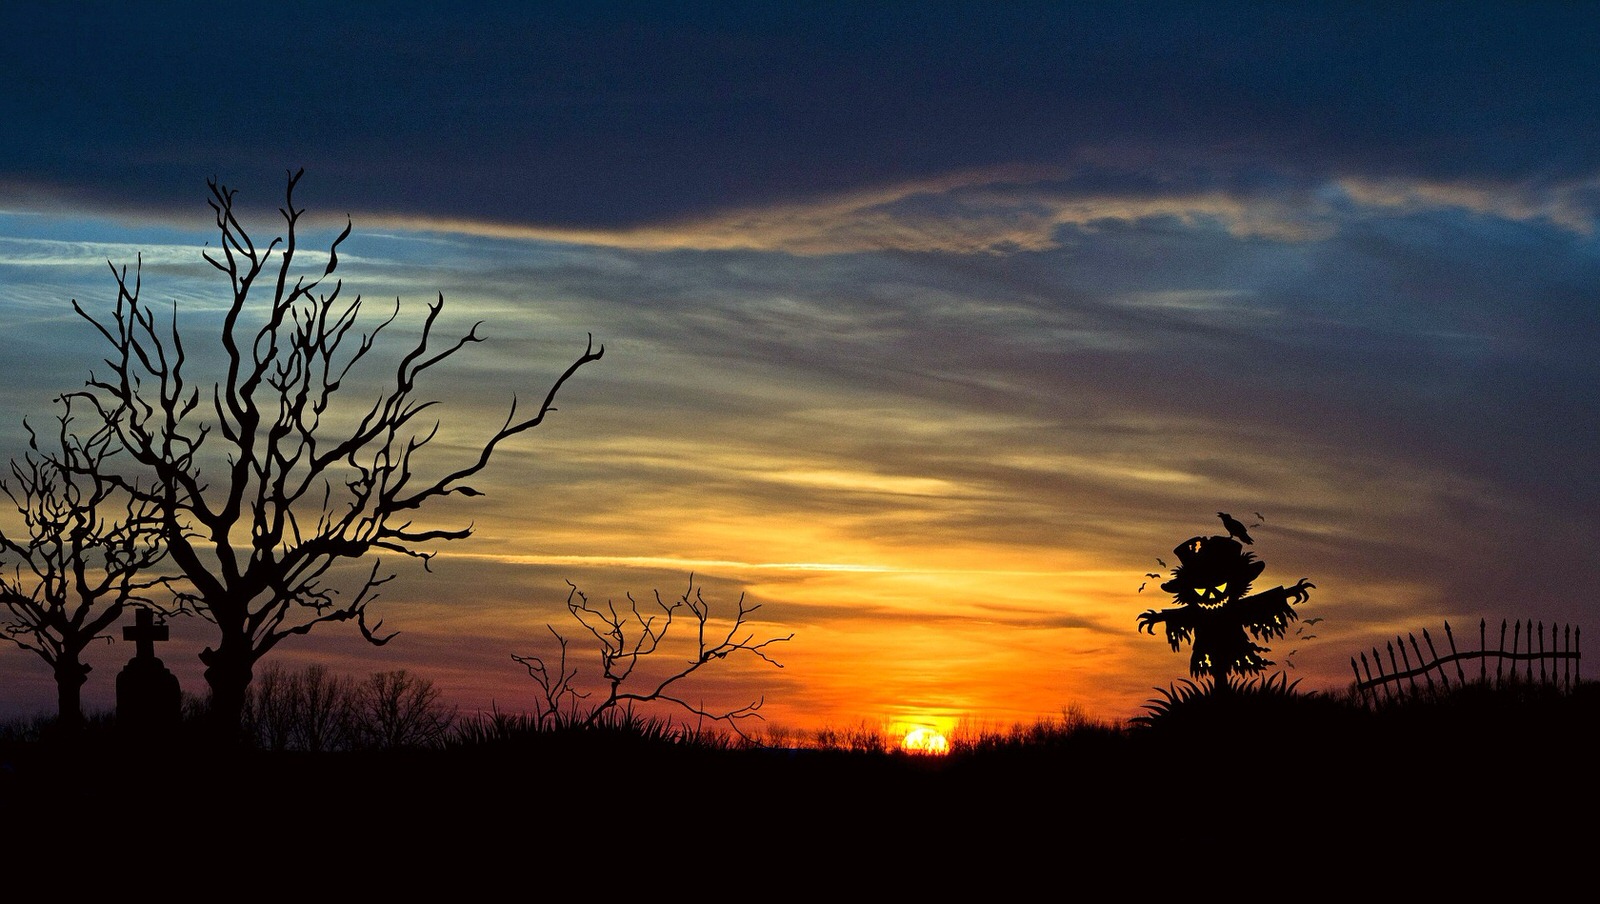
Image by cocoparisienne from Pixabay
Corn Fields
Corn fields and Halloween are like peas and carrots. Who hasn’t seen a scary movie with a chase through the stalks? It’s easy enough to create that suspense in your own shoot, but one person you don’t want to scare is the farmer who owns the field. Get permission before you step onto private land with your camera (or otherwise). Not only is it the right thing to do, the farmer will be able to warn you of potential dangers you could encounter on the property.
Cemeteries
A cemetery is usually one of the first places to come to mind for creepy Halloween photography. However, you should always remember to show respect. Check in with whoever is in charge of maintenance and upkeep to see what is and isn’t allowed – and to make sure you don’t get locked in after hours!
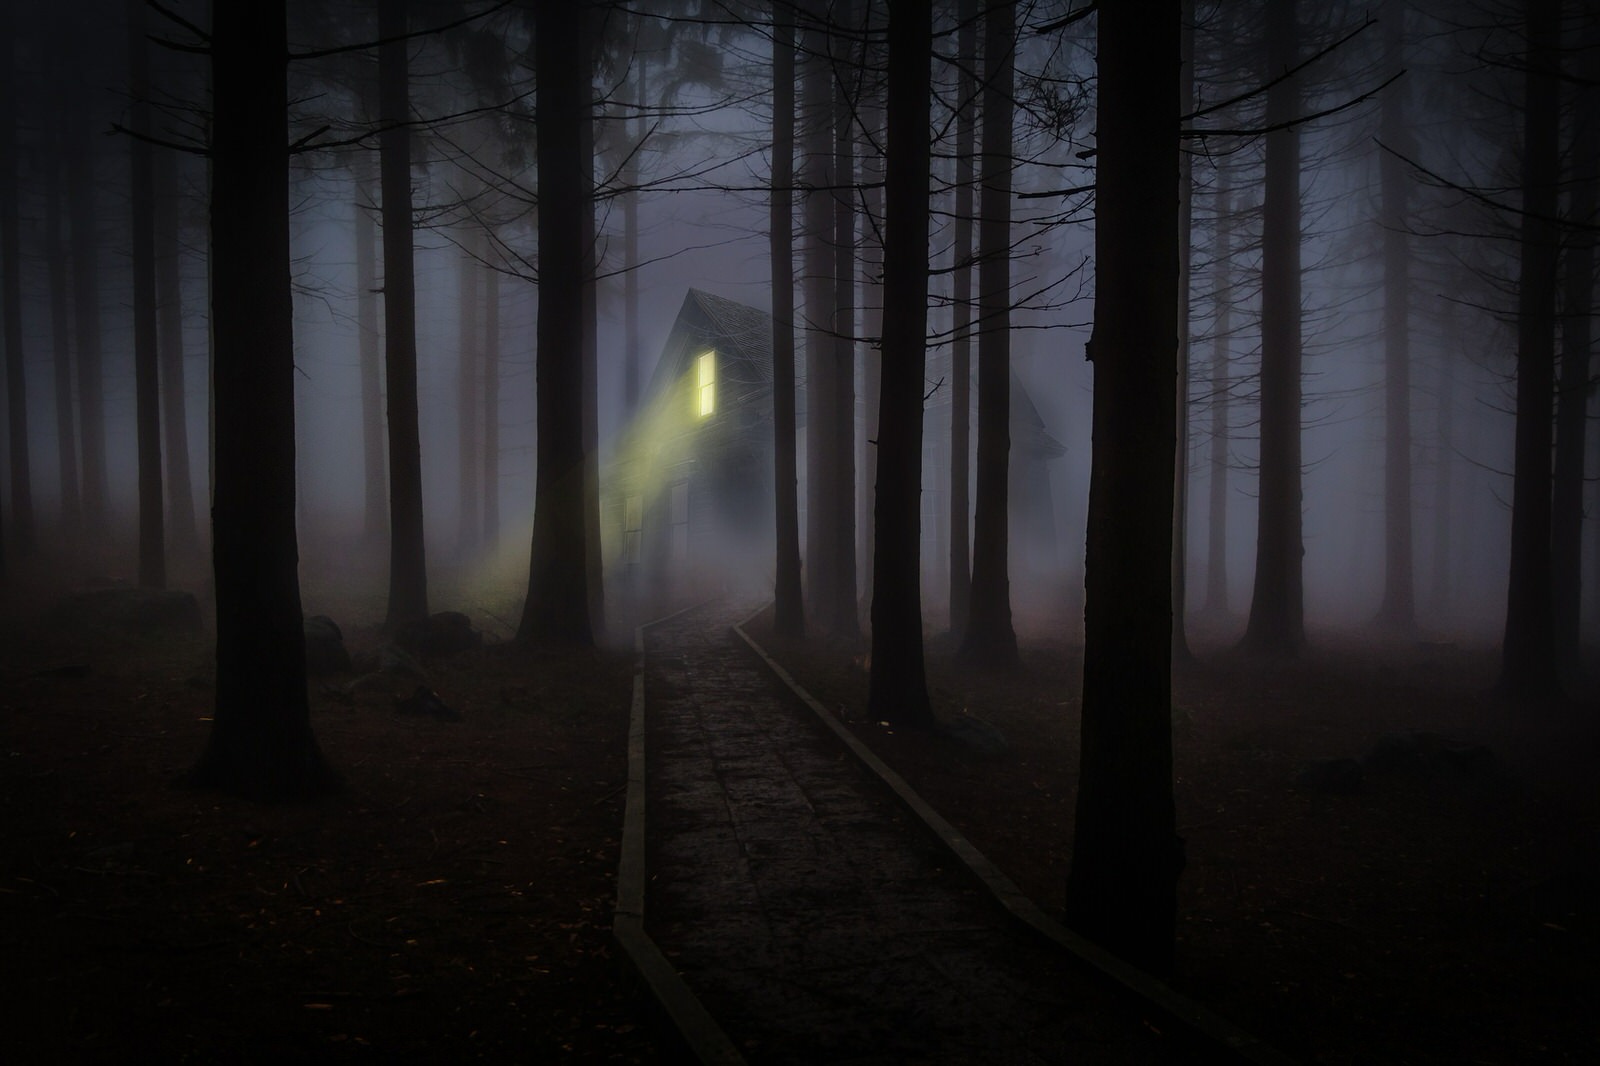
Haunted-Looking Houses
If you’re going for a haunted house look, you can probably find an old, abandoned house that fits the bill right in your own neighbourhood or close by. Always scout the location in the daytime first and make sure it’s safe.
Historical homes and properties will sometimes allow scheduled photo shoots for a fee. You can also look for an Airbnb that matches up with your idea and rent it for an evening. You might also have a historical district in your community with older buildings and features to play off of.
Pro Tip
If you rent a house, be sure to get a property release! This will allow you to use and publish the image afterwards, without any legal hassles.
Woods
Once again, make sure you’re not trespassing when you go out to shoot, especially if there’s an active hunting season in your area. That said, you’d be hard-pressed to find a creepier location than the open woods as the sun is going down. You also have extra flexibility in terms of setting up some of your own props and shooting without a curious audience.
Lighting Tips and Tricks
Your lighting will set the tone for everything else in the shot. Halloween is the perfect opportunity to go big and bold with it!
Throw Some Color into the Mix
Use color gels with your off-camera flashes. Got vampires? Go red. Shooting zombies? Go green. The possibilities are endless. You can even use multiple colors coming from different directions. Color gels are usually affordable and easy to use, but if you don’t want to invest in new equipment for just one shoot, you can get the same effect with colorful cellophane. Just make sure you don’t let it melt if you use it with your studio strobes!
Let the Direction of Your Flash Do the Work
Halloween is a good time to experiment with your flash technique. You’re not tied down to even, flattering lighting like you would be in most portraiture. Try setting up a flash at full power outside a window and shooting from the interior to get the impression of a flash of lightning. To get the same lightning effect on a closer portrait with no window, set your flash up straight to the side of your subject. You’ll get lots of sharp, garish shadows on your subject, so experiment with different positions.
Since lightning is usually a “whiter” light than incandescent lighting, you don’t even have to worry about matching the color temperature with any other light you have in the frame. It’s supposed to look stark and out of place. On the other hand, you can use a color correction gel on your flash if you don’t want it to be drastically different in color temperature than, say, the candles in your gothic chandelier.
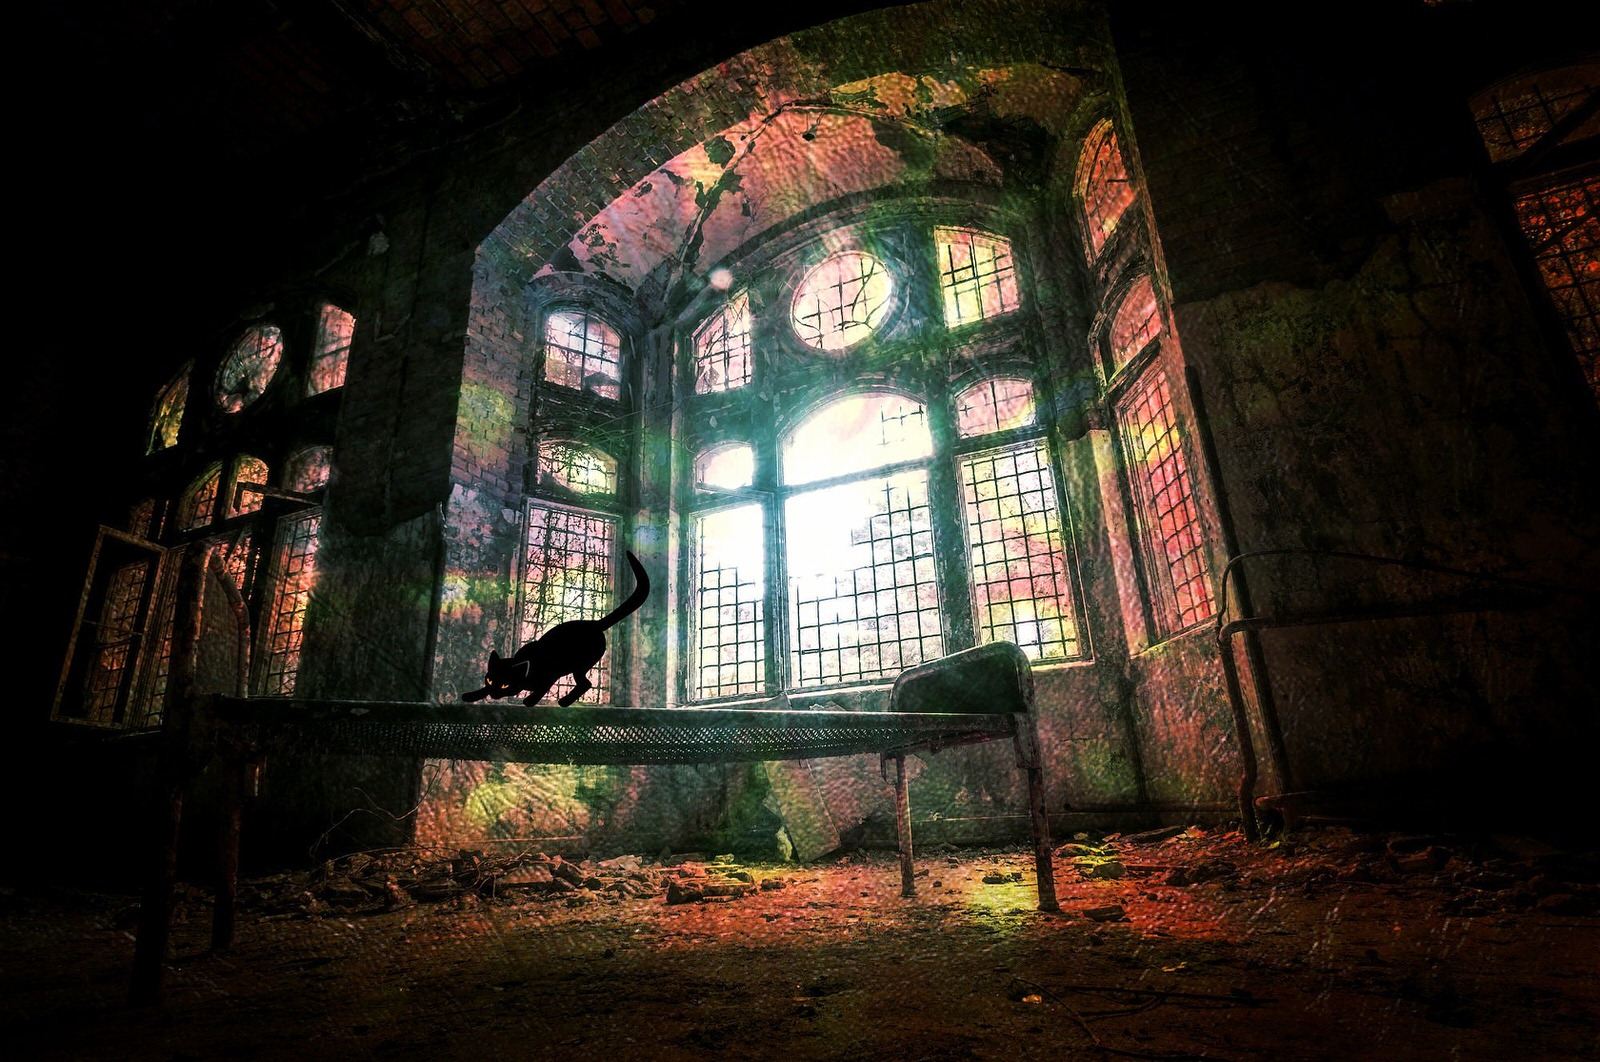
Image by cocoparisienne from Pixabay
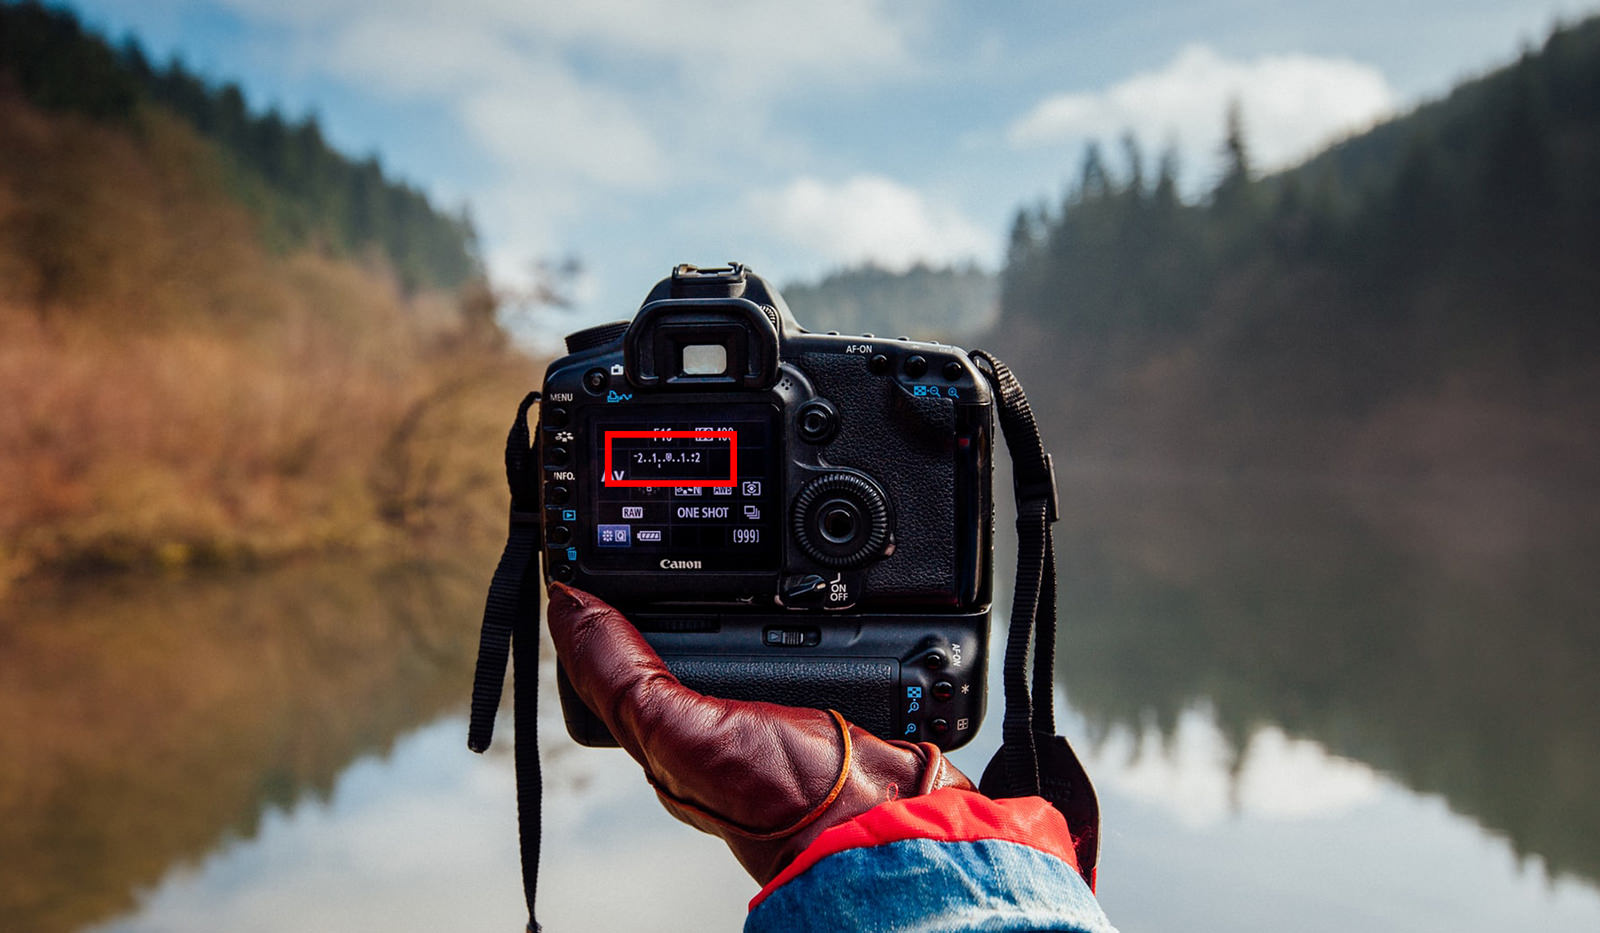
A Note on Shooting in Low Light
Scary things like the dark, so chances are your Halloween photo shoot will take place in a low-lighting situation. Remember to use a tripod and remote shutter release to allow for slower shutter speeds, which let in more light. You can bump up your ISO to compensate if you have people in your photo or you can embrace the blur and make it part of your effect!
To make things a little easier, consider shooting before the sun is completely down and either underexposing or darkening things up in post.
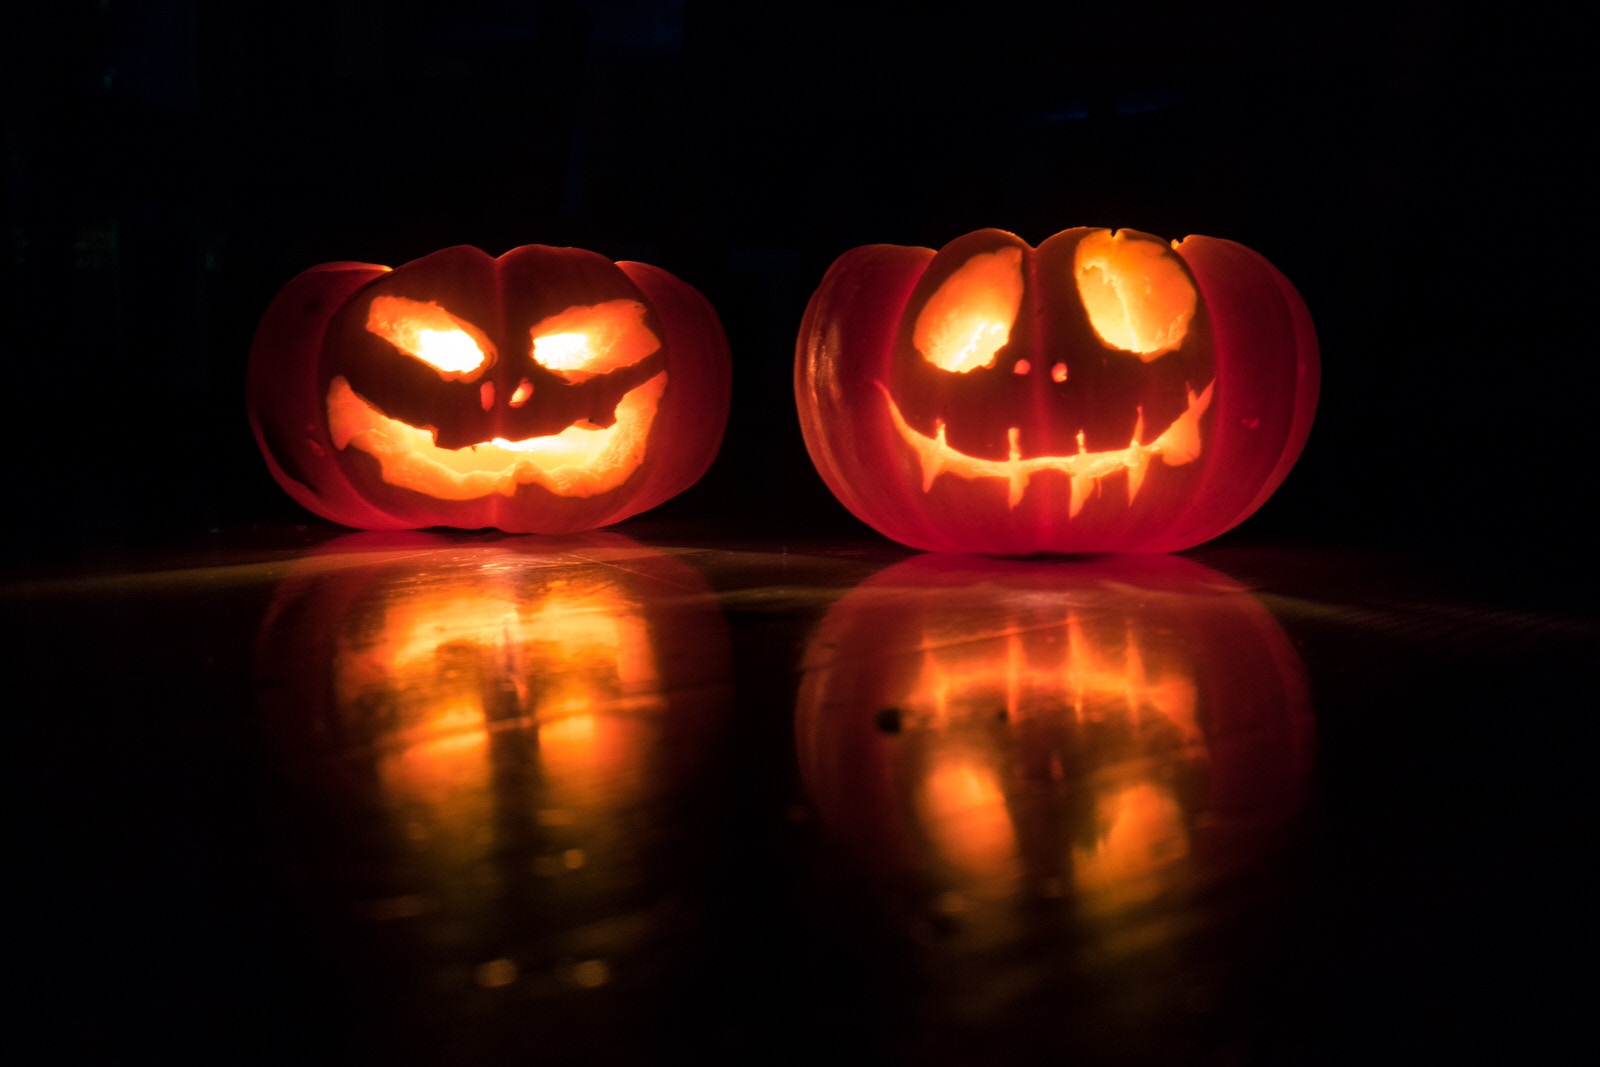
Photo by David Menidrey on Unsplash
Getting Creepy Effects In-Camera
Using a few well-placed props and effects during your shoot can really kick it up a notch:
- Smoke Grenades – To add ambience, mystery, and a splash of color to your photos. (For especially vivid colors, try Peacock Smoke.)
- Candlelight – Old-fashioned lanterns and sconces can add dramatic shadows and that eerie orange glow we all associate with the season. You’ll need to monitor your white balance settings if you don’t want the color temperature to interfere with any other lighting you use.
- Silhouettes – Witches flying across the moon, anyone? Something about a good silhouette leaves just enough room for the overactive imagination to get severely creeped out. Put your subject in front of a window or other light source and meter for the light, not your subject.
- DIY Cobwebs – For smaller webs, spread out the fibers of a cotton ball by hand. For larger ones, do the same thing with cotton batting from your local craft store.
- Fake Blood – Use this recipe by Household Hacker to make your own authentic-looking fake blood !
- Paper Critters – These can be surprisingly realistic with surprisingly little effort. Just cut out some small ovals of black construction paper and use tiny dots of sticky tack to position them so that it looks like an army of bugs skittering out of a vent and up the wall. (With a little more attention to detail, you can do this with bat shapes as well!)
- Dollar Store Skulls – Halloween’s not Halloween without some skull action, and fortunately those are everywhere this time of year. We recently ran across a really cool guide to turning cheap, plastic skulls that are a dime a dozen into legit-looking props.
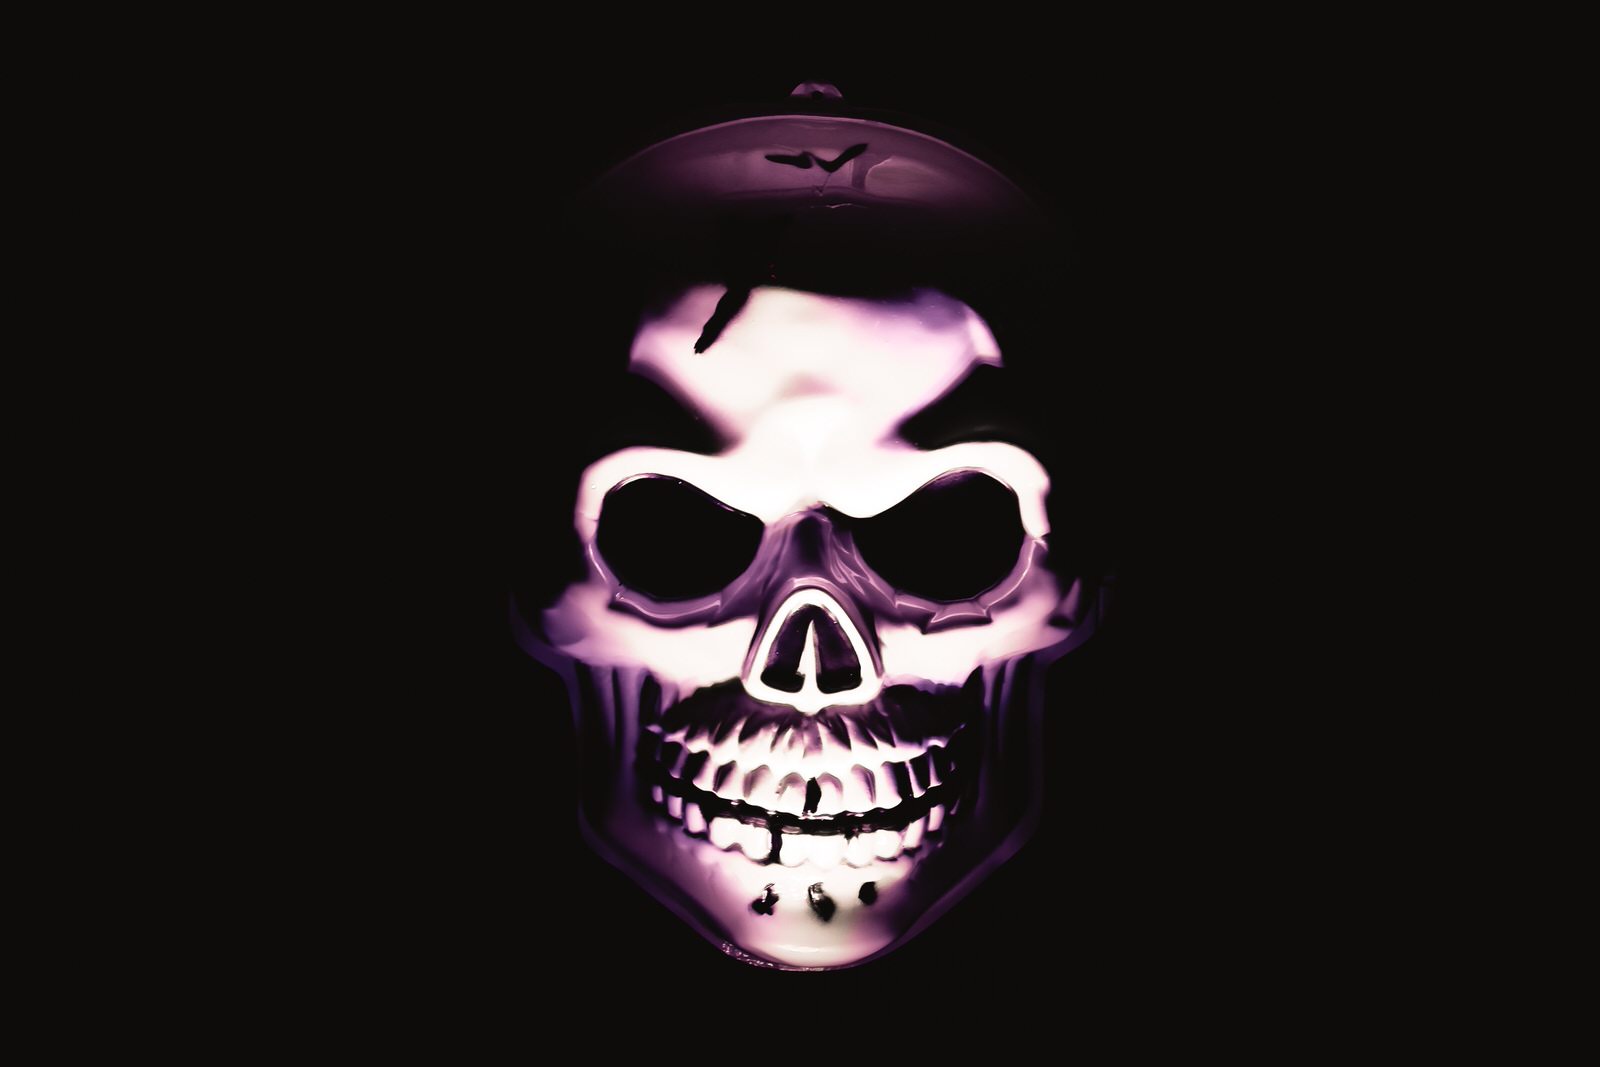
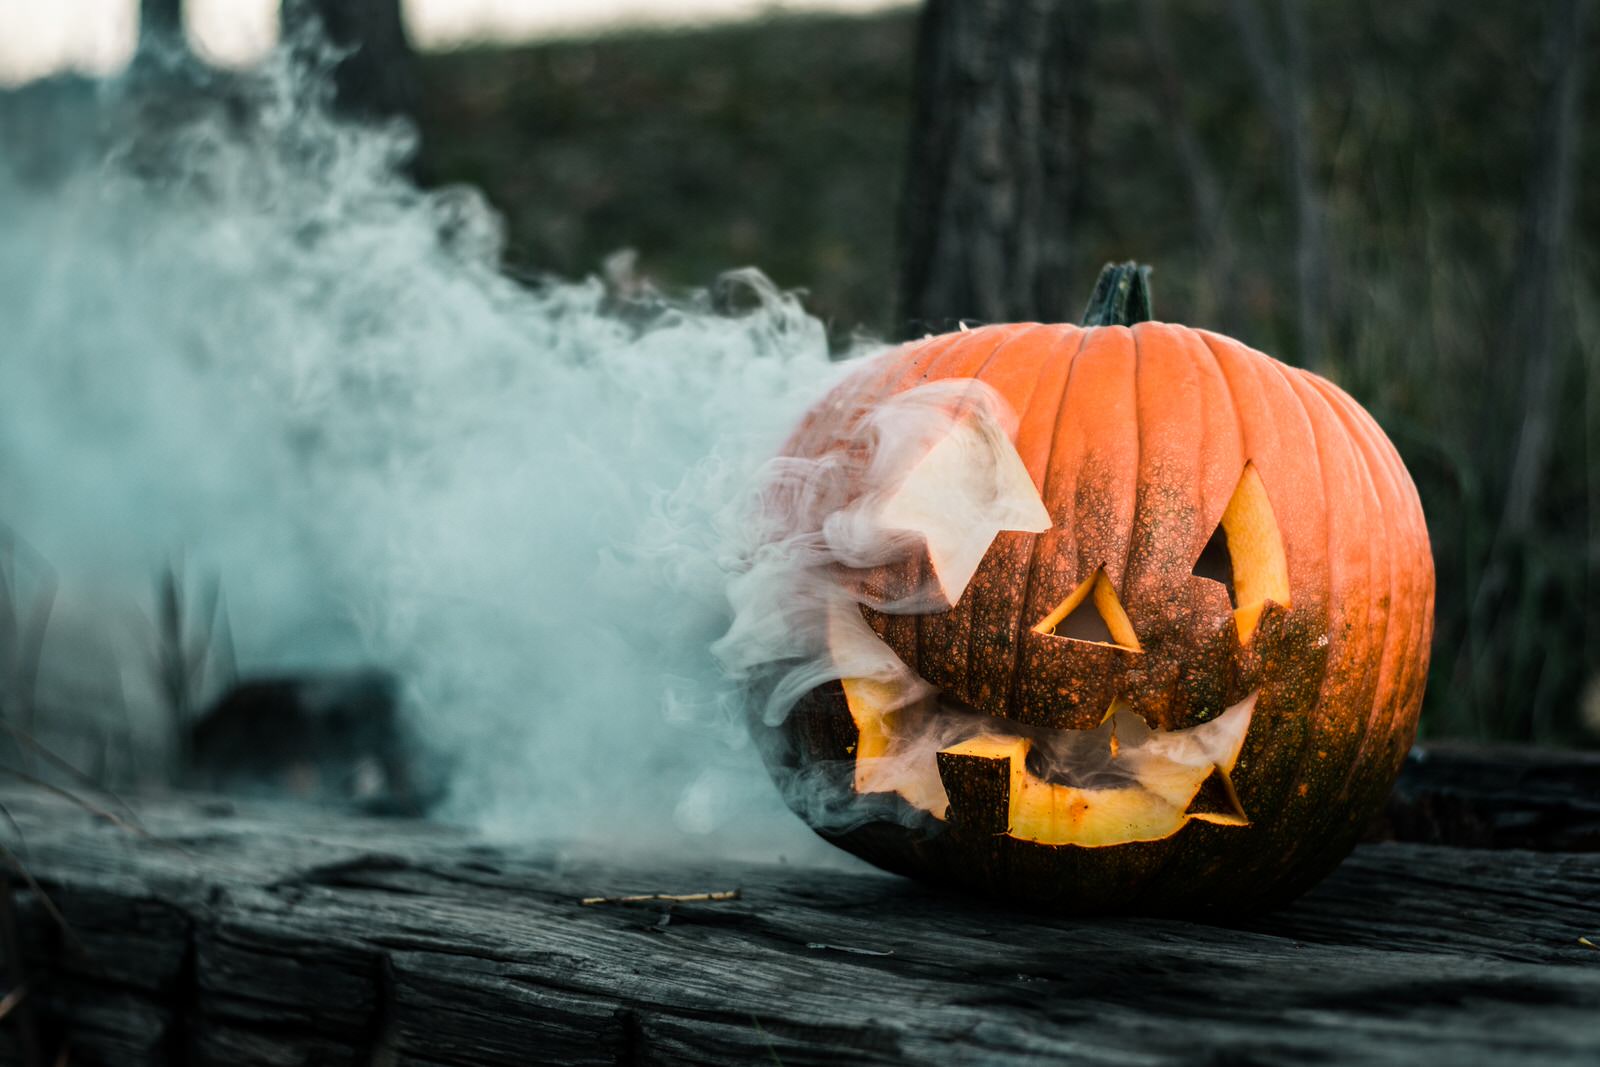
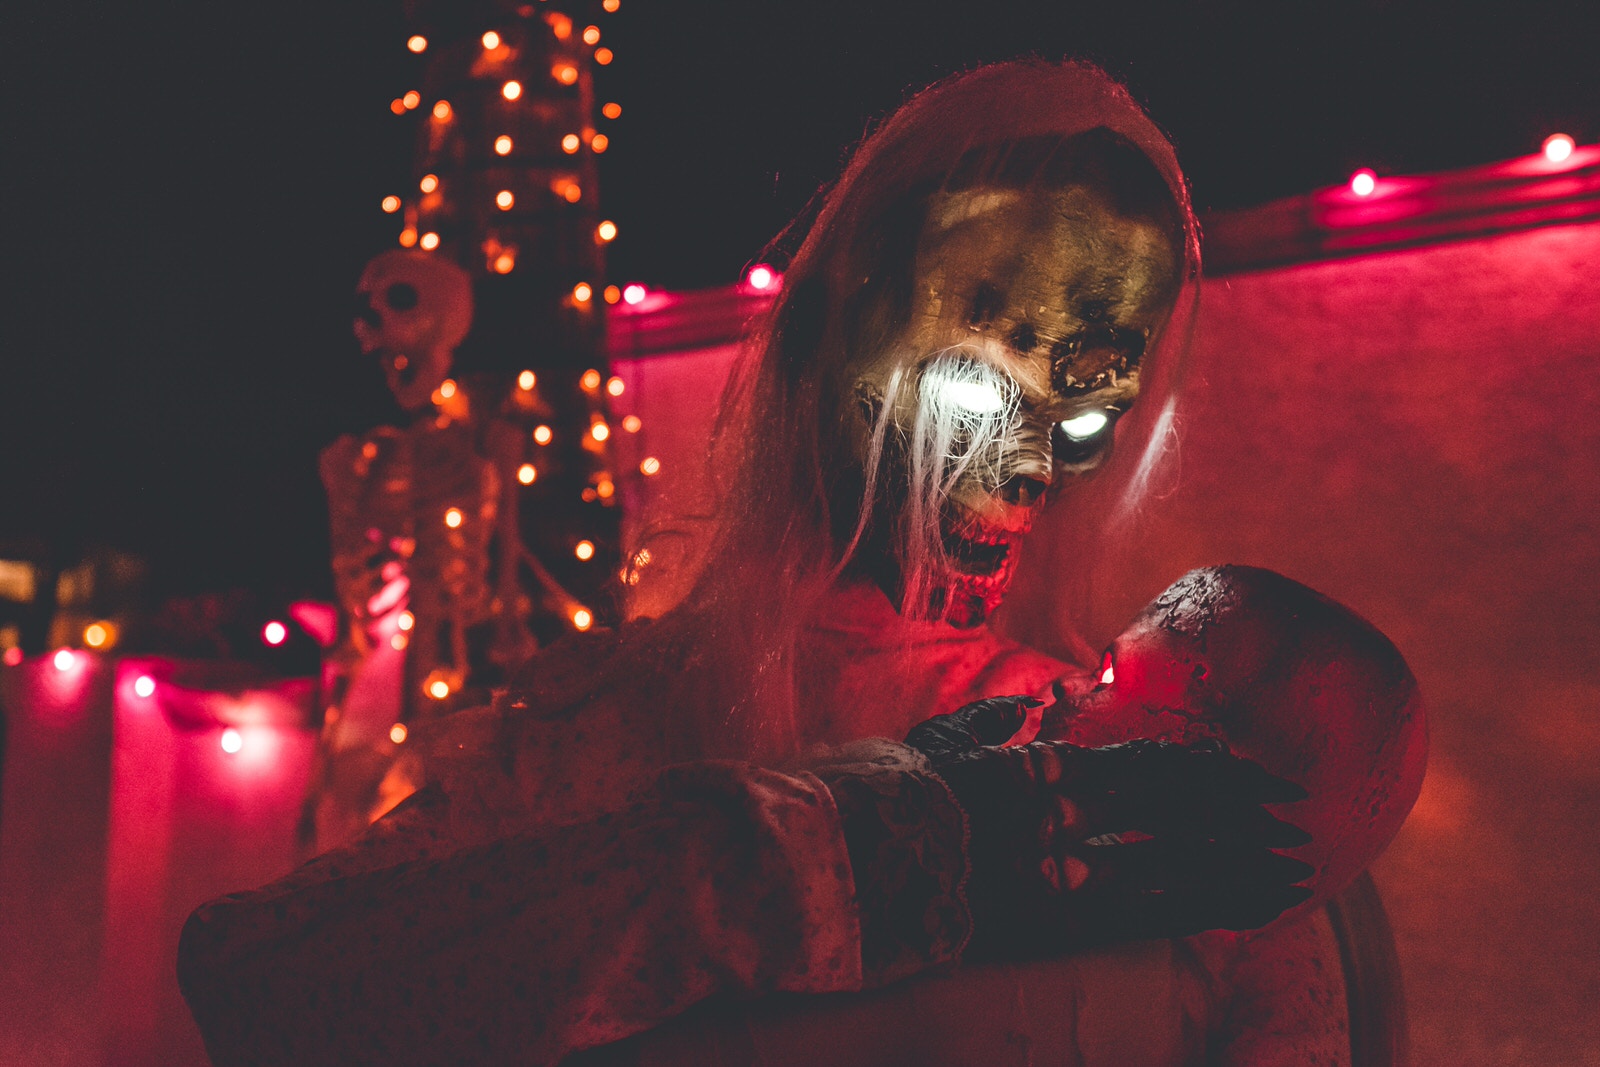
Photo by sergio souza on Unsplash
To get a fall vibe in there, stop by Tractor Supply Co. or your local Michael’s craft store to pick up some straw bales. A nice, scary jack-o-lantern never goes amiss, either! This tutorial has some great ideas for exposing jack-o-lanterns in the dark that also translate well to the other forms of candlelight we just talked about.
A little stage makeup can also work wonders. Jody Steel and Marion Moretti keep their Instagram feeds full of inspiration and they’re chock-full of Halloween ideas right about now! Be careful if your subject has sensitive skin, though. The grocery store brand might cause unpleasantness if left on for too long. We recommend going with Ben Nye to be sure you get the good stuff, but if that’s not in your budget, bring a mild makeup remover to use immediately afterward.
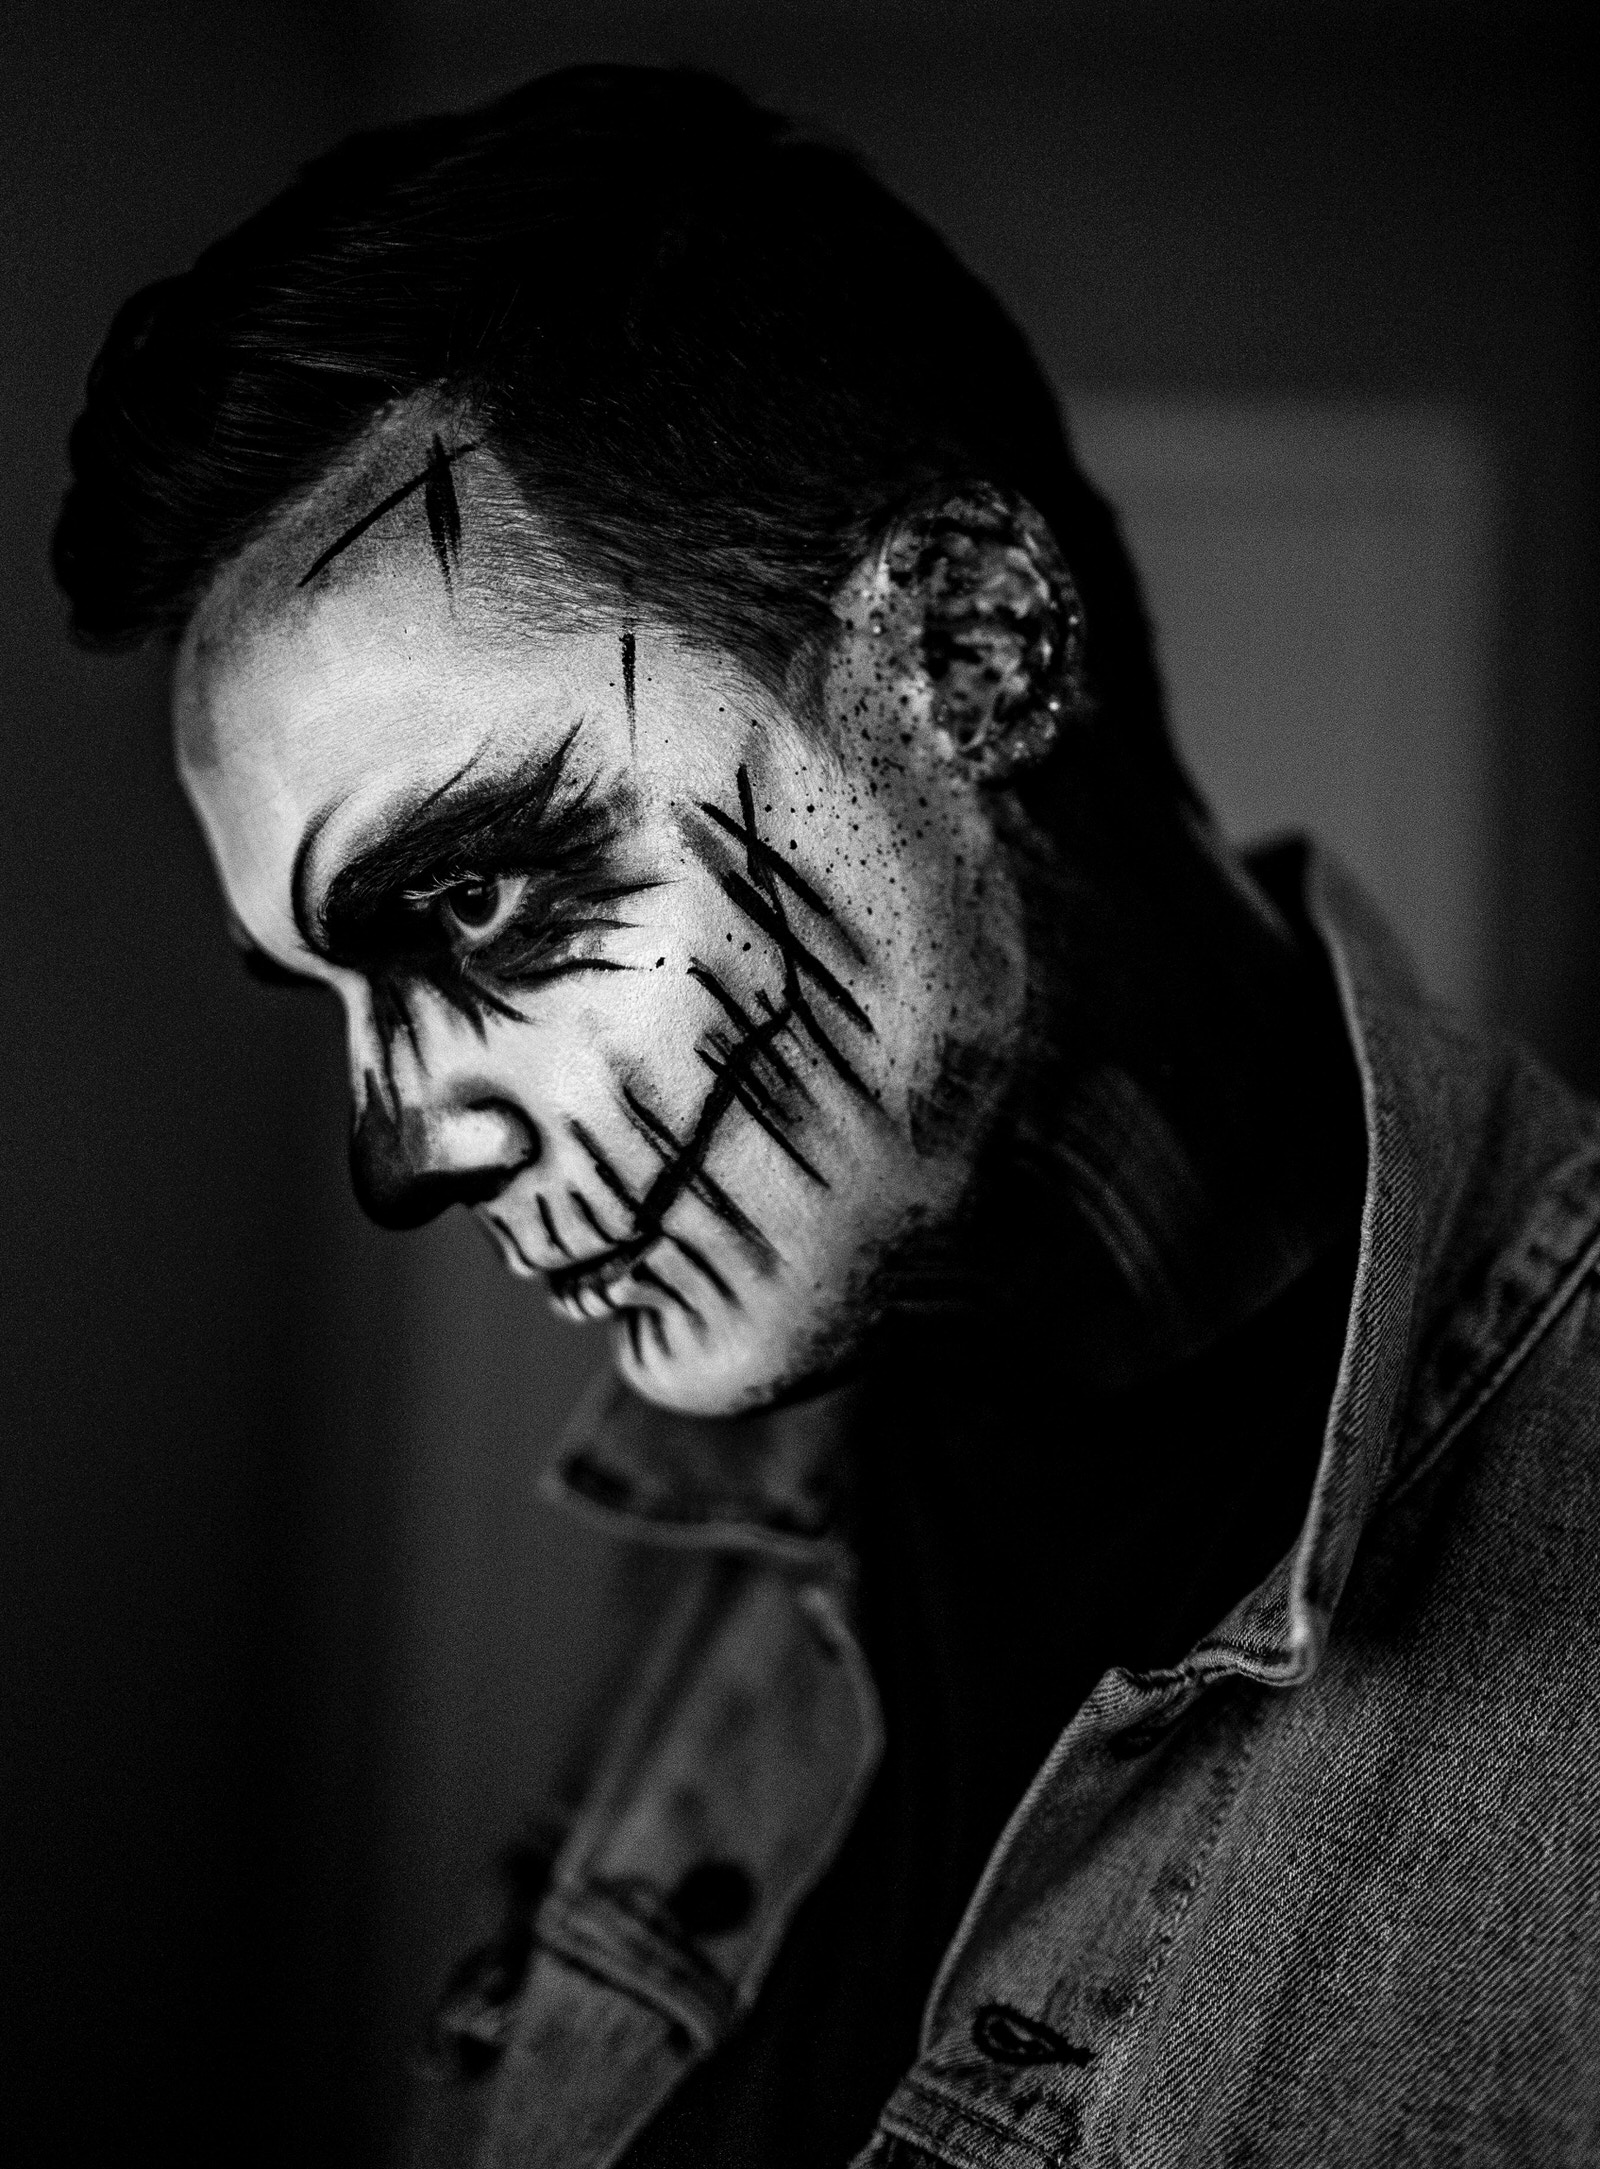
Photo by Colton Kresser on Unsplash
Adding Creepy Effects in Post-Processing
Now for the fun part! You can add to your shot with some of these super-scary effects in Photoshop:
- Faux Double Exposures – You can easily capture a “ghost” with a double exposure effect. Simply combine your a shot of your model with an interior shot of a haunted-looking home or place them in the window of an exterior shot. Then it’s just a matter of finding the right blend mode and masking out anything that gives the effect away.
- Shadows – Get a photo of your model creeping around or striking a scary pose, then select their shape in Photoshop, fill the selection with black, and blend your “shadow” into the shot. You can make it appear as if someone is lurking around off-camera or someone’s own shadow is misbehaving behind their back.
- Window Lights – Change the color of the light coming through the windows of your haunted house. You can fiddle with an HSL adjustment layer so the windows let out an eerie green or orange glow instead of a welcoming yellow-ish hue. Mask the same areas in a Levels adjustment layer to brighten them up.
- Broken Glass – Get that abandoned, poltergeist-ed look without damaging property or hurting yourself. There are plenty of brushes out there that will allow you to simply paint this effect right onto windows, mirrors, or really anything that can break in your image. You can also use a stock image of broken glass, select the break pattern, and make your own brush.
- Mist – Nothing says suspense like a dense fog or a rolling mist around your subject’s feet. It’s easy to add in post and it has a big impact!
- WWAND? – If you’re still casting around looking for inspiration, just ask yourself: What Would Aaron Nace Do? And you don’t have to worry about answering yourself, just check out his tutorials on turning teeth into fangs, using Photoshop to black out the eyes in a portrait, and levitating your subject!
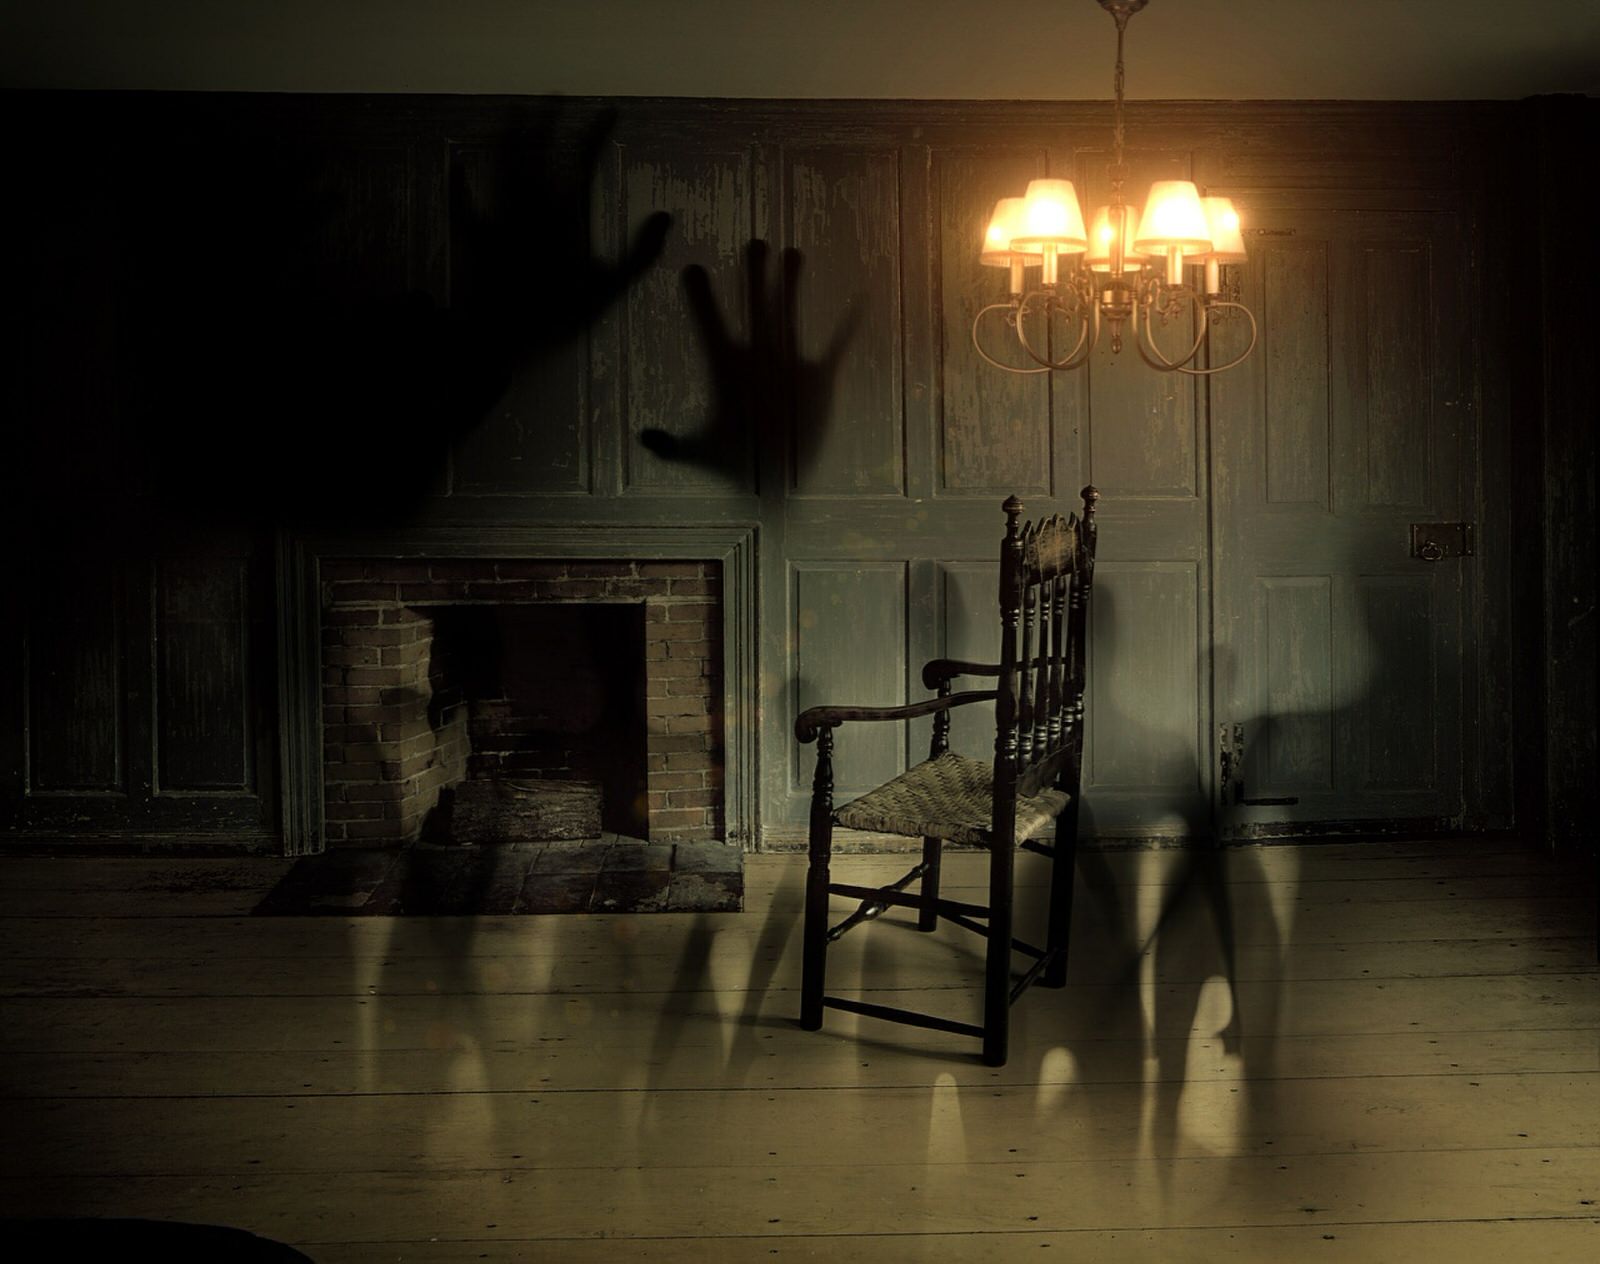
Image by Mystic Art Design from Pixabay
Feeling inspired? Go out and plan your own Halloween photo shoot with some of the ideas from this guide. Remember to practice safety first: never trespass on property (not even to get “the shot”) and save any potentially dangerous effects for the post-processing side of things. We can’t wait to see what you come up with!