Download Assets
description
Starting Photoshop for the first time can feel overwhelming. Even if you’ve used it before, there are probably tools and features you haven’t discovered yet.
In our first day of 30 Days of Photoshop we’ll take you on a tour of the software, explaining every major tool, menu, and option.
This is Day 1 of our 30 Days of Photoshop series. Follow along with all 30 episodes as we explore the the magic of Photoshop together!
Watch Next
JOIN 30 DAYS OF PHOTOSHOP (FOR FREE!)
Ready to jump in? Sign up and we’ll email you a printable calendar and daily class schedule so you can get started right away!
Image Source
- Marek Piwnicki
Images sourced from Unsplash.
Share
Every Tool, Every Menu, Explained
Welcome to your journey into Photoshop! First-time users might find the app intimidating, with so many tools and options that can easily make you feel lost. This tutorial acts as your personal guide, demystifying the workspace and highlighting the most essential features. It gives you the foundational knowledge you need to start creating with confidence and ease.
Getting Started
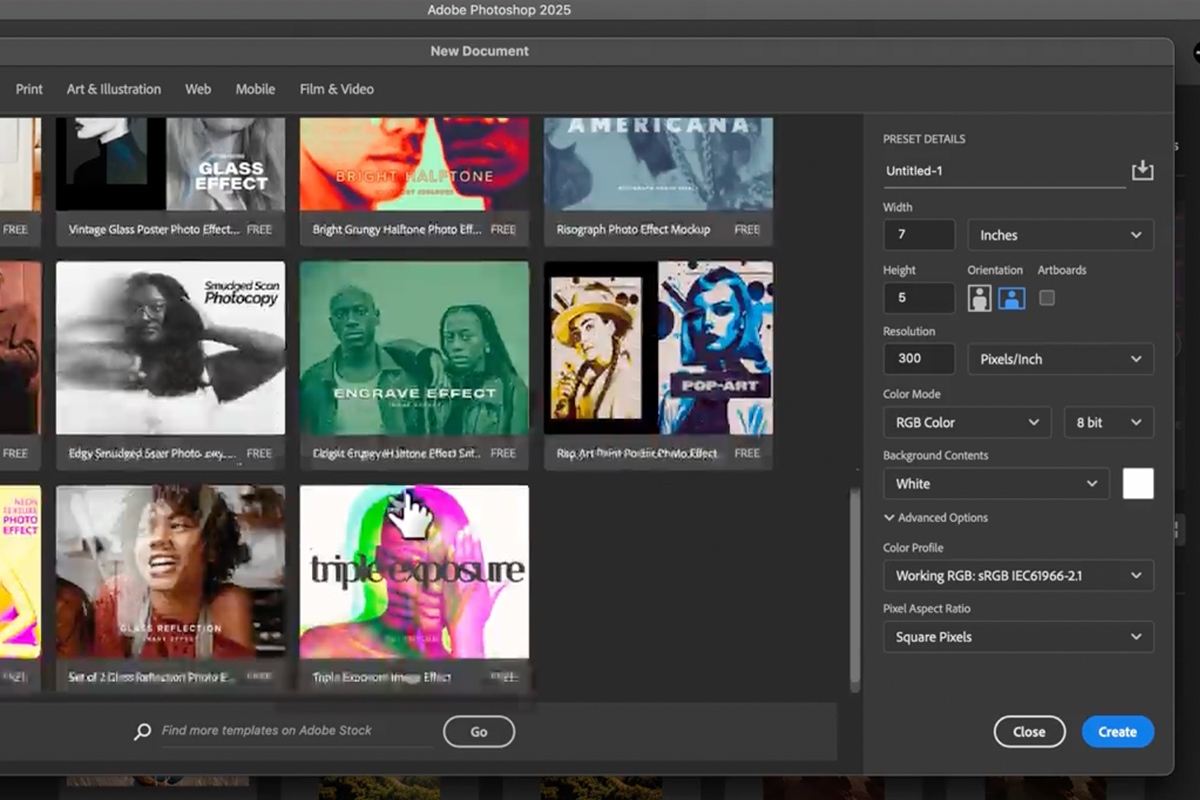
The first time you open Photoshop, you’ll see the splash screen, which serves as your home base. From here, you can create new projects or open existing ones. The New File option lets you choose from various templates for photo, print, and web projects, or you can create a custom document by setting the width, height, and resolution yourself. The splash screen also includes a Learning tab with interactive tutorials and access to all your cloud-based files.
Exploring the Interface
The Photoshop workspace is organized into a few key areas. On the left, you have the Toolbar, which contains all your main tools. Hovering over a tool reveals its name and keyboard shortcut. A small arrow on a tool icon means there are other, nested tools available. At the top of the screen is the Options Panel, which changes to show specific settings for the tool you currently have selected. On the right, you’ll find various panels and modules like Layers, History, and Adjustments.
Customizing Workspaces
One of Photoshop’s most powerful features is the ability to customize your workspace. You can access different pre-built layouts by going to Window > Workspace and selecting an option like “Photography,” “Painting,” or “Graphic and Web”.
You can also freely drag, close, or add individual panels from the Window menu to create a layout that works best for you. If you ever accidentally mess up your layout, don’t worry—you can simply go to Window > Workspace > Reset [Workspace Name] to instantly restore it to its default state.
Useful Shortcuts
To work more efficiently, it helps to learn some of the basic navigation shortcuts.
To pan around your image, hold down the spacebar and click and drag.
To zoom in or out, you can use the Zoom Tool (Z). Alternatively, hold Ctrl/Cmd + to zoom in, and Ctrl/Cmd – to zoom out.
That’s it for Day 1! We hope this overview helps you feel more comfortable navigating Photoshop. Tomorrow, we’ll dive deeper into opening, editing, and saving your projects.