
Download Assets
Download Assets
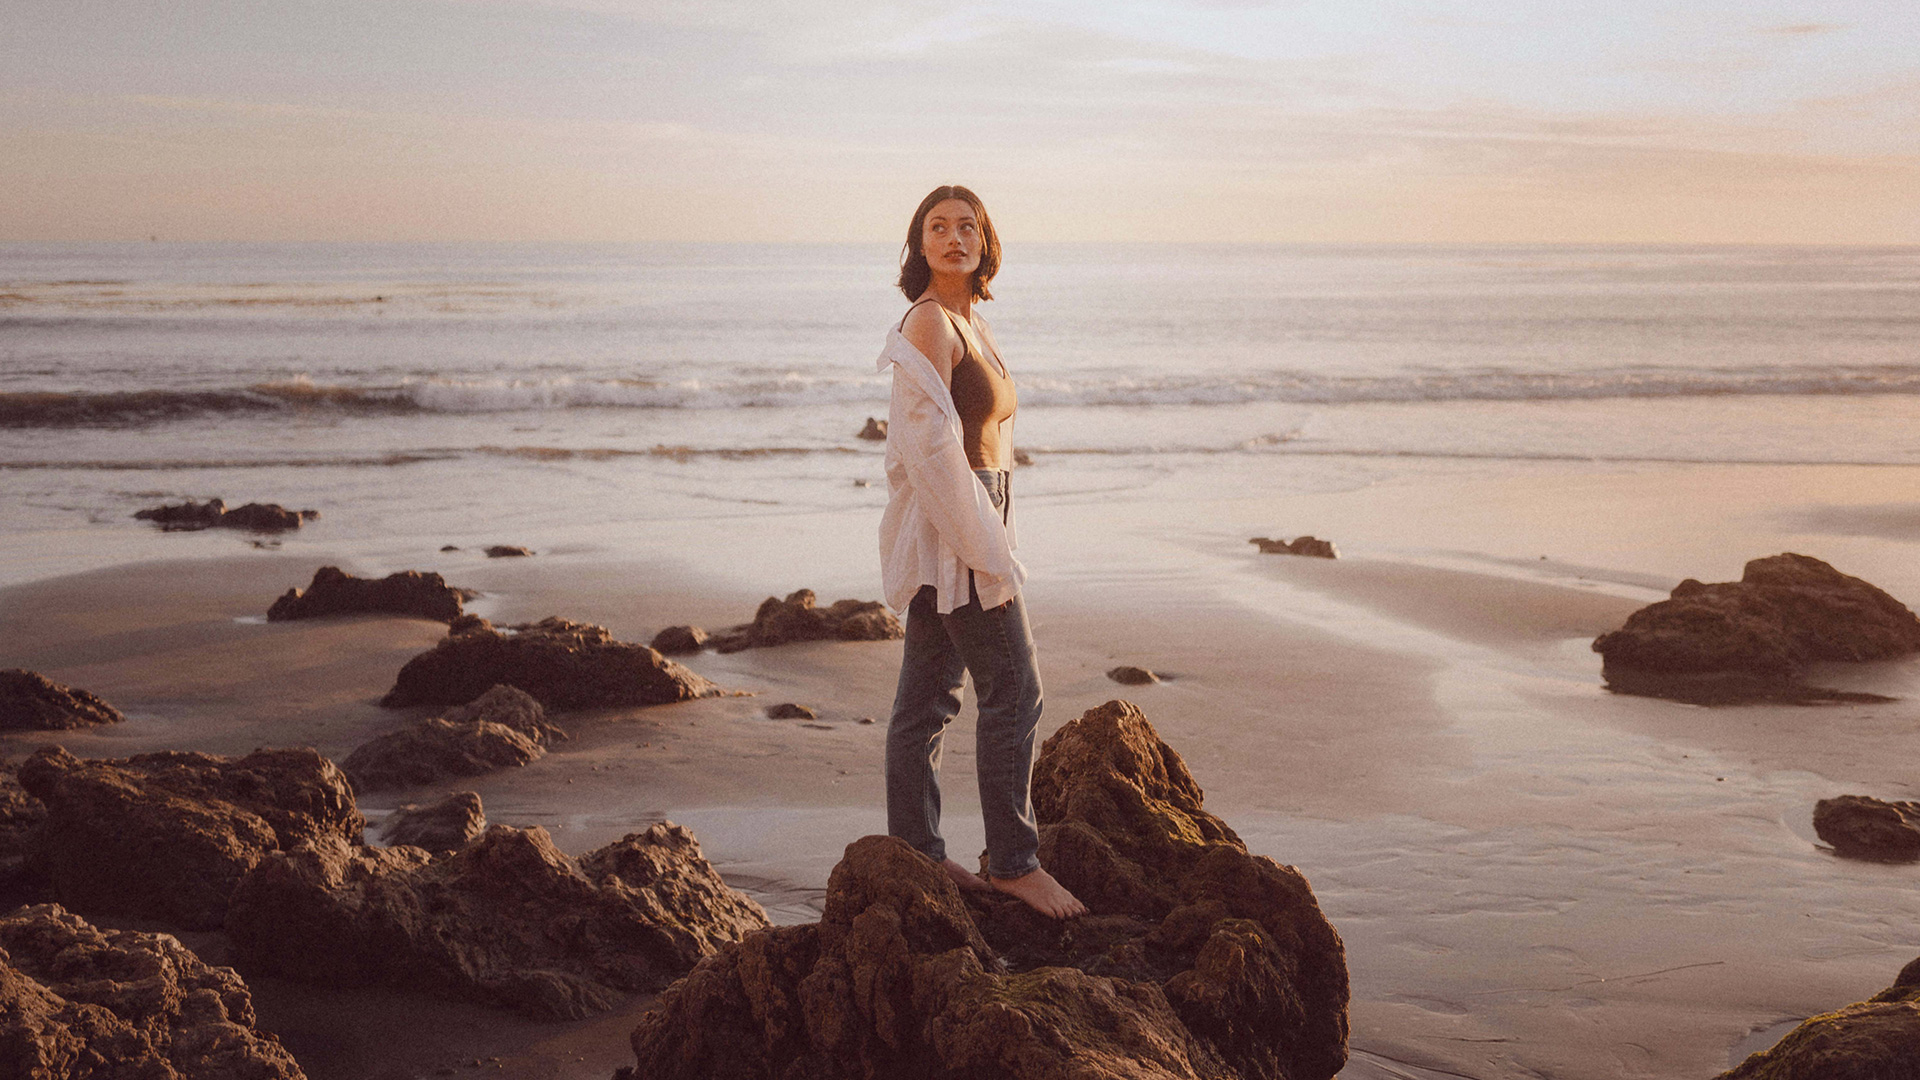
This tutorial includes 1 sample image and 1 sample PSD. Downloads are free with a PHLEARN account.
- Download the sample images and PSDs from every free tutorial on PHLEARN
- New free tutorials published every week
- One free account — sign up once, then download anything
Watch the Full Series
30 Days of Photoshop · 2025 EditionOur most-watched series, updated for 2025 — watch all 30 free
description
Photoshop offers seven file formats across two different dialogs, and the choice is not really about which is best. It is about which of two jobs you are doing: keeping a file you can still edit, or making a copy for somewhere else.
Day 3 sorts them out. A short color-grading edit first, then the four formats behind Save As — PSD, Large Document Format, Photoshop PDF and TIFF — and the three behind Export As, with the real file sizes each one produces from the same image.
This is Day 3 of 30 Days of Photoshop, 2025 Edition — our most-watched series, rebuilt from the ground up for today’s tools.
Continue Watching 30 Days of Photoshop
JOIN 30 DAYS OF PHOTOSHOP (FOR FREE!)
Ready to jump in? Sign up and we’ll email you a printable calendar and daily class schedule so you can get started right away!
Image Source

Photoshop File Formats: Four to Keep, Three to Send
Photoshop can read almost anything you hand it, which is why the format question only really bites on the way out. Two dialogs, seven formats, and a lot of guessing.
The way to keep it straight is to stop thinking about formats and start thinking about jobs. There are two: a working file you can still take apart, and a delivery copy for a browser, a printer or a client. Save As handles the first job. Export As handles the second. Nothing in either list does both.
Make the Edit First
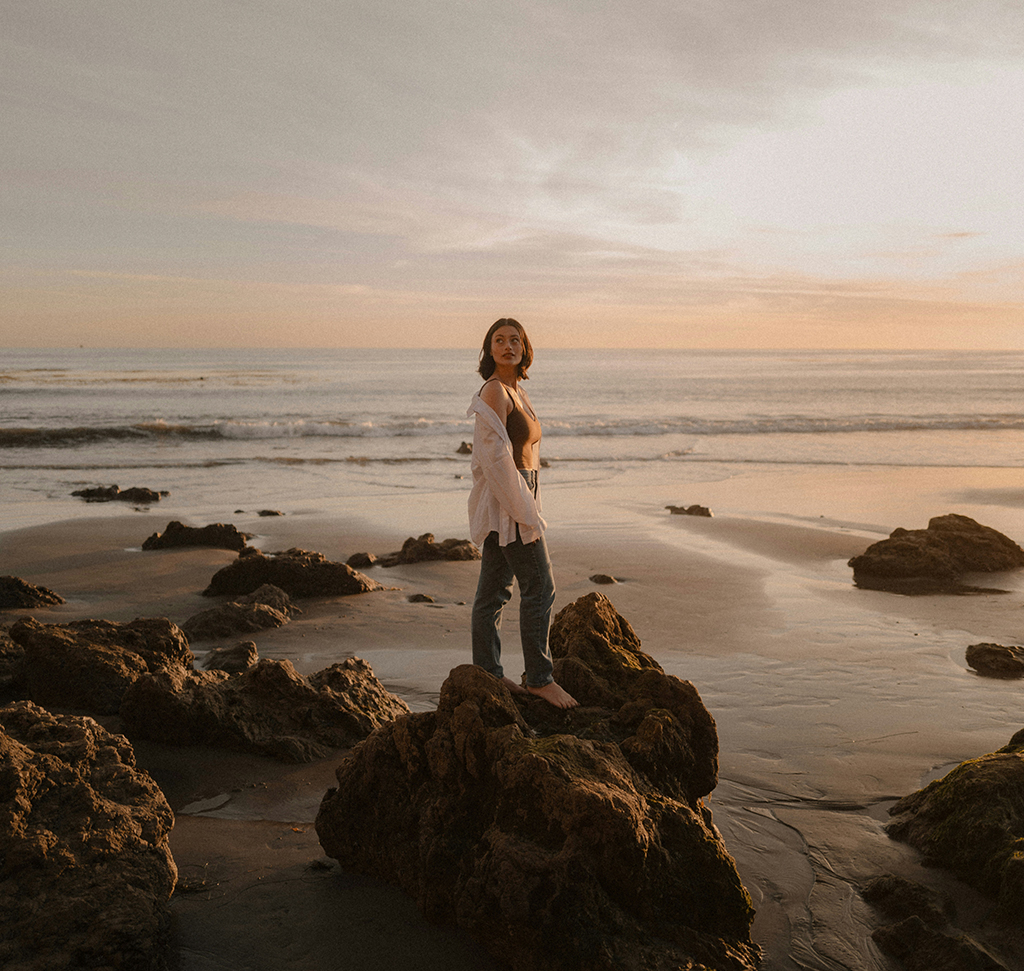
There has to be something worth saving, so the tutorial starts with a quick two-layer grade on a JPEG straight off a stock site.
-
Add a Brightness/Contrast Adjustment Layer
From the Adjustments panel (Window > Adjustments if it is not open). Push the brightness up until the subject reads properly. It lifts the whole frame for now, which is the next problem to solve.
-
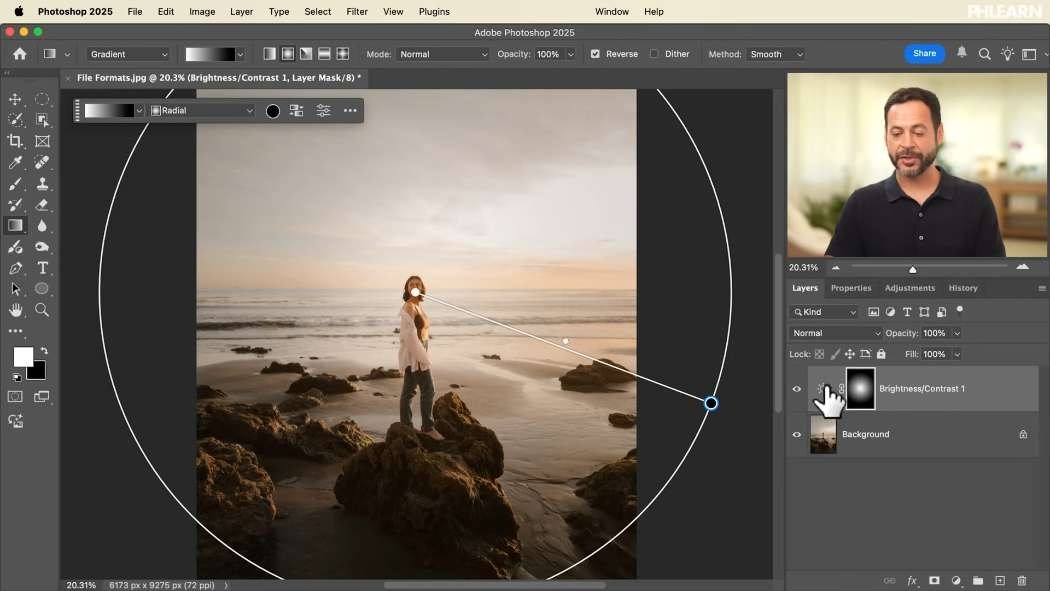
Mask It With a Reversed Radial Gradient
Click the layer mask thumbnail, not the adjustment thumbnail — the white outline tells you which one is selected. Take the Gradient tool (G), choose black to white from the Basics group, set the type to radial, and drag out from your subject. If the result is dark in the middle, tick Reverse in the options bar. The brightening now sits on the subject and fades away toward the edges.
-
Color Grade With a Gradient Map
Add a Gradient Map from the Adjustments panel and pick a gradient from the Properties panel. At full strength it will look absurd — that is expected. Drop the layer opacity to somewhere around 10–20% and it turns into a color grade. Double-click the adjustment thumbnail any time to try a different gradient.
Two adjustment layers over a background. Nothing has been baked in, which is the whole reason the next decision matters.
The Four Formats Under Save As
These all preserve your layers. They differ in size limits and in what else can open them.
PSD — Photoshop Document
The default, and the right answer nearly every time. Keeps layers, masks, adjustment layers, vectors and type. Capped at 2 GB. Its one weakness is portability: outside Adobe’s own apps, support is patchy.
Large Document Format — PSB
PSD’s big brother, for files past that 2 GB ceiling. Same feature set, and it handles canvases up to 300,000 × 300,000 pixels — territory you only reach with a poster full of high-resolution Smart Objects. Do not reach for it by default. Save as PSD and let Photoshop tell you when the file is too big; it will offer PSB itself.
Photoshop PDF
Raster and vector in one file, with layers optional and embedded fonts if you choose to embed them. You also control the compression on the way out. This is the client-proof format — it opens in Acrobat, Illustrator and InDesign as well as Photoshop, so the person receiving it does not need your software.
TIFF
Layers optional, transparency supported, high bit depth, and you can write it completely uncompressed. Files are large. It is the standard in print, archiving and professional delivery, and it is what a commercial client or a print house will usually ask for, because almost every program on earth reads it.
The Three Formats Under Export As
These are delivery copies. All three are flat — the layers are gone the moment you export.
JPEG
Flat, no transparency, and compressed by an amount you choose. Best for photographs, web images and social. The compression is lossy, so the trade is always quality against file size, and you get to pick where on that line you sit.
PNG
Supports real transparency and does not throw quality away, which also makes it enormous for a photograph. Right for logos, icons, UI elements and anything that has to sit on a transparent background. Wrong for a full-size photo destined for a web page.
GIF
Limited to 256 colors, so photographs come out banded and flat. Its reason to exist is frame-by-frame animation. Transparency is 1-bit, meaning fully on or fully off — there is no 50% transparent pixel in a GIF the way there is in a PNG. Use it for simple web animations, memes and small low-color graphics.

What the Numbers Actually Look Like
Same image, same export dialog, and the spread is not subtle. At maximum JPEG quality it comes out around 14 MB. Pull the quality slider down and zoom to 100% and the difference is very hard to see, while the file drops under a megabyte. Scale it to 50% at that quality and it lands at roughly 345 KB.
Switch the same file to PNG at full scale and it climbs to about 44.6 MB.
That is the whole argument for JPEG on the web in one comparison. Choose the lowest quality that still looks right at 100%, rather than the highest quality the slider offers.
Export Two Sizes at Once With Scale All
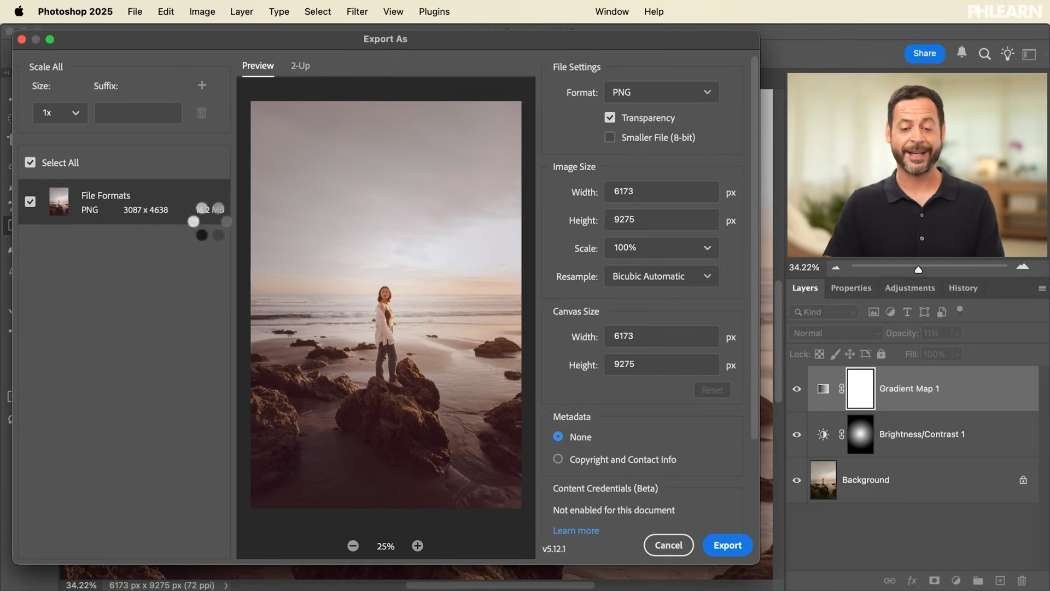
Top left of the Export As dialog there is a Scale All panel, and it is the most useful thing in there.
-
Set the First Size to 1x
Give it a suffix so you can tell the files apart later — something like
@1xor-full. -
Click the Plus Icon and Add 0.5x
Suffix that one too. You can keep adding rows for as many sizes as you need.
-
Export Once
Photoshop writes every size in a single pass into the folder you choose. In the example, full size came out at 2.3 MB and the half-size version at 712 KB — both from one click.
Always Convert to sRGB
At the bottom of the JPEG settings, tick Convert to sRGB and Embed Color Profile. Browsers and phones assume sRGB, and an export that skips it is the usual explanation for colors that looked right in Photoshop and went dull or strange after uploading.
Which One, When
JPEG for photographs, gradients and anything where a small file matters. PNG for transparency and hard-edged graphics like logos and icons. GIF for short, low-color animations and deliberately retro limited-palette graphics. TIFF when it is going to print or into an archive. Photoshop PDF when a client needs to open it without Photoshop. PSD for everything you intend to work on again.
Save the PSD, Export the Rest
Open the sample file, run the two-layer grade, save a PSD, then export the same image as a JPEG, a PNG and a GIF and compare the file sizes on your own machine. The numbers make the argument better than any rule of thumb.
Then reopen the PSD and change the gradient map. Every export you just made is disposable; the PSD is the only file that lets you do that. Day 2 covered the open-edit-save loop these formats sit inside, and tomorrow Day 4 gets into layers — the thing the layered formats exist to protect.
Quick Reference: Keys, Menus and Settings
- Brighten the subjectAdjustments > Brightness/Contrast; click the mask, G, Black to White, Radial, Reverse if needed
- Color gradeAdjustments > Gradient Map, layer opacity about 10 to 20%
- Save with layersFile > Save As: Photoshop (PSD), Large Document Format (PSB), Photoshop PDF or TIFF
- Export a flat copyFile > Export > Export As: JPG, PNG or GIF; check the file size as you move Quality
- Two sizes at onceExport As > Scale All: 1x, then the plus icon for 0.5x, each with a suffix
- Colors for the webConvert to sRGB and Embed Color Profile, both ticked
No AI, no generative credits.

Free Downloads
Follow Along on the Same Photo
Get the sample JPEG to grade and the layered PSD with its brightness and gradient map layers, then save it in each format and compare sizes. Free with a PHLEARN account.
Photoshop File Formats: Common Questions
Which file formats keep my layers?
The four under File > Save As: PSD, Large Document Format (PSB), Photoshop PDF and TIFF. The three under Export As, JPEG, PNG and GIF, are flat copies.
When do I need PSB instead of PSD?
Only past the PSD’s 2 GB limit. PSB handles canvases up to 300,000 x 300,000 pixels. Save as PSD by default; Photoshop tells you when a file is too big and offers PSB itself.
When should I save a Photoshop PDF?
For client proofs, forms and print layouts. It keeps raster and vector together, with optional layers and embedded fonts, and opens in Acrobat, Illustrator and InDesign as well as Photoshop.
What format should I send to a printer?
TIFF. It supports layers as an option, transparency and high bit depth, can be saved uncompressed, and almost every program reads it. The files are large.
What JPEG quality should I use for the web?
The lowest quality that still looks right at 100% zoom. In the video, maximum quality came out around 14 MB, and a lower setting dropped it under a megabyte with very little visible difference.
Why is my PNG so much bigger than my JPEG?
PNG doesn’t throw quality away, so a full-size photo gets huge; the same image hit about 44.6 MB. Use PNG for logos, icons and anything that needs a transparent background.
Why does my photo look banded as a GIF?
GIF is limited to 256 colors, and its transparency is only on or off. It is for simple animations, memes and small low-color graphics, not photographs.
Can I export a full-size and a small copy at once?
Yes. In Export As, use Scale All at the top left: set 1x with a suffix, click the plus icon, add 0.5x with its own suffix, then export once.
Why do my colors look different after I upload?
At the bottom of the JPEG settings, tick Convert to sRGB and Embed Color Profile. Browsers and phones expect sRGB.
Are the sample files free?
Yes, with a free PHLEARN account. You get 1 sample image and 1 sample PSD: the photo to edit and the layered file to save and export in each format.
Master Photoshop, Lightroom and Photography
Join PHLEARN PRO for $12.99 a month or $99.99 a year. Cancel anytime, with a 100% money-back guarantee.





