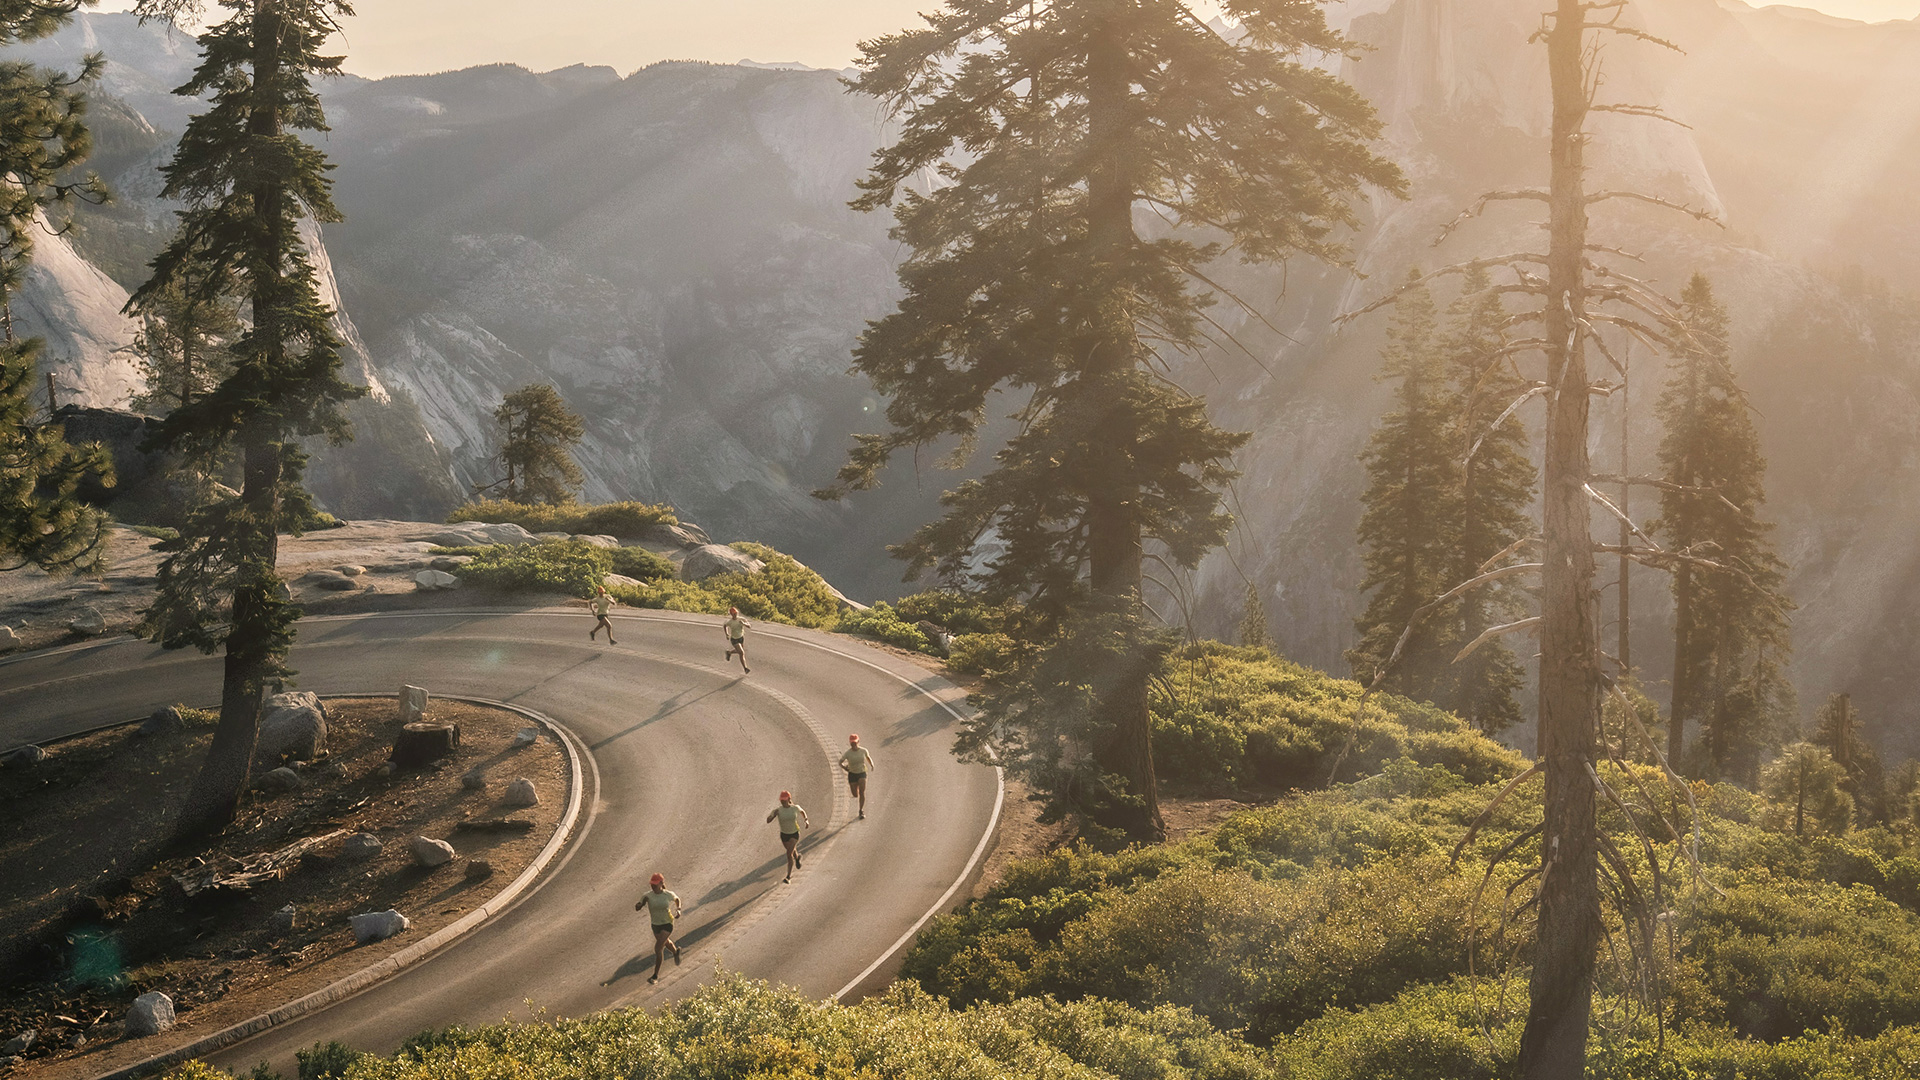

Download Assets
Download Assets
This tutorial includes 1 sample image and 1 sample PSD. Downloads are free with a PHLEARN account.
- Download the sample images and PSDs from every free tutorial on PHLEARN
- New free tutorials published every week
- One free account — sign up once, then download anything
Watch the Full Series
30 Days of Photoshop · 2025 EditionOur most-watched series, updated for 2025 — watch all 30 free
description
Save and export is the loop every Photoshop project runs on: open a file, work on it in layers, save the layered version, then export a flat copy for wherever it is going. Skip the middle step and you can never revise the edit; skip the last one and you have a file nobody else can open.
Day 2 walks the whole loop on one image. You will open a photo five different ways, build a sun flare and a set of light rays with the Gradient and Brush tools, save a layered PSD, and export a compressed JPEG for sharing — then go back into the PSD and fix something, which is the entire point of keeping it.
This is Day 2 of 30 Days of Photoshop, 2025 Edition — our most-watched series, rebuilt from the ground up for today’s tools.
Continue Watching 30 Days of Photoshop
JOIN 30 DAYS OF PHOTOSHOP (FOR FREE!)
Ready to jump in? Sign up and we’ll email you a printable calendar and daily class schedule so you can get started right away!
Image Source

Open, Save and Export: the Loop Every Project Runs On
Photoshop’s file handling trips people up more often than any of its tools, and always in the same way: the finished JPEG exists, the layered version does not, and the only way to change anything is to start over.
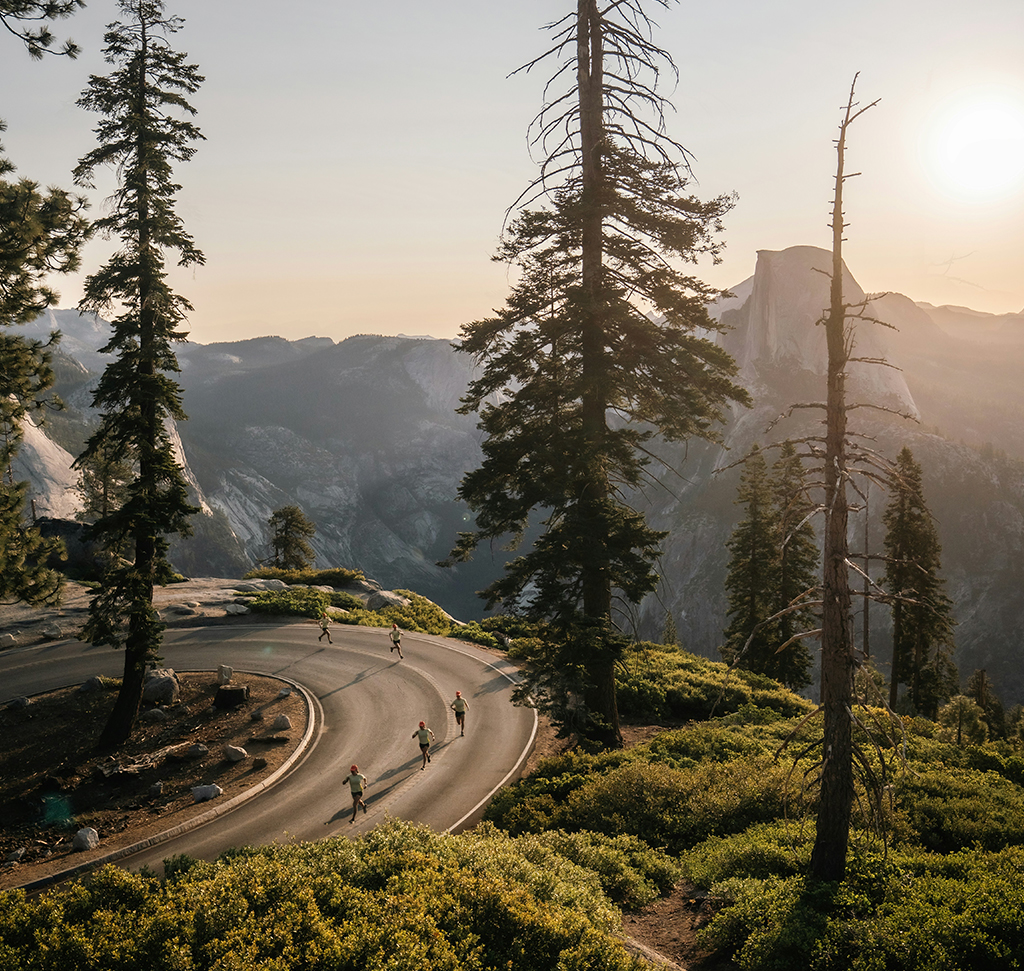
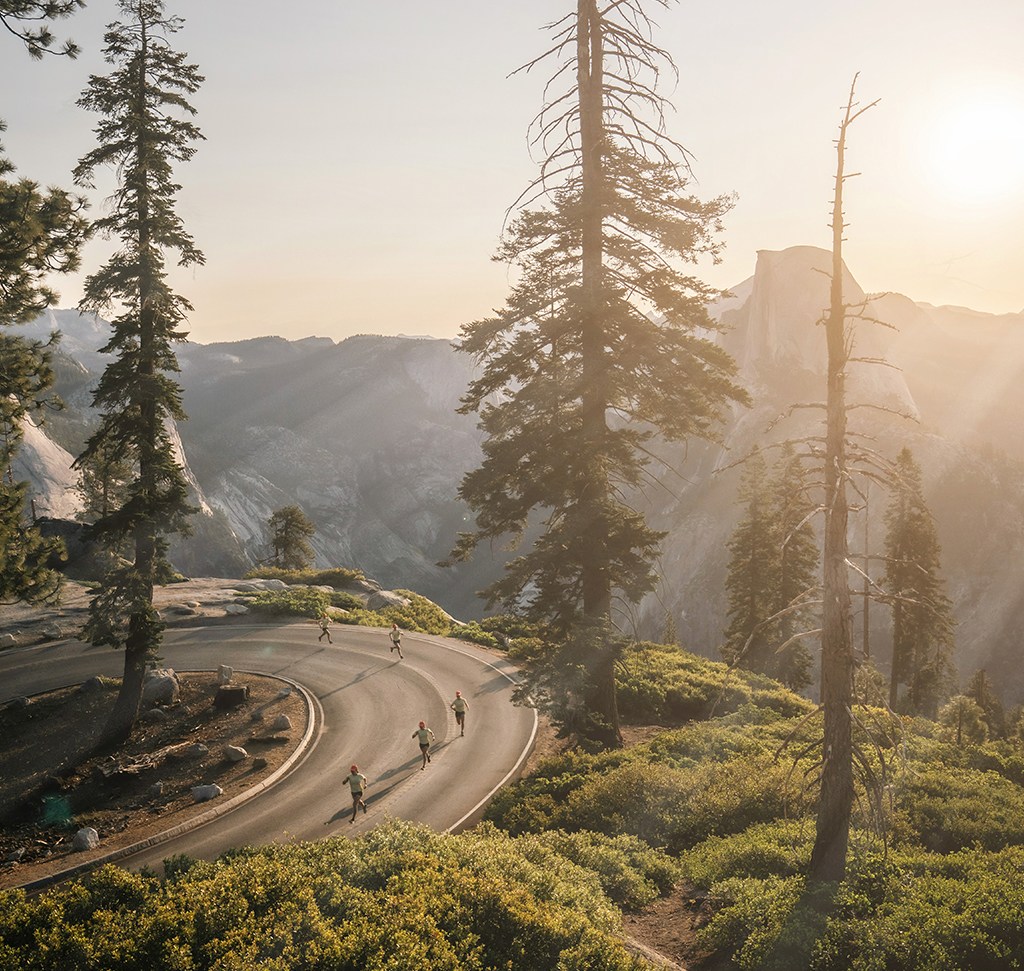
The habit that prevents it is simple. Open the file, save a layered PSD early, keep working, and export a flat copy only at the very end. Day 2 runs that loop end to end on one photograph, adding a sun flare and a set of light rays along the way so there is something worth saving.
Five Ways to Open a File
The obvious route is the Open button on the home screen, or File > Open, or Ctrl/Cmd + O. Anything you have touched before is also sitting in File > Open Recent and in the Recents list on the home screen, which is usually faster than digging through folders. Photoshop will open essentially any image format you hand it.
The two drag-and-drop routes are worth knowing separately, because they do completely different things.
Drag Into an Open Document
Drop a file onto the canvas of a document that is already open and Photoshop places it into that document as a new layer, with transform handles live so you can scale it before you commit. Press Enter or click the check mark to place it.
Drag Onto the Tab Bar
Drop the same file on the row of tabs at the top instead and Photoshop opens it as its own separate document. Same gesture, few pixels apart, entirely different result — which is why files sometimes land somewhere you did not intend.
Once several documents are open, the tabs across the top switch between them, and the bottom of the Window menu lists every open file if the tabs get crowded. Ctrl/Cmd + W closes the active one.
Add a Radial Gradient for the Sun
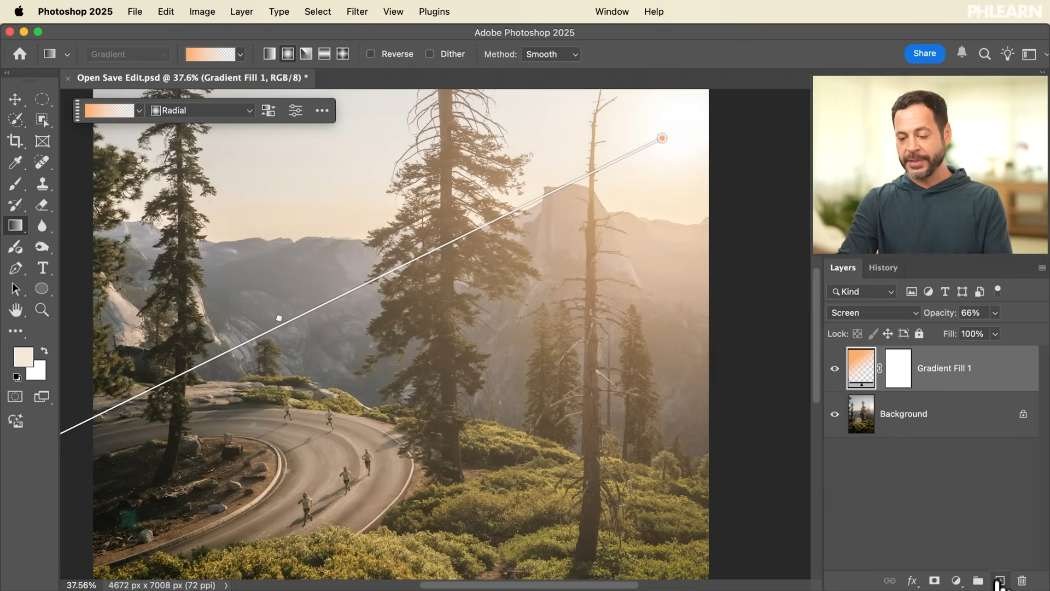
The first edit is a soft glow spreading out from the sun, built with a single gradient layer so it stays adjustable forever.
-
Grab the Gradient Tool (G) and Open the Gradient Editor
Click the gradient swatch in the options bar. Under the Basics group at the top of the list you will find three that matter: foreground to background, foreground to transparent, and black to white.
-
Choose Foreground to Transparent
This is the one for light. It fades your chosen color out to nothing rather than to a second color, so the glow dissolves into the photograph instead of stopping at a hard edge.
-
Sample the Sun’s Color From the Photo
Click the foreground color swatch to open the color picker, then move your cursor out over the image — it turns into an eyedropper. Click somewhere bright in the sky. The gradient preview updates to match, because foreground-to-transparent always follows whatever the foreground color currently is.
-
Switch the Gradient Type to Radial
Linear wipes across the frame; radial spreads out from a point, which is what a sun does. Then click and drag from the sun outward to lay the gradient down.
-
Set the Blend Mode to Screen
On its own the gradient just sits there as colored paint. Change the layer’s blend mode from Normal to Screen and it starts behaving like light, brightening what is underneath instead of covering it. Pull the opacity down if it is too strong.
-
Adjust It Whenever You Like
Because it is a gradient fill layer, the on-canvas handles stay live: drag the center point to move the glow, drag the outer point to resize it, and click the center point to recolor it straight from the contextual task bar.

Save the Layered File Before You Go Further
Two layers in is exactly the right moment to save. Go to File > Save As and leave the format on Photoshop, which writes a .psd. The tab at the top of the document changes from .jpg to .psd, and from now on Ctrl/Cmd + S updates that layered file in place.
You do not wait until you are finished to do this. Save early, save again as you go, and the worst thing a crash can cost you is a few minutes.
Build the Light Rays From Dots and a Blur
The rays look complicated and are not. They are a scattering of painted dots with one filter applied.
-
Make a New Empty Layer
Click the new layer icon at the bottom of the Layers panel. Everything in this step stays on its own layer so you can throw it away without touching the gradient.
-
Paint Dots With the Brush (B)
Hold Alt/Option and click the sky to sample its color. Right-click on the canvas to set the brush size and push the hardness up to around 80–90%, then dot the frame. Use the [ and ] bracket keys to vary the size as you go — a mix of large and small dots gives you a mix of thick and thin rays.
-
Apply Filter > Blur > Radial Blur
Choose Zoom, not Spin, set the amount to 100, and drag the blur center in the preview box to wherever your light source is. Click OK and the dots stretch into rays pointing away from that point.
-
Duplicate and Merge to Strengthen It
If the effect is too faint, press Ctrl/Cmd + J to duplicate the layer — that doubles the pixel density and doubles the intensity. Then press Ctrl/Cmd + E (or Layer > Merge Layers) to combine the two back into one.
-
Set That Layer to Screen as Well
Same reason as the gradient. Screen makes the rays read as light passing through the scene rather than paint sitting on top of it.
-
Shape the Rays With Free Transform
Press Ctrl/Cmd + T. Drag the center reference point up to the sun (tick the reference point box in the options bar if you cannot see it), then rotate to line the rays up with the light. Hold Ctrl/Cmd while dragging a corner handle to pull the shape out of square, which is how you make rays stretch and taper the way real ones do. Press Enter, then dial the layer opacity back until it stops looking like an effect.
Save and Export Are Not the Same Thing
Save Keeps Your Layers
Saving writes the working file — the PSD, with every layer, mask and blend mode intact. It is bigger, and no one but you needs it, but it is the only version you can edit.
Export Flattens and Compresses
Exporting writes a copy for somewhere else: a JPEG for social, a PNG when you need transparency, a GIF when you need animation. It is flat, it is small, and it cannot be taken apart again.
You want both, every time. The PSD is the negative; the export is the print.

Export a JPEG for Sharing
-
Go to File > Export > Export As
Pick the format top right. JPG is the default choice for sharing; PNG preserves transparency but produces a much larger file; GIF handles simple animation.
-
Balance Quality Against File Size
The quality slider shows the resulting file size live underneath the preview. Drag it down and watch the number drop. Around 6 is usually the sweet spot where the file gets meaningfully smaller before the image visibly suffers.
-
Leave Convert to sRGB Ticked
It is on by default and it should stay on. sRGB is what browsers and phones assume, and skipping it is why exports sometimes look flat or oddly colored once they are uploaded.
-
Set the Size, Then Export
Keep it full size for print or archiving, or scale it down here if it is heading somewhere with an upload limit. Click Export and name the file.
The Payoff: Going Back Into the PSD
Look at the exported JPEG full size and you will usually spot something. In this case the rays carried on above the sun, into open sky, where nothing was blocking them — which is exactly what real light does not do.
With the PSD you fix it in under a minute: add a layer mask to the light-ray layer, take the Brush with black at about 20% opacity, and paint gently over the parts that do not belong. Shift-click the mask thumbnail to toggle it off and on and compare. Then save the PSD again and re-export.
Without the PSD, that same fix means rebuilding the entire effect from scratch. This is what people mean by non-destructive editing, and it is less a technique than a filing habit.
Run the Loop on Your Own Photo
Download the sample image and PSD and go through it once: open, edit, save as PSD, export a JPEG, then go back into the PSD and change one thing. Do it on a photo of your own straight afterwards while the sequence is fresh.
If you have not been through Day 1’s tour of the interface, that is where the panels used here are explained. Tomorrow, Day 3 gets into file formats — what actually separates a JPEG from a PNG, a TIFF and a PSD, and when each one is the right answer.
Quick Reference: Keys, Menus and Settings
- Open and closeCmd/Ctrl + O or File > Open Recent; Cmd/Ctrl + W closes
- Sun glowG, Basics > Foreground to Transparent, Radial; blend mode Screen
- Save the layersFile > Save As, format Photoshop (.psd); then Cmd/Ctrl + S
- Paint the dotsB, Alt/Option-click to sample, Hardness 80 to 90%, [ and ] for size
- Turn dots into raysFilter > Blur > Radial Blur: Zoom, Amount 100; blend mode Screen
- Strengthen and shapeCmd/Ctrl + J, then Cmd/Ctrl + E; Cmd/Ctrl + T, hold Cmd/Ctrl on a corner
- Export a JPEGFile > Export > Export As: JPG, Quality about 6, Convert to sRGB on
No AI, no generative credits.
Free Downloads
Follow Along on the Same Photo
Get the sample photo to open and the layered PSD of the finished edit with the sun glow and light rays, so you can run the whole loop. Free with a PHLEARN account.
Open, Save and Export: Common Questions
What is the difference between Save and Export in Photoshop?
Saving writes your layered working file, the PSD, so you can edit it later. Exporting writes a flat, compressed copy such as a JPEG for sharing. You want both every time.
Why did my dragged photo become a layer instead of a new document?
Dropping a file onto an open document places it into that document as a new layer. Drop it on the row of tabs at the top instead and it opens as its own document.
How do I save a file with its layers?
Go to File > Save As and leave the format on Photoshop, which writes a .psd. After that, Cmd/Ctrl + S updates the same layered file. Save early, not just at the end.
How do I add a soft sun glow?
Take the Gradient tool (G), choose Foreground to Transparent from the Basics group and set the type to Radial. Sample the sky as your foreground color, drag out from the sun and set the layer to Screen.
Can I move or recolor the gradient later?
Yes. It is a gradient fill layer, so drag the center point to move it, the outer point to resize it, and click the center point to change its color from the Contextual Task Bar.
How do I make light rays in Photoshop?
On a new layer, paint dots of sky color with a hard brush, then apply Filter > Blur > Radial Blur set to Zoom at 100 with the center on the light source. Set the layer to Screen.
My light rays are too faint. How do I strengthen them?
Duplicate the layer with Cmd/Ctrl + J to double the effect, then merge the two with Cmd/Ctrl + E. Use Cmd/Ctrl + T to rotate and stretch the rays toward the sun.
What JPEG quality should I export at?
In File > Export > Export As, the quality slider shows the file size live. Around 6 is a good balance, and leave Convert to sRGB ticked so it looks right on phones and the web.
Can I fix something after I’ve already exported?
Yes, if you kept the PSD. Open it, make the change (here a layer mask painted with black at about 20% to tame the rays), save, and export again. Without the PSD you start over.
Are the sample files free?
Yes, with a free PHLEARN account. You get 1 sample image and 1 sample PSD: the photo to open and the layered file of the finished edit.
Master Photoshop, Lightroom and Photography
Join PHLEARN PRO for $12.99 a month or $99.99 a year. Cancel anytime, with a 100% money-back guarantee.





