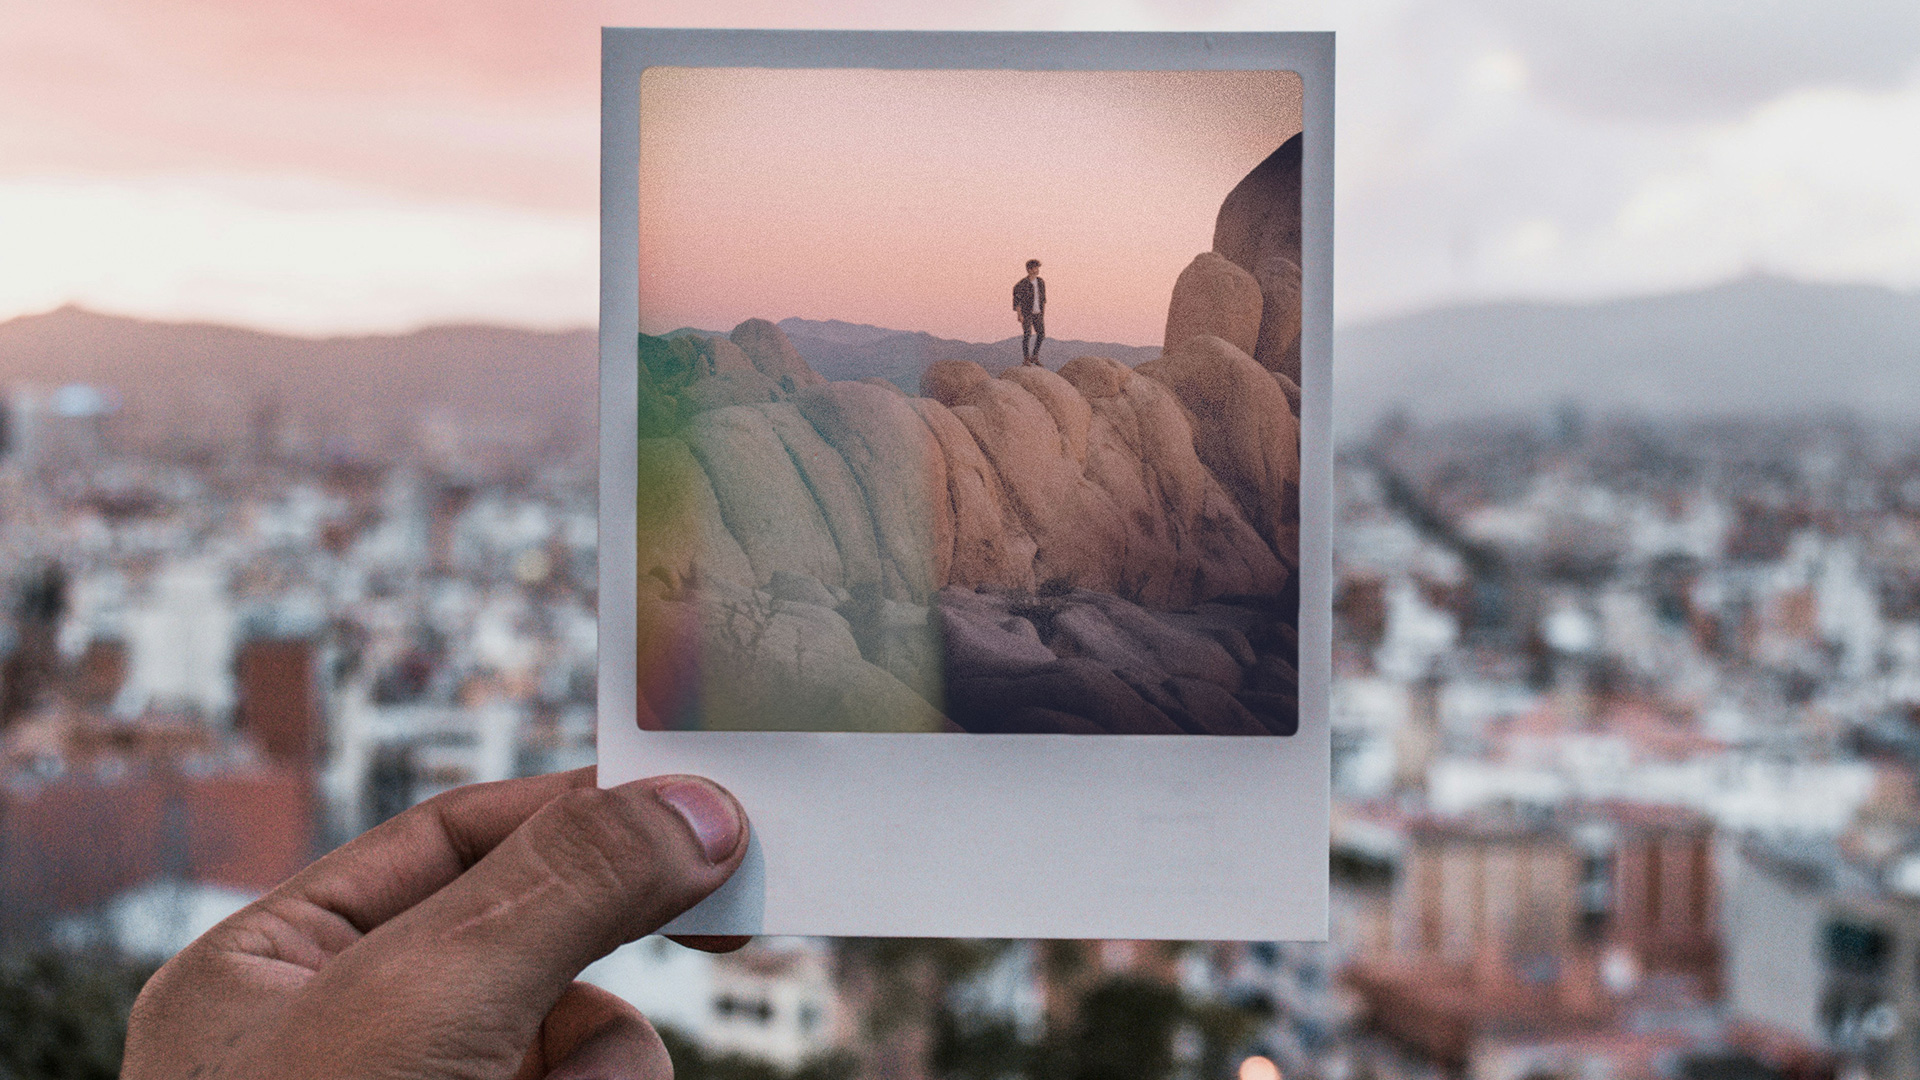

Download Assets
Download Assets
This tutorial includes 3 sample images and 1 sample PSD. Downloads are free with a PHLEARN account.
- Download the sample images and PSDs from every free tutorial on PHLEARN
- New free tutorials published every week
- One free account — sign up once, then download anything
Watch the Full Series
30 Days of Photoshop · 2025 EditionOur most-watched series, updated for 2025 — watch all 30 free
description
Layers and layer masks are the one feature that separates Photoshop from every other photo editor. They let you stack changes on top of an image without ever altering the image itself, so every decision stays reversible for as long as the file exists.
Day 4 builds a composite to prove it: a new photograph dropped inside a Polaroid the subject is holding, a light leak blended over the top, hand-painted edge tone, a color grade and two smart filters — then every layer switched off to reveal an untouched original underneath.
This is Day 4 of 30 Days of Photoshop, 2025 Edition — our most-watched series, rebuilt from the ground up for today’s tools.
Continue Watching 30 Days of Photoshop
JOIN 30 DAYS OF PHOTOSHOP (FOR FREE!)
Ready to jump in? Sign up and we’ll email you a printable calendar and daily class schedule so you can get started right away!
Image Source
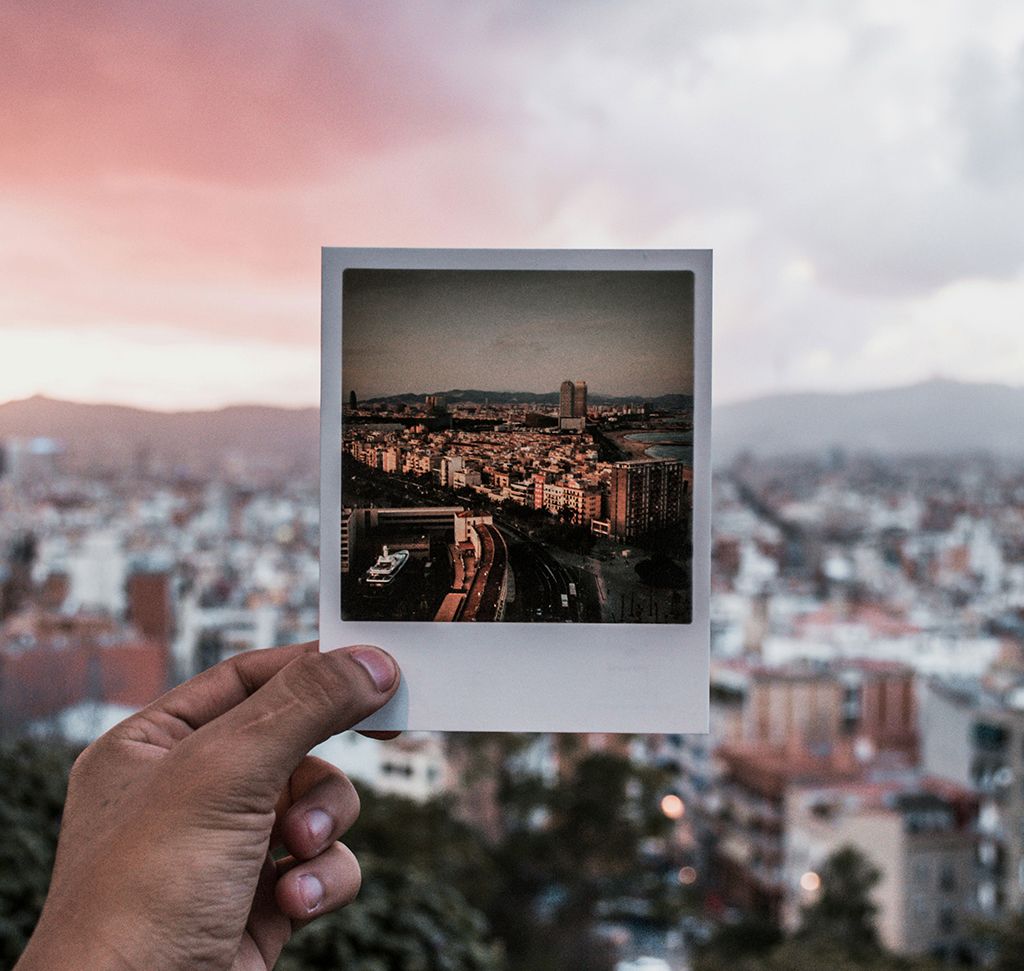
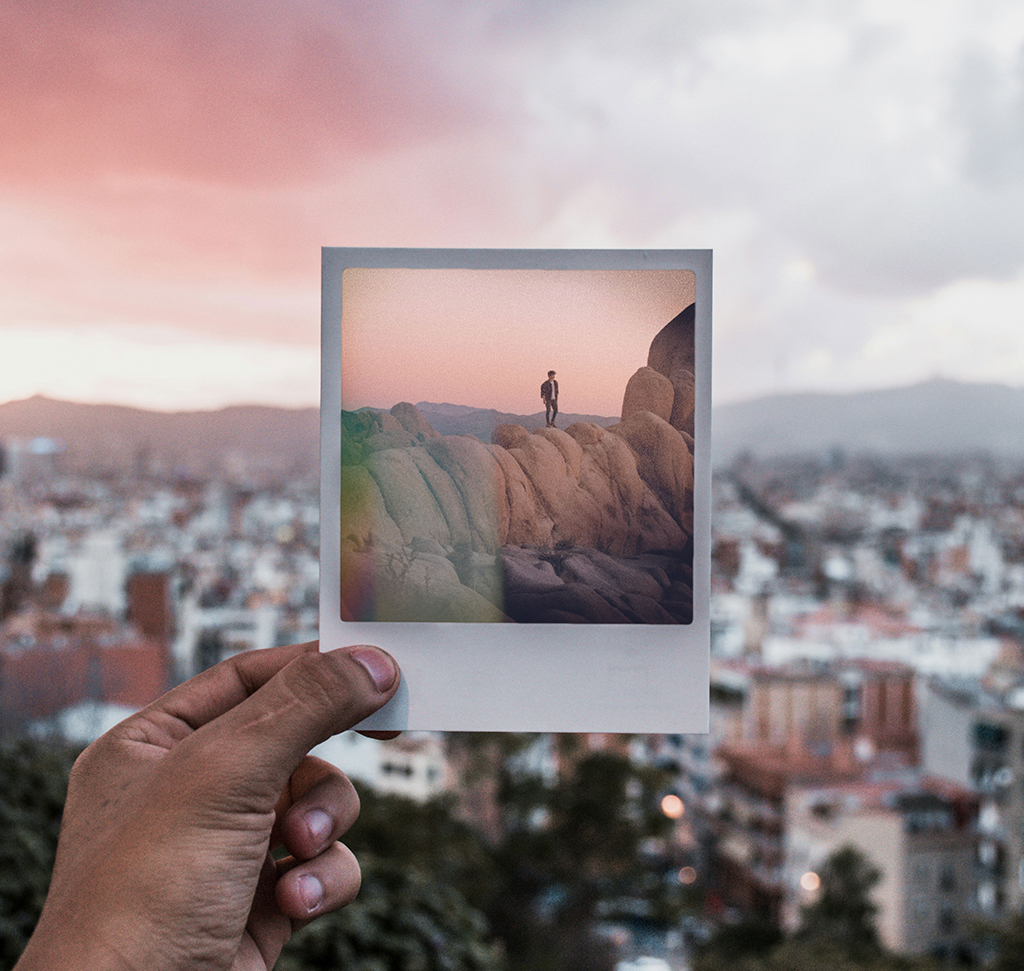
Layers and Layer Masks Are What Make Photoshop Photoshop
Almost everything people find impressive about Photoshop comes down to one idea: nothing you do has to happen to the photograph. It happens on a sheet above the photograph, and sheets can be moved, faded, masked, restacked and thrown away.
Day 4 builds a small composite — swapping the picture inside a Polaroid someone is holding — and every technique in it is really the same technique seen from a different angle. At the end, switching off five layers brings back an original that was never edited at all.
The Kinds of Layers You Will Use
Pixel Layers
Actual image content: a photograph you dragged in, or paint you applied with the Brush. The background layer is a pixel layer with a padlock on it, which is why it will not move. Double-click it, click OK, and it becomes an ordinary layer called Layer 0.
Adjustment Layers
Layers that hold an instruction rather than pixels — brightness, curves, a gradient map. They change everything beneath them and can be re-opened and re-tuned forever.
Smart Objects
Any image dragged into an open document arrives as a Smart Object, marked with a small badge on its thumbnail. The contents stay editable and any filter you apply becomes a re-editable Smart Filter. There is a full day on these later in the series.
If the Layers panel is not visible, it is under Window > Layers. Double-click a layer’s name to rename it — on a composite with more than three layers this stops being optional very quickly.
Put One Photograph Inside Another
-
Drag the Second Image In and Commit It
Drag the file onto the open document and click the check mark in the options bar. It lands as its own Smart Object layer with its own opacity and blend mode controls. Hide it for now with the eye icon.
-
Select the Inside of the Polaroid on the Background Layer
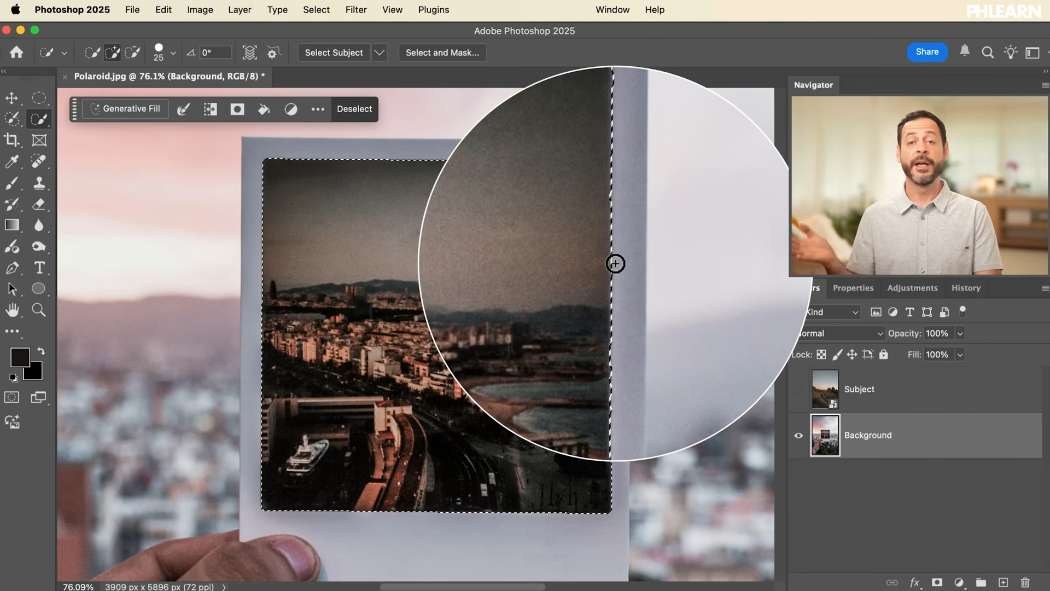
Take the Quick Selection tool (nested with Object Selection and the Magic Wand), make sure the background layer is active, and drag across the white rectangle. It expands to the edges on its own.
-
Turn the Top Layer Back On — the Selection Is Still Live
This is the part worth internalizing: selections are independent of layers. You can draw one on any layer and spend it on any other. Nothing about the selection belongs to the layer it was made on.
-
Click the Layer Mask Icon
With the selection active and the new layer selected, click the mask icon in the contextual task bar or at the bottom of the Layers panel. The selection becomes a mask, and the second photograph is now visible only inside the Polaroid.
Layer or Mask: Know Which One Is Selected
A masked layer has two thumbnails, and every edit you make lands on whichever one has the white outline around it. Miss this and you will paint on the mask when you meant to paint on the image, or vice versa, and the result is baffling until you notice.
Between the thumbnails is a small chain link. Linked (the default) means moving the layer drags the mask along with it — which instantly breaks the illusion, because the hole moves too. Click the chain to unlink them, and then the layer slides freely behind a mask that stays put. That is how you position the picture inside the frame. Click it again to relink once you are happy.
With the layer selected, Ctrl/Cmd + T gives you Free Transform for scaling, rotating and flipping the content behind the mask.
Soften the Mask Edge in Select and Mask
A selection made by a tool has a hard, mathematically perfect edge, and nothing in a photograph has one of those. Double-click the mask thumbnail to open Select and Mask (choose it over the properties option if Photoshop asks), then open Global Refinements.
Feather blurs the edge, Contrast tightens the blur back up so it does not go mushy, and Shift Edge pushes the boundary in or out — nudging it outward here reads as a bit of shadow under the Polaroid’s lip. You are only editing the mask; the layer’s pixels are untouched.

Blend a Light Leak Over the Top
Drag in the light leak file and commit it. Straight out of the box it is an opaque rectangle covering everything, and the fix is not a mask — it is a blend mode.
Blend modes decide how a layer interacts with what is underneath instead of simply covering it. The list is grouped: the darken group keeps dark pixels, the lighten group keeps light ones. Since the goal is to keep the flare and lose the black around it, Lighten does the job in one click. Then Ctrl/Cmd + T to scale and place it, and drop the opacity until it sits back in the picture. There is a full day on blend modes later in the series.
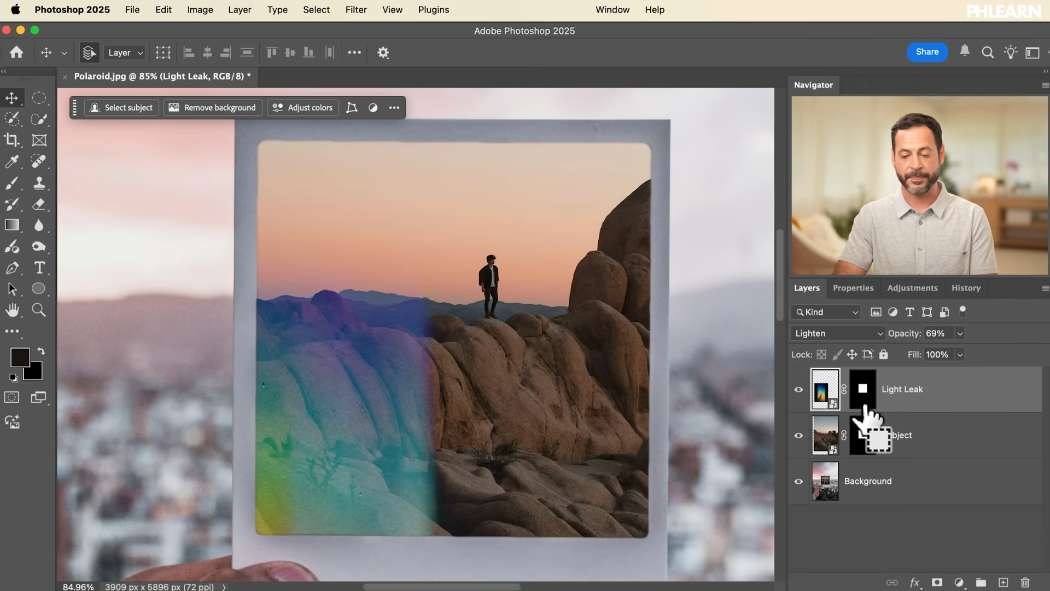
Two Ways to Confine a Layer to Another Layer
The light leak is now spilling across the whole frame when it should only exist inside the Polaroid. Both fixes are one gesture.
Copy the Existing Mask
Hold Alt/Option and drag a layer mask from one layer onto another. It duplicates rather than moves. Fast, but you now maintain two copies of the same mask, and changing one does not change the other.
Use a Clipping Mask
Hold Alt/Option and click the dividing line between two layers — the cursor turns into a square with a down arrow. The upper layer is now clipped to the one below and shows only where that layer shows. Alt/Option-click again to release it. (Also at Layer > Create Clipping Mask, or Alt/Opt + Cmd/Ctrl + G.)
Clipping is the better habit: one mask, one source of truth, and you can stack as many clipped layers on top of it as you like.
Paint the Uneven Tone a Polaroid Actually Has
-
Add a New Layer Directly Above the Photo Layer
Because it sits inside an existing clipping group, it is clipped automatically — look for the small down arrow beside its thumbnail.
-
Set It to Soft Light
Soft Light lets the color you paint darken and lighten what is beneath it instead of covering it, which is what makes hand-painted tone believable.
-
Brush With Low Flow and Sampled Colors
Take the Brush (B), leave opacity at 100% but drop flow to around 20% so the paint builds up gradually. Hold Alt/Option to sample a color straight out of the image — a dark brown for the corners, something bright for one edge.
-
Keep It Deliberately Uneven
Real instant film is blotchy. An even vignette looks like an effect; an irregular one looks like a photograph. Use the [ and ] keys to vary brush size as you go.
Color Grade With a Clipped Gradient Map
Add a Gradient Map from the Adjustments panel. Because it lands inside the clipping group it grades only the inserted photograph, not the whole frame. At 100% it will be far too strong — that is normal for gradient maps. Pull the opacity down until it reads as a tint, and double-click the layer thumbnail any time to try a different gradient.
Smart Filters You Can Change Your Mind About
The inserted photo is sharper than the shot it is sitting inside, which is the giveaway. Select that layer and run Filter > Blur > Gaussian Blur, then Filter > Noise > Add Noise to match the grain of the surrounding image.
Because the layer is a Smart Object, both filters appear beneath it in the Layers panel as Smart Filters. Overdid the blur? Double-click Gaussian Blur and change the number. No undo, no history hunting, no starting over — the filter never actually committed to the pixels.
Switch Everything Off and the Original Is Still There
The finished file has a background, a masked Smart Object, a clipped light leak, a painted tone layer, a gradient map and two Smart Filters. Click every eye icon off and what remains is the photograph exactly as it was imported.
That is the whole argument for working in layers, and it is why non-destructive editing is a habit worth forming on day four rather than day thirty. Open the sample files and rebuild it — then move the light leak somewhere else and change the gradient map, because being able to do that afterwards is the point.
Day 3 covered the file formats that keep all of this intact on disk. Tomorrow, Day 5 goes deep on adjustment layers.
Quick Reference: Keys, Menus and Settings
- Mask from a selectionQuick Selection on the background layer, select the top layer, then the layer mask icon
- Move behind the maskClick the chain icon to unlink; V to move, Cmd/Ctrl + T to scale or flip
- Soften the edgeDouble-click the mask > Select and Mask > Global Refinements: Feather, Contrast, Shift Edge
- Light leakBlend mode Lighten, then lower the opacity
- Clipping maskAlt/Option-click between two layers, or Alt/Option + Cmd/Ctrl + G
- Paint the toneNew layer set to Soft Light; B, Flow about 20%, Alt/Option to sample colors
- Smart FiltersFilter > Blur > Gaussian Blur and Filter > Noise > Add Noise; double-click to change them
No AI, no generative credits.

Free Downloads
Follow Along on the Same Photos
Get the photo of the subject holding a Polaroid, the photo that goes inside it, the light leak and the finished layered PSD. Free with a PHLEARN account.
Layers and Layer Masks: Common Questions
Why can’t I move my background layer?
The background layer is locked by default; that’s the padlock. Double-click it and click OK, and it becomes an ordinary layer called Layer 0.
Can I make a selection on one layer and use it on another?
Yes. Selections are independent of layers. The video selects the Polaroid on the background layer, turns the top layer back on, and clicks the layer mask icon to mask it.
How do I know if I’m editing the layer or the mask?
Look for the white border. Whichever thumbnail has it, the layer or the mask, gets your next edit.
Why does my mask move when I move the layer?
The layer and mask are linked by the chain icon between them. Click the chain to unlink, then move or transform the layer with Cmd/Ctrl + T while the mask stays put. Click it again to relink.
How do I soften a hard mask edge?
Double-click the mask to open Select and Mask, then under Global Refinements use Feather to blur the edge, Contrast to keep it from going mushy, and Shift Edge to push it in or out.
How do I get rid of the black around a light leak?
Change the layer’s blend mode instead of masking it. Lighten keeps the light parts and drops the dark ones. Then scale it with Cmd/Ctrl + T and lower the opacity.
How do I make a layer show only inside another layer?
Make a clipping mask: hold Alt/Option and click the line between the two layers, or use Layer > Create Clipping Mask. You can also Alt/Option-drag a mask to copy it, but clipping keeps one mask for everything.
Why is my gradient map so strong?
At 100% opacity it always is. Lower the layer opacity until it reads as a tint, and double-click the thumbnail any time to try another gradient.
Can I change a blur after I’ve applied it?
Yes, on a Smart Object. Filters like Gaussian Blur and Add Noise appear under the layer as Smart Filters; double-click one to change its setting.
Are the sample files free?
Yes, with a free PHLEARN account. You get 3 sample images and 1 sample PSD: the Polaroid photo, the photo that goes inside it, the light leak and the finished layered file.
Master Photoshop, Lightroom and Photography
Join PHLEARN PRO for $12.99 a month or $99.99 a year. Cancel anytime, with a 100% money-back guarantee.





