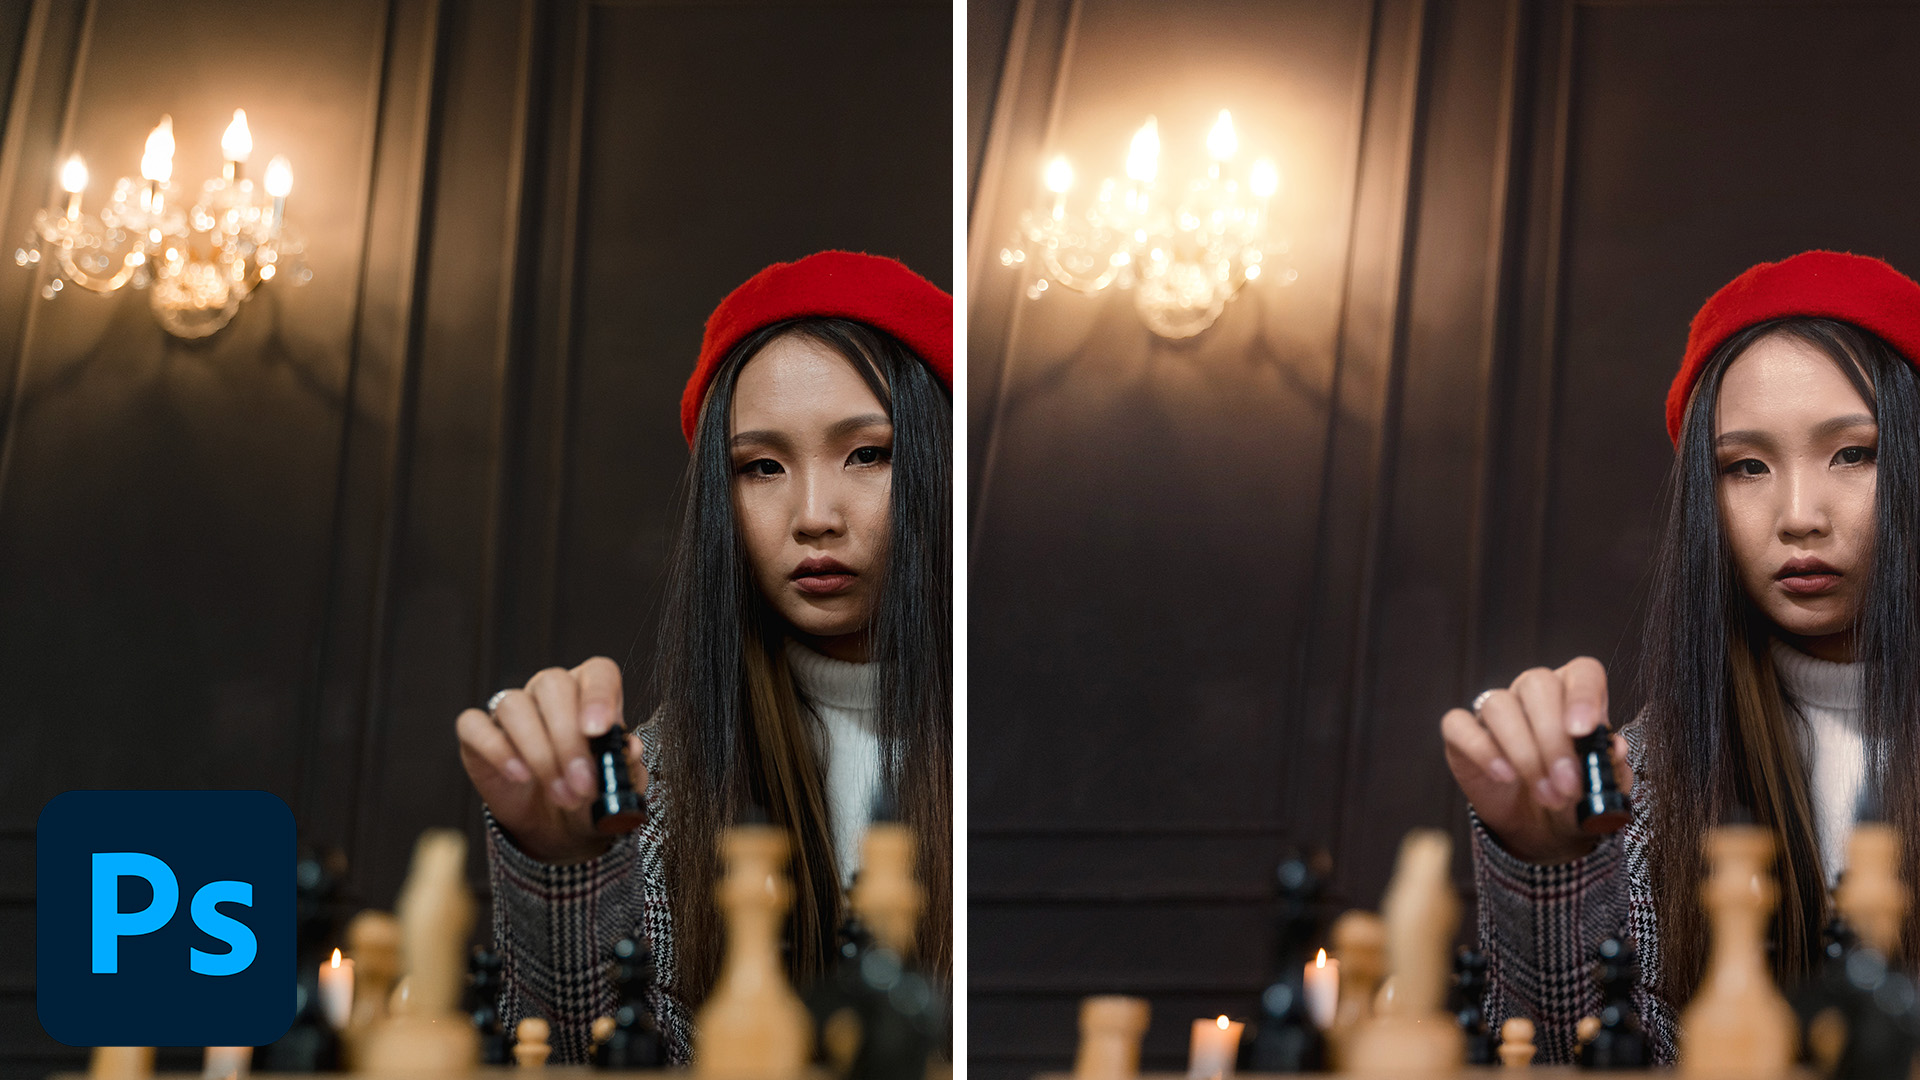

Download Assets
Download Assets
This tutorial includes 1 sample image, 1 sample PSD and 1 PDF guide. Downloads are free with a PHLEARN account.
- Download the sample images and PSDs from every free tutorial on PHLEARN
- New free tutorials published every week
- One free account — sign up once, then download anything
Free PDF Guide · 4 Pages
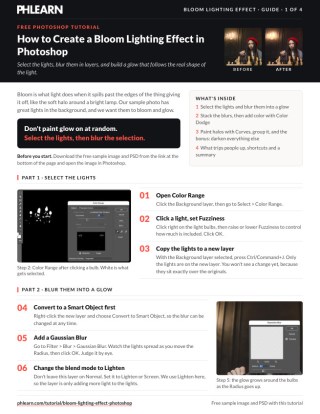
This Tutorial as a Step-by-Step PDF
The guide walks through selecting the lights with Select > Color Range and Fuzziness, copying them with Ctrl/Command+J, a Smart Object Gaussian Blur on Lighten stacked three times, a Solid Color fill on Color Dodge masked to the lights, Curves halos, grouping and the bonus darkening Curves. Keep it next to your keyboard.
description
Bloom is what light does when it spills past the edges of the thing giving it off, the soft halo you get around a bright window on film. It is not a filter in Photoshop, it is a selection: pull the brightest parts of the picture onto their own layer, blur them, and blend them back in so they glow without washing the photo out. Because the glow lives on its own layer you decide exactly how strong it is and where it falls.
Enjoying This Free Tutorial?
We publish a new free tutorial every week, each one with sample images and PSDs you can download and follow along with. Sign up and they land straight in your inbox, along with early word on sales, events and subscriber-only offers.
Artist Credit
Photo by Tima Miroshnichenko on Pexels
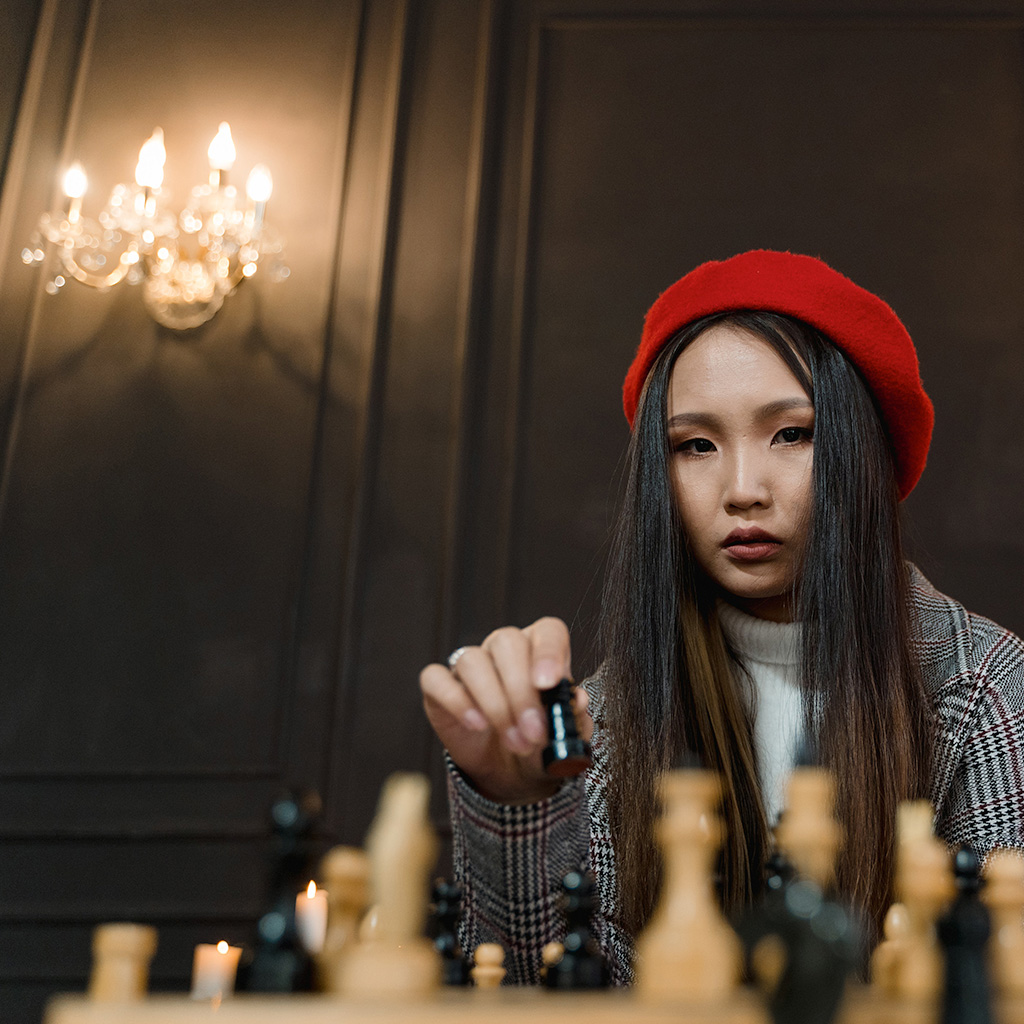
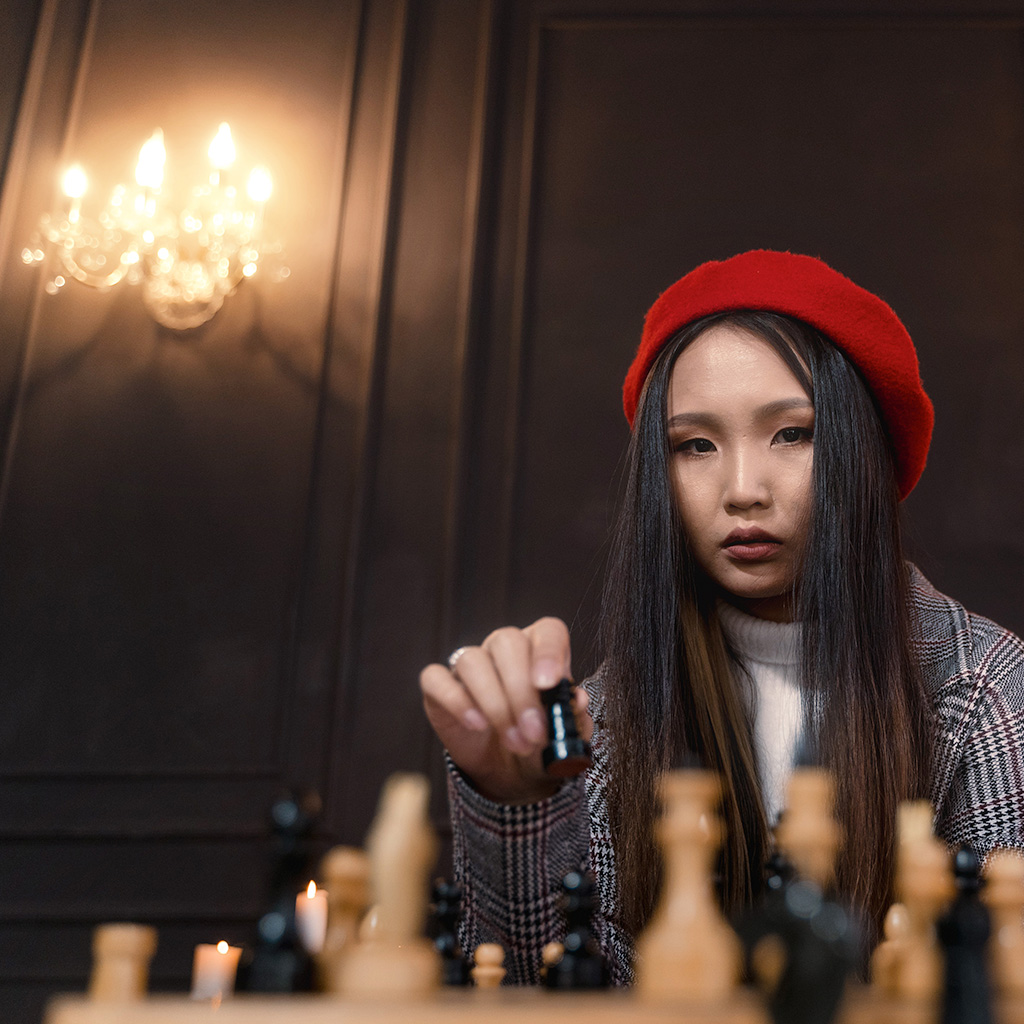
Select the Light in the Image
The effect only works if the glow comes from the parts of the photo that are actually bright, so start by selecting them rather than painting light in by hand. Click the Background layer, then go to Select > Color Range and, rather than choosing Highlights from the dropdown, leave it on Sampled Colors. Click right on the light bulbs, then raise or lower Fuzziness to control how much is included, until the lights are selected and the midtones are left out. Click OK. Your selection does not need to be tidy, it needs to be in the right places.
Put the Highlights on Their Own Layer
With the selection still active, press CTRL or CMD + J to copy those highlights to a new layer. Everything that was not selected comes through transparent, so you now have a layer holding nothing but the light in the scene, sitting exactly over the originals, so you won’t see a change yet. Right-click the new layer and choose Convert to Smart Object, so the blur you add next stays editable.
Blur the Highlights to Create the Bloom
Go to Filter > Blur > Gaussian Blur and raise the radius until the highlights spread into soft shapes with no hard edges left. The right amount depends entirely on how large the image is, so judge it by eye rather than by number: you want the light to bleed convincingly past its original boundary, not to turn into a grey fog.
Blend the Bloom Back In
Don’t leave the blurred layer on Normal. Set its blending mode to Lighten, which is what Aaron uses, or to Screen. Both only ever lighten, so the blurred lights add glow to the photo without darkening anything, and the shadows stay where they are.
Now stack the blur. Drag the blurred layer onto the New Layer icon to duplicate it, double-click Gaussian Blur under the copy and give it even more blur. Do it once more. Three copies, each blurred more than the last, build a bloom that is bright near each bulb and fades out softly, and because it comes from the lights themselves it follows their real shape.
Next, add color. Click the adjustment layer icon, choose Solid Color and pick a warm orange, then change the blend mode to Color Dodge. It looks far too intense at first, so hide it, click the Background layer and run Select > Color Range on the lights again. The fill layer’s mask needs to be white only on the lights: Alt/Option-click the mask to check it, and if it is the opposite, click it and press Ctrl/Cmd + I to invert it, then Ctrl/Cmd + D to deselect. Turn the layer back on, double-click its swatch to make the color more yellow, orange or red, and lower its Opacity if you need to.
For little halos of color, go to Layer > New Adjustment Layer > Curves and drag the Red channel up. Press Ctrl/Cmd + I to invert the mask to black, then press B and paint white right around each light. Because it is a Curves layer you can balance the halo color later, for example adding a little green and pulling the blues down for more yellow.
Control Where the Bloom Falls
Shift-click all of the bloom layers and press Ctrl/Cmd + G to group them, then toggle the group to see the before and after. The glow can also land on bright things in front, like the chess pieces and the subject, so add a layer mask to the whole group and paint with black wherever the glow is doing harm. Eyes, text and fine detail usually want to stay crisp, while windows, lamps and bright edges are exactly where you want the bloom to sit. This pass is what separates a deliberate effect from a photo that simply looks soft. For more, press Ctrl/Cmd + J to duplicate the whole group and lower its Opacity if it is too much.
For a more cinematic finish, darken everything except the bloom. Drag the group onto the New Layer icon, press Ctrl/Cmd + E to merge the copy, right-click its mask and choose Apply Layer Mask, then Ctrl/Cmd-click the merged layer to load it as a selection and hide it. Add a Curves adjustment layer, drag the curve down a little, click its mask and press Ctrl/Cmd + I so it affects everything except the bloom, and add a touch of blue in the Blue channel. Delete the merged layer and group the bloom group with the Curves layer. Darkening the rest makes the bloom seem stronger in comparison.
Quick Reference: Keys, Menus and Settings
- Select the lightsBackground layer, Select > Color Range, click a bulb, adjust Fuzziness
- Copy themCmd/Ctrl + J, then right-click > Convert to Smart Object
- Blur and stackFilter > Blur > Gaussian Blur, blend mode Lighten (or Screen); duplicate twice with more blur each time
- Add colorSolid Color fill on Color Dodge, mask white on the lights; Cmd/Ctrl + I inverts the mask
- Paint halosLayer > New Adjustment Layer > Curves, Red up, invert the mask, B and paint white around each light
- Group and maskCmd/Ctrl + G, mask the group over the subject; Cmd/Ctrl + J doubles it
- Darken the restCmd/Ctrl + E on a group copy, Cmd/Ctrl-click it, Curves down, invert the mask
No AI, no generative credits.
Free Downloads
Follow Along on the Same Photo
Get the candlelit chess portrait, the finished PSD with every bloom layer and the 4-page PDF guide to follow along step by step. Free with a PHLEARN account.
Bloom Lighting Effect: Common Questions
What is a bloom lighting effect?
Bloom is light spilling past the edges of whatever gives it off, like the soft halo around a bright lamp. Here it is built from the photo’s own lights, so the glow follows their real shape instead of being painted on at random.
How do I select only the lights in a photo?
Click the Background layer and go to Select > Color Range. Click right on the light bulbs, then raise or lower Fuzziness to control how much is included, and click OK.
Why convert the lights to a Smart Object before blurring?
So the Gaussian Blur stays editable. After Cmd/Ctrl + J copies the lights to a new layer, right-click it and choose Convert to Smart Object; then you can double-click Gaussian Blur under any copy and change it.
Should the blurred layers be on Lighten or Screen?
Either one works, just don’t leave them on Normal. Aaron uses Lighten in the video, so the layer only adds more light to the lights. Screen also only lightens. Try both and keep the one you like.
How do I make the bloom bigger and softer?
Drag the blurred layer onto the New Layer icon, double-click Gaussian Blur on the copy and give it more blur. Do it again: three copies, each blurred more than the last, stack into a glow that is bright near the bulb and fades out softly.
How do I add color to the glow?
Add a Solid Color fill layer in a warm orange and set it to Color Dodge, masked so it is white only on the lights. Double-click its swatch to change the color any time, or lower its Opacity. A Curves layer with Red raised, painted around each light, adds little halos.
My Color Dodge layer covers the whole photo. What went wrong?
Its mask is backwards or not set yet. Alt/Option-click the mask to see it; if it is the opposite of what you want, click it and press Cmd/Ctrl + I to invert it, so it is white only on the lights.
The glow is on my subject’s face. How do I remove it?
Color Range selects by color, so it can catch the subject or the chess pieces. Group the bloom layers with Cmd/Ctrl + G, add a layer mask to the group and paint black over anything in front that should stay clean.
How do I make the bloom look stronger without adding more glow?
Darken everything else. Merge a copy of the bloom group with Cmd/Ctrl + E, Cmd/Ctrl-click it to load it as a selection, add Curves, pull the curve down and invert its mask with Cmd/Ctrl + I. Next to a darker background, the bloom seems stronger.
Are the sample files free?
Yes, with a free PHLEARN account. You get 1 sample image, 1 sample PSD and 1 PDF guide: the candlelit chess portrait, the finished PSD with every bloom layer and a 4-page guide to the steps.
Master Photoshop, Lightroom and Photography
Join PHLEARN PRO for $12.99 a month or $99.99 a year. Cancel anytime, with a 100% money-back guarantee.





