Bright & Airy Coloring in Photoshop
-
Add to
favorites
-
DifficultyMedium
-
Length2 hours
-
Videos9
-
Software
description
There’s nothing quite like photos of family, friends, and special occasions. If you want the people and moments in your images to stand out, a bright and airy look is the way to go!
Learn how to brighten photos without losing contrast, add soft lighting effects, and put more focus on the things that matter most.
this course includes
- 8 Sample Images
Share
Table of Contents
-
01 - Curves & Levels17:18m
-
02 - Coloring Tools13:16m
-
03 - Gradients & Gradient Maps21:45m
-
04 - Blending & Blend If15:01m
Course Downloads
Bright & Shimmering Styles
Bright & Airy Coloring in Photoshop
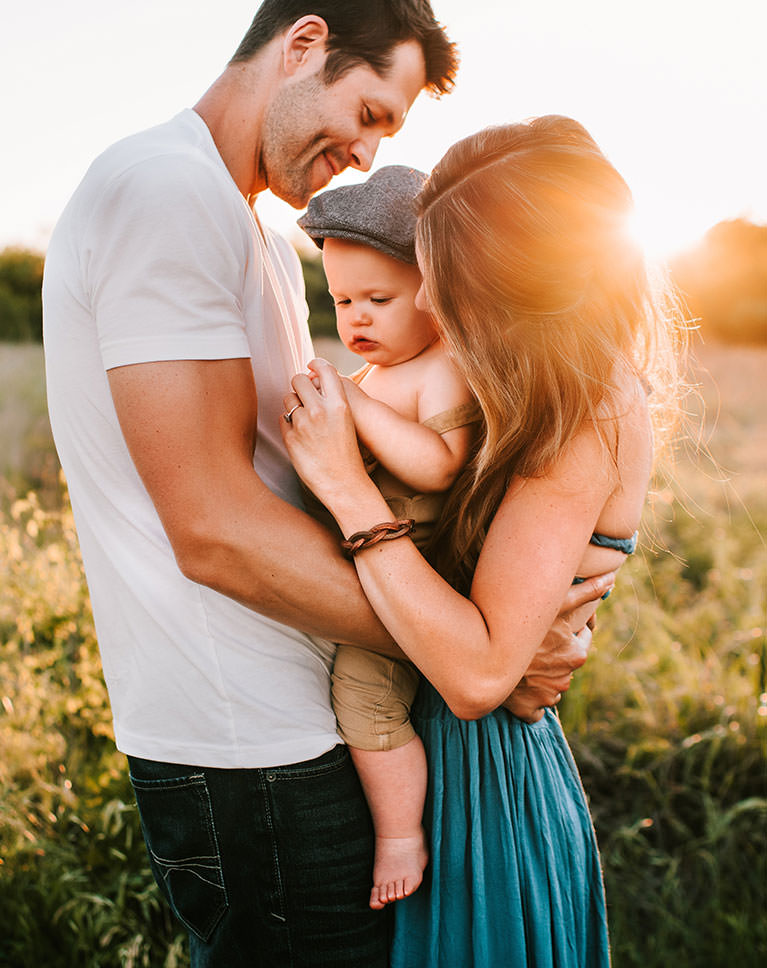
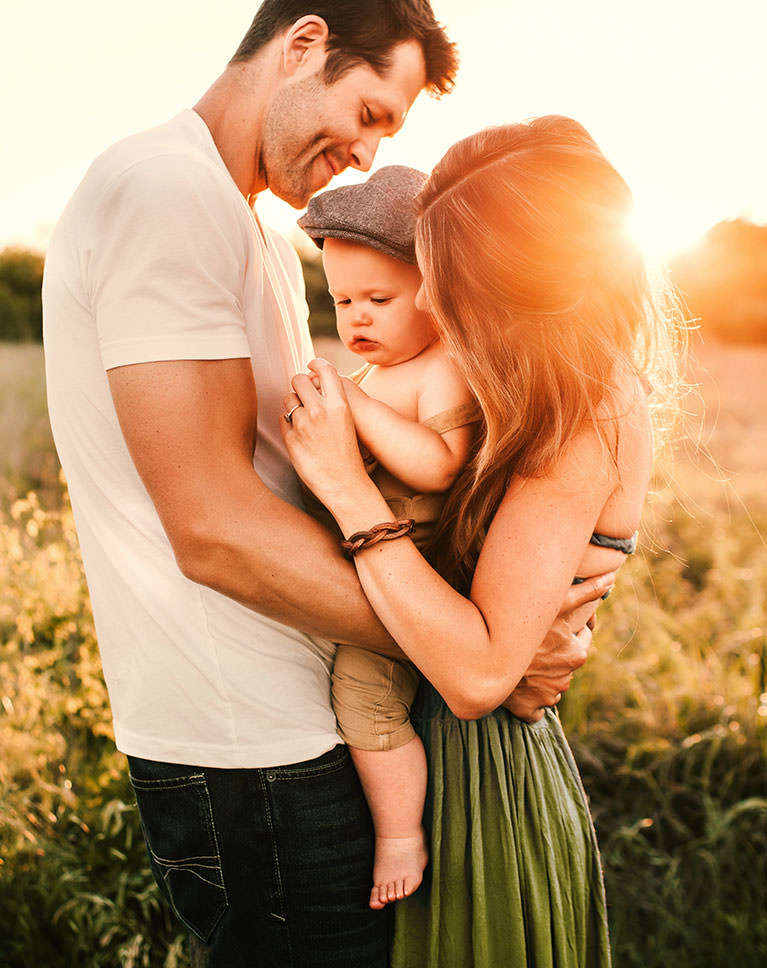
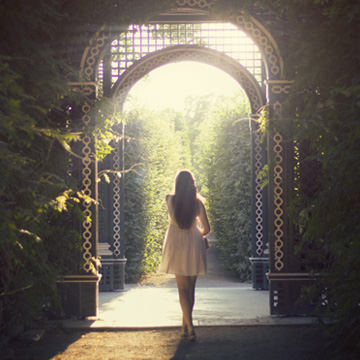
Sometimes flashy colors and dramatic styles aren’t the answer. When you’re working with images of family, friends, and special moments, keep it simple with soft and bright looks. Learn how to lift shadows, draw more attention to your subjects, and spread some positive vibes.
Reduce & Remove Shadows
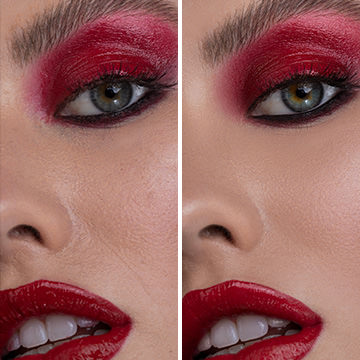
Harsh shadows can be a big a distraction. That’s why we show you how to reduce and remove them with the precision tools in Photoshop. Create a brighter, more balanced exposure and help your subjects shine. And if you want to master the art of photo editing, check out Photo Editing 101-301!
Brighten Images
You’ll be amazed at what brightening up an image can do to help tell a story. Even photos that don’t appear to be too dark can be completely transformed with these professional lightening effects. Try these bright and clean looks on your family, special event, and lifestyle photos!
Preserve Contrast
Brightening a photo is easy right? Well, it can be, but it’s also easy to lose important contrast and definition when you brighten everything at the same level. We show you how to apply different levels of brightness to different areas of an image, preserving precious shape, definition, and details.
Soft Lighting Effects
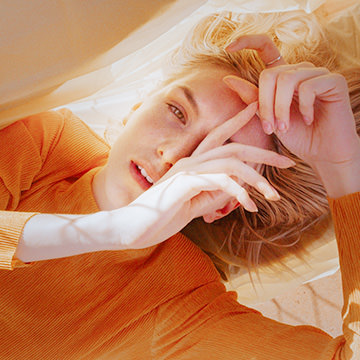
Whether it’s an open window or an evening sunset, we show you how to create soft and realistic light rays to enhance the natural light sources in any image. Then take your lighting and coloring skills to the next level with Advanced Lighting & Coloring.
Uncover Details
One major benefit of making an image lighter is that it can reveal details that might have been lost in the shadows. Learn how to reduce and remove harsh shadows for a more balanced and detailed image.
Uplifting Looks
Enhance those happy, quiet, and intimate moments. Like any style of color grading, these looks lend themselves to a particular kind of photograph. When you want to bring a smile to someone’s face, bright and airy has got you covered.
Simplify Your Photos
Remove distracting shadows. Add soft lighting effects. Apply gentle coloring. Keep the editing simple and let the people, places, and moments in your photos do the talking.
Subtle Coloring
This course isn’t about ultra-stylized looks and flashy color grading. But it’s still possible to enhance and add colors to a photo without going overboard. Learn how to make subtle and simple adjustments for a powerful overall effect.
Simplify Your Photos
Levels & Curves
Levels and Curves can do it all! From details exposure adjustments, to flawless color grading, we spend a lot of time showing you just how much these powerful tools can accompish. Take the next step and learn more about the power of Curves and Levels in How to Master Adjustment Layers in Photoshop
Gradients & Gradient Maps
Gradients are a great way to seamlessly blend effects into an image. From soft lighting effects, like sunlight shimmering through a window, to subtle color grading, using Gradient Maps to blend colors into the highlights, midtones, and shadows, Gradients are a great tool for every photo editor.
Blend If
If you came here for professional techniques, Blend If is sure to satisfy. Blend any effect into an image based on highlight, midtone, and shadow levels for the maximum amount of control and precision.
Coloring in Photoshop
Coloring is one of the most subjective parts of the editing process, and this is just one of many styles out there. We show you how to let the content of an image guide your creative process so you can quickly decide if an image feels bright and airy, or perhaps it might be on the Dark & Moody side.
Realistic Light Rays & Light Leaks
Learn how to use tools like Gradients and the Brush Tool to create realistic lighting effects! Whether you want some light rays shimmering through a window or light flares from a beautiful sunset, we’ll show you how to do it.
Draw Attention
Brightening photos is great, but it can be easy to lose some of the focus on the subject. We show you how to lift sculpt the highlights in an image, creating a general brightening effect while making sure the subject is still the star of the show.
Family & Wedding Photos
Perfect for photos of weddings and family gatherings, these bright looks will help enhance the love and positive vibes. Whether your a pro, or just the family photographer, we’ll show you how to make your images shine. And if lifestyle photos are your thing, we think you’ll love Soft Portrait Retouching
Moments & Memories
This course is all about preserving the special moments and memories in your photographs. From intimate moments to wide open space, learn how to get the most out of family and lifestyle images.
Bright & Clean Lifestyle Photos
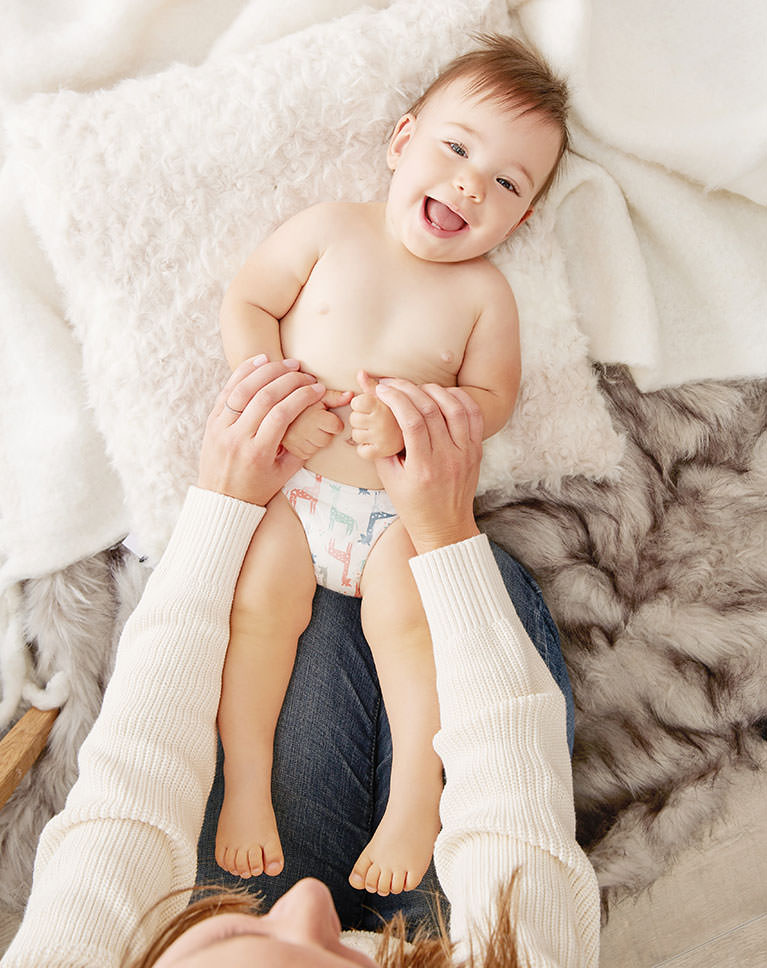
Like sheets fresh out of the wash, or a baby fresh out of the bath, these looks are a great way to give your images a warm and clean look. Bright, simple styles that go a long way.
Class Instructor

Aaron Nace
PHLEARN Founder – Class Instructor
Aaron Nace is a photographer, Photoshop artist and founder of PHLEARN. He is the #1 Photoshop instructor in the world with millions of YouTube subscribers.
Reviews
New & Popular Tutorials
Training Site in
the World
Tutorials!
Ratings
and Counting
Subscribers






AWESOME! Thank you for sharing your talent!
“if you dont know how it works just pull it left and right” 🙂 its exactly what I do.
Excellent course.
This one was a BLAST.
Great easy to learning 🙂
Great tutorial! Learned a lot .
It’s a nice tutorial but those ‘poooops’ are annoying to be honest.
It’s a mix feeling, …. honestly ….. , in one side your teaching skills are the best period and theres no doubt about it , on the other side the majority of the photo/examples are already edited and makes no sense add edit to a edited photo. I wish there’s some images with no edit at all and see some great results.
OMG! I am loving my Phlearn membership – I have learnt so much in such a short period of time. The website is very easy to use and Aaron is a wonderful instructor. There are loads of free video’s but I highly recommend joining and taking advantage of all the Pro Tutorials as well. The value for money is staggering. Aaron takes you from Beginner to intermediate to expert. Considering the cost of going to uni versus the cost of Aarons course – it’s a no brainer – join!!! Thank you Aaron – I am so grateful to you for this very affordable and very enjoyable learning experience!
Thank you for another wonderful tutorial! I’ve mostly worked on antique photo restoration for the last 13 years or so. I’ve recently begun working on composition and editing professional photographer’s work on the side. They’re two completely different things, so I have a lot to learn. This will come in handy in working with infant photography and outdoor sessions. I’ve never even used a gradient map before, so I’m anxious to try that on a few photos! Another great series, as always!
Excellent tutorial! Well explained with lots of examples. Clear language, easy to understand. Aaron is VERY knowledgeable and explains everything in clear chunks of ideas that are easy to process. The pace is Goldilocks style, not too slow and neither too fast. The variety of examples are gold. They help the viewer get familiar with the tools and “train the eye.” Photography is subjective but I really like how Aaron process the pictures. In my opinions he has great taste. He is also very likable and makes you believe you can learn. Fabulous teacher!
Excellent tutorial and it helps me to learn the easy to use technique to make better images. Thanks Aaron sharing your skills and knowledge.
Awesome tutorial! Simple techniques coming together to create beautiful effects. Gradient maps explained in a very easy manner. Nice refresher on Blend if. Loved the whole editing style. Thank you!
Great as always 🙂
Great stuf. It is always a good idea to review what you think already knew and then… remember what you obviously forgot! Thanks Aaron
Very Fun.
This is extractly what i am looking for in many years. It’s a soft – bright and beautiful tone. Can’t say thank you enough Aaron. Be strong and safe for Covid19. Goood luck!!!
it is helping a lot tx you Aaron again and again
Very Useful
Great tutorial! I’ve been very intimidated of blend if, after this tutorial I get it and can’t wait to apply the technique to my photos. This is a very well thought out lesson. Thank you!
Great class as always, love the way this subtle changes make a big effect on the images. If you want to learn Photoshop, Phlearn is the absolute best place to learn. Aaron is a great teacher. This is a perfect time to learn new skills, stay safe everybody 🙂
I have to agree with you Aaron, gradient maps are so awesome. Especially when you whack it with a little blend if. Another fantastic tutorial to go with dark and gloomy.
This is a great tutorial! Timely too. There’s a lot of great learning packed into this. I tend to think of levels and curves as correction tools. Not creative ones. I also never really thought about using blend modes, blend if and blurred brushes to control light. So that was cool. I think I am not alone in often reaching first for a plug or preset to do something like this. But often those get me to almost where I want to be. Not going to remove my plug-ins and presets yet. But I look forward to practicing what is taught here to move in that direction.
Thanks for this tutorial; Love the subtle control of blend if!! It will be my new go to tool from now on Thanks again
Awesome class, definitely learned new things about using gradients and Blend-if. Very interesting way of looking at shadows and highlights. I’ve gone back to pictures I took 10 years ago (no raw file whatsoever) and corrected them using the same method. fun! I would love to see a tutorial on how to make this bright and airy effect on a photoshoot set. Thank you, Aaron!