

Download Assets
This tutorial includes 2 sample images, 1 sample PSD and 1 PDF guide. Downloads are free with a PHLEARN account.
- Download the sample images and PSDs from every free tutorial on PHLEARN
- New free tutorials published every week
- One free account — sign up once, then download anything
Free PDF Guide · 3 Pages
This Tutorial as a Step-by-Step PDF
Walks through Edit > Sky Replacement with a custom sky output to New Layers, a clipped Levels layer and Smudge at 40 to 50% on the sky mask, then Levels in the Red, Green and Blue channels, Blend If split with Alt/Option, Radial Gradient masks at 20% and a Multiply Solid Color fill. Keep it next to your keyboard.
description
Learn how to add drama and style to your photos in Photoshop. Start by replacing a flat sky with the Sky Replacement tool and a custom sky image, match its tone with a clipped Levels layer, and soften the edge with the Smudge tool. Then build a cinematic color grade using Levels in the individual Red, Green, and Blue channels, target each effect to highlights or shadows with Blend If, shape it with radial gradient masks, and finish with a Multiply color fill for mood.
Enjoying This Free Tutorial?
We publish a new free tutorial every week, each one with sample images and PSDs you can download and follow along with. Sign up and they land straight in your inbox, along with early word on sales, events and subscriber-only offers.
Image Source
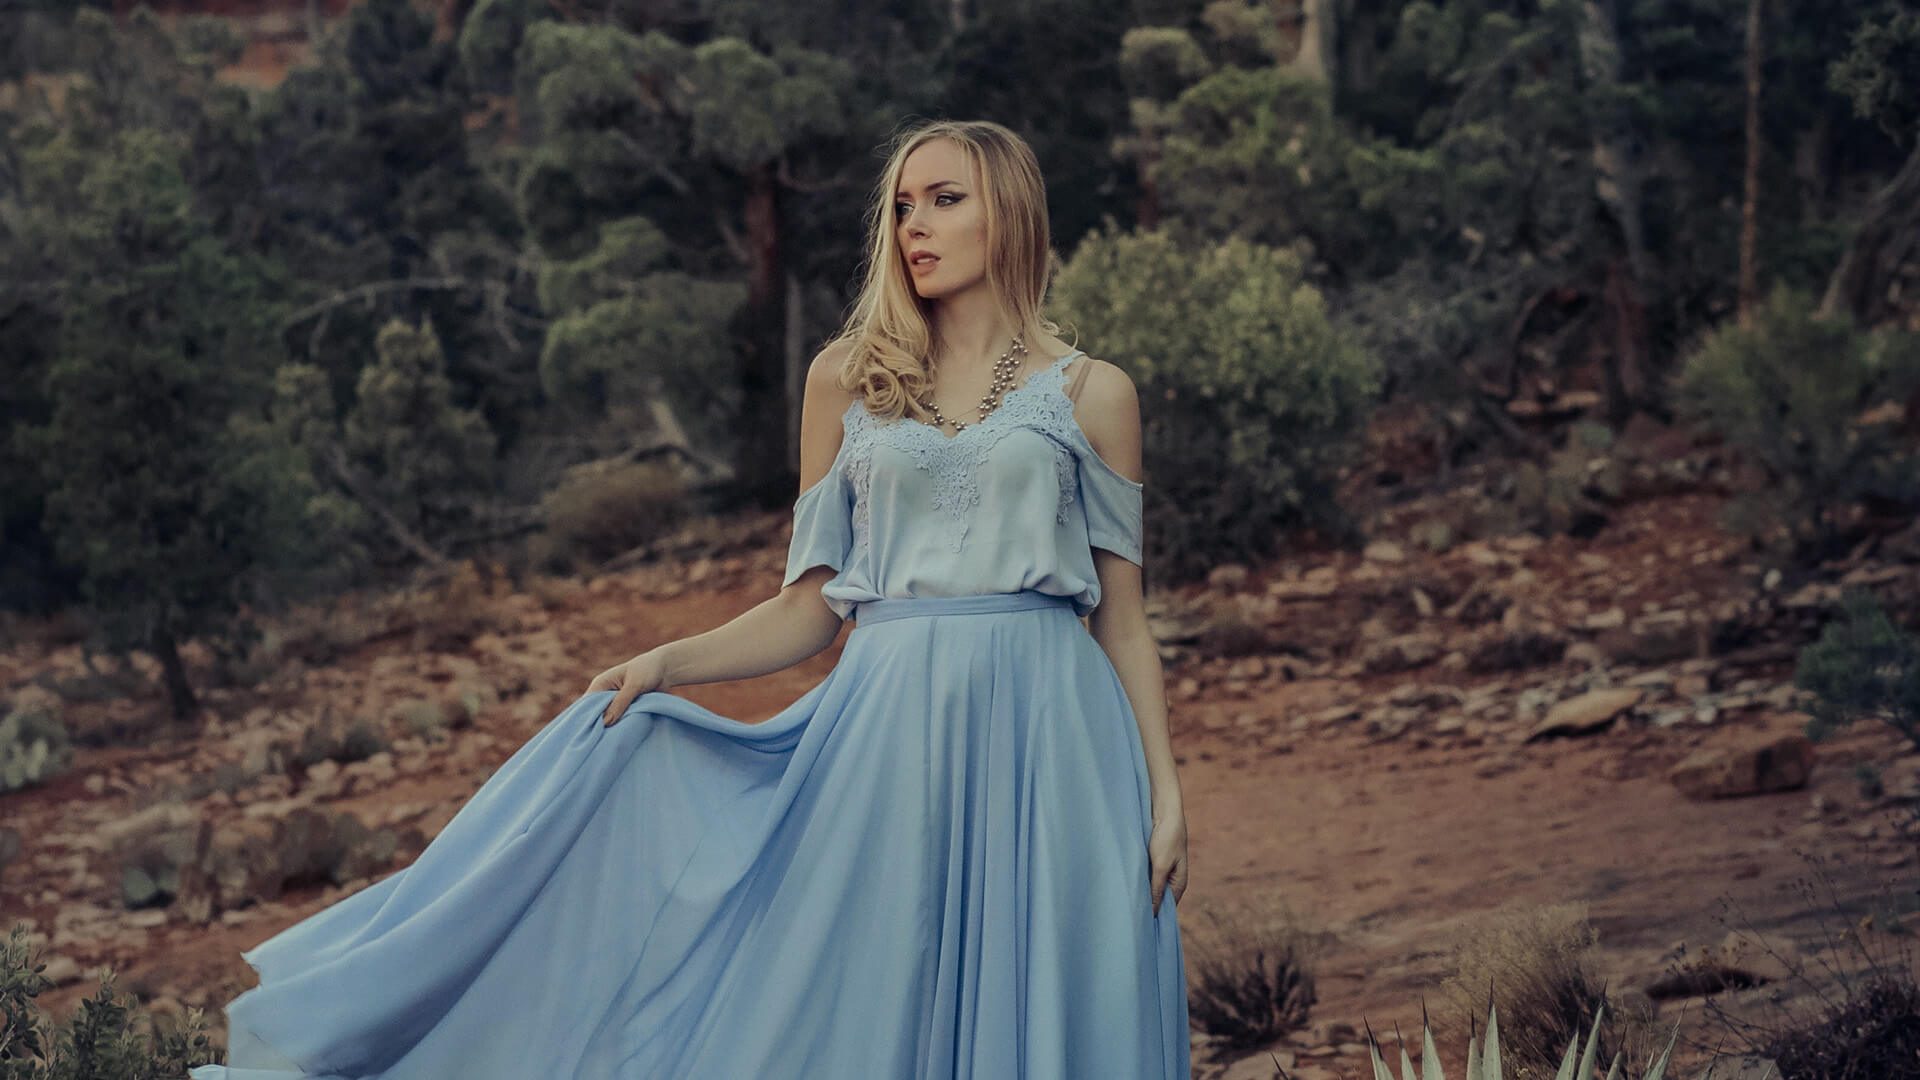
Photo by Angelica Reyn via Pexels


How to Add Drama and Style to Your Photos in Photoshop
A flat, empty sky can drain the energy out of an otherwise strong photo, and even after that’s fixed there’s usually room to push the overall mood further with color and light. This tutorial covers both: replacing a dull sky with Photoshop’s Sky Replacement tool, then layering in dramatic color and light using nothing but Levels adjustment layers.
Replacing a Flat Sky with Sky Replacement
Go to Edit > Sky Replacement to open Photoshop’s sky-swapping tool. The built-in presets are a fine starting point, but loading a custom sky usually gives a much better match for a specific image — click the folder icon, then the plus icon, and browse to a downloaded sky image to add it to the list. Selecting a custom sky replaces the empty area automatically, and options for scale, edge position, and fade let the new sky blend into details the original sky was covering. Setting the output to New Layers keeps the whole replacement editable afterward instead of flattening it into the image.
Choosing a Sky That Matches the Original Light
The sky is what lights an entire scene, so pulling in a sky with dramatically different color or light direction than the original will look unconvincing no matter how clean the mask is. Picking a replacement sky that’s reasonably close in mood and lighting to the original keeps the final result believable.
Matching the New Sky’s Tone with a Clipped Levels Layer
Add a Levels adjustment layer and click the clipping icon so it only affects the sky layer beneath it. Toggling it on and off while adjusting darks and lights makes it possible to nudge the new sky’s contrast closer to what the original sky was doing, without needing to touch the rest of the image.
Smudging the Sky Edge for a Natural Blend
Sky replacements often leave a slightly unnatural, hard edge where the new sky meets the horizon or the subject. Clicking the sky’s layer mask and switching to the Smudge tool with strength around 40–50%, then lightly smudging along that edge, softens the transition considerably — especially once the image is viewed at a normal zoom level rather than up close.
Using Levels in Individual Color Channels for Color and Light Together
The real trick to dramatic color grading with Levels is switching the channel dropdown from RGB to the individual Red, Green, and Blue channels. Each channel’s black point, midtone, and white point sliders affect both brightness and color at once, which produces more interesting results than adjusting brightness and color separately. Dragging a channel’s white point to the left, for example, darkens the highlights while shifting them toward that channel’s opposite color.
Why Pulling a Channel’s White Point Adds Its Opposite Color
Reducing a color channel’s presence in the highlights automatically increases the visibility of its opposite on the color wheel — pulling back red highlights adds cyan, pulling back green adds magenta, and pulling back blue adds yellow. Working across all three channels at once, rather than just one, is what produces a rich, layered color grade instead of a single color cast.
Targeting a Color Effect to Highlights or Shadows Only
A fresh Levels adjustment is visible across the whole image by default. Double-clicking the layer opens the Layer Style dialog, where the Underlying Layer sliders control whether the effect fades out in the darks or the lights.
Splitting the Blend If Slider for a Smooth Transition
Holding Alt (Option on Mac) while dragging one of the Underlying Layer sliders splits it into two separate halves instead of one hard cutoff. Moving those halves apart creates a smooth feathered transition rather than a harsh, grainy edge — the difference between an effect that shows up naturally more in the shadows versus one that just looks broken.
Painting Color into Specific Areas with a Radial Gradient
Rather than letting a color effect apply everywhere equally, its layer mask can be shaped directly with the Gradient tool. Selecting the Radial Gradient option with a Foreground to Transparent gradient, then dragging with black as the foreground color, hides the effect in that area; dragging with white reveals it. Lowering the gradient’s opacity to around 20% and applying it in several small drags builds up a more organic, irregular pattern than a single hard-edged reveal would.
Inverting the Mask to Start Fully Hidden
Pressing Cmd/Ctrl+I on a layer mask inverts it to solid black, hiding the effect completely. From there, painting or dragging white gradients back in builds the effect up only in chosen areas — useful when an effect should read as an accent rather than a blanket change across the photo.
Layering Multiple Levels Adjustments to Build Depth
A single color-graded Levels layer rarely creates a fully dramatic look on its own. Stacking several Levels adjustment layers — each with slightly different channel settings and a different gradient-masked area — compounds the effect gradually, building depth and richness that would look artificial if attempted in one single adjustment. Every layer stays fully editable, so colors, gradients, and blend-if settings can all be revisited later.
Adding a Multiply Color Fill Layer for Mood
As a final mood pass, go to Layer > New Fill Layer > Solid Color and pick any starting color — it doesn’t need to be right yet. Change that fill layer’s blend mode to Multiply, which darkens the image while tinting it with the chosen color, then double-click the color swatch to try different hues until one feels right. The same highlights-or-shadows targeting technique from earlier can restrict this tint to just one tonal range if a blanket effect looks too heavy.
Why This Layered Color-Grading Approach Works
Working in individual RGB channels rather than a single Hue/Saturation slider gives Levels the ability to shape both tone and color at the same time, which is what makes the result feel cinematic rather than like a flat color filter. Splitting each adjustment’s reach between highlights and shadows with Blend If, and shaping where it appears with gradient-painted masks, means every layer contributes its own specific piece of the mood instead of fighting with the others — building up gradually is what keeps the final look controlled instead of overdone.
Final Thoughts
Replacing a flat sky is often just the first step toward a genuinely dramatic image — matching its tone to the original light, softening its edge, and then layering RGB-channel Levels adjustments targeted with Blend If and gradient masks is what turns a technically correct composite into a photo with real mood. None of it is destructive, so every color and every masked area stays adjustable long after the first pass.
Quick Reference: Keys, Menus and Settings
- Replace the skyEdit > Sky Replacement; plus icon to load a custom sky; Output To: New Layers
- Match the skyLevels clipped to the sky with the clipping icon: darks lighter, lights darker
- Soften the edgeSmudge tool at 40 to 50% Strength on the Sky layer mask
- Color with LevelsLayer > New Adjustment Layer > Levels; RGB menu to Red, Green, Blue; white point left
- Shadows onlyDouble-click the layer; Alt/Option-click the Underlying Layer slider to split it
- Shape the maskG, Radial Gradient, Foreground to Transparent at 20% Opacity; Cmd/Ctrl + I inverts the mask
- Mood tintLayer > New Fill Layer > Solid Color, blend mode Multiply; Cmd/Ctrl + G groups the layers to compare

Free Downloads
Follow Along on the Same Photos
Get the portrait in the red rocks, the Dark Sky image, the finished PSD with every Levels layer and the 3-page PDF guide. Free with a PHLEARN account.
Adding Drama in Photoshop: Common Questions
Where is Sky Replacement in Photoshop?
Click the Background layer and go to Edit > Sky Replacement. Photoshop comes with preloaded skies, but you can load your own for a better match.
How do I add my own sky to Sky Replacement?
Open the sky list, click the plus icon, browse to your sky image (Dark Sky.jpg in the download) and click Open. Click the new sky and Photoshop drops it in, then adjust Scale, Temperature, Brightness, Shift Edge and Fade Edge.
Why output the sky to New Layers?
Output To: New Layers gives you a Sky Replacement Group with the sky, its mask and its adjustments as separate layers, so everything stays editable after you click OK.
How do I make a replaced sky look realistic?
Pick a sky close in light and color to the original, because the sky is what lights the image. Then clip a Levels layer to the sky and make the darks a little lighter and the lights a little darker.
How do I fix a hard edge around a sky replacement?
Click the layer mask on the Sky layer, grab the Smudge tool at a Strength of 40 or 50% and push the edge slightly toward the inside. It blurs the mask a little, which shows most once you zoom out.
How can a Levels layer add color?
Click where it says RGB and choose the Red, Green or Blue channel. Dragging a channel’s white point to the left darkens the highlights and adds the opposite color: less red adds cyan, less green adds magenta, less blue adds yellow.
How do I keep an adjustment in the shadows only?
Double-click the layer to open Layer Style. On the Underlying Layer bar, hold Alt/Option and click the right slider to split it, then drag the halves left. Without Alt/Option you move one slider and get grainy results.
Why does my new Levels layer do nothing?
A black mask, from Cmd/Ctrl + I, makes the layer totally invisible. Press G for the Gradient tool, choose Radial Gradient and Foreground to Transparent, and drag out white where you want the color.
What does the Multiply color fill do?
Go to Layer > New Fill Layer > Solid Color and set the blend mode to Multiply. It darkens the highlights a little and tints them; double-click the swatch to try colors with the effect already applied.
Are the sample files free?
Yes, with a free PHLEARN account. You get 2 sample images, 1 sample PSD and 1 PDF guide: the portrait, the Dark Sky image and the finished layered file, plus a 3-page step-by-step guide.
From the Magazine View all
Stories, interviews and guides for photographers, new every week.
 EditingLightCraft vs Lightroom: I Edited the Same RAW Files in BothThe free clone on the same RAW files: what matches, what breaks and who should switch.
 InspirationRare Historical Photos: 13 of the Rarest Pictures Ever TakenFrom the earliest surviving picture of a person to the last passenger pigeon: who took each one and why it survives.
 EditingArtCraft: Photoshop Cloned by AI in Two Weeks. Is It Legal?ArtCraft cloned Photoshop and Lightroom with AI and gave them away. Any good? Legal? Safe?
Master Photoshop, Lightroom and Photography
Join PHLEARN PRO for $12.99 a month, or $99.99 a year (save 36%). Cancel anytime, with a 100% money-back guarantee.





