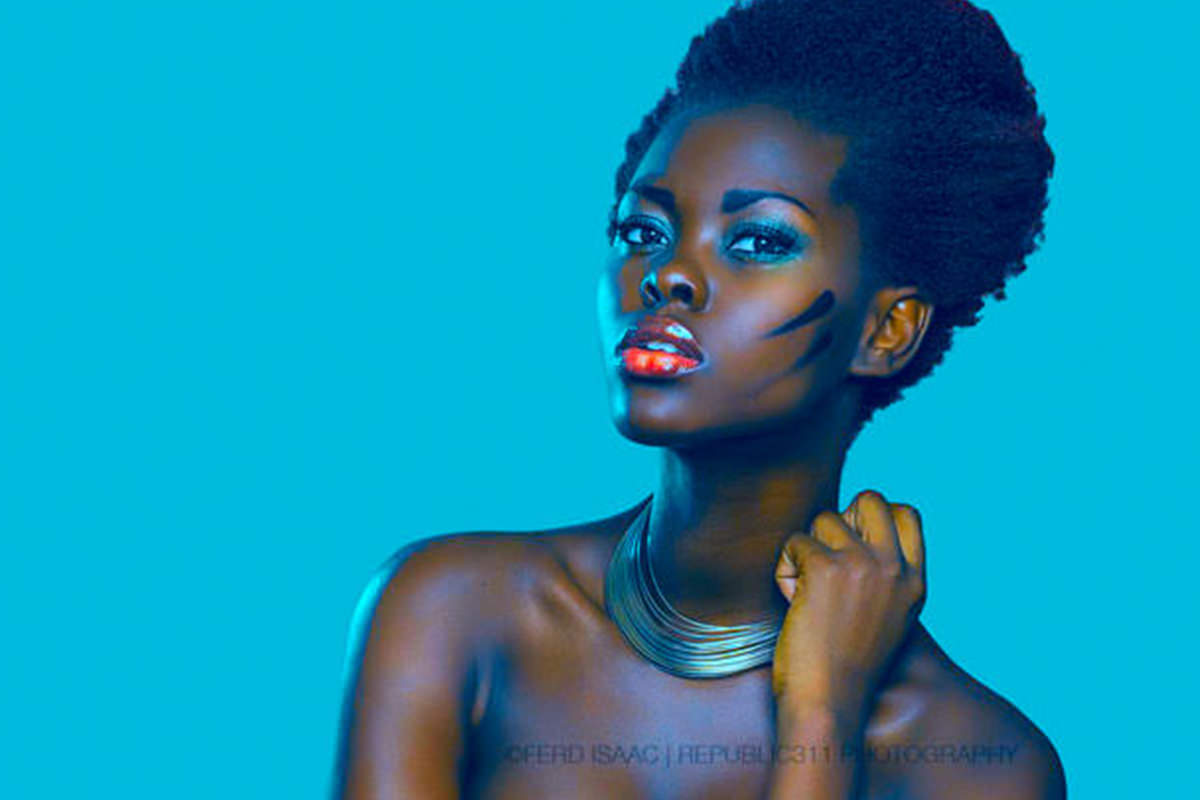

Push color hard with Curves in RGB and the image’s brightness goes with it, because every RGB channel carries both color and lightness at once. LAB mode splits them apart. Learn how to move a duplicate into Lab Color, what the Lightness, A, and B channels each control, how the on-image adjustment tool targets a whole color range, and how to bring the finished result back into RGB.
We publish a new free tutorial every week, each one with sample images and PSDs you can download and follow along with. Sign up and they land straight in your inbox, along with early word on sales, events and subscriber-only offers.


How to Edit Colors in Photoshop Using LAB Mode
Pushing color hard with a Curves adjustment layer in normal RGB mode runs into a frustrating limit fast: the same channels that control color also control brightness, so aggressive color changes start wrecking your image’s lightness and contrast along the way. Switching to LAB mode separates color from lightness entirely, which means you can push color adjustments much further, sometimes dramatically further, while the image’s tonal range stays completely intact.
Getting Started
This works especially well on images that already have varied or interesting color you want to lean into further. It is not a subtle, everyday color correction tool. It is built for pushing color hard without breaking your lightness.
Why Editing in RGB Changes Your Lightness Too
In standard RGB mode, an image’s brightness and darkness come from combining the Red, Green, and Blue channels together. That means adjusting any single channel with Curves shifts both color and lightness at the same time, and pushing a channel too far makes the image start to look broken rather than just differently colored.
Red/Cyan, Green/Magenta: What RGB Channels Actually Control
Lowering the Red channel adds cyan; raising it adds red. The other channels work the same opposing-color way. The problem is not the direction of the shift. It is that every one of these adjustments also changes brightness, which is exactly what LAB mode avoids.
Converting a Duplicate Layer to LAB Mode
Rather than converting your whole working file, it is cleaner to do the LAB editing in a separate document.
-
Duplicate Your Background Layer to a New Document
Right-click your background layer, choose Duplicate Layer, and send it to a new document.
-
Switch the New Document to LAB Mode
Go to Image > Mode > Lab Color. The image looks identical at first, and the difference only shows up once you start adjusting curves.
Understanding the Lightness, A, and B Channels
LAB mode splits an image into three completely different channels than RGB: Lightness, which controls only brightness and darkness; the A channel, which runs from green to magenta; and the B channel, which runs from blue to yellow. Adjusting Lightness changes only how light or dark the image is, leaving color untouched, while adjusting A or B changes only color, leaving lightness untouched.
Why This Is Not for Preserving Skin Tones
Pushed hard, LAB color adjustments can shift skin tones into territory that looks intentionally stylized rather than natural. This technique is built for creative, sometimes dramatic color work, not for subtle skin tone correction.
Pushing Color With Curves on the A and B Channels
With a Curves adjustment layer active in LAB mode, the A and B channels are where the actual creative color work happens.
-
Add a Curves Adjustment Layer
Add a Curves adjustment layer as you normally would. In LAB mode, its channel dropdown now shows Lightness, A, and B instead of RGB.
-
Push the A Channel for Cyan/Magenta Shifts
Select the A channel and drag the middle of the curve down for more cyan, or up for more magenta.
-
Push the B Channel for Yellow/Blue Shifts
Select the B channel and drag up for more yellow, or down for more blue.
-
Drag the Input and Output Sliders for a Desaturated Look
At the bottom of the curve, drag the input and output sliders inward from either end to lower the dynamic range of that channel for a specific stylized look, or bring the high and low points together for a more desaturated result.
This Is Not an Exact Science
Getting a result you like on the A and B channels is a back-and-forth process, not a single drag to the perfect spot. Expect to bounce between channels, adjusting one, checking the other, and readjusting. There is no universally correct setting, just whatever look you are after.
Targeting Specific Colors With the On-Image Adjustment Tool
Rather than dragging the curve itself, you can adjust color directly from the image.
-
Select the On-Image Adjustment Tool and Click-Drag on a Specific Area
With the Curves panel open, click the small hand icon (with up and down arrows) in the panel, then click directly on an area of your image and drag up or down. On the A channel this shifts that color range toward cyan or magenta; on the B channel, toward yellow or blue.
How the On-Image Tool Actually Targets Color
This tool does not select the specific spot you click. It identifies that pixel’s color range and adjusts every pixel sharing a similar color throughout the image, wherever it appears. Clicking on lips, for instance, adjusts that color range generally rather than isolating just the lips themselves.
Bringing Your LAB Edit Back Into RGB
Once the color work is finished, the result needs to make its way back into your original RGB file.
-
Create a Stamp Visible Layer
Press Shift + Option + Command + E on Mac, or Shift + Alt + Ctrl + E on PC, to create a single merged layer capturing everything visible in the LAB document.
-
Drag the Stamped Layer Back Into Your RGB Document
Select the Move tool, hold Shift, and click-drag the stamped layer over into your original RGB document, where it drops in centered and aligned. From there, you can continue editing normally in RGB.
Common Mistakes to Avoid
The most common mistake is trying to push color this hard directly in RGB mode with Curves, which ends up wrecking the image’s brightness and contrast rather than just its color. A second is expecting the on-image adjustment tool to isolate exactly the area you click, rather than understanding it targets a whole color range across the image. And using this technique for subtle skin tone correction, rather than the bold creative color work it is actually suited for, tends to produce results that look overworked.
More Free Photoshop Color Tutorials
For more on working with color and tone, these free tutorials are worth exploring next:
- Curves vs Levels in Photoshop: What’s the Difference?
- How to Use the New Hue/Saturation Panel in Photoshop
Why This Effect Works
LAB mode works because it fundamentally separates two things that RGB always couples together: how light or dark something is, and what color it is. RGB cannot isolate color from lightness because its channels each carry both pieces of information at once, so pushing color in RGB necessarily drags brightness along with it. LAB’s Lightness channel carries brightness and nothing else, while A and B carry color and nothing else, which is what makes it possible to push color adjustments far more aggressively without the image collapsing into broken contrast.
Final Thoughts
Most day-to-day editing is fine to do in RGB, but when an image calls for genuinely bold, creative color work, switching a duplicate layer into LAB mode opens up a range of adjustment that RGB simply cannot match without destroying the image’s tonal range. Treat it as a specialized tool for pushing color hard, not a replacement for your everyday RGB workflow, and expect to spend some time going back and forth between the A and B channels before landing on a look you like.
New Free Tutorials View All »











Enjoying This Free Tutorial? Go Further with PRO.
Unlock Full Sample Files, PSDs, and Hundreds of Masterclasses!

Download full project assets, original PSDs, and RAW images for every lesson
Unlimited access to our complete library of PRO Photoshop & Lightroom courses
Instant 4K Ultra HD streaming on all devices, anytime, anywhere
Full access to our entire library of Photoshop Actions, Presets, and LUTs
Flexible monthly and annual membership plans
Cancel anytime with zero hassle or commitments