
Download Sample Images
description
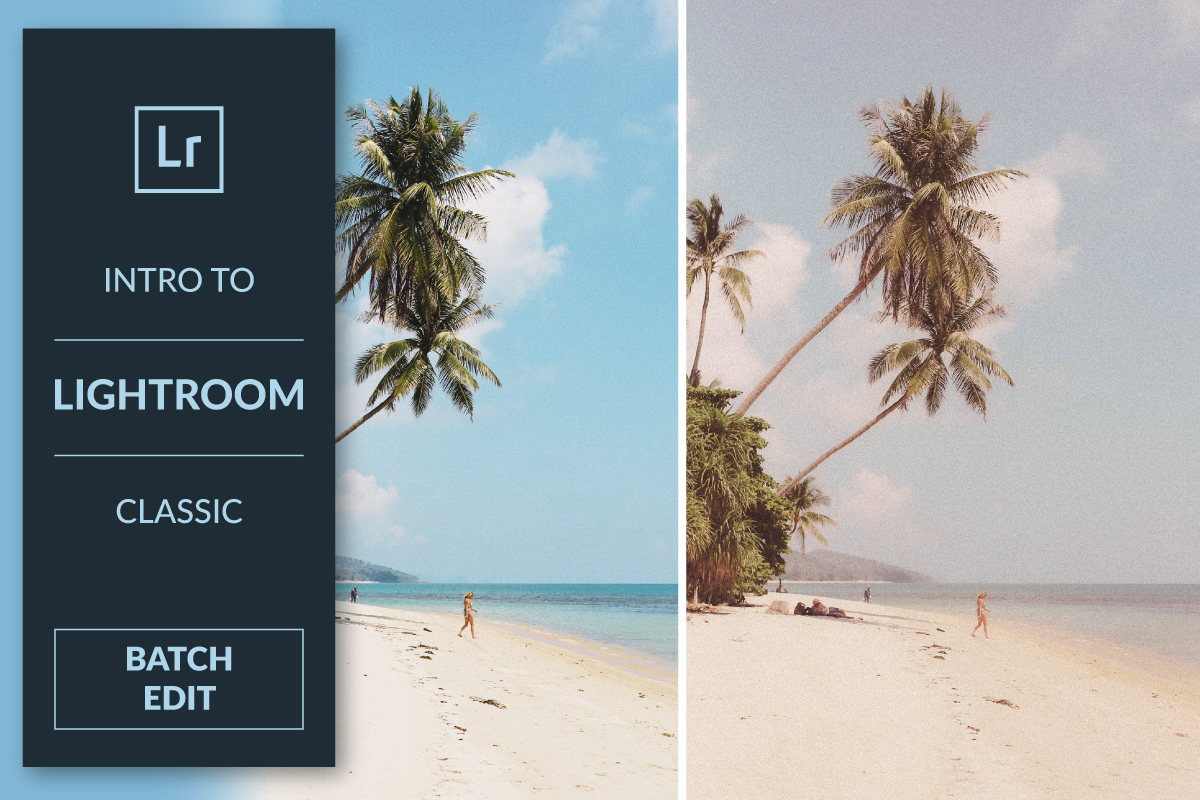
When you’re looking for the perfect preset but can’t seem to find it, try making your own! Lightroom Classic makes it easy to create custom presets which help you edit faster and allow you to share your unique style with the world.
Follow along as we create a vintage film look and then turn it into a brand new Lightroom Preset. We also show you how to import presets and then make additional color and exposure adjustments so that they work flawlessly with any photo.
Speaking of presets, have you tried our free sample 10-pack? Use them to color your photos today!
If you’re ready to take a deep-dive into everything Lightroom Classic has to offer, try our PRO tutorial The Beginner’s Guide to Lightroom Classic!
Free Lightroom Preset Sample 10 Pack
Lightroom Presets are a great way to quickly add style and charm to your photos. Try our custom-made PHLEARN Lightroom Presets with our free sample 10 pack of some our favorite bright and beautiful looks!
Watch Next
This episode is part of our FREE Intro to Lightroom Classic series.
Share
CREATE YOUR OWN LIGHTROOM PRESETS
Create Your Own Presets!
Presets from Scratch
Lightroom Presets are a fast and powerful way to start your editing process, and you can often find one that’s perfect for your image (our collection of Lightroom Presets might have just what you’re looking for). But sometimes it can be hard to find a preset that gives you the look you want, and that’s the best time to create your own. In this video, we show you how to do just that: creating a vintage film look from scratch and turning that look into your own custom preset. From there you can apply your preset to other images in the same series, or come back later and access the same look for a different set of photos. You can even export your preset and share it with your friends or post it on the web.
Step 1: Editing an Image
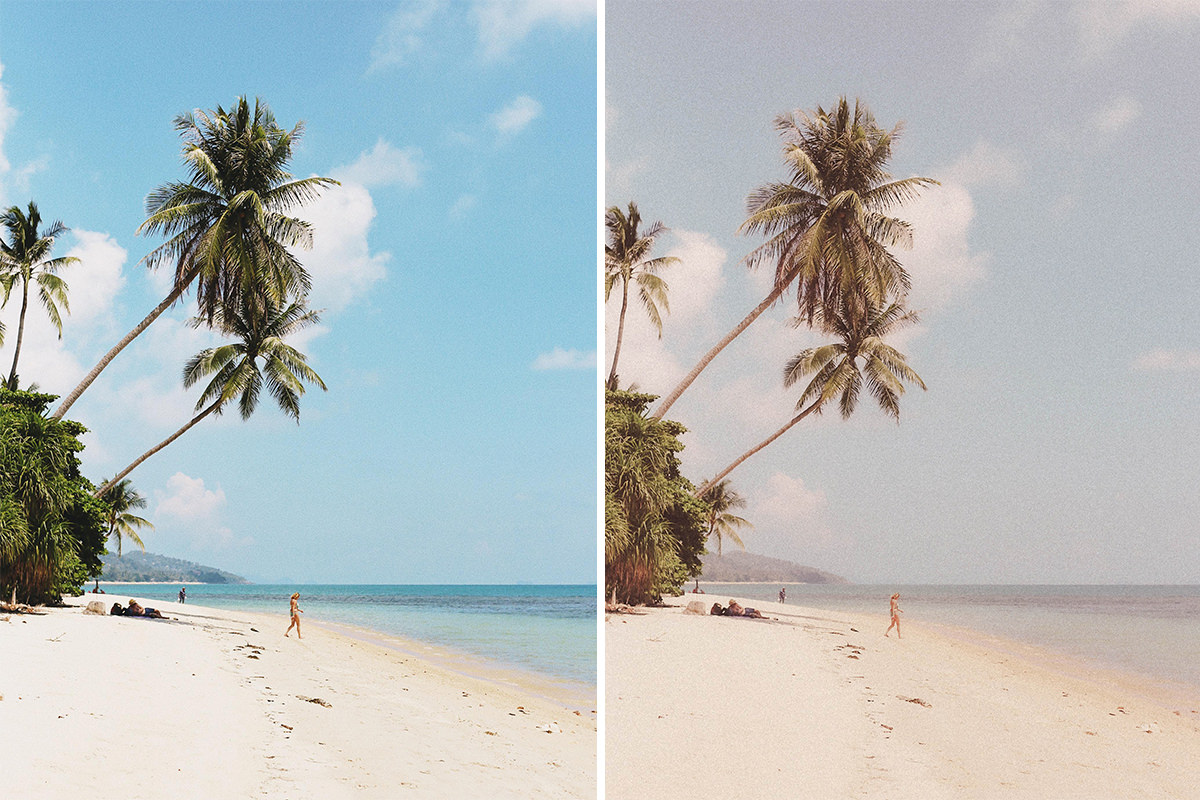
Before we can create our preset, we need to edit one of our images the way we want it. In this example, we’re giving our beach vacation photos a vintage film look, and we start by creating that look in the Develop module. To sell the old and faded effects of this look, we begin by lowering our contrast significantly, as well as dropping our texture and clarity to make the image look slightly out of focus. Next we bring down our vibrance, raise our shadow levels, and lower our highlights. Then it’s onto color grading: we use split-toning to introduce warm yellows and reds into our shadows and highlights. And our final touch is a bit of grain, which helps tie all our adjustments together.
Lightroom Classic is a great program for editing your images, but its large suite of adjustment tools can be a bit overwhelming to new editors. If any of the adjustments we made were difficult to follow, we recommend checking out our Free and PRO Lightroom tutorials, where you’ll learn everything you could want to know about the program. Our PRO tutorial The Beginner’s Guide to Lightroom Classic is a great place to start.
Step 2: Creating a Preset
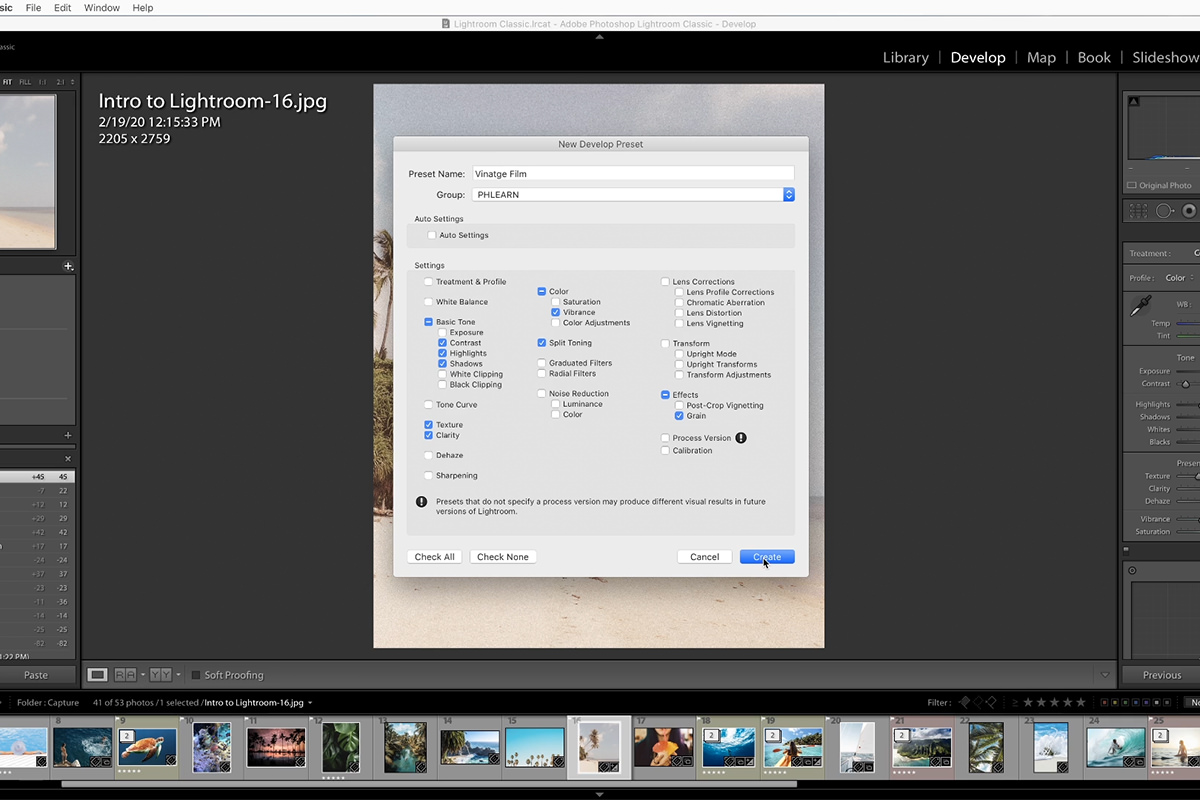
Now that our image is edited exactly how we want, we’re ready to turn it into a preset! On the left hand side of the Develop tab is a drop down menu titled Presets. Click the + icon there and select Create Preset…. We named ours Vintage Film, and put it in a new group called PHLEARN, but you can name yours whatever you’d like. The settings below the name may seem a bit daunting, but we’re here to walk you through what you should select.
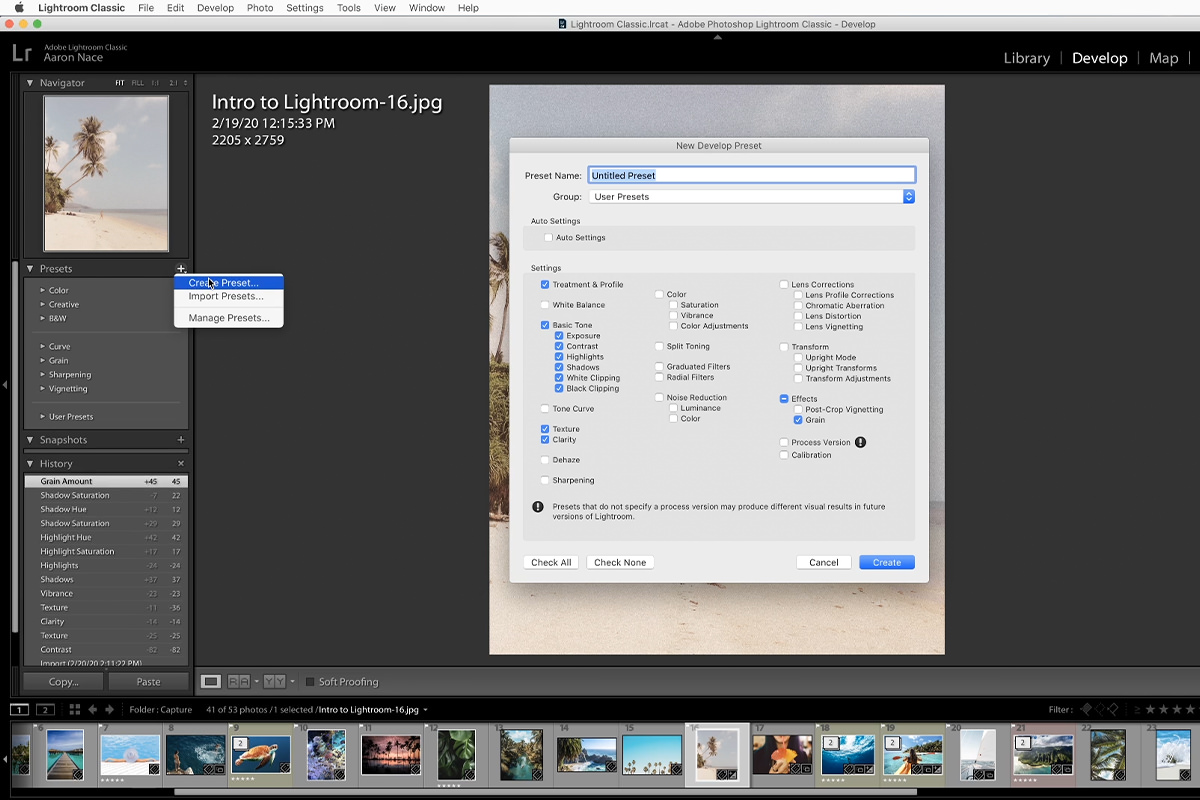
It may seem simplest to select Check All in the bottom left of this window to be sure that you grab all your settings. But we recommend only checking the settings you changed, because that guarantees that you won’t overwrite settings you don’t want to. For instance, we don’t necessarily want to change the white balance of the images we apply this preset to – that would mess up their color temperature. So we aren’t going to check white balance.
First select Check None to clear all of the settings selected, before selecting the ones you wish to include. In this example the settings we want to check are Contrast, Highlights, Shadows, Texture, Clarity, Vibrance, Split Toning, and Grain, because that’s everything we changed to get our Vintage Film look. Once you’ve selected your settings it’s as simple as clicking Create in the bottom right, and your brand new preset will appear in your Presets dropdown.
Step 3: Applying Your Preset to Other Images
Now that your preset is made, applying it to the rest of your images is even simpler. Head back to your grid view and select a new image. In the develop tab you can now select the preset you just created. You don’t even have to click to view the changes, simply hover over the preset name for a preview. This can be helpful when trying out multiple presets to find the best look. When you’re ready, click on the preset name and all of the settings you selected in the last step will be automatically applied.
We recommend using this as a starting place for each of your edits. Even though a preset can do wonders for matching several images together, you often have to make small adjustments for each image’s specific needs. After applying your preset, you can refine the settings of your image any amount that you’d like, which is what gives Lightroom Presets such flexibility.
Importing Lightroom Presets
Included in this tutorial is a
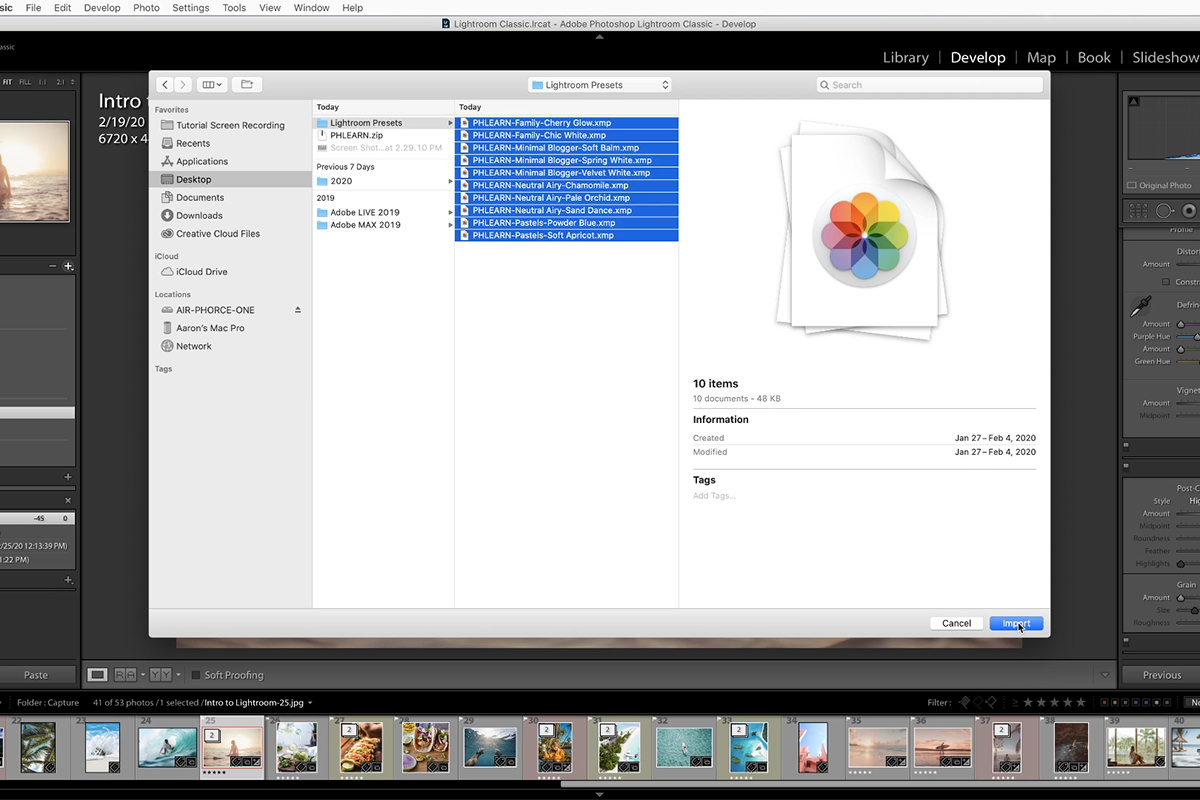
Our free preset pack contains multiple folders to help stay organized, such as PHLEARN-Family, PHLEARN-Neutral Airy, and PHLEARN-Pastels. You’ll see these folders in your Presets window, but opening them up will reveal all the presets within. You can now hover over any one of these presets to see a preview of the preset applied to your image.
The Right Preset for the Job
There are millions of presets out there in the world, and you can download them from hundreds of different sources online. Here at PHLEARN, we even have our own preset library that is constantly growing and available to all PRO members. But not every preset is going to perfectly fit your image. Some presets work great with certain images and not well with others. That’s why we recommend getting a bunch.

In this tutorial, several of the PHLEARN Sample Presets look great on our kayaking image, specifically PHLEARN Family – Cherry Glow, PHLEARN Minimal Blogger – Velvet White, and PHLEARN Pastels – Powder Blue. Playing around with multiple presets is an important step in the process; it will help you find the one that’s just right for your photos.
When you create your own preset or import someone else’s, it stays in your Lightroom Classic presets window indefinitely: meaning you can come back at any time and apply it to your images. And Lightroom’s ability to hover over the name of the preset to see a preview before applying means you can “test out” dozens of presets on your image in no time at all. You’re now ready to start creating custom presets like a pro!


