
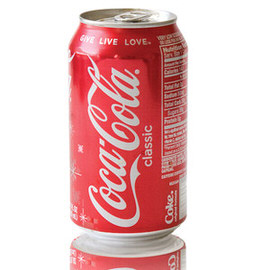

Flipping a layer and fading it works fine under a flat-bottomed object, and not at all under something photographed at an angle, because the underside a reflection is supposed to show was never captured. Learn how to cut out a symmetrical object by tracing only half of it, reconstruct the hidden underside with an Arch warp and hand painting, and blend the two so the seams disappear.
We publish a new free tutorial every week, each one with sample images and PSDs you can download and follow along with. Sign up and they land straight in your inbox, along with early word on sales, events and subscriber-only offers.
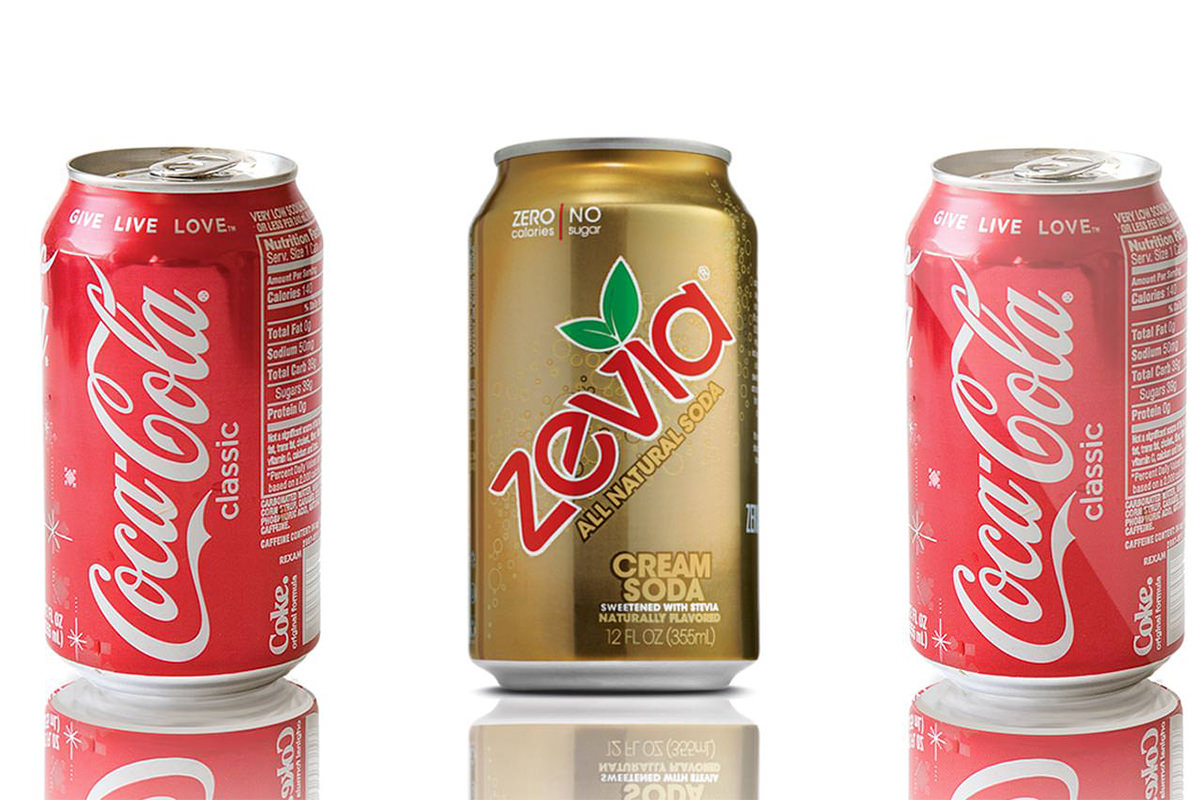
How to Create a Curved Reflection in Photoshop
A reflection under an object with a flat bottom is one of the easiest effects in Photoshop: flip it, lower the opacity, add a gradient, done. A reflection under something photographed at an angle, with a curved underside, is a genuinely hard problem. Not because the technique is exotic, but because the information you would need to fake it simply is not in the photo. This is an advanced technique, and it is worth being honest about that going in.
Getting Started
This works on any object photographed at an angle where the bottom curves out of view: a can, a bottle, anything where you can see the top but not what the underside actually looks like.
Why Curved Reflections Are So Much Harder Than Flat Ones
A reflection is supposed to show what is normally hidden, which is the underside of the object. If your photo shows the top of the object but not the bottom, simply flipping a copy of the layer upside down just shows the top again, mirrored, which never looks convincing. The real bottom of the object has to be built from scratch, because there is no photographic information about it to copy from.
The Flat-Bottom Shortcut
If your object actually has a flat bottom, with product photography shot straight on being the classic example, none of this is necessary. Just duplicate the layer, flip it vertically, lower the opacity, and add a gradient fade. It is a completely different, and much easier, problem than a curved, angled object.
Cutting Out the Object With the Pen Tool
A clean, symmetrical cutout is the foundation everything else builds on.
-
Trace Half the Object With the Pen Tool
Using the Pen tool, trace just one half of the object’s outline. Starting from roughly the middle rather than an edge makes the next step easier.
-
Flip and Merge the Path to Complete the Selection
Turn the path into a selection, fill it on a new layer, duplicate that layer with Ctrl/Cmd + J, flip the duplicate horizontally with Free Transform, and position it to complete the other half. Merge the two halves together.
-
Turn the Path Into a Layer Mask
Command/Ctrl-click the merged shape layer to load it as a selection, then apply it as a layer mask on your object layer, giving you a clean, perfectly symmetrical cutout.
Why Only Cutting Out Half Saves You Work
Tracing only half the outline and mirroring it guarantees perfect symmetry without having to hand-match both sides of the Pen tool path. It also cuts your tracing work roughly in half for objects, like most bottles and cans, that are naturally symmetrical.
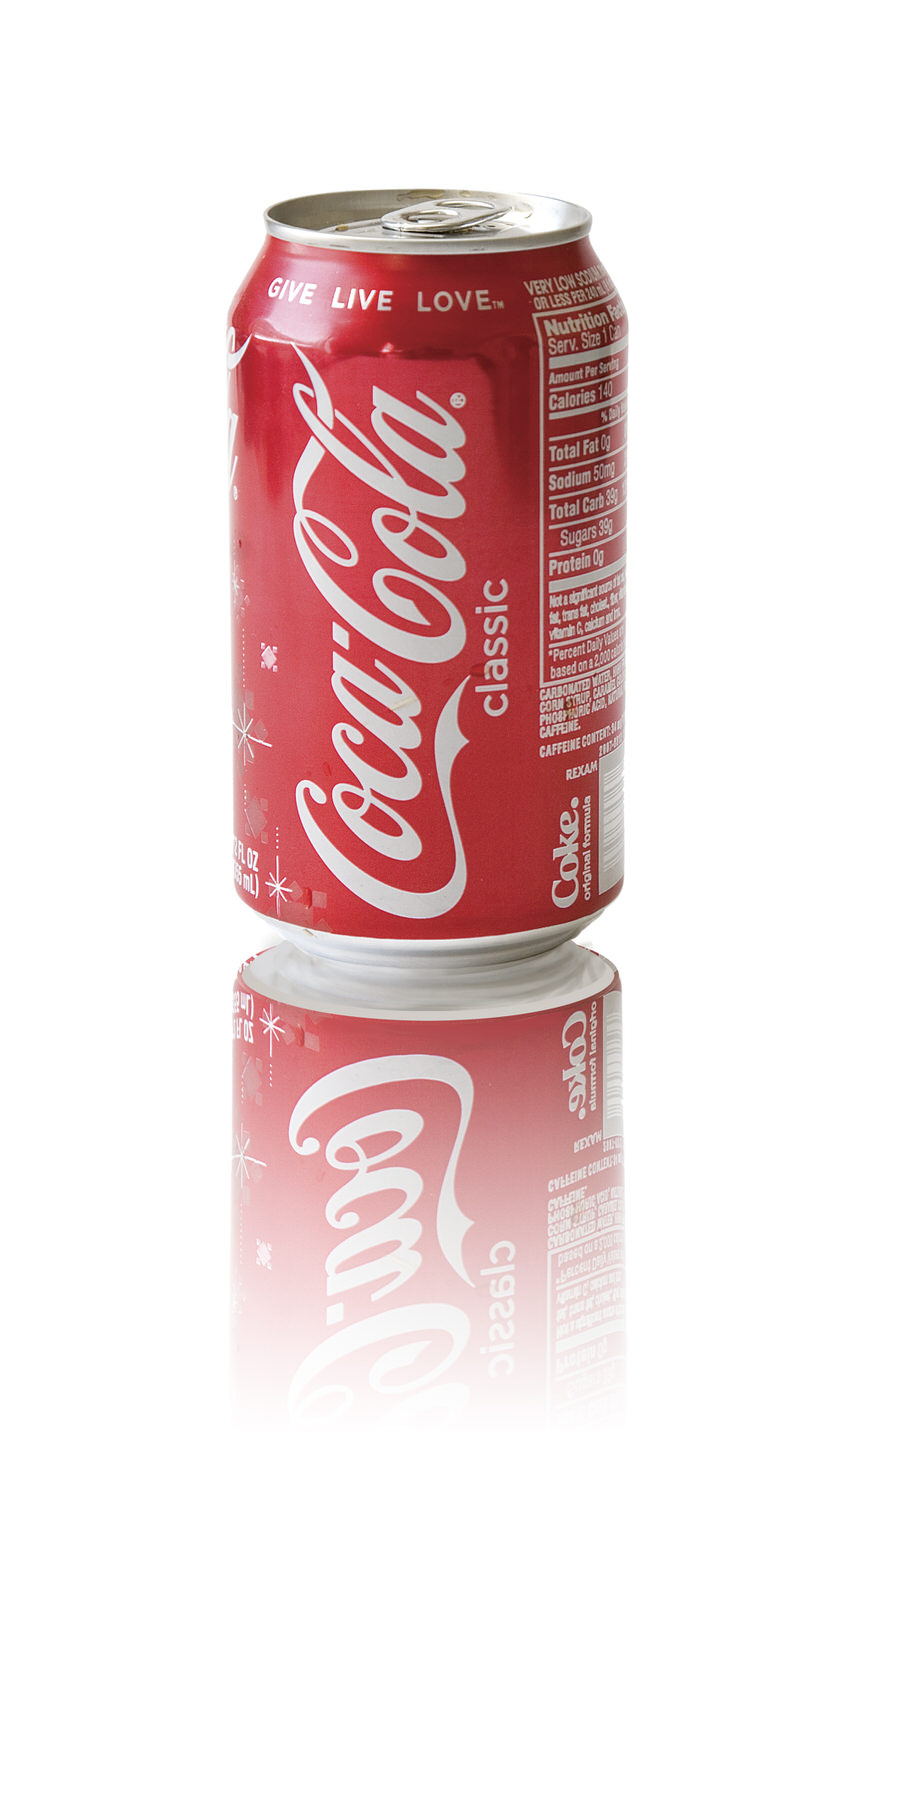
Building and Warping the Underside of the Object
With a clean cutout in hand, the next job is constructing an underside that does not actually exist in the photo.
-
Duplicate and Flip the Object Vertically for the Base Reflection
Duplicate your cutout object and flip it vertically with Free Transform. This becomes the starting point for the reflection, though it is not usable as it stands.
-
Select and Duplicate the Area That Becomes the Underside
On the original, non-flipped object, use the Marquee tool to select roughly the area where the underside would be in perspective, duplicate that selection, and position it below the object where the bottom needs to appear.
-
Fill and Warp the Underside With the Arch Warp
Contract that selection slightly (Select > Modify > Contract, around 10 pixels), fill it with a matching color on a new layer, then use Free Transform > Warp > Arch with a negative Bend value to curve it in the opposite direction, the direction the actual underside would curve.
Hand-Painting and Blending the Reflection Body
Some parts of the underside simply have to be painted by hand, because there is no photographic data to warp or copy into place.
-
Hand-Paint the Remaining Underside Detail
Using the Brush tool on a new layer, paint in whatever detail is still missing after the warp, matching the surrounding color and tone as closely as you can by eye.
-
Build Up the Reflective Body by Copying and Blending Sections
Duplicate sections of the object and the hand-painted underside, locking transparency on layers as needed so you only paint within existing shapes, and layer copied pieces at reduced opacity over hand-painted areas to blend the two approaches together.
Blending Hand-Painted Areas With Copied Ones
Neither the hand-painted areas nor the duplicated sections need to be individually perfect. Layering a duplicated piece at lowered opacity over a hand-painted area, and vice versa, blends the inaccuracies of each into something that reads as convincing overall, even though no single layer would hold up under close inspection alone.
It Does Not Have to Be Perfect
This is genuinely one of the harder things to pull off cleanly in Photoshop, precisely because you are inventing image data that was never captured. Aim for something that reads correctly at a normal viewing distance rather than chasing pixel-perfect accuracy in an area no one will scrutinize closely.
Assembling and Positioning the Full Reflection
Once the pieces exist, they need to come together in the right place relative to the object itself.
-
Bring the Pieces Together and Position for Perspective
Combine your flipped object, the warped underside, and the hand-painted and blended sections into one document if they are not already, then position everything to match the perspective and angle of the original photo. Where you place each piece determines how convincing the final perspective reads.
Fading the Reflection With a Gradient Mask
A real reflection is strongest right at the point of contact and fades out with distance, which is easy to fake even though the reflection body itself was hard to build.
-
Group the Reflection and Add a Gradient Layer Mask
Group all your reflection layers together and add a layer mask to the group. Select the Gradient tool with a foreground-to-transparent gradient set to black, and drag it across the mask to fade the reflection out with distance. Then lower the opacity of the whole group.
-
Paint White Near the Contact Point for Full Visibility
Paint white back into the mask right where the object meets its reflection, since that point of contact should be at full visibility even as the rest of the reflection fades away.
Common Mistakes to Avoid
The single biggest mistake is simply flipping the object layer and calling it a reflection. Without rebuilding the hidden underside, this never looks real no matter how the opacity or gradient is adjusted. A second is tracing the entire outline with the Pen tool by hand instead of using the half-and-mirror trick, which doubles the work and risks asymmetry. And expecting the hand-painted sections to be perfect on the first attempt, rather than blending them with duplicated pieces at reduced opacity, tends to produce a result that looks obviously patched together.
Why This Effect Works
The difficulty here is not really about Photoshop skill. It is about information. A flat-bottomed object’s reflection can be faked because flipping the layer actually does show you what the underside looks like. A curved, angled object hides its underside from the camera entirely, so no amount of clever filtering recovers it; it has to be reconstructed by warping nearby image data and hand-painting the rest. Blending duplicated pieces with painted ones at varying opacity is what covers for the inevitable small inaccuracies in that reconstruction, and the final gradient fade does the easy, familiar part, making the whole thing taper off believably with distance.
Final Thoughts
This is a genuinely advanced technique, and it is fine if your first attempt does not look perfect. Even working through it carefully takes real time and a fair amount of trial and error. The core idea worth taking away is simple even if the execution is not: know the difference between a flat-bottomed object, where you flip and fade, and a curved one, where you reconstruct the hidden geometry by hand, and do not expect a shortcut to work on the harder case.
Quick Reference: Keys, Menus and Settings
- Half cutoutPen tool on one half, Cmd/Ctrl-click the path, Alt/Option + Delete to fill
- Mirror itCmd/Ctrl + J, Cmd/Ctrl + T, right-click > Flip Horizontal, merge the halves
- Flip the reflectionCmd/Ctrl + T, right-click > Flip Vertical
- Shrink a selectionSelect > Modify > Contract, 10 pixels
- Curve the undersideCmd/Ctrl + T, Warp, Arch with a negative Bend
- Paint inside a shapeLock transparency on the layer
- Fade itGroup mask, G, foreground to transparent in black; lower group opacity
No AI, no generative credits.
Curved Reflections in Photoshop: Common Questions
Why doesn’t flipping the layer make a good reflection?
On an object shot at an angle, a reflection should show the underside, but the photo only shows the top. A flipped copy just shows the top again upside down, which never looks real.
How do I make a reflection for an object with a flat bottom?
That one is easy: duplicate the layer, flip it vertically, lower the opacity and add a gradient to fade it out.
Why trace only half the object with the Pen tool?
Tracing half and mirroring it gives a perfectly symmetrical shape with half the work. Fill the path’s selection on a new layer, press Cmd/Ctrl + J, then Cmd/Ctrl + T, right-click and choose Flip Horizontal, and merge the two halves.
How do I turn that shape into a layer mask?
Cmd/Ctrl-click the merged shape layer to load it as a selection, then select the object layer and add a layer mask.
How do I create the underside that isn’t in the photo?
Marquee the area where the bottom would be in perspective, copy it with Cmd/Ctrl + J and move it down. Contract a selection of it with Select > Modify > Contract (about 10 pixels), fill it on a new layer, and curve it with Cmd/Ctrl + T, Warp, Arch and a negative Bend.
How do I paint only inside a shape?
Lock the layer’s transparency. Then the brush only paints where the layer already has pixels, which keeps the hand-painted rings inside the can.
Do I have to hand-paint part of the reflection?
Some of it, because there is no information about the back or bottom of the object to copy. Layer copied pieces at lower opacity over the painted areas so neither has to be perfect.
How do I fade the reflection out?
Group the reflection layers and add a mask to the group. Press G, choose a foreground to transparent gradient in black, drag it across the mask and lower the group’s opacity. Paint white right under the object, where the reflection should be fully visible.
Is this an advanced technique?
Yes. A curved reflection means building information the camera never captured, so it takes time and trial and error. Aim for something that reads right at normal viewing size.
From the Magazine View all
Stories, interviews and guides for photographers, new every week.
 EditingLightCraft vs Lightroom: I Edited the Same RAW Files in BothThe free clone on the same RAW files: what matches, what breaks and who should switch.
 InspirationRare Historical Photos: 13 of the Rarest Pictures Ever TakenFrom the earliest surviving picture of a person to the last passenger pigeon: who took each one and why it survives.
 EditingArtCraft: Photoshop Cloned by AI in Two Weeks. Is It Legal?ArtCraft cloned Photoshop and Lightroom with AI and gave them away. Any good? Legal? Safe?
Master Photoshop, Lightroom and Photography
Join PHLEARN PRO for $12.99 a month, or $99.99 a year (save 36%). Cancel anytime, with a 100% money-back guarantee.





