
Download Assets
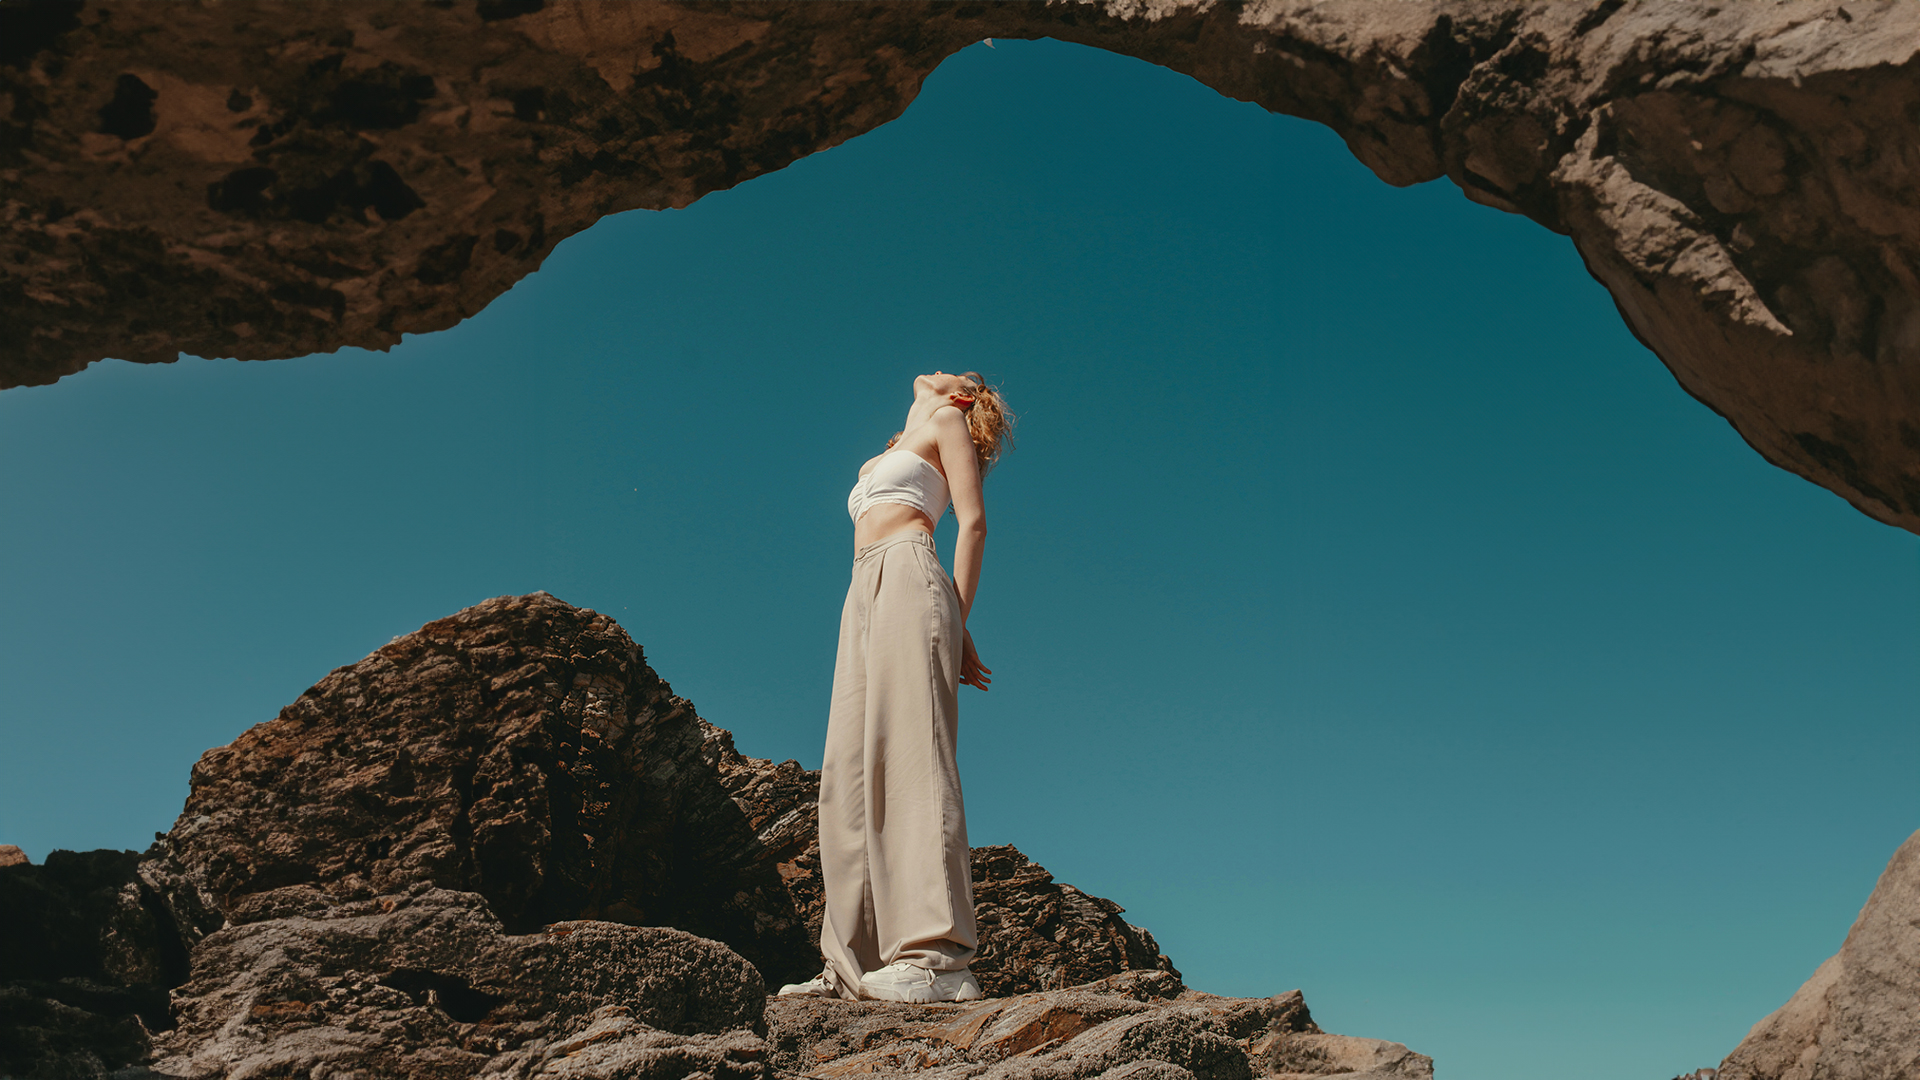
This tutorial includes 2 sample images, 2 sample PSDs and 1 PDF guide. Downloads are free with a PHLEARN account.
- Download the sample images and PSDs from every free tutorial on PHLEARN
- New free tutorials published every week
- One free account — sign up once, then download anything
Free PDF Guide · 3 Pages
This Tutorial as a Step-by-Step PDF
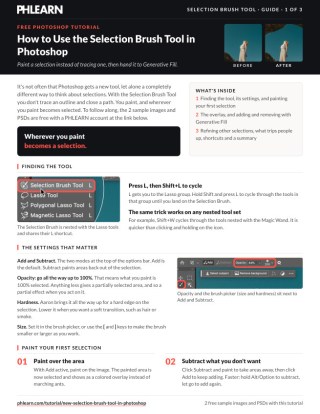
Walks through finding the Selection Brush with L and Shift+L, setting Opacity to 100% and the Hardness, painting and subtracting with Alt/Option, the magenta overlay, adding rocks and removing a chain with Generative Fill, and refining a Select Subject or Marquee selection by painting. Keep it next to your keyboard.
description
How to use the Selection Brush Tool in Photoshop: paint the selection instead of drawing an outline, watch it as a magenta overlay rather than marching ants, and refine what the automatic tools got wrong. In this tutorial we’ll show you how to efficiently select subjects, remove unwanted elements, and combine it with powerful tools like Generative Fill to transform your images in no time.
Enjoying This Free Tutorial?
We publish a new free tutorial every week, each one with sample images and PSDs you can download and follow along with. Sign up and they land straight in your inbox, along with early word on sales, events and subscriber-only offers.
Artist Credit
- Nora Hutton
- Emile Mbunzama
Images sourced from Unsplash.
How to Use the Selection Brush Tool in Photoshop
Photoshop rarely gains an entirely new tool, and it gains a new way of thinking about selections even more rarely. The Selection Brush Tool is both. Instead of tracing an outline and closing a path, you paint — and everywhere you paint becomes selected.
That sounds like a small change. In practice it removes most of what makes selections tedious, and it pairs with Generative Fill better than any selection tool that came before it.
Finding the Tool
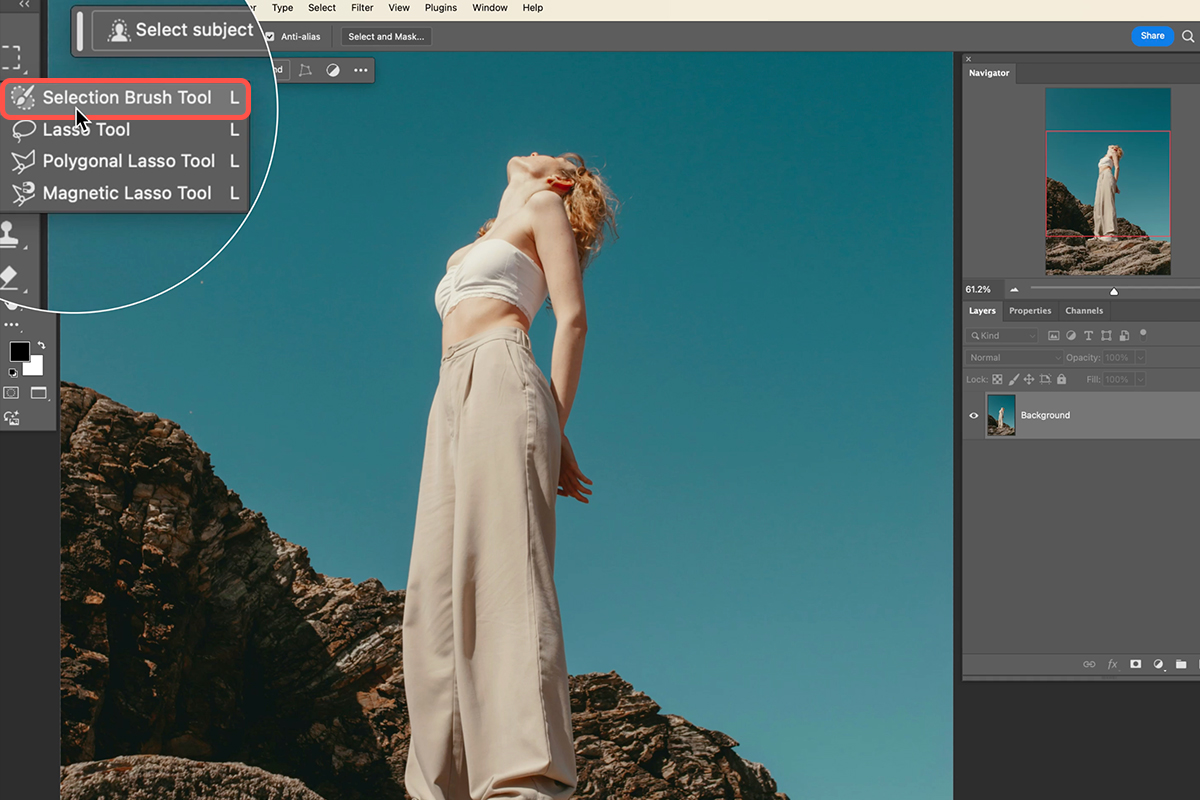
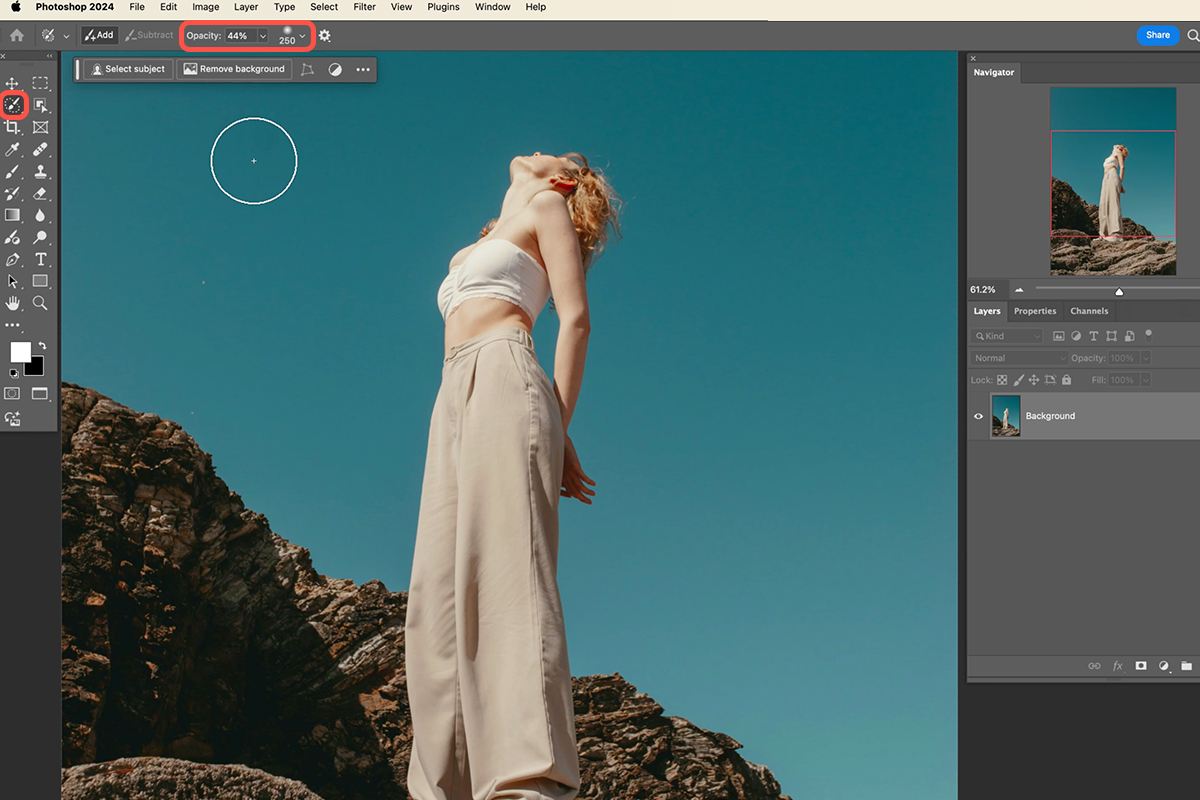
The Selection Brush is nested with the Lasso tools in the toolbar. Press L to get to that group, and Shift+L to cycle through it until you land on the Selection Brush.
That Shift trick works throughout the toolbar — Shift+W cycles the Magic Wand group, and so on for any nested set. It is worth building the habit, because it is far quicker than clicking and holding on the icon.
The Settings That Matter
Three controls in the options bar, and one of them has a default worth changing.
-
Add and Subtract
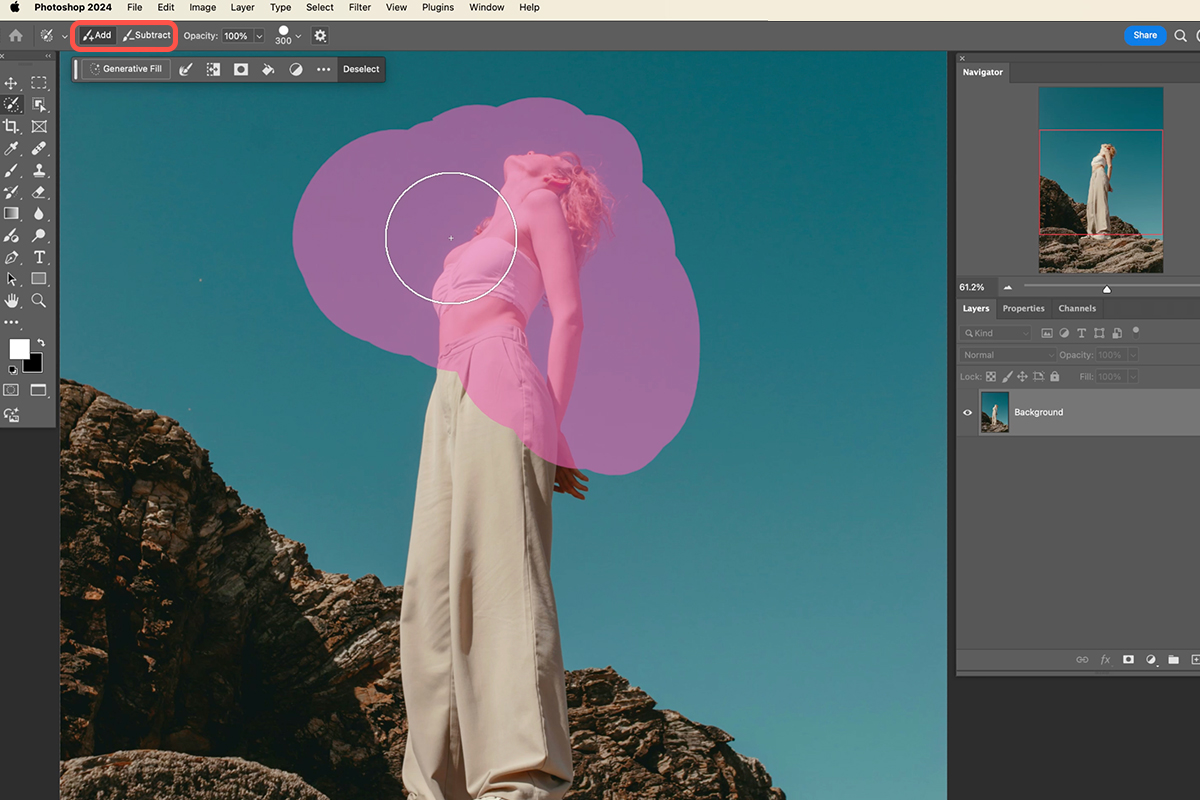
Add is the default. Subtract removes from the selection. You rarely need to click either, because of the modifier key below.
-
Opacity — set it to 100
Anything less produces a partially selected area, which means a partial effect when you act on it. Unless you specifically want a feathered result, keep this at 100 percent.
-
Hardness
High hardness gives a crisp selection edge; lower it for a soft transition. Match it to the edge you are selecting — hard for a clean object boundary, softer for hair or smoke.
Brush size is set with the [ and ] keys, which is faster than the slider and lets you resize mid-stroke.
Hold Alt or Option to Subtract
Rather than clicking between Add and Subtract, hold Alt or Option to temporarily switch to Subtract, and release to go back to Add. Paint slightly over an edge, hold the modifier, paint it back — without ever leaving the canvas or looking at the options bar.
The Magenta Overlay
Paint with this tool and you will not see marching ants. You get a semi-transparent magenta overlay showing exactly what is selected.
This is a genuine improvement. Marching ants show you a boundary, not a region — and they are almost useless for soft or partial selections, where the ants trace an arbitrary 50 percent line and tell you nothing about what lies either side of it. An overlay shows you the whole selected area, including where it fades.
Magenta is the default. If your image is heavily magenta, change the overlay color in the tool options so you can see what you are doing.
It Is a Normal Selection Underneath
Despite looking different, this is an ordinary Photoshop selection. Paint an area, then run Filter > Blur > Gaussian Blur and the blur applies only inside the painted region — and while the filter dialog is open, the familiar marching ants reappear along its edge.
Everything that works on a selection works here: filters, adjustments, layer masks, Ctrl/Cmd+J to copy to a new layer. Only the display changed.
Why It Suits Generative Fill
This is where the tool earns its place.
Adding Something
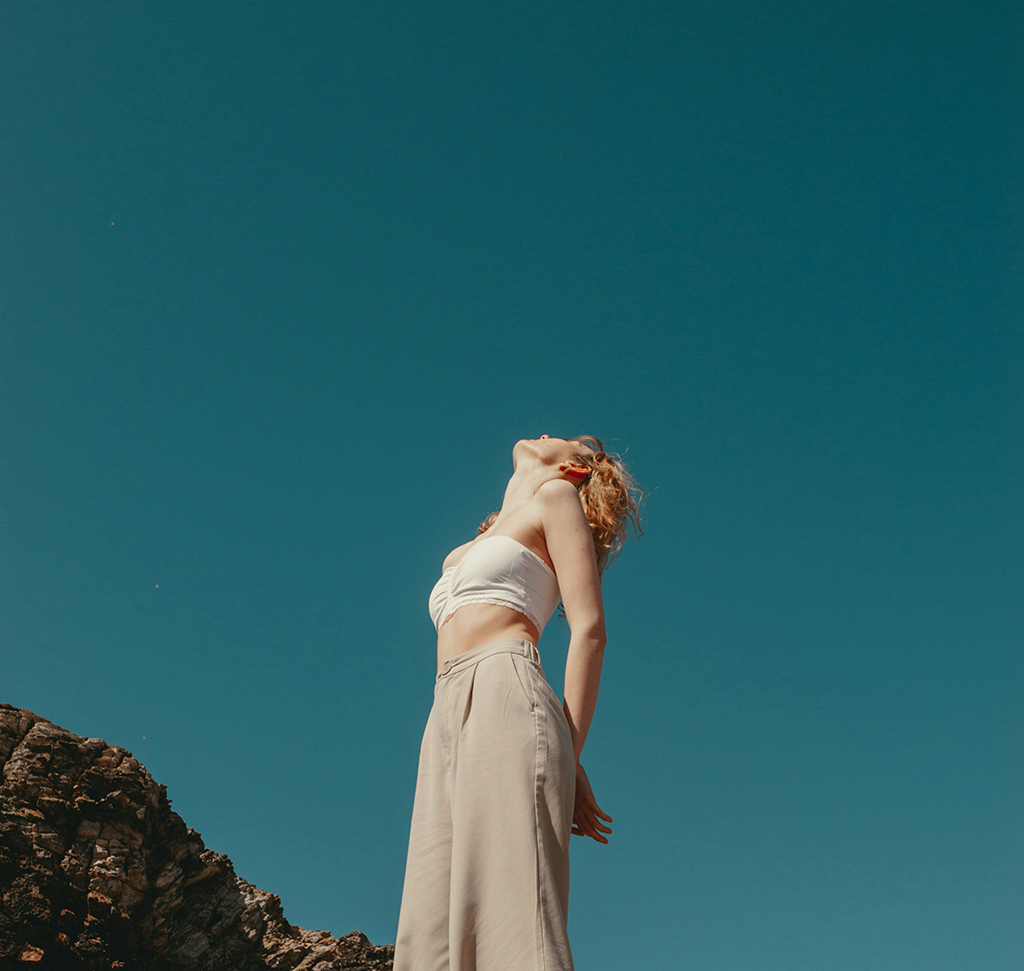
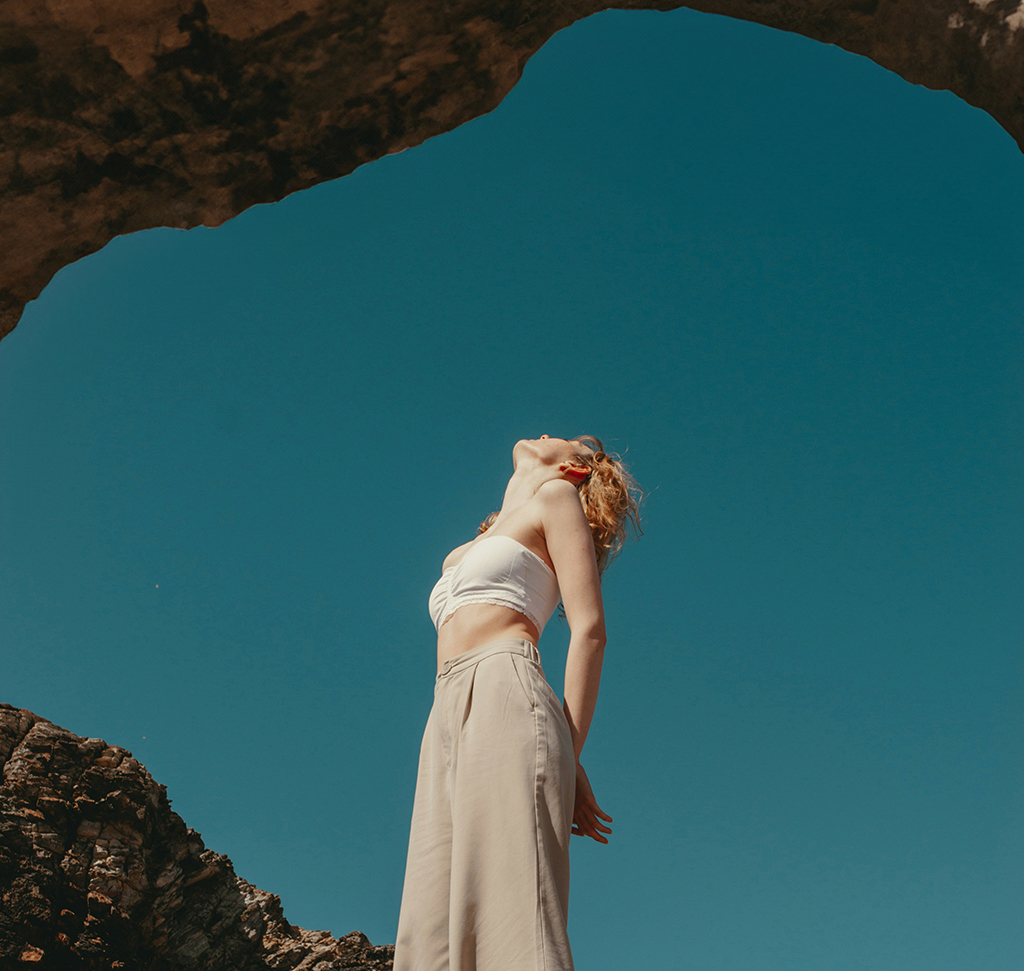
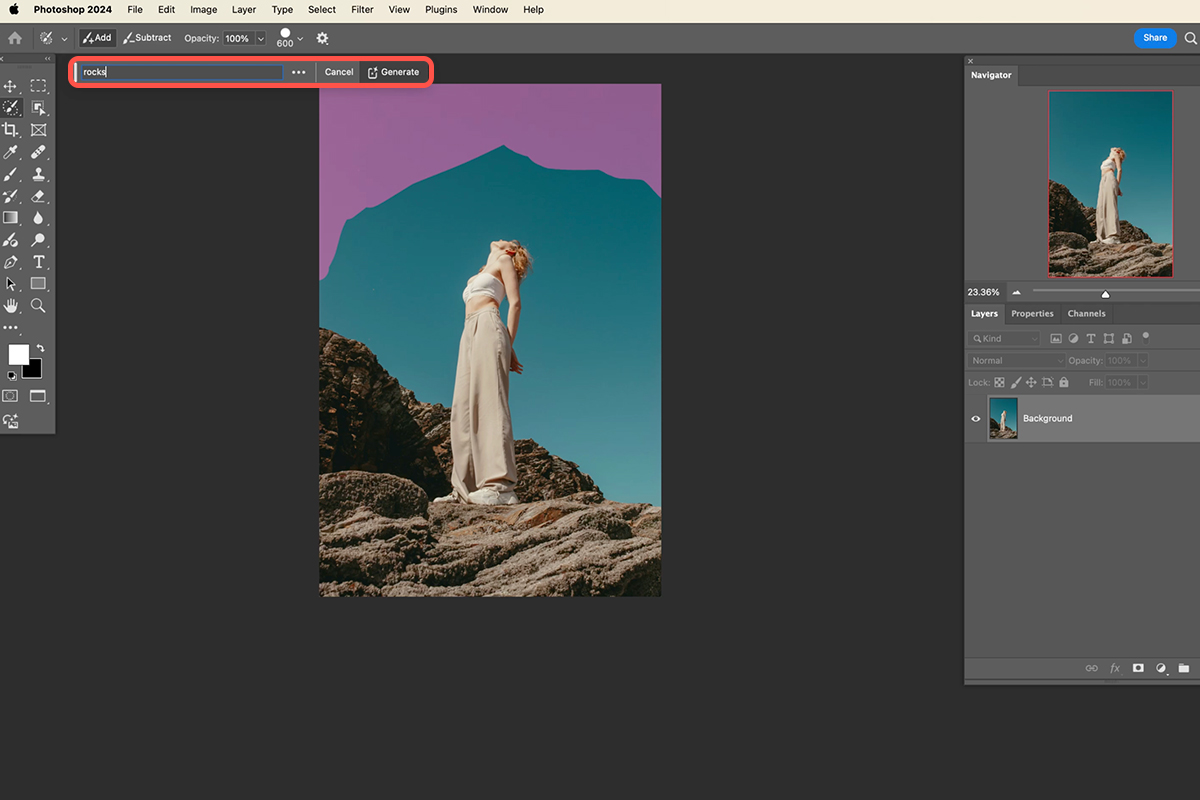
To extend the rocks a subject is standing on, take a large brush and paint over the area where you want them. Click Generative Fill, type rocks, and Generate. Photoshop fills the painted region and loads the selection into a layer mask on the generated layer, so it is fully non-destructive.
Removing Something
To remove a distracting chain crossing in front of a subject, paint over it — a little wider than the object is fine — then Generative Fill with the prompt box left empty. Photoshop replaces it with whatever the surroundings suggest.
If you overshoot onto your subject, hold Alt or Option and paint the excess back out before generating. Fixing an overshoot takes a second, where recovering from a badly closed lasso path usually meant starting again.
This Matches How Lightroom Works
Lightroom’s generative removal has always been paint-first: brush over what you want gone, then generate. The Selection Brush brings that same rhythm to Photoshop, and it is a better fit for the task than the geometric tools. Generative Fill wants a rough region with some context around it, not a precise outline — and painting produces exactly that.
Refining Selections From Other Tools
The Selection Brush is not only for starting selections. It is arguably better as a finishing tool.
Run Select Subject, or make a rough selection with the Marquee or Lasso. Then switch to the Selection Brush. The existing selection immediately switches to the magenta overlay display — same selection, clearer view — and you can paint to add where the automatic pass missed, or hold Alt/Option and paint to remove where it overreached.
Select Subject gets you 90 percent of the way in one click; painting the remaining 10 percent takes seconds. That combination is faster and more accurate than either approach alone.
Selections Carry Between Tools
Selections move freely between tools. Start with a rectangular Marquee, switch to the Selection Brush, and paint to add to it. Switch back to another tool and the display reverts to marching ants — the selection itself never changed, only how Photoshop draws it.
So there is no need to commit to one tool. Use whichever suits each part of the job, and switch to the Selection Brush whenever you want to see the selection properly or refine it by hand.
Worth Knowing
Painting instead of tracing removes the two worst parts of selection work: closing a path exactly where you started, and being accurate on the first attempt. Neither matters now.
The overlay tells you more than marching ants ever did, particularly on soft edges. And any selection can be handed to the Selection Brush for refinement, whatever tool made it.
Keep opacity at 100 unless you deliberately want a partial selection, match hardness to the edge you are working on, and learn the Alt/Option modifier — that one habit accounts for most of the speed gain.
Quick Reference: Keys, Menus and Settings
- Find the toolL, then Shift + L to cycle the Lasso group
- Set it upAdd mode, Opacity 100%, Hardness all the way up for a hard edge
- Brush size[ smaller, ] larger
- SubtractHold Alt/Option and paint; let go to add again
- Overlay colorTool options; magenta by default
- Add or remove with AIPaint, Generative Fill, type a prompt (rocks) or leave it empty to remove, Generate
- DeselectCmd/Ctrl + D
Free Downloads
Follow Along on the Same Photos
Get the two photos, the two layered PSDs and the 3-page PDF guide to paint the same selections and compare your results. Free with a PHLEARN account.
The Selection Brush Tool: Common Questions
Where is the Selection Brush Tool in Photoshop?
It is nested with the Lasso tools and shares the L shortcut. Press L, then Shift + L to cycle through the group until you reach the Selection Brush.
What Opacity should I use for the Selection Brush?
100%, so what you paint is fully selected. Anything less gives a partly selected area, and whatever you do to it is only partly applied.
How do I set the brush size and hardness?
Use the [ and ] keys to make the brush smaller or larger. In the video Hardness goes all the way up for a hard selection edge; lower it when you want a soft transition.
How do I remove areas from the selection?
Click Subtract in the options bar and paint, or simply hold Alt/Option while you paint. Let go to go back to Add.
Why don’t I see marching ants?
With the Selection Brush active, selections show as a semi-transparent overlay instead, magenta by default. If magenta is hard to see on your image, change the overlay color in the tool’s options.
Is a painted selection a normal selection?
Yes. Paint an area and choose Filter > Blur > Gaussian Blur: the blur applies only where you painted, and the marching ants show along the edge while the dialog is open.
How do I add something with Generative Fill?
Paint over the area where it should go, click Generative Fill, type what you want (rocks in the video) and click Generate. The selection is loaded into a layer mask on the new layer, so you can turn it off and on.
How do I remove an object with the Selection Brush?
Paint over it; a little wider than the object is fine. Click Generative Fill and Generate without typing anything. If you paint onto your subject, hold Alt/Option and paint that part back out first.
Can I fix a Select Subject selection with it?
Yes. Make the selection with Select Subject, the Rectangular Marquee or the Lasso, then switch to the Selection Brush. The same selection shows as the overlay; paint to add what was missed and hold Alt/Option to remove the rest.
Are the sample files free?
Yes, with a free PHLEARN account. You get 2 sample images, 2 sample PSDs and 1 PDF guide: the two photos, the finished documents and a 3-page walkthrough.
Master Photoshop, Lightroom and Photography
Join PHLEARN PRO for $12.99 a month or $99.99 a year. Cancel anytime, with a 100% money-back guarantee.





