
Download Assets
This tutorial includes 1 sample image, 1 sample PSD and 1 PDF guide. Downloads are free with a PHLEARN account.
- Download the sample images and PSDs from every free tutorial on PHLEARN
- New free tutorials published every week
- One free account — sign up once, then download anything
Free PDF Guide · 3 Pages
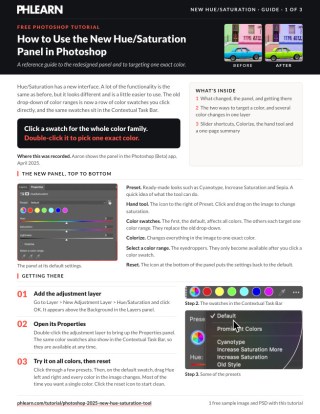
This Tutorial as a Step-by-Step PDF
Every step from the video in order: Layer > New Adjustment Layer > Hue/Saturation, the presets and reset, clicking a color swatch, double-clicking it for the eyedropper, Shift and Alt/Option on the slider arrows, double-click to zero, the pink, blue and green changes, Colorize, and the hand tool. Keep it next to your keyboard.
description
Hue/Saturation in Photoshop has an on-image control now, which changes how you pick a color range. In this tutorial we’ll show you its user-friendly interface and powerful capabilities, demonstrating how to precisely select and modify the colors within your images. Learn the best techniques to fine-tune hues, enhance color vibrancy, and more!
Enjoying This Free Tutorial?
We publish a new free tutorial every week, each one with sample images and PSDs you can download and follow along with. Sign up and they land straight in your inbox, along with early word on sales, events and subscriber-only offers.


How to Use the New Hue/Saturation Panel in Photoshop
Hue/Saturation has been redesigned. The functionality is broadly what it was, but the interface is clearer — the old dropdown of color ranges is now a row of color swatches you click directly, and the panel is available from the Contextual Task Bar as well as the Properties panel.
The important part is not the visual refresh. It is that there are two different ways to target a color, they behave quite differently, and the more useful one is not obvious.
Getting There
Go to Layer > New Adjustment Layer > Hue/Saturation. Double-click the layer thumbnail to open Properties. The controls also appear in the Contextual Task Bar while the layer is selected.
At the top are presets — Cyanotype, Increased Saturation, Sepia and others. They are worth clicking through once to see the range, and they make reasonable starting points. The reset icon at the bottom of the panel returns everything to default, and you will use it often while experimenting.
The Two Ways to Target a Color
Single Click: the Whole Color Family
Click a swatch — Reds, say — and adjustments apply to everything containing red. On a street scene that means a pink wall, a red door, and warm tones in the pavement all move together.
Sometimes that is what you want. Often it is not, because “reds” is a wide band and you meant one specific pink.
Double Click: One Specific Color
This is the better method. Double-click a swatch and the color picker opens with an eyedropper. Click the exact color in your image, and the range is redefined around it.
Now adjustments affect that pink specifically, leaving the red door alone. The swatch itself updates to show the before and after color, so you can see at a glance what each range is doing.
Same result via a second route: click a swatch once, then use the eyedropper tool in the panel and click your image. Identical outcome — use whichever you remember.
Worth knowing that the eyedropper only becomes available after selecting a color range. From the default all-colors state it is not offered, which is a genuine snag for anyone who has not been told.

Slider Shortcuts Worth Learning
Hover over the words Hue, Saturation or Lightness and the cursor becomes a scrubby slider you can drag.
Hold Shift while dragging to move faster. Hold Alt or Option to move slower — which is what you want for fine color work, where a few degrees of hue matters.
Double-click the label to reset that slider to zero. Or type values directly; 0, 0, 0 is neutral.
These are small, but on a panel you use constantly they add up.
Changing Several Colors in One Layer
Each of the six ranges is stored independently, so a single adjustment layer can retarget multiple colors.
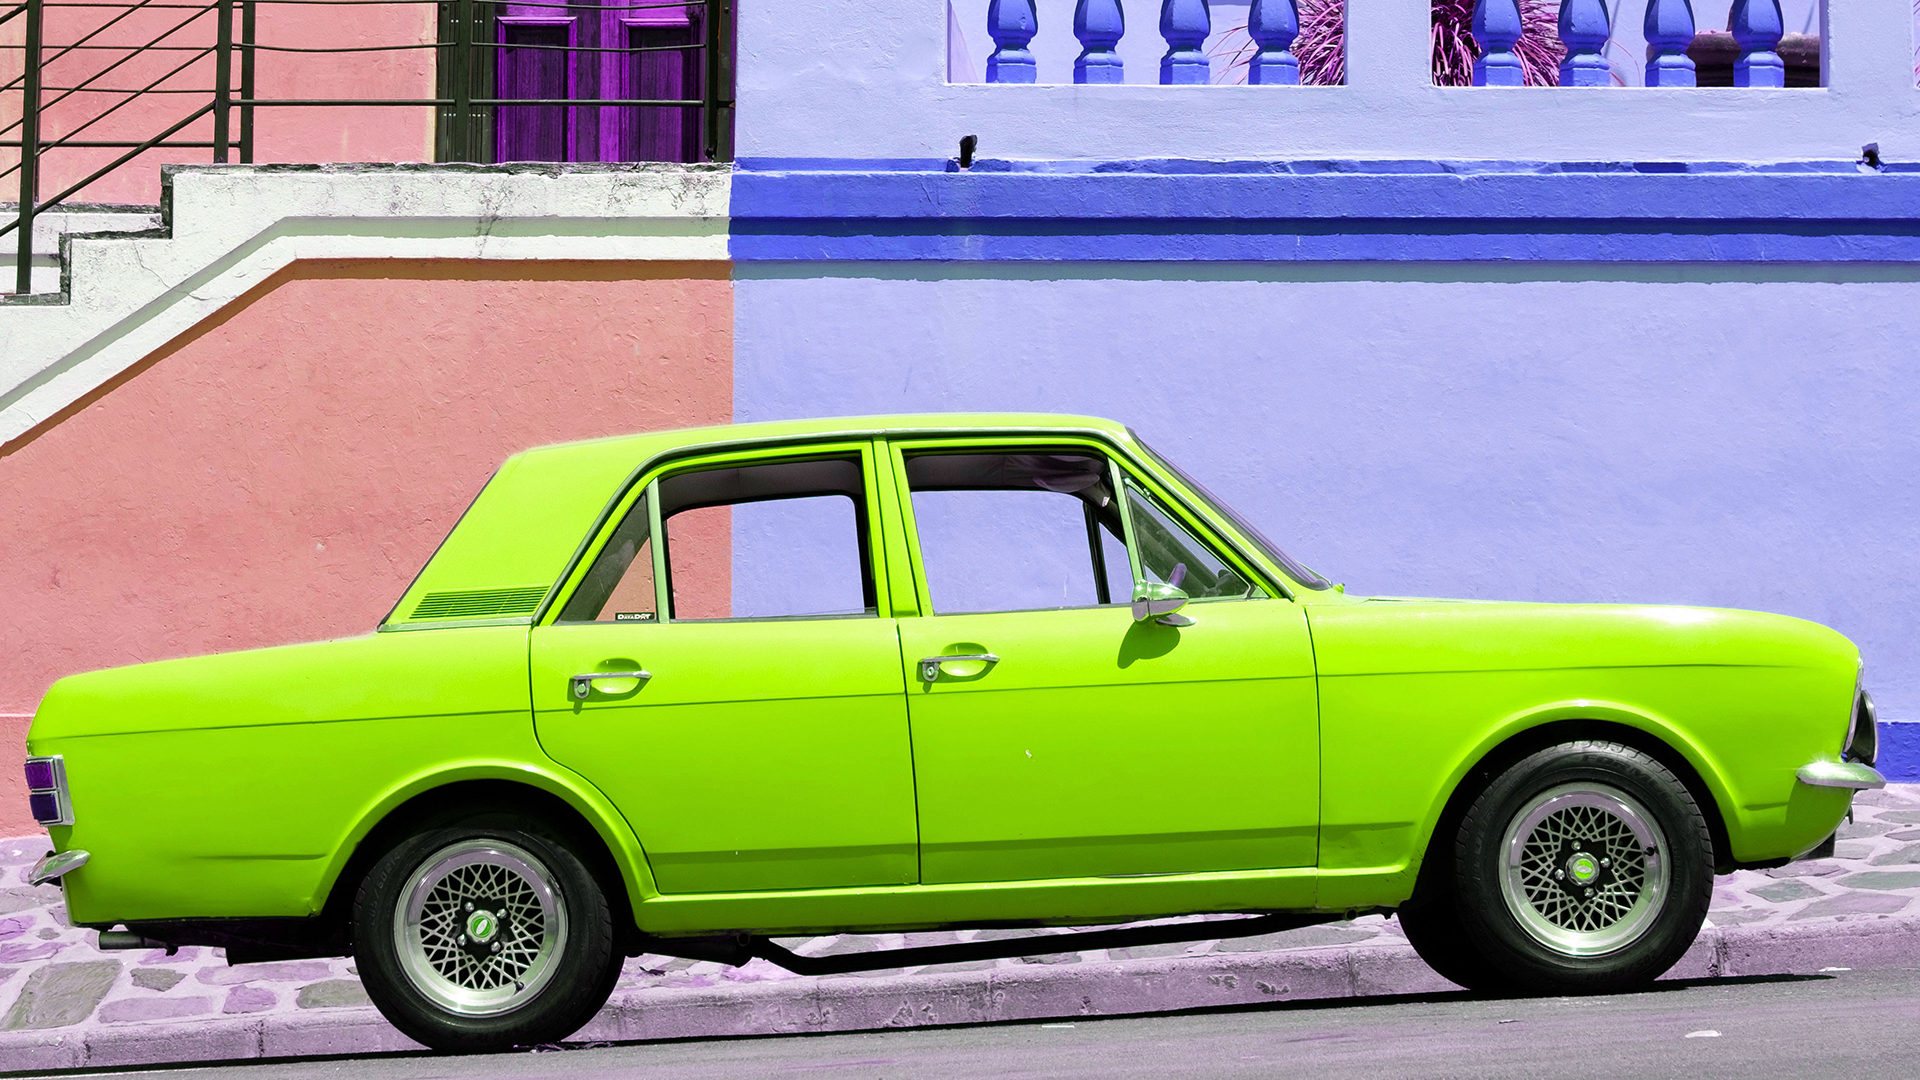
Double-click the red swatch, eyedropper the pink wall, shift its hue toward purple. Double-click another swatch, eyedropper the blue car, move it to green. Double-click a third, eyedropper the foliage, take it toward blue.
Three separate color changes, one layer, all still editable. Toggle the layer to see the whole set at once.

Colorize, and Why to Be Careful With It
The Colorize checkbox forces the entire image to a single hue, turning it into a monochrome tint you steer with the hue and saturation sliders.
It does what it says, but it flattens every color relationship in the frame and rarely looks natural applied globally. If you use it, mask it — colorizing one object while the rest of the image keeps its own colors.
Even then, double-clicking a swatch and eyedropping that object is usually the better route, because it changes the color while preserving the object’s own variation in saturation and brightness. Colorize overrides both.
The On-Image Hand Tool
The hand icon at the top lets you click and drag directly on the image to adjust saturation.
It works, with two real limitations. It only affects saturation — dragging vertically does nothing, so hue still has to be set in the panel. And it targets the whole color family rather than the specific color you clicked, so clicking a pink adjusts all reds.
That makes it useful for quick saturation tweaks and not much else. If it eventually combined the eyedropper’s precision with vertical dragging for hue, it would be the fastest way to work — but as it stands, the double-click-and-eyedrop method gives you more control.
What to Take Away
Double-click a color swatch and eyedrop your image — that is the technique. Single-clicking gets you the broad family, which is usually broader than you meant.
Alt/Option-drag the slider labels for fine adjustments, double-click a label to reset it. Build several color changes into one adjustment layer rather than stacking layers. Avoid Colorize unless masked, and treat the hand tool as a saturation shortcut rather than the main way in.
Quick Reference: Keys, Menus and Settings
- Open itLayer > New Adjustment Layer > Hue/Saturation; double-click the layer for Properties; also in the contextual taskbar
- PresetsTop dropdown (Cyanotype, Increase Saturation, Sepia…); the reset icon at the bottom restores defaults
- All colorsThe default swatch; Hue shifts everything
- One color rangeClick a swatch (Reds, Yellows…)
- One exact colorDouble-click a swatch and eyedrop the color in the photo, or click the swatch then the eyedropper icon
- Slider tricksDrag the arrows next to Hue, Saturation, Lightness; Shift faster, Alt/Option slower; double-click the word or the knob to zero it
- Several colorsRepeat per swatch; each adjusted swatch shows before and after
- ColorizeOne hue over the whole layer; use with a mask
- Hand toolDrag left or right on the photo to change saturation of that color range
No AI, no generative credits.
Free Downloads
Follow Along on the Same Photo
Get the car photo from the video, the PSD with the Hue/Saturation layer and its three targeted colors, and the PDF guide. Free with a PHLEARN account.
Hue/Saturation Panel: Common Questions
What’s new in the Hue/Saturation panel?
Color swatches instead of a dropdown, presets at the top, before-and-after dots on each adjusted color, a hand tool, and a spot in the contextual taskbar. The sliders do what they always did.
How do I change only one color?
Click its swatch and move the sliders. Reds changes everything with red in it, including parts of the door and ground in the sample photo.
How do I target an exact shade, not the whole range?
Double-click the swatch and eyedrop the color in the photo, or click the swatch and then the eyedropper icon. The swatch becomes that color and the sliders affect only it.
Can I change several colors in one layer?
Yes. The video turns pinks purple, the blue car green and the greens blue in one adjustment layer. Each adjusted swatch shows a before and after.
Any slider shortcuts?
Drag the arrows beside the slider names: Shift moves faster, Alt/Option slower. Double-click the name or the knob to reset to zero.
What does Colorize do?
It paints one hue over the whole layer at one saturation. Aaron rarely uses it because it rarely looks real; targeting a color with the eyedropper usually works better, and a mask is essential if you do.
What does the hand tool do?
Drag left or right on the photo to change saturation of the color under the cursor. It only does saturation and only by range, which Aaron would like to see improved.
Are the sample files free?
Yes, with a free PHLEARN account. You get the car photo, the PSD with the adjustment layer and the PDF guide.
Master Photoshop, Lightroom and Photography
Join PHLEARN PRO for $12.99 a month or $99.99 a year. Cancel anytime, with a 100% money-back guarantee.





