

Download Assets
This tutorial includes 1 sample image and 1 PDF guide. Downloads are free with a PHLEARN account.
- Download the sample images and PSDs from every free tutorial on PHLEARN
- New free tutorials published every week
- One free account — sign up once, then download anything
Free PDF Guide · 3 Pages
This Tutorial as a Step-by-Step PDF
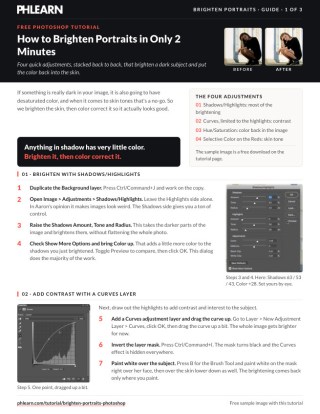
The 3-page guide walks through all four stacked adjustments: Shadows/Highlights on a duplicate layer with Amount, Tone, Radius and Color raised, a Curves layer with an inverted mask painted white, Blend If on the dark Underlying Layer slider, a small Hue/Saturation lift and Selective Color on the Reds. Keep it next to your keyboard.
description
A dark portrait almost always has a second problem underneath the exposure: shadows lose color along with brightness, so the skin reads flat and sallow. This tutorial fixes both in a couple of minutes — Shadows/Highlights does the bulk of the brightening, a Curves layer restricted with Blend If adds contrast to the highlights only, and a saturation lift plus a Selective Color pass on the Reds puts believable skin tone back.
Enjoying This Free Tutorial?
We publish a new free tutorial every week, each one with sample images and PSDs you can download and follow along with. Sign up and they land straight in your inbox, along with early word on sales, events and subscriber-only offers.
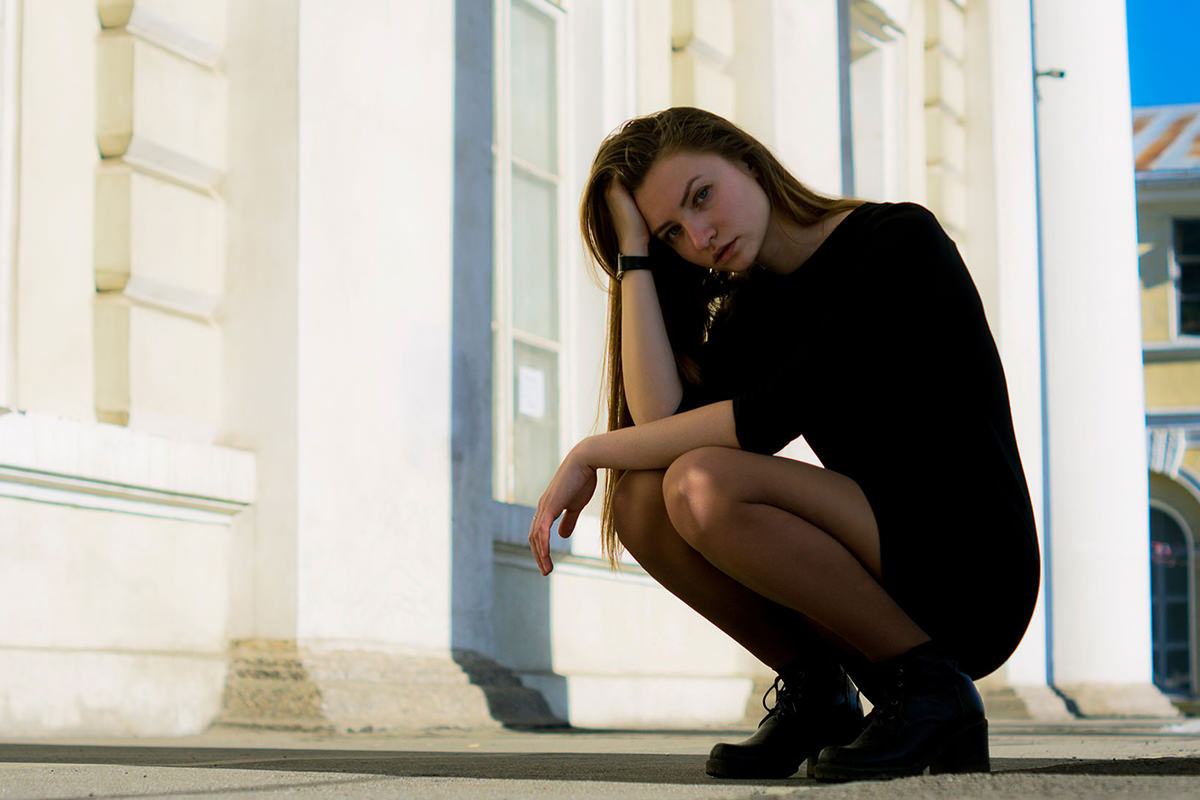
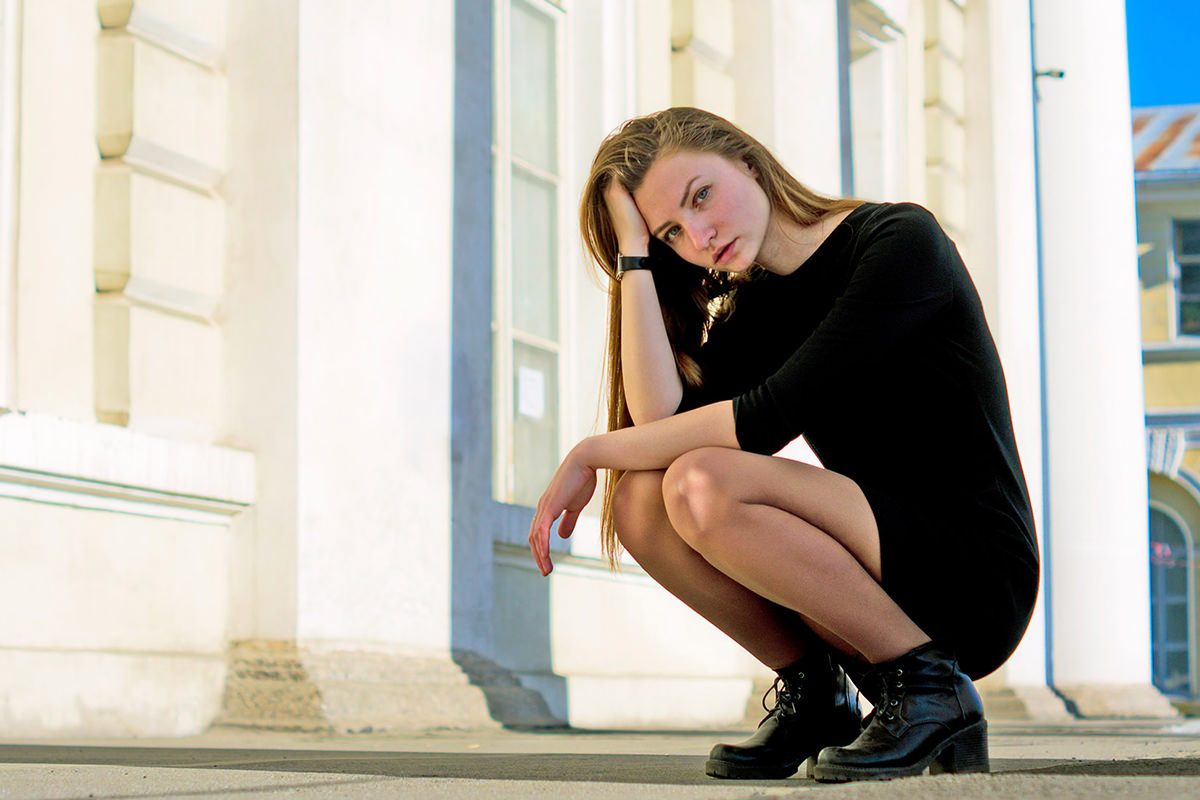
How to Brighten Portraits in Only 2 Minutes in Photoshop
A dark portrait usually has a second problem hiding underneath the exposure issue: desaturated, lifeless skin tones, since anything sitting in shadow naturally loses color along with brightness. This tutorial stacks a handful of fast, targeted techniques — Shadows/Highlights, a highlights-only Curves boost, a saturation lift, and a Selective Color pass on skin — to fix both problems together in only a couple of minutes.
Brightening Shadows with Shadows/Highlights
Duplicate the background layer, then go to Image > Adjustments > Shadows/Highlights. The Highlights side of this dialog tends to produce a slightly artificial look, but the Shadows controls offer a lot of genuinely useful range: raising the Amount, Tone, and Radius values brightens the darker parts of the image without flattening the whole photo. This single adjustment handles the majority of the overall brightening work.
Adding Color Back with the Hidden Options
Clicking “Show More Options” in the Shadows/Highlights dialog reveals a Color slider as well, and raising that adds back some of the color saturation that a straight brightness boost would otherwise strip out of the shadows.
Adding Contrast with a Highlights-Only Curves Layer
To add a bit more visual interest to the subject, add a Curves adjustment layer (Layer > New Adjustment Layer > Curves) and drag the curve upward to brighten it. Invert the layer mask so the effect starts hidden, then paint white with a brush directly over the subject’s face and any other key highlight areas.
Restricting the Curves Boost to Highlights Only
Painting white on the mask brightens everything underneath it equally, including shadow detail that doesn’t need it. Double-click the Curves adjustment layer to open its blending options, then hold Alt/Option, click the dark slider at the left end of Underlying Layer and drag it to the right. The slider splits in two and the layer fades out of the darker tones (in the video it reads 0 / 217). This restricts the adjustment to affect only the brighter tones already present in that area, so the darker parts of the same region stay unaffected while the highlights get an extra lift.
Restoring Saturation with a Hue/Saturation Layer
Since brightening naturally washes color out of the shadows, add a Hue/Saturation adjustment layer (Layer > New Adjustment Layer > Hue/Saturation) and raise the overall Saturation slightly to bring some of that color back across the whole image.
Fine-Tuning Skin Tone with Selective Color
A general saturation boost isn’t precise enough for skin, so finish with a Selective Color adjustment layer (Layer > New Adjustment Layer > Selective Color) targeted specifically at the Reds channel.
Dialing Out the Yellow Cast
Reducing Yellow while increasing Magenta and Cyan slightly on the Reds channel pulls out the sallow, overly yellow cast that brightened skin often develops, leaving a more natural, balanced skin tone.
Why Shadows and Color Need Separate Fixes
Anything sitting in shadow in the original photo — including a portrait subject shot in low light or recovered from an underexposed photo — loses color along with brightness, so brightening alone always needs to be paired with a color correction pass afterward. Working through Shadows/Highlights for the broad brightness fix, a highlights-only Curves layer for targeted contrast, a general saturation boost, and finally a skin-specific Selective Color pass keeps each fix focused on exactly the problem it’s meant to solve, rather than trying to force one adjustment to do everything.
Why This Technique Works
Shadows/Highlights is uniquely good at recovering shadow detail without the harsh, flattened look a straight Levels or Curves brightening pass tends to produce, which is why it does the bulk of the work here. Restricting the Curves boost to just the underlying highlights, rather than painting brightness onto the whole face evenly, keeps the added contrast from flattening the image right back out again. And because brightness and color saturation are physically linked in a photo (darker areas simply carry less visible color information), any brightening technique needs a saturation and skin-tone correction step to follow it, or the result ends up brighter but visibly washed out.
Final Thoughts
Stacking these four adjustments together, each targeted at a specific part of the problem, is what makes it possible to fix both exposure and color in a couple of minutes rather than fighting with a single all-purpose slider. The same sequence works on any portrait that’s come out darker than intended, whether from a difficult lighting situation or a camera exposure mistake.
For portrait retouching taught in order, our PRO Portraits Learning Path is where to go next.
Quick Reference: Keys, Menus and Settings
- Duplicate the layerCmd/Ctrl + J
- Brighten shadowsImage > Adjustments > Shadows/Highlights: Shadows Amount, Tone and Radius up; Show More Options, Color up
- Add contrastLayer > New Adjustment Layer > Curves, curve up; Cmd/Ctrl + I inverts the mask; B, paint white over the face
- Highlights onlyDouble-click the Curves layer; Alt/Option-drag the dark Underlying Layer slider to the right
- Restore colorLayer > New Adjustment Layer > Hue/Saturation, Saturation up a little
- Fix skin toneSelective Color, Reds: less Yellow, a little more Magenta and Cyan
No AI, no generative credits.
Free Downloads
Follow Along on the Same Photo
Get the dark portrait used in the video and the 3-page PDF guide, so you can brighten the same photo step by step. Free with a PHLEARN account.
Brightening Portraits: Common Questions
Why does my portrait look washed out after I brighten it?
Anything in shadow carries very little color, so brightening it shows how desaturated it is. Always follow the brightening with a color pass: a little Saturation, then Selective Color on the skin.
Where is Shadows/Highlights in Photoshop?
Duplicate the background layer, then go to Image > Adjustments > Shadows/Highlights. Raise the Shadows Amount, Tone and Radius to brighten the darker parts of the image.
Should I use the Highlights sliders too?
Aaron leaves them alone. In his opinion they make images look weird, while the Shadows side gives you a ton of control.
Where is the Color slider in Shadows/Highlights?
Check Show More Options at the bottom of the dialog. Bringing Color up adds a little more color back into the shadows you just brightened.
How do I brighten just the face with Curves?
Add a Curves adjustment layer and drag the curve up a bit. Invert the layer mask with Cmd/Ctrl + I so the effect is hidden, then paint white with the Brush over the face and skin.
How do I limit the Curves boost to the highlights?
Double-click the Curves layer to open its blending options. Hold Alt/Option, click the dark slider at the left of Underlying Layer and drag it to the right. The slider splits and the darker tones are ignored.
How much saturation should I add?
Just a little. Add a Hue/Saturation adjustment layer from Layer > New Adjustment Layer and nudge Saturation up to restore color across the whole image.
How do I take the yellow out of brightened skin?
Add a Selective Color adjustment layer and choose Reds. Give it a little less Yellow, a little more Magenta and a little Cyan.
Are the sample files free?
Yes, with a free PHLEARN account. You get 1 sample image and 1 PDF guide: the dark portrait from the video and a 3-page walkthrough of the four adjustments.
Master Photoshop, Lightroom and Photography
Join PHLEARN PRO for $12.99 a month or $99.99 a year. Cancel anytime, with a 100% money-back guarantee.





