How to Create Realistic Mockups in Photoshop
-
Add to
favorites
-
DifficultyMedium
-
Length2 hours
-
Videos6
-
Software
Description
There’s nothing quite like seeing a new product or design in a real-world environment, whether it be on packaging, a t-shirt, or plastered across a giant billboard. But getting them there can be expensive. That’s where product mockups can help!
Join us as we show you how to take text, logos, and graphics and integrate them into images using the magic of Photoshop. Learn how to wrap 2D objects around product packaging, integrate surface textures and lighting into a design, and even create a realistic digital mockup of a website on an iPad screen. By the end of this course, you’ll know how to take any design and place it into a photograph with realistic lighting, texture, and perspective.
THIS COURSE INCLUDES
- 10 Sample Images
- 5 Sample PSDs
Share
Course Downloads
Photorealistic Product Mockups
Product Mockups in Photoshop
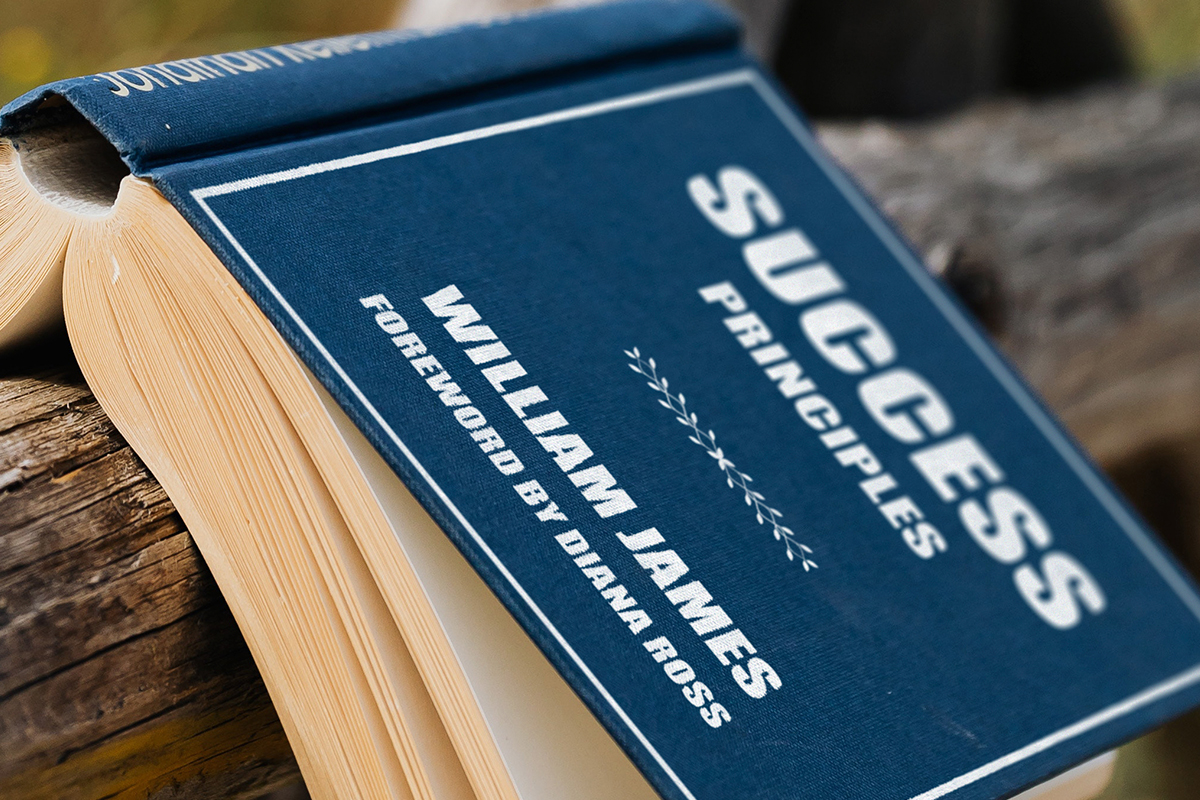
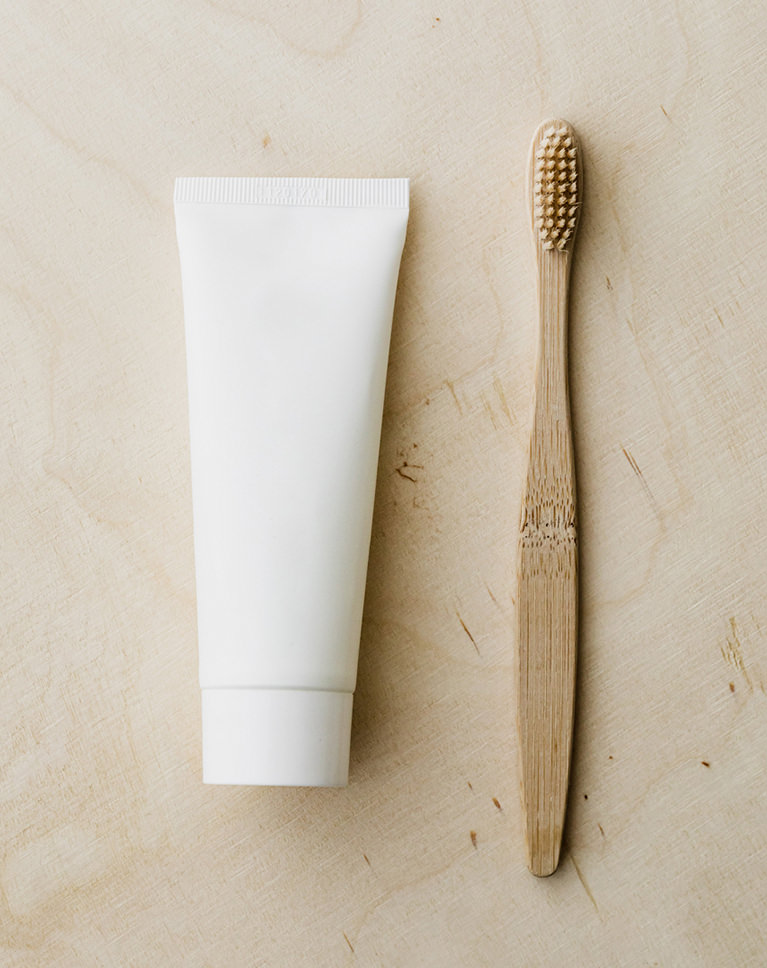
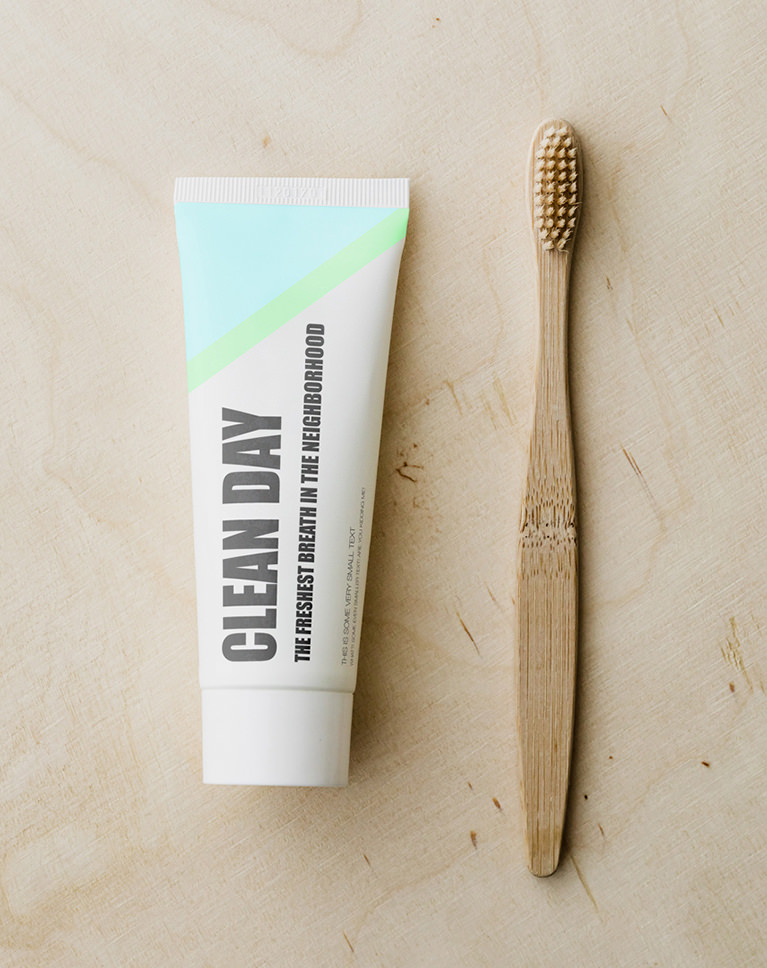
Whether you’re starting your own business or you’re doing work for clients, being able to create product mockups is a valuable skill that can help show what the finished product or concept looks like in the real-world. From book covers, to digital displays, to high-end packaging, we show you how to integrate text, logos, and graphics into a variety of photographed objects.
2D Graphics into 3D Environments
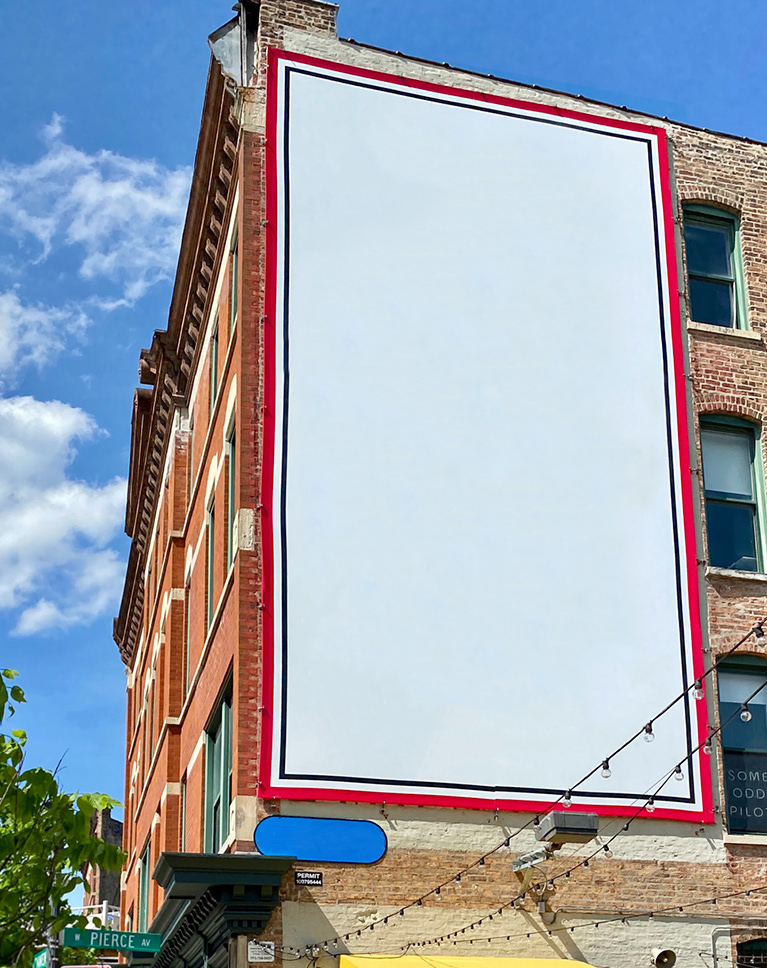
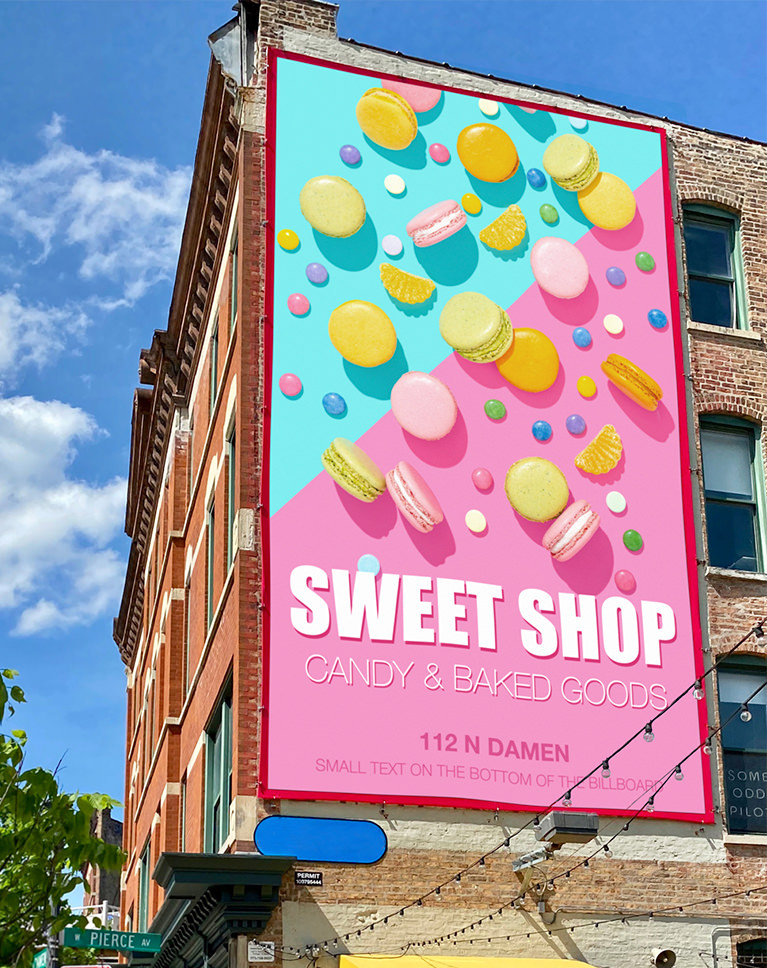
The biggest challenge of creating realistic mockups is integrating 2D elements into a photographed 3D environment. Learn how to warp, transform, and scale objects so that they fit seamlessly into a scene.
Lighting, Texture & Perspective
The same things that make a great a composite image also make a great product mockup. We show you how to integrate the natural lighting and reflections in a scene into a design, pull textures from surfaces and apply them to graphics, and place elements into perfect perspective.
Digital Mockups
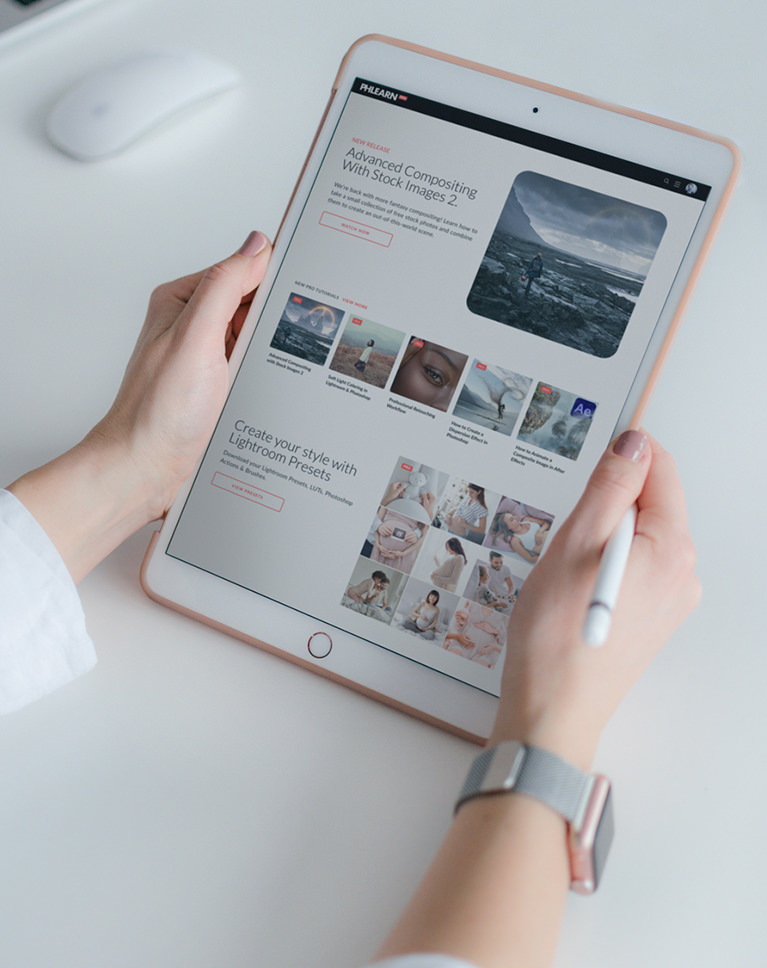
Being able to show a new website or app in the hands of a user is a powerful and effective way to bring your designs to life. Learn how to create ultrarealistic digital mockups, placing a graphic, website, or design into any photographed digital display.
Real-Time Revisions
Creating a great product mockup is one thing, but what if we told you that you could make real-time edits after a design is placed into a scene? Well, it’s possible with the help of Smart Objects! Learn a flexible, non-destructive workflow that uses Smart Objects to make edits and revisions a breeze.
Highlights & Shadows
We show you how to take the highlights, shadows, and reflections in an image, select them, and then apply them to any added graphical elements. This creates an amazing, photorealistic effect that makes it look as if your design was photographed in the same environment.
Print, Packaging & Digital Displays
Integrate Text, Shapes & Images
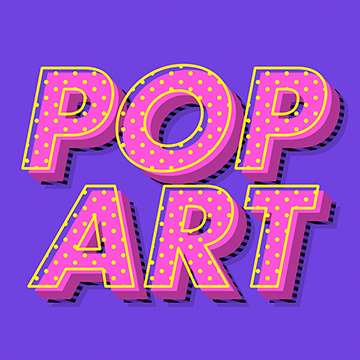
Mockups come in a lot of different varieties. Sometimes you just want to see what some text looks like on package. Other times you might want to try a full logo. And then there are the times you want to see text, shapes, colors, images, and logos all integrated into a single photo. We’ve got all the bases covered.
Sample PSDs Included
Not only do we walk you through multiple examples, we include the completed PSD files to help you understand how complex projects like these come together and are organized. Start an image from scratch and then compare yours to the final PSD to check your work!
Materials & Surfaces
We show you how to add graphics to reflective bottles, digital displays, fabric book covers, and more! By the end of this course, you’ll feel comfortable adding a design to almost any material in a photo.

Aaron Nace
PHLEARN Founder – Class Instructor
Aaron Nace is a photographer, Photoshop artist and founder of PHLEARN. He is the #1 Photoshop instructor in the world with millions of YouTube subscribers.
Karl Taylor
Photographer & Teacher
Karl Taylor is a professional photographer with over 25 years experience and he is commissioned by leading global companies for his precise attention to detail and his exquisite control of light. Recognized as an expert in the industry Karl is a global ambassador for Hasselblad Camera Company and Broncolor Lighting.
Karl’s work covers advertising, beauty and fashion photography for commercial clients. Having started his career in photojournalism he is also comfortable and actively enjoys shooting across a range of other genres. Karl’s ethos is that ‘variety is the spice of life’ and that ‘the visual philosophies for creating effective images are universal’.
Reviews
New & Popular Tutorials
Training Site in
the World
Tutorials!
Ratings
and Counting
Subscribers












Very good examples, thanks.
I knew you had this lesson, and I would do it when I needed it. Well That day has arrived. I had to change out a logo off a hat they were wearing and put on a different logo. Place Linked really made things go so much easier and all the other how tos. Thanks, you are the mostest!
Sou brasileiro e não falo inglês. Por isso, fica difícil te acompanhar porque vc fala muito rápido. Não teria um programa de tradução simultânea para você me indicar?
As always Aaron’s commitment to doing a thorough job comes through. One of the more interesting things about Photoshop, well, also aggravating to some, is the concept that there’s usually no one way to do something. Consequently many of the techniques in this tutorial can be applied to other work.
Well, you did it again, Aaron: good teaching, very useful content, can be applied to many other challenges too. Many thanks. Be safe.
Arron answers the questions I would be asking. I have been doing product images for 30 years and I always learn something new! It is very inspiring to try out new stuff…..
Great video, BUT please slow down. You talk very fast and zip through the tutorial at a warp speed. I try to follow along and replicate your work, but it is almost impossible. Also, you don’t explain the “why’s” of what you are doing. For example, when you make your target psd, you size it to +/- 2500px — WHY? What is the reason. The tutorial would definitely be a FIVE STAR if you put yourself in your students’ shoes.
Awesome purpose specific tutorial. Its helpful to get to see some of these techniques as they come up with the requirements of the task at hand as opposed to just watching something on how a certain feature works. Love learning this way and it helps me be more creative when Im trying to problem solve a challenge in photoshop.
Fantastic Tutorial!
Another winning class. Aaron, always enjoy your tutorials, in addition to always learning a lot! There really is no better instructor out there for photoshop.
Wow. I thought I was pretty good at Photoshop, but after learning from you I realize your skills are in a whole other league. I love how you always remember to say the shortcut you’re using. Amazing teacher and amazing tutorial. I’m going to use this to create some mockups of photographs in frames on a living room wall.
Shots game, take a shot every time Aaron in some tutorial says ‘I’m not a graphic designer’ 😀 Jokes aside this is such an amazing tutorial, really so so useful, you won’t find many on the internet about creating mockups and this one covers so much, as a graphic designer and aspiring photographer/editor this is beyond 🙂 Thank you Phlearn, and thank you Aaron! Great job. Recommend.
Thank you, Aaron. Another awesome tutorial.
Thanks for all the practical contents and courses. And the clear and straightforward explanation help any level we are at.
Very nice ! I’m an advanced user of Photoshop but i continue to learn in every lesson from you Aaron ! Thanks for this another quality course !
This tutorial enables me to do mockups of my items for sale and I’m so happy to have found it, thank you! I’ve watched so many of Aaron’s tutorials he feels like an old friend.
I understood what a “place linked” file was conceptually, however seeing it used with the transform and editing of techniques in this tutorial really helped me get a much better understanding of their power and utility.
Really awesome techniques, Aaron! I was a graphic designer in advertising for 35 years and learned a few invaluable tricks along the way. Thanks a ton!
I learned a lot! I use this in my work in farm food package design but your tutorial brought a refinement that I will use from now on. Since I am designing several products on the same packaging, these mockups are huge time savers—even if they take a bit of work initially. Thank you!
This is amazing. I have never used “Place Linked”. Super cool! Thank you for this amazing tutorial!