Description
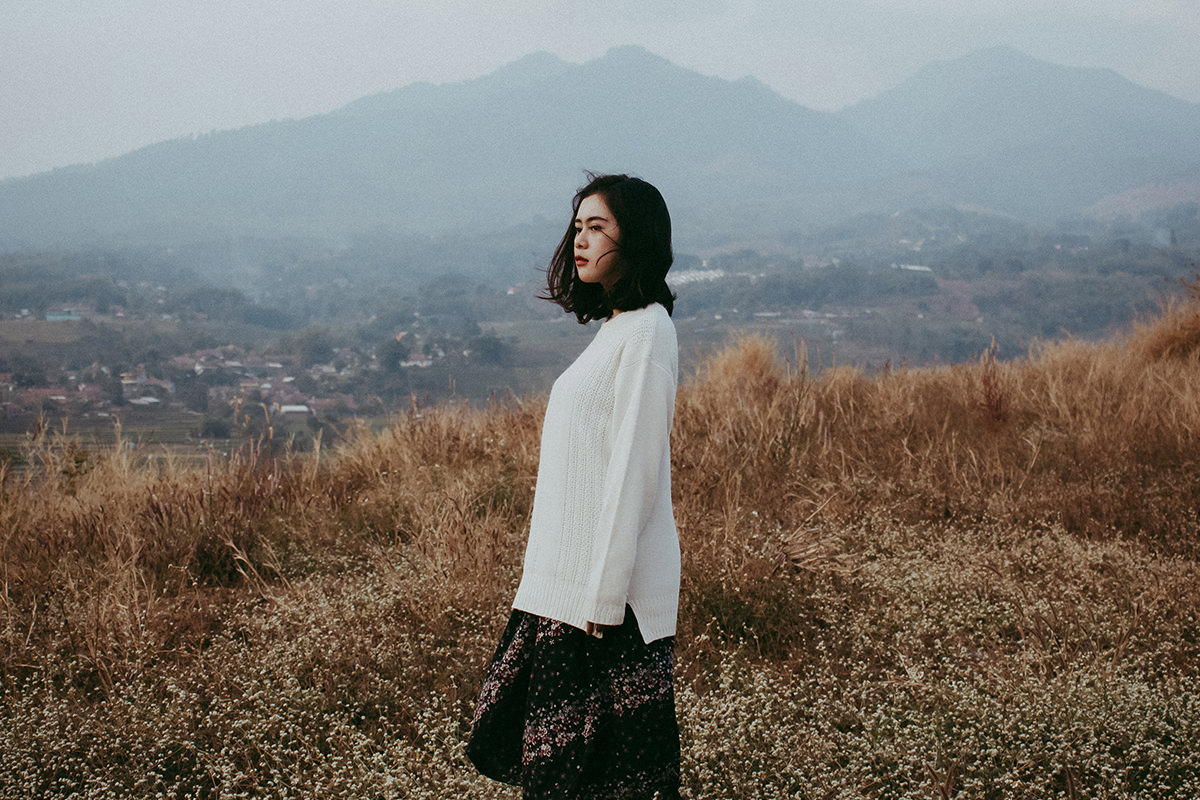
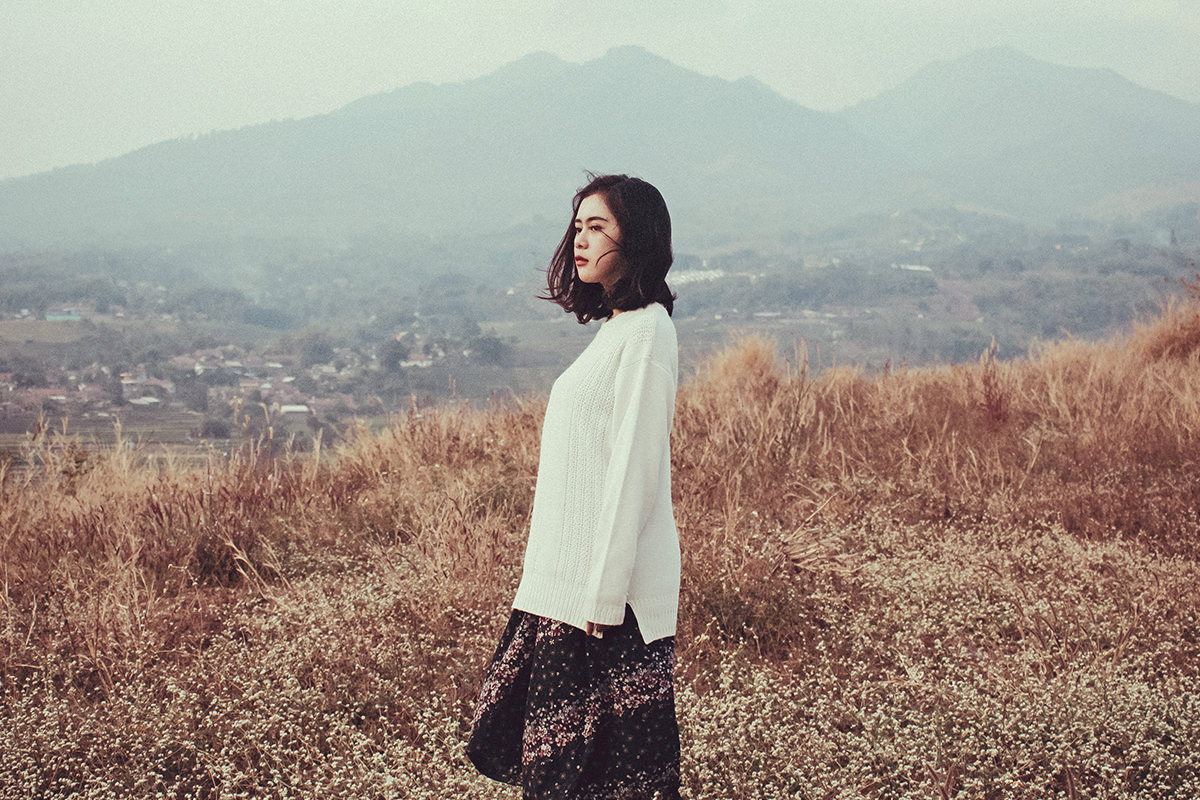
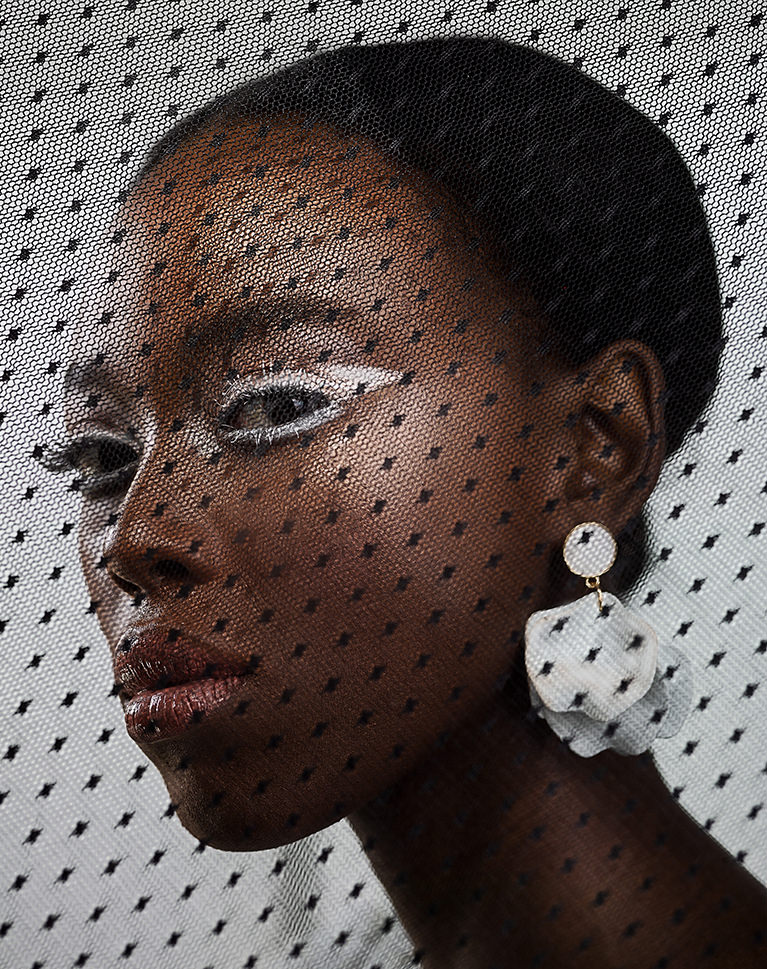
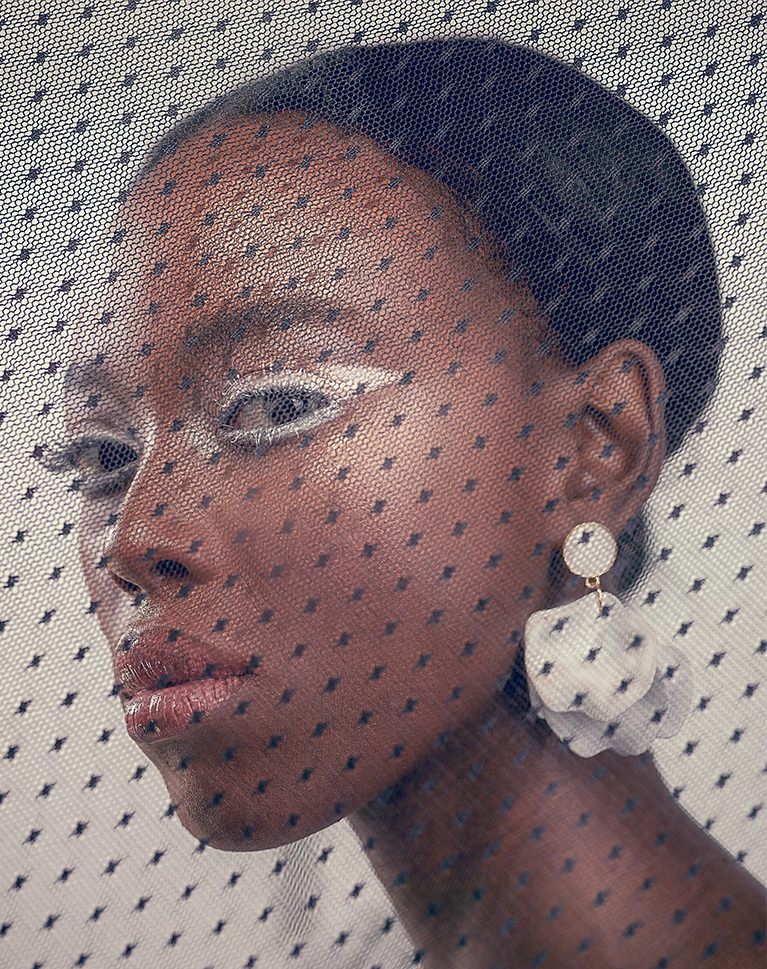
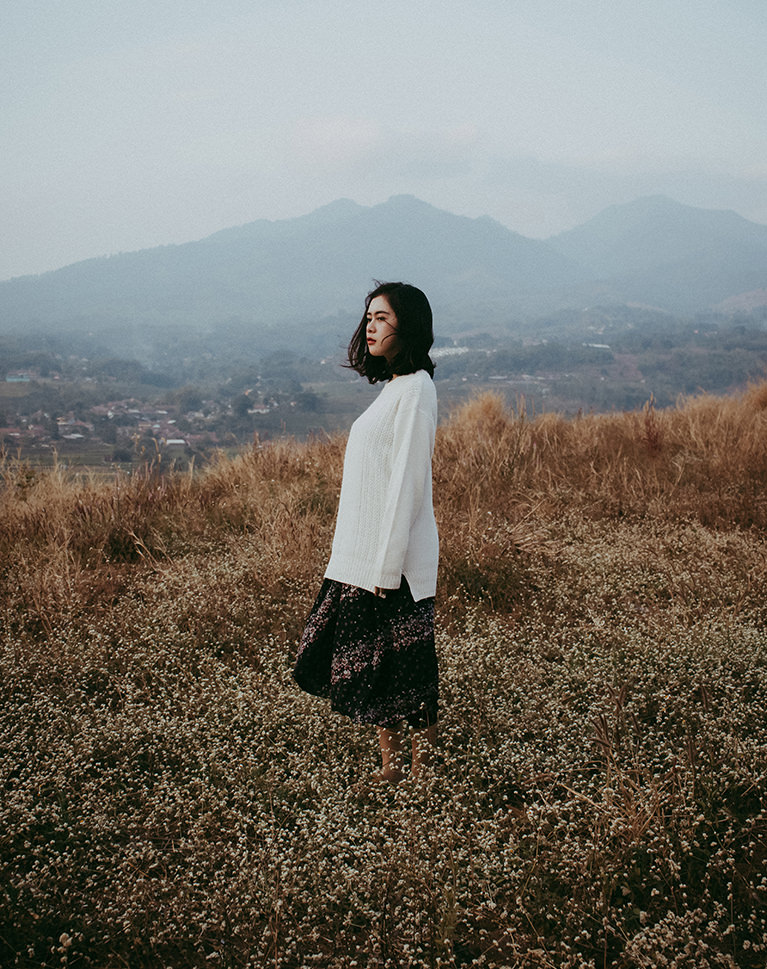
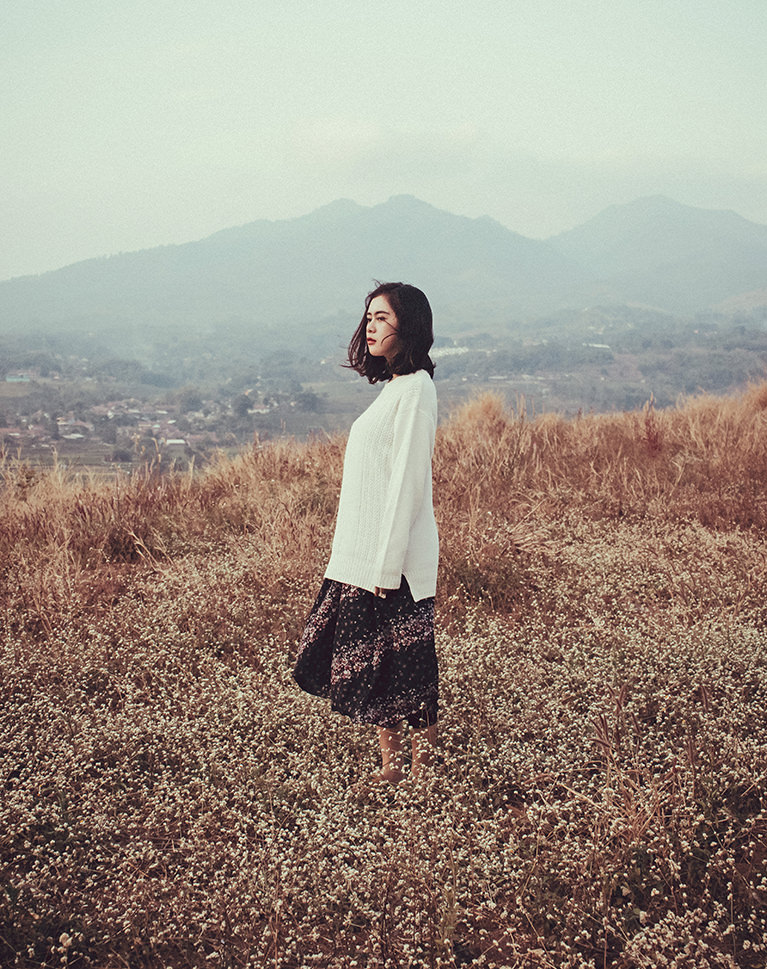
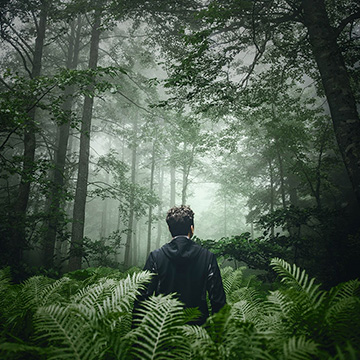
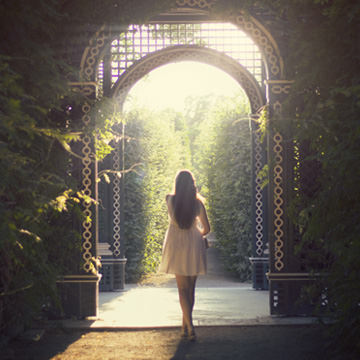
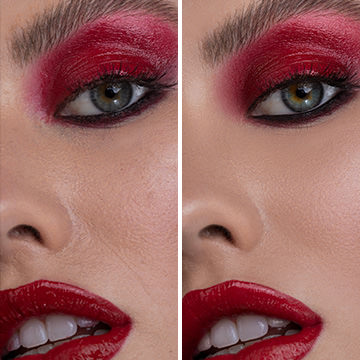
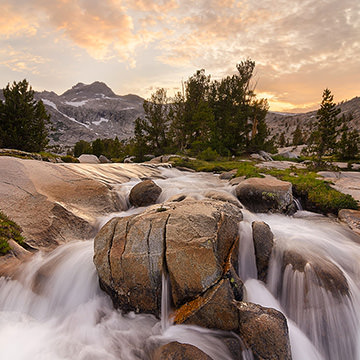
Give your photos a timeless feel with soft and subtle coloring in Lightroom and Photoshop. Learn how to lift shadows to recover detail, reduce contrast for a softer look, and add subtle color toning to the highlights and shadows with our included presets and LUTs.
And best of all, we show you how to do everything in both Lightroom and Photoshop! So no matter what program you call home, you’ll be able to create soft light looks in an instant.
THIS COURSE INCLUDES
- 4 Sample Images
- 2 Lightroom Presets
- 5 LUTs (from our Film Looks Premium LUT Pack)
watch next
Share
Course Downloads
Coloring in Lightroom & Photoshop
Soft Light Coloring in Lightroom & Photoshop
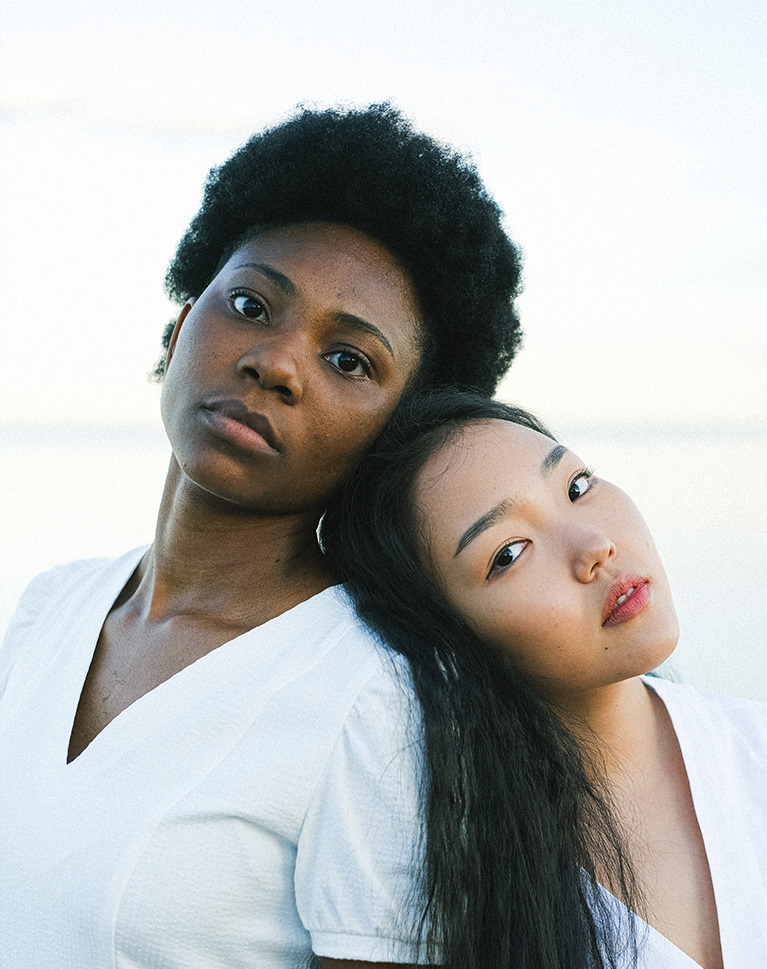
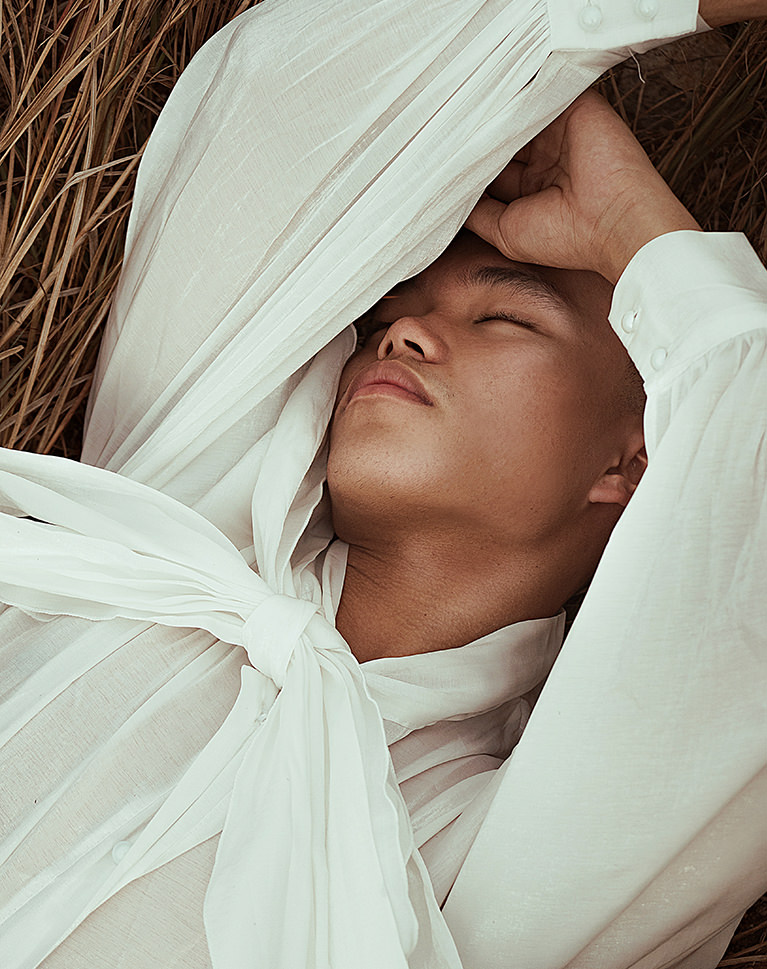
Join as as we show you how to create 4 soft light looks! You’ll learn how to use powerful photo editing tools like the Tone Curve in Lightroom, Adjustment Layers in Photoshop, and even take advantage of our growing library of Lightroom Presets and custom LUTs to create your own beautiful styles.
Lightroom Presets & LUTs Included
Whether you’re looking for some inspiration, want to save some time, or just want to preserve a look that you’ve created, Presets and LUTs are amazing tools for any photographer and photo editor. Learn how to use the included custom LUTs and Lightroom Presets to quickly add beautiful coloring to any photograph!
Create Beautiful Looks from Scratch
Coloring is one of the most creative processes in a photo editing workflow. Follow along as we show you how to take any photo and build your own beautiful looks from scratch using a combination of professional tools and techniques in both Lightroom and Photoshop.
Reduce Contrast
Contrast can be great for enhancing details and adding drama to an image. But that’s not what we’re going for with these soft and subtle styles. Reducing contrast can give a photo a softer, more intimate feel. Learn how to control the highlights, shadows, and overall contrast in a photo to create the look of soft film.
Brighten Images, Lift Shadows
Most images can benefit from some level of general brightening or just lifting up the shadows. We show you how to brighten any photo in Lightroom and Photoshop using precise, non-destructive tools. Learn how to target just the shadows to recover important details that were lost, or brighten a specific part of an image to draw more attention to the things that matter most.
Subtle Color Toning
Sometimes you want coloring to be bold and vibrant. And sometimes you want just a hint of color to help tell a softer, quieter story. Learn how to add coloring to the highlights, midtones, and shadows of an image, and then dial it back for the perfect balance of style and subtlety.
Soft & Subtle Looks
Split Toning
Split toning is a great way to give any image stunning color. Learn how to independently color the highlights and shadows of a photo using Adjustment Layers and Blending Options in Photoshop, and the Split Toning tools in Lightroom.
Tone Curves in Lightroom
Learn all about the most powerful coloring tool in Lightroom Classic: the Tone Curve! From targeting the highlights and shadows of a photo to targeting specific colors and color ranges, this amazing feature can help you dial in the perfect look with professional results.
Adjustment Layers in Photoshop
When it comes to general photo editing in Photoshop, Adjustment Layers should be your go-to tools. Allowing everything from exposure adjustments to detailed coloring, they can be combined and mixed in ways that can create beautiful, unique looks. And best of all, they’re entirely non-destructive, meaning you can get back to your original, unedited image in a snap.
Recover Details
Sometimes important details can get lost in the darkest shadows and brightest highlights of a photograph. Whether you’re working with dark hair or a bright sky, we’ll show you how to use exposure adjustment tools to rescue those details and restore natural textures to your images.
Warm Skin Tones
Coloring is a powerful creative tool, but it can easily cause skin to look unflattering and unnatural if it’s not used carefully. These looks use a combination of reds and oranges, colors that naturally occur in skin, as well as precision coloring techniques to make sure yellow, greens, and blues don’t interfere with your subjects.
Customize Presets & LUTs
We use a combination of looks built from scratch and looks created from pre-made LUTs and Lightroom Presets. So whether you want to create coloring that’s truly original, or you want to modify an existing look that you love, we’ll show you how to do it.

Aaron Nace
PHLEARN Founder – Class Instructor
Aaron Nace is a photographer, Photoshop artist and founder of PHLEARN. He is the #1 Photoshop instructor in the world with millions of YouTube subscribers.
Reviews
New & Popular Tutorials
Training Site in
the World
Tutorials!
Ratings
and Counting
Subscribers








LOVE ALL your videos! THANK YOU so much!! You are great teacher.
Great tutorial!
WOW total game changer – the Image-adjusments-shadows/highlight. I’m in love! Thank you so much! WOOHOO
Aaron uses a simple language and breaks down information in small chunks. He is a fabulous teacher. The way I learn better is by stopping the video and using a tool right after Aaron explains it.
Great tutorials .. I’ve been using Photoshop for 20 years yet I always learn something new from Aaron. Phlearn is worth every penny.
Great tutorial. I love that they are about 15 mins each so that I can practice what Aaron went over without becoming overwhelmed. I’ve been a member for over two years and I’m always learning new things .
Always The Best I watch.
Great short tutorial, Aaron is the best teacher when it comes to photoshop and lightroom. If you’r not a Phlearn member, you really should become one.
This was great! I have been needing to up my PS color skills and this opened up several new tools for me. I am just curious if there are certain types of composition / subject matter that Soft Light Coloring works on. For instance, 3 of the 4 images in this tutorial were portraits. So would that be the best subject matter to explore using something like this?
Very nice and simple editing. I just did a photo shoot that i wanted to have a soft nice coloring with a bit of dreamy look to them. This course was great in getting that look to the photos!