
Download Assets
This tutorial includes 1 sample image, 1 Photoshop brush and 1 PDF guide. Downloads are free with a PHLEARN account.
- Download the sample images and PSDs from every free tutorial on PHLEARN
- New free tutorials published every week
- One free account — sign up once, then download anything
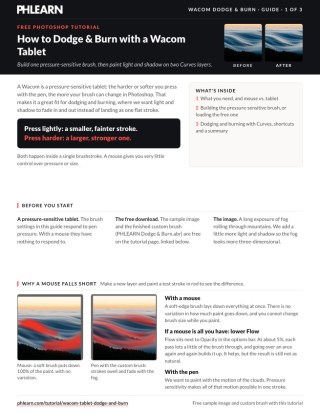
Free PDF Guide · 3 Pages
This Tutorial as a Step-by-Step PDF
The guide builds the pressure-sensitive brush step by step: Shape Dynamics with Size Jitter Control set to Pen Pressure, Transfer with Flow Jitter on Pen Pressure and Flow at about 20%, or Import Brushes to load the free one. Then it dodges and burns on two Curves layers with inverted masks. Keep it next to your tablet.
description
A pressure-sensitive tablet changes what dodging and burning can do in a way a mouse can’t match: pressure itself controls both the size and the intensity of a stroke in real time, so light and shadow fade naturally instead of landing at one flat opacity. This builds a custom brush around Size Jitter and Flow Jitter set to Pen Pressure, then puts it to work on two inverted Curves masks — one to dodge, one to burn — on a long-exposure mountain landscape.
Enjoying This Free Tutorial?
We publish a new free tutorial every week, each one with sample images and PSDs you can download and follow along with. Sign up and they land straight in your inbox, along with early word on sales, events and subscriber-only offers.
How to Dodge and Burn with a Wacom Tablet in Photoshop
A pressure-sensitive tablet changes what’s possible with dodging and burning in a way a mouse simply can’t match — instead of a brush that lays down the same flat opacity everywhere, pressure itself can control both the size and the intensity of a stroke in real time. Building one custom brush around that pressure sensitivity, then using it on curves-based dodge and burn layers, produces noticeably more natural, fading light and shadow than painting with a mouse ever will.
Getting Started: Why a Mouse Falls Short Here
Before building a pressure-sensitive brush, it’s worth seeing exactly what a mouse can and can’t do for comparison.
-
Test a Soft Brush with Your Mouse
Make a new layer, choose red, and paint a test stroke with a soft round brush using a mouse. Notice that it lays down the same full opacity everywhere along the stroke, with no natural variation.
-
Try Lowering Flow to Compensate
Bring Flow down to around 5% and paint again — this lets you build up opacity gradually with repeated strokes, but you still can’t vary brush size or intensity within a single stroke the way pressure sensitivity allows.
Building a Brush That Responds to Pen Pressure
A Wacom tablet’s pressure sensitivity only helps if the brush itself is set up to respond to it, which takes a couple of settings in Shape Dynamics.
-
Set Size Jitter’s Control to Pen Pressure
Open Shape Dynamics, find Size Jitter, and change its Control setting to Pen Pressure. Pressing lightly now produces a smaller mark, and pressing harder produces a larger one, all within a single continuous stroke.
-
Set a Minimum Diameter
Raise the Minimum Diameter slightly so the lightest pressure doesn’t shrink the brush down to nothing, keeping strokes usable even at their smallest.
Linking Flow to Pressure as Well
Size alone doesn’t capture everything pressure sensitivity can offer — flow, meaning how much paint builds up, benefits from the same treatment.
-
Set Flow Jitter’s Control to Pen Pressure
Under Transfer, find Flow Jitter and set its Control to Pen Pressure as well. Lighter pressure now lays down less opacity, and harder pressure lays down more, fading naturally within one stroke instead of applying flat, even coverage.
-
Lower the Base Flow
Bring the overall Flow value down to around 20% so the brush stays subtle even under firmer pressure, leaving room to build up an effect gradually across several passes.
Reusing This Brush for Any Future Dodge and Burn Work
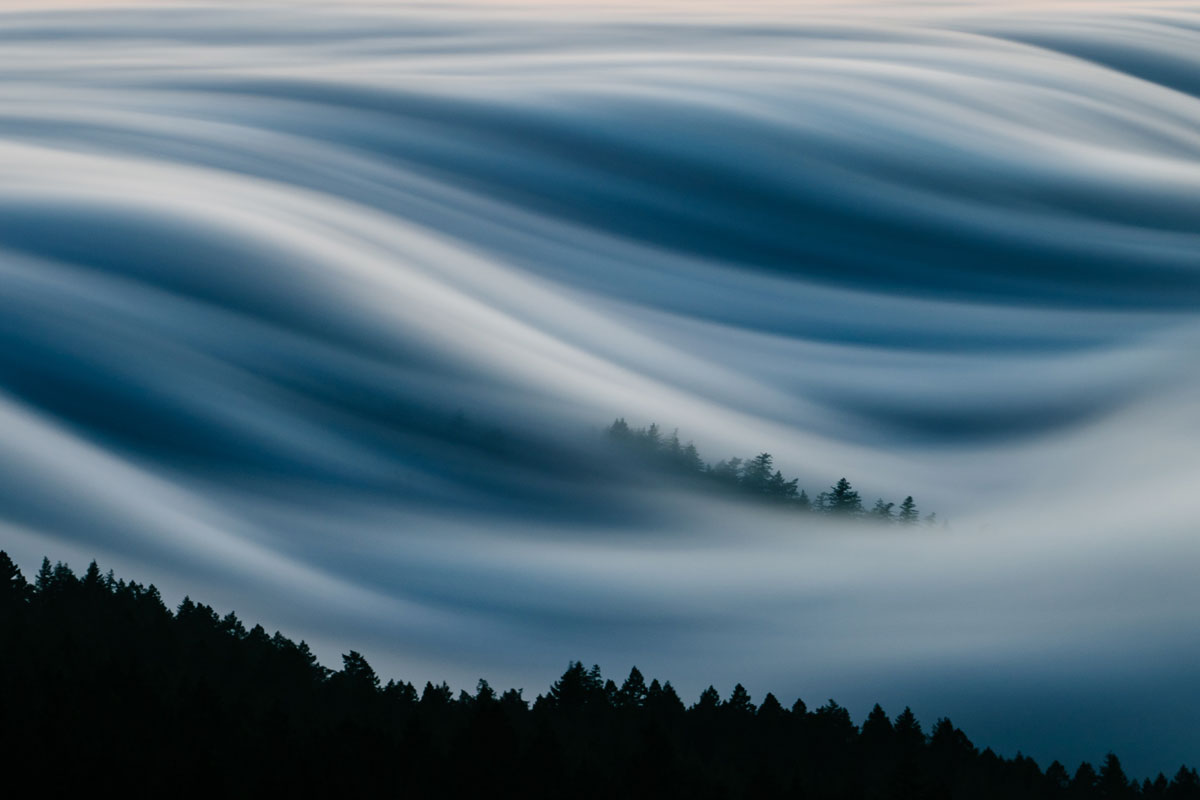
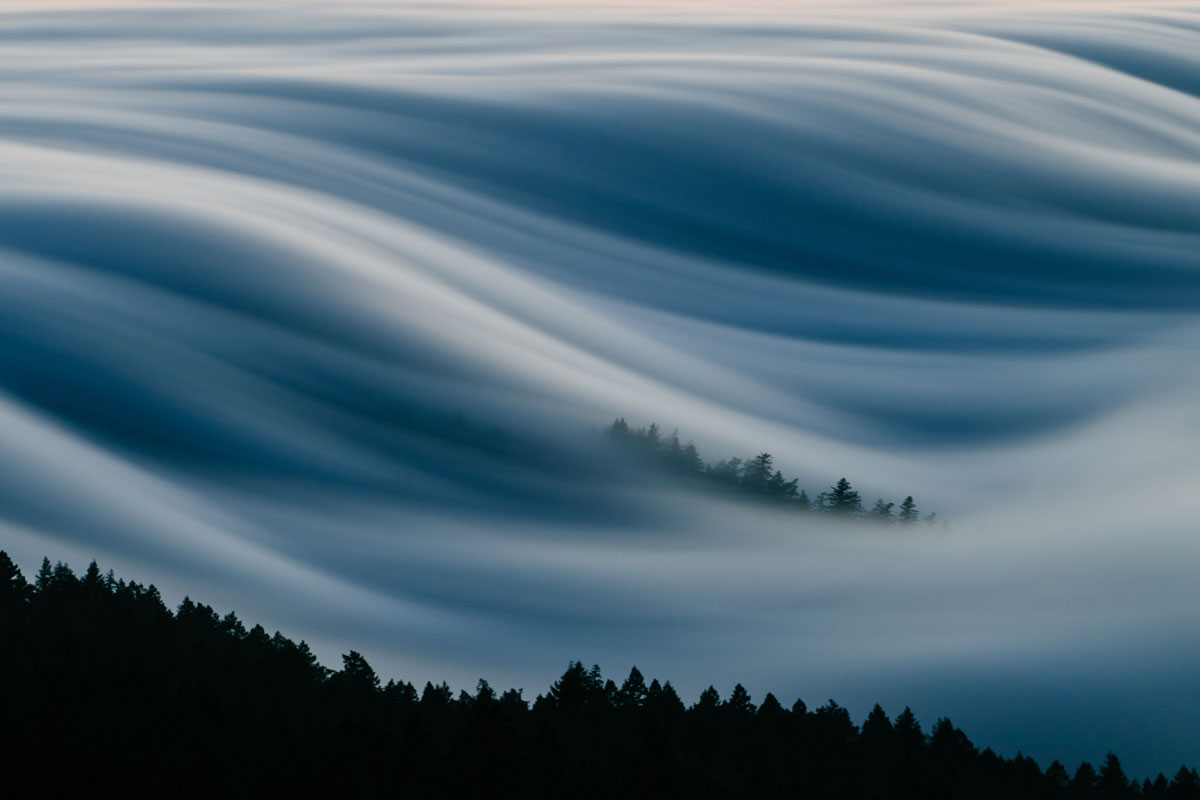
Once these settings are dialed in, this brush isn’t specific to any one image — it works for dodging and burning on portraits, landscapes, or any other photo. You don’t have to rebuild it, either: the brush Aaron makes here is in the free download. To load it, press B for the Brush Tool, right-click, click the gear icon and choose Import Brushes. Pick PHLEARN Dodge & Burn.abr from your download and click Open. It loads at the very bottom of the brush list. The sample image used throughout this walkthrough, a long exposure of fog rolling through mountains, is in the free download along with the custom brush, so you can practice with the same settings before applying them to your own photos.
Setting Up a Curves Layer for Dodging
With the brush ready, dodging (brightening) uses a Curves adjustment layer with an inverted mask, so brightness only shows up where you actually paint.
-
Add a Curves Layer and Brighten It
Hide the red test layer first. Then create a Curves adjustment layer and drag the curve upward to make the image a little brighter, then invert the layer mask (Ctrl + I on PC, Cmd + I on Mac) so the brightening is hidden everywhere until you paint it in.
-
Paint White Where Light Should Increase
Select your pressure-sensitive brush, set it to paint white, and use the bracket keys, or hold Control + Option and drag left or right on a Mac (Alt + right-click and drag on a PC), to vary brush size as you paint — a larger brush for broad areas, a smaller one for fine detail.
Setting Up a Second Curves Layer for Burning
Burning (darkening) works exactly the same way as dodging, just on a separate layer set to darken instead of brighten.
-
Add a Second Curves Layer and Darken It
Create another Curves adjustment layer, drag the curve down to darken the image, and invert its mask the same way.
-
Paint White Where Shadow Should Deepen
Paint white with the same brush over areas that should read as darker, adjusting brush size to match the scale of each area just as with the dodge layer.
Fixing Mistakes Without Starting Over
If an area gets too bright or too dark, painting black over that same spot on the layer mask hides the effect there without touching anything else. Both Curves layers stay fully adjustable afterward too — double-click either one at any point to make it stronger or weaker.
Why a Landscape Benefits from This as Much as a Portrait
Dodging and burning is often associated with portrait retouching, but a long exposure landscape with soft fog and rolling clouds benefits just as much — adding light and shadow into the mist gives it a sense of three-dimensionality that a flat exposure alone doesn’t capture.
Common Mistakes to Avoid With This Technique
The most common mistake is skipping the pressure-sensitivity setup entirely and painting dodge and burn with default brush settings, which produces the same flat, mouse-like result a tablet is specifically capable of avoiding. The second is using one brush size for an entire image instead of scaling it to match each area — a large area deserves a larger brush, and fine detail needs a much smaller one. If a dodge or burn layer looks too strong once finished, adjust its Curves values directly rather than repainting the mask from scratch.
Why This Technique Works
What separates a tablet-based dodge and burn from a mouse-based one is that pressure sensitivity lets a single stroke carry its own natural variation in size and intensity, rather than needing dozens of separate strokes to fake that same gradual buildup. Linking both Size Jitter and Flow Jitter to pen pressure means the brush behaves the way a natural hand movement would — lighter touches for subtle work, firmer ones where more correction is needed — instead of a flat, uniform mark. Pairing that brush with inverted Curves masks, rather than painting brightness or darkness directly onto pixels, keeps the whole effect adjustable indefinitely, the same non-destructive logic behind How to Master Dodging & Burning in Photoshop more broadly.
Final Thoughts
Once this pressure-sensitive brush is built, or loaded from the free download, it’s reusable on any future dodge and burn work, whether the subject is a landscape, a portrait, or anything else. The core habit worth taking away is linking both size and flow to pen pressure rather than just one or the other — that combination is what makes a stroke feel like it’s responding to your hand rather than applying a flat, mechanical effect. A Wacom Tablet is what makes this particular workflow possible in the first place, but the underlying Curves-and-mask structure applies just as well to any dodge and burn work, tablet or not.

Wacom Intuos Pro
Get complete control of your editing with 8192 levels of pressure sensitivity! Perfect for blending effects and for a more ergonomic, natural feel as you work.
Quick Reference: Keys, Menus and Settings
- Mouse onlySoft brush, Flow about 5% in the options bar, build up in passes
- Size follows pressureBrush settings > Shape Dynamics > Size Jitter Control: Pen Pressure; Minimum Diameter up a little
- Flow follows pressureTransfer > Flow Jitter Control: Pen Pressure; Flow about 20%
- Load the free brushB, right-click, gear icon > Import Brushes > PHLEARN Dodge & Burn.abr > Open
- DodgeCurves a little brighter, Cmd/Ctrl + I to invert the mask, paint white on the lights
- BurnSecond Curves a little darker, Cmd/Ctrl + I, paint white on the darks
- Brush size[ and ]; Control + Option-drag (Mac) or Alt + right-click drag (PC)
Free Downloads
Follow Along with the Same Files
Get the long exposure of fog in the mountains, the PHLEARN Dodge and Burn brush built in the video and the 3-page PDF guide. Free with a PHLEARN account.
Dodge and Burn With a Wacom Tablet: Common Questions
Why use a Wacom tablet for dodging and burning?
Pen pressure can change the brush as you paint. Press lightly for a smaller, fainter stroke and harder for a larger, stronger one, all in a single brushstroke, so light and shadow fade in and out naturally.
Can I dodge and burn with a mouse instead?
Yes. Lower Flow in the options bar to about 5% and build the effect up with repeated passes. You still can’t change brush size while you paint, so the result is not as natural.
How do I make brush size follow pen pressure?
In the brush settings, turn on Shape Dynamics and set the Control under Size Jitter to Pen Pressure. Leave the jitter amount alone, and raise Minimum Diameter a little so light strokes don’t get too small.
How do I make a stroke fade in and out with pressure?
Turn on Transfer and set the Control under Flow Jitter to Pen Pressure, without adding any jitter. Then bring Flow in the options bar down to about 20%.
How do I load the free dodge and burn brush?
Press B for the Brush Tool, right-click, click the gear icon and choose Import Brushes. Pick PHLEARN Dodge & Burn.abr from your download and click Open; it loads at the very bottom of the brush list.
How do I set up the dodge layer?
Make a Curves adjustment layer a little brighter, press Cmd/Ctrl + I to invert the layer mask, then paint white with the custom brush over areas that are already light.
How do I burn the shadows?
Make a second Curves adjustment layer a little darker, invert its mask the same way, and paint white over the dark areas. That makes them stand out and adds definition.
How do I change brush size while I paint?
Use the [ and ] keys, or on a Mac hold Control + Option and drag left or right; on a PC, Alt + right-click and drag. Use a larger brush for large areas and a smaller one for small areas.
What if I dodge or burn too much?
Paint black on that layer mask to hide the area. To change the strength of a whole layer, double-click its Curves and move the curve; nothing has to be repainted.
Are the sample files free?
Yes, with a free PHLEARN account. You get 1 sample image, 1 Photoshop brush and 1 PDF guide: the foggy mountain long exposure, the PHLEARN Dodge & Burn brush built in the video and the 3-page guide.
Master Photoshop, Lightroom and Photography
Join PHLEARN PRO for $12.99 a month or $99.99 a year. Cancel anytime, with a 100% money-back guarantee.





