Focus Stacking: How to Master the Best-Kept Secret to Unbelievably Sharp Photos
Ever wish you could extend the focal range on your macro lens? Desperately seeking tack-sharp images in spite of the pesky diffraction that happens when you hit f/16 or so? You’re going to love focus stacking. Here’s why:
- Focus stacking is easy to learn if you’re already familiar with manual mode and basic photo editing.
- If you’re already using a tripod and remote shutter release, it won’t change much about your shooting routine.
- It’s the best way to get the sharpest point of focus possible from top to bottom, corner to corner.
Not sold yet? Keep reading to find out how to easily fit this technique into your workflow, from shooting to editing to wowing your viewers in just a few steps.
Focus Stacking: The Basics
To understand focus stacking, it’s easiest to make a quick comparison to HDR, since it’s a process most photographers have a baseline knowledge of. To create an HDR image, you take different levels of exposure for the same scene, then take the best of the highlights, shadows, and midtones out of all those exposures to create one, superbly-balanced photo.
Focus stacking is the same idea, if you switch exposure with focus. By taking multiple shots of the same scene at different focus points, you’re covering all your bases for the final image. It’s a half-shooting, half-editing process, since you have to actually combine all those different points of focus in post-processing. Fortunately, the editing part is nearly as simple as shooting, and we’ll walk you through it step by step a little later on.
Depth of Field and Your Lens’s “Sweet Spot”
Your aperture setting will be one of the most important factors as you shoot to focus stack. Both a wide-open aperture and a tiny one can create focus issues in their own way:
- A wide aperture creates a shallow depth of field, meaning you may have trouble keeping everything that’s important in your image focused at once.
- A narrow aperture creates a wide depth of field, but can result in diffraction, which causes a soft focus.
This is why it’s important to know your lens’s “sweet spot” – the setting that results in its sharpest possible point of focus. For most lenses, this means 2-3 stops from wide open. When you know your lens’s sweet spot, you can focus stack multiple images of that super-sharp focus level at different points in the composition and harness it throughout the final photo.
When Is Focus Stacking Useful?
You don’t need an excuse to use focus stacking, but there are a lot of situations where it certainly makes sense.
Landscapes
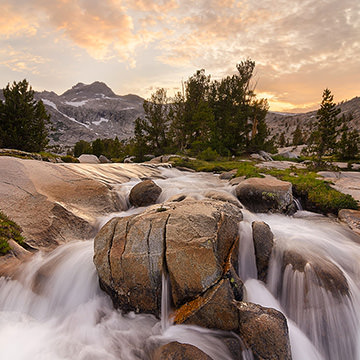
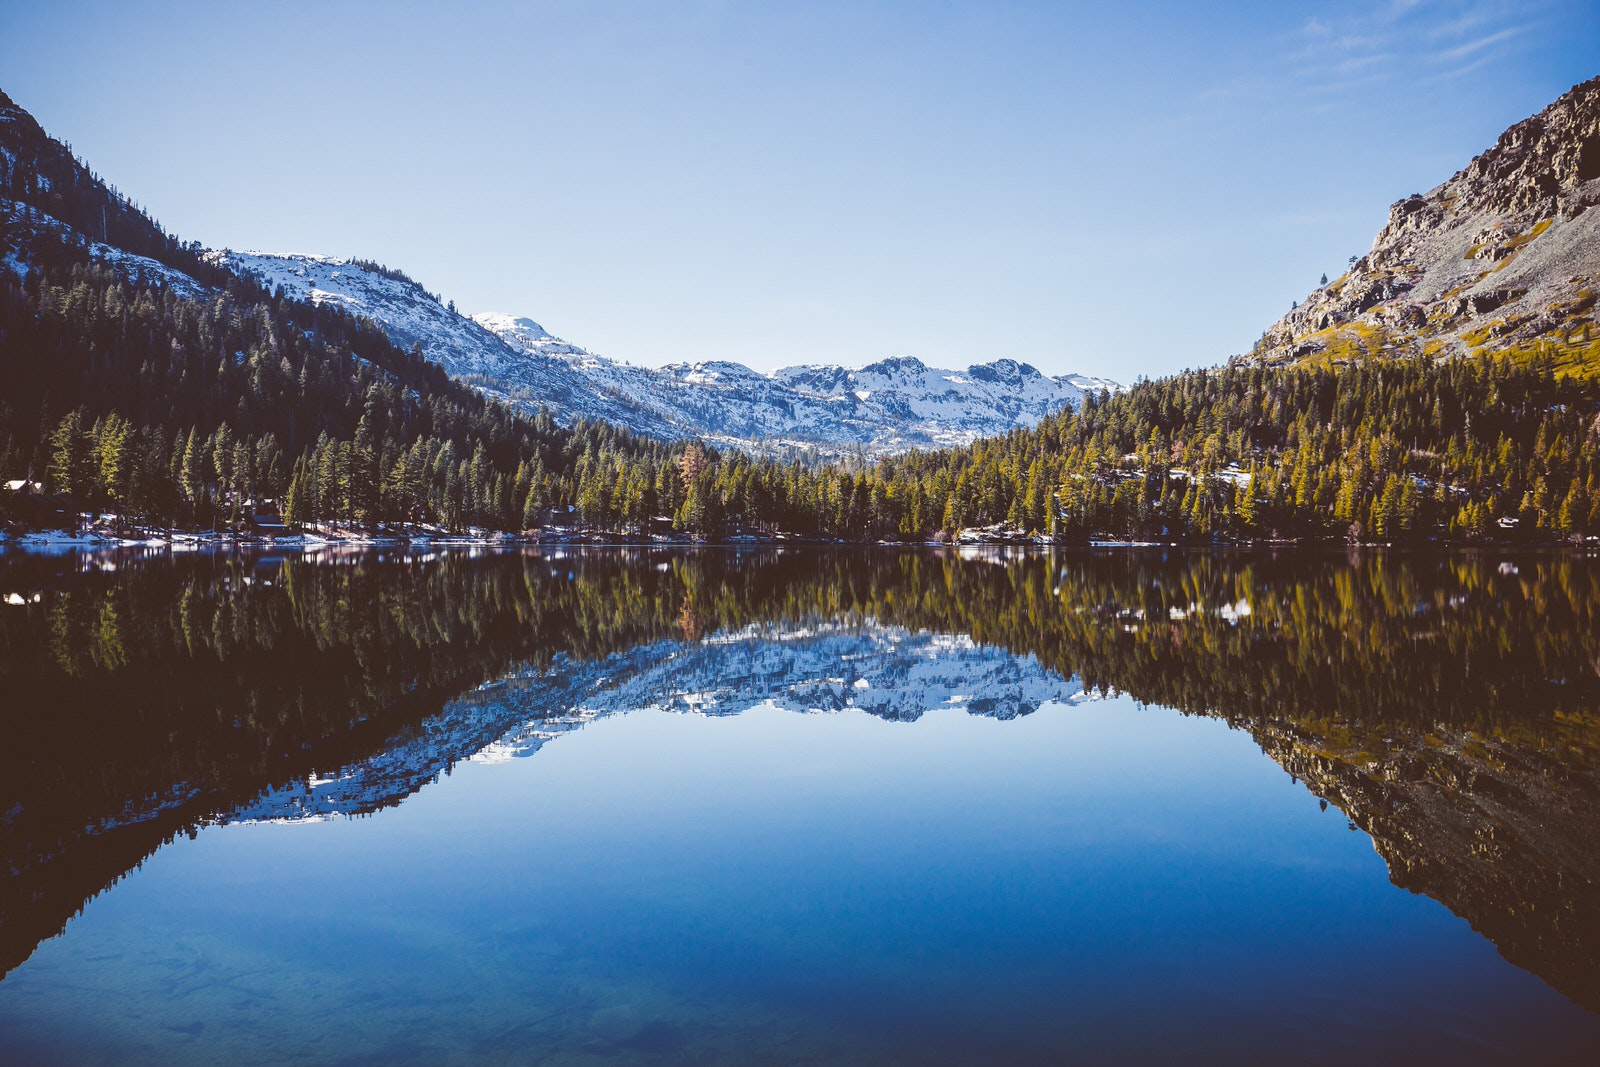
In a landscape situation, you’re often trying to cover a lot of ground with one aperture setting. You would think the aperture setting that provides the widest depth of field would just make sense, right? Except a “perfect” focus at an aperture of f/22, for example, could result in lens diffraction that softens that focus. So, it may be better to get several shots at an aperture of, say, f/5.8, then focus stack them.
Macro Photography
Macro photography combines two things that don’t really go together: an extremely shallow depth of field and the need for absolute stillness. It’s painfully easy to lose your point of focus, especially with a moving target (think insects). You may find it easiest to use your body to move forward, rather than your focus ring, to get snaps of every point of focus you want for a macro focus stack.
Product Photography
It’s especially important to have accurate focus in product photography, so focus stacking can help you get every aspect of a product in focus, even if you’re having to compromise on your aperture setting.
Microscopy
Let’s not get sidetracked here, but it is worth mentioning that microscopes work with lenses, so depth of field is still a major factor. Focus stacking of a sort is used to get all those microscopic elements sharp in one image, which makes study and demonstration a lot easier.
Selective Focus Stacking
Focus stacking isn’t just for images that require corner to corner sharpness. You can focus stack only certain portions of an image to maintain sharpness throughout your subject in a shallow depth of field while preserving the beautiful blurred backgrounds and bokeh that come from wide apertures and separation between subject and background.
The Gear List
To get superb focus stacked images, you need the following things:
- A camera with manual mode (or aperture priority, to hone in on your lens’s sweet spot)
- Manual focusing capabilities
- A photo editing software with focus stacking and/or layer masking options
Whew! That was easy, right? Sure, there are a lot of other things that are really helpful to have around, but you can get professional-looking results with just those three simple things (which you’ve probably already got). Now let’s look at some wish list items:
- A tripod (no surprise there) to keep the camera steady.
- A remote shutter release – again, to keep the camera as steady as possible.
- Photoshop and/or Lightroom as your editing software.
- A macro rail system like StackShot, which mounts to your tripod. Basically it’s a slider that allows for minute changes in the positioning of your camera. That way you’re not shifting the setup slightly each time you adjust your focus ring.
- An item to use as a bookend. You’ll shoot an image of this item blocking the scene before and after your focus stacking series of images. It can be as simple as a hand or a sticky note. We recommend writing a tally on your hand in pen or using different colored sticky notes if you’ll be doing more than one series in a shoot. When you’re looking at hundreds of images in a grid later on, you’ll really appreciate this step.
The Process
Focus stacking is a two-part process. Whereas some techniques don’t require post-processing if you like to do all your work in-camera, this one does. Even if you wanted to use traditional darkroom processes (which we don’t recommend if you’re working to a deadline, as it would be tedious and time consuming to say the least), it’s just not possible to stack images without a little after work.
Here’s a step-by-step breakdown of the whole process, from the shoot itself to that final save file:
Shooting
There are a few basic steps when shooting a series to be focus stacked:
1. Make Sure You Really Want to Focus Stack This Shot
Use chimping for the greater good. Take a test shot to see if the image is actually sharp throughout. Shooting tethered to a tablet screen helps you really get in there. If you’re at an aperture that should be covering the whole image but still seeing stubborn fuzziness, prepare to stack.
2. Find the Right Settings
Balance your exposure. Shooting in aperture priority mode will help you hone in on your image’s sweet spot while accommodating small changes in lighting due to shifting clouds, etc.
3. Choose Your Focusing Strategy
You can move the focus ring, the subject itself (tricky and not recommended), or the camera to adjust the focus point between images. As we mentioned before, shooting macro sometimes requires you to “zoom with your feet,” since points of focus can be complicated to lock in on in that situation.
Small changes to your focus ring may be easiest when you have a mostly-still subject. The tiny shifts it may cause can be aligned in post-processing, and we’ll show you how in a bit. Most importantly, don’t try to rely on autofocus for this process. Lenses are pretty advanced these days, but they can’t read minds (yet).
4. Take Your Images
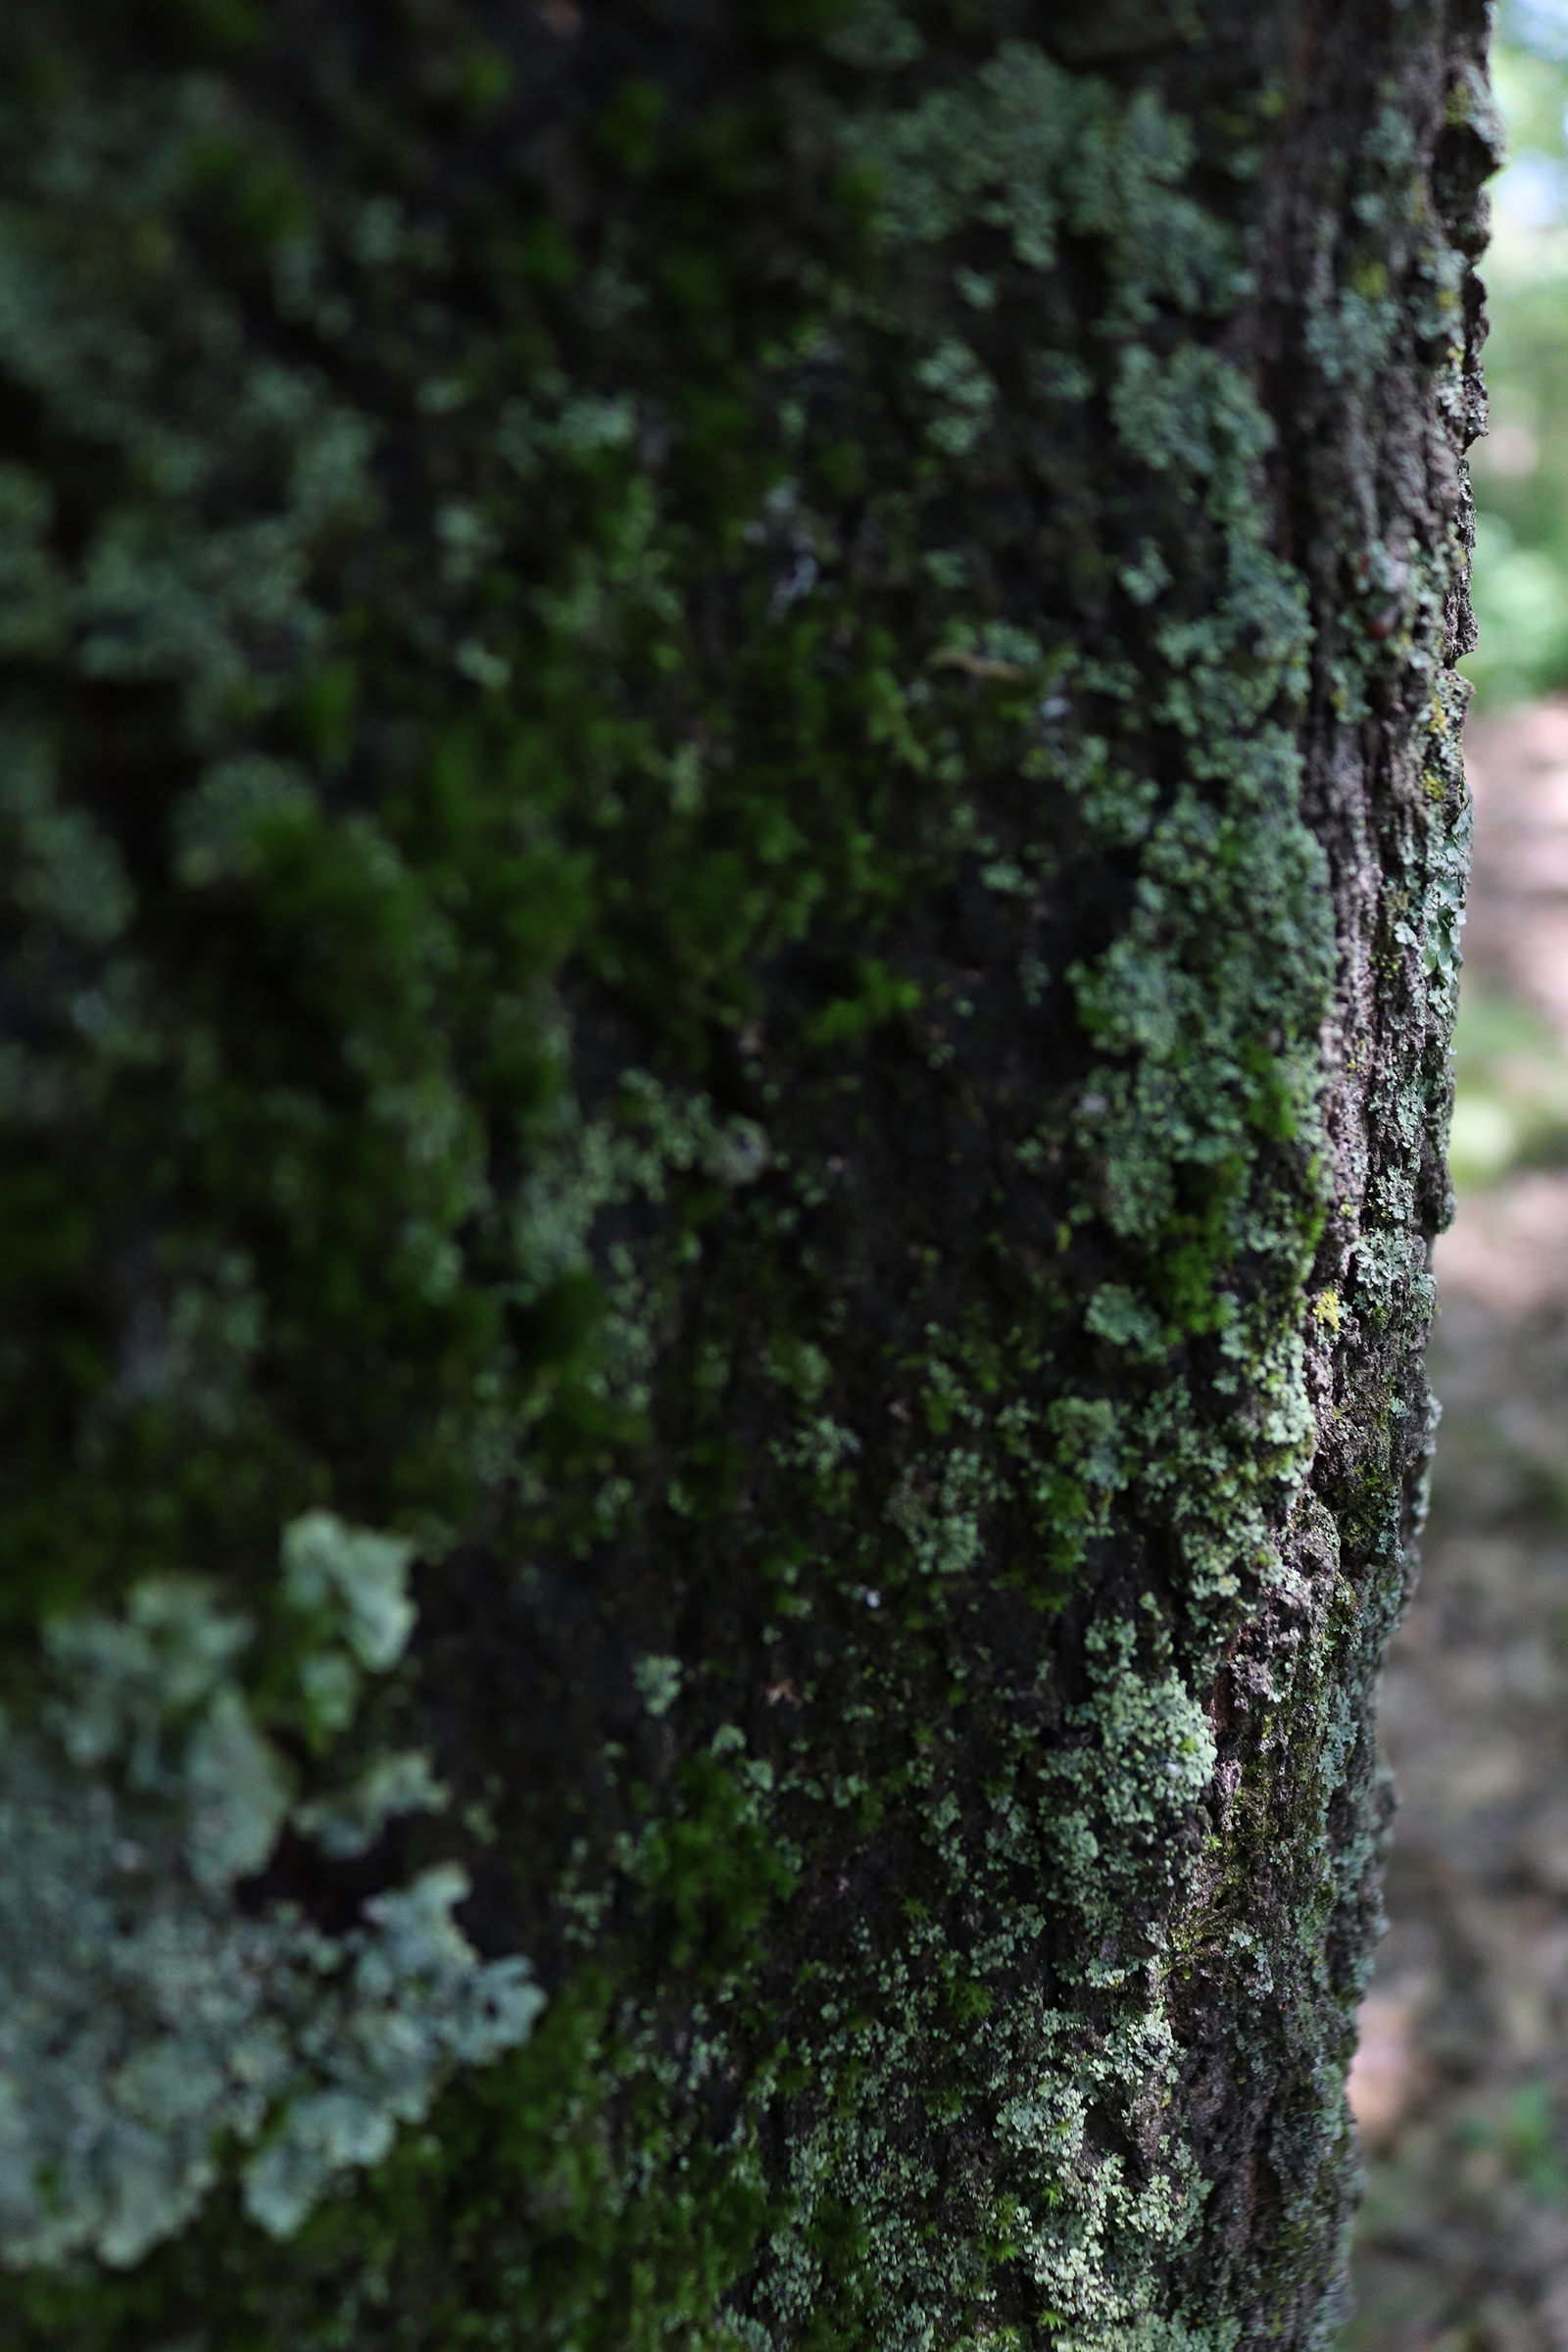
You’ll need at least three: one each focused on the fore-, mid-, and backgrounds. If your scene is especially spread out, you may need even more than that. It’s always best to go a little over, rather than under. If your focus overlaps in a few images, you can always discard a couple, but you can’t get that exact vantage point and lighting situation back easily if you miss a spot.
A Note on Selective Focus:
If you want to focus stack only your subject on a blurred background, remember the oldest trick in the book: Position your subject so that it is closer to you than it is to the background.
Now you’re ready to move on to the real magic; let’s actually get those photos stacked!
Editing
There’s more than one way to do this, and it varies depending on your editing software. Since this is PHLEARN, we’re unabashedly partial to Adobe Photoshop and Lightroom and will be focusing heavily on how to get great results with those products. However, we’ll also include other editing tools at the end that you can try if you prefer.
Method #1: Focus Stacking with Only Photoshop
Start by opening Photoshop without an image. You need a single file, with each of your images on a separate layer. So, go to:
File > Scripts > Load Files into Stack
and then click Browse to find and select all of your images. If you’ve just finished editing them in Photoshop and already have all of them open (and nothing else), you can click Add Open Files instead. Check the Attempt to Automatically Align Source Images checkbox. This will do exactly what it sounds like: automatically align the layers based on their content. If you had to hand-hold the camera during your shoot, this feature will be a lifesaver. Click OK, then go to:
Edit > Auto-Blend Layers
Select Stack Images and check the Seamless Tones and Colors checkbox. You can also check Content Aware Fill Transparent Areas to fill any empty spaces that result from the automatic image alignment.
Here’s what’s happening at this point:
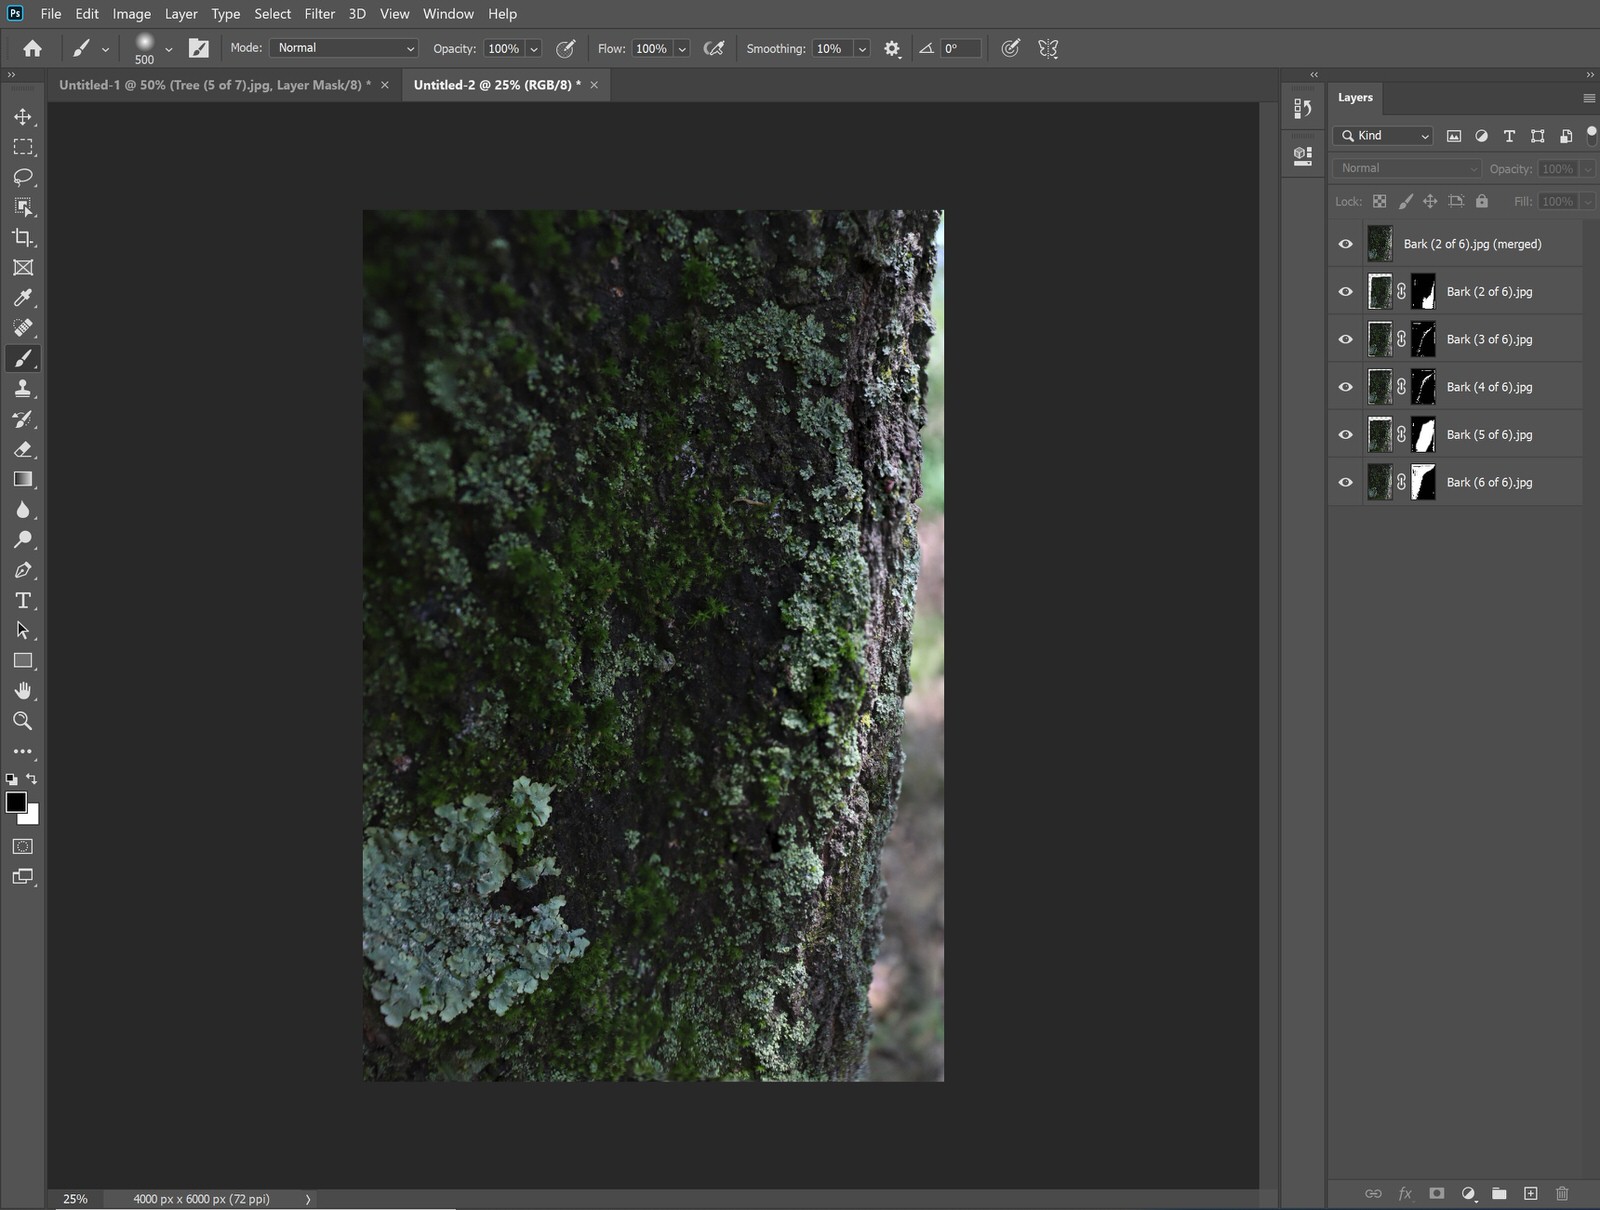
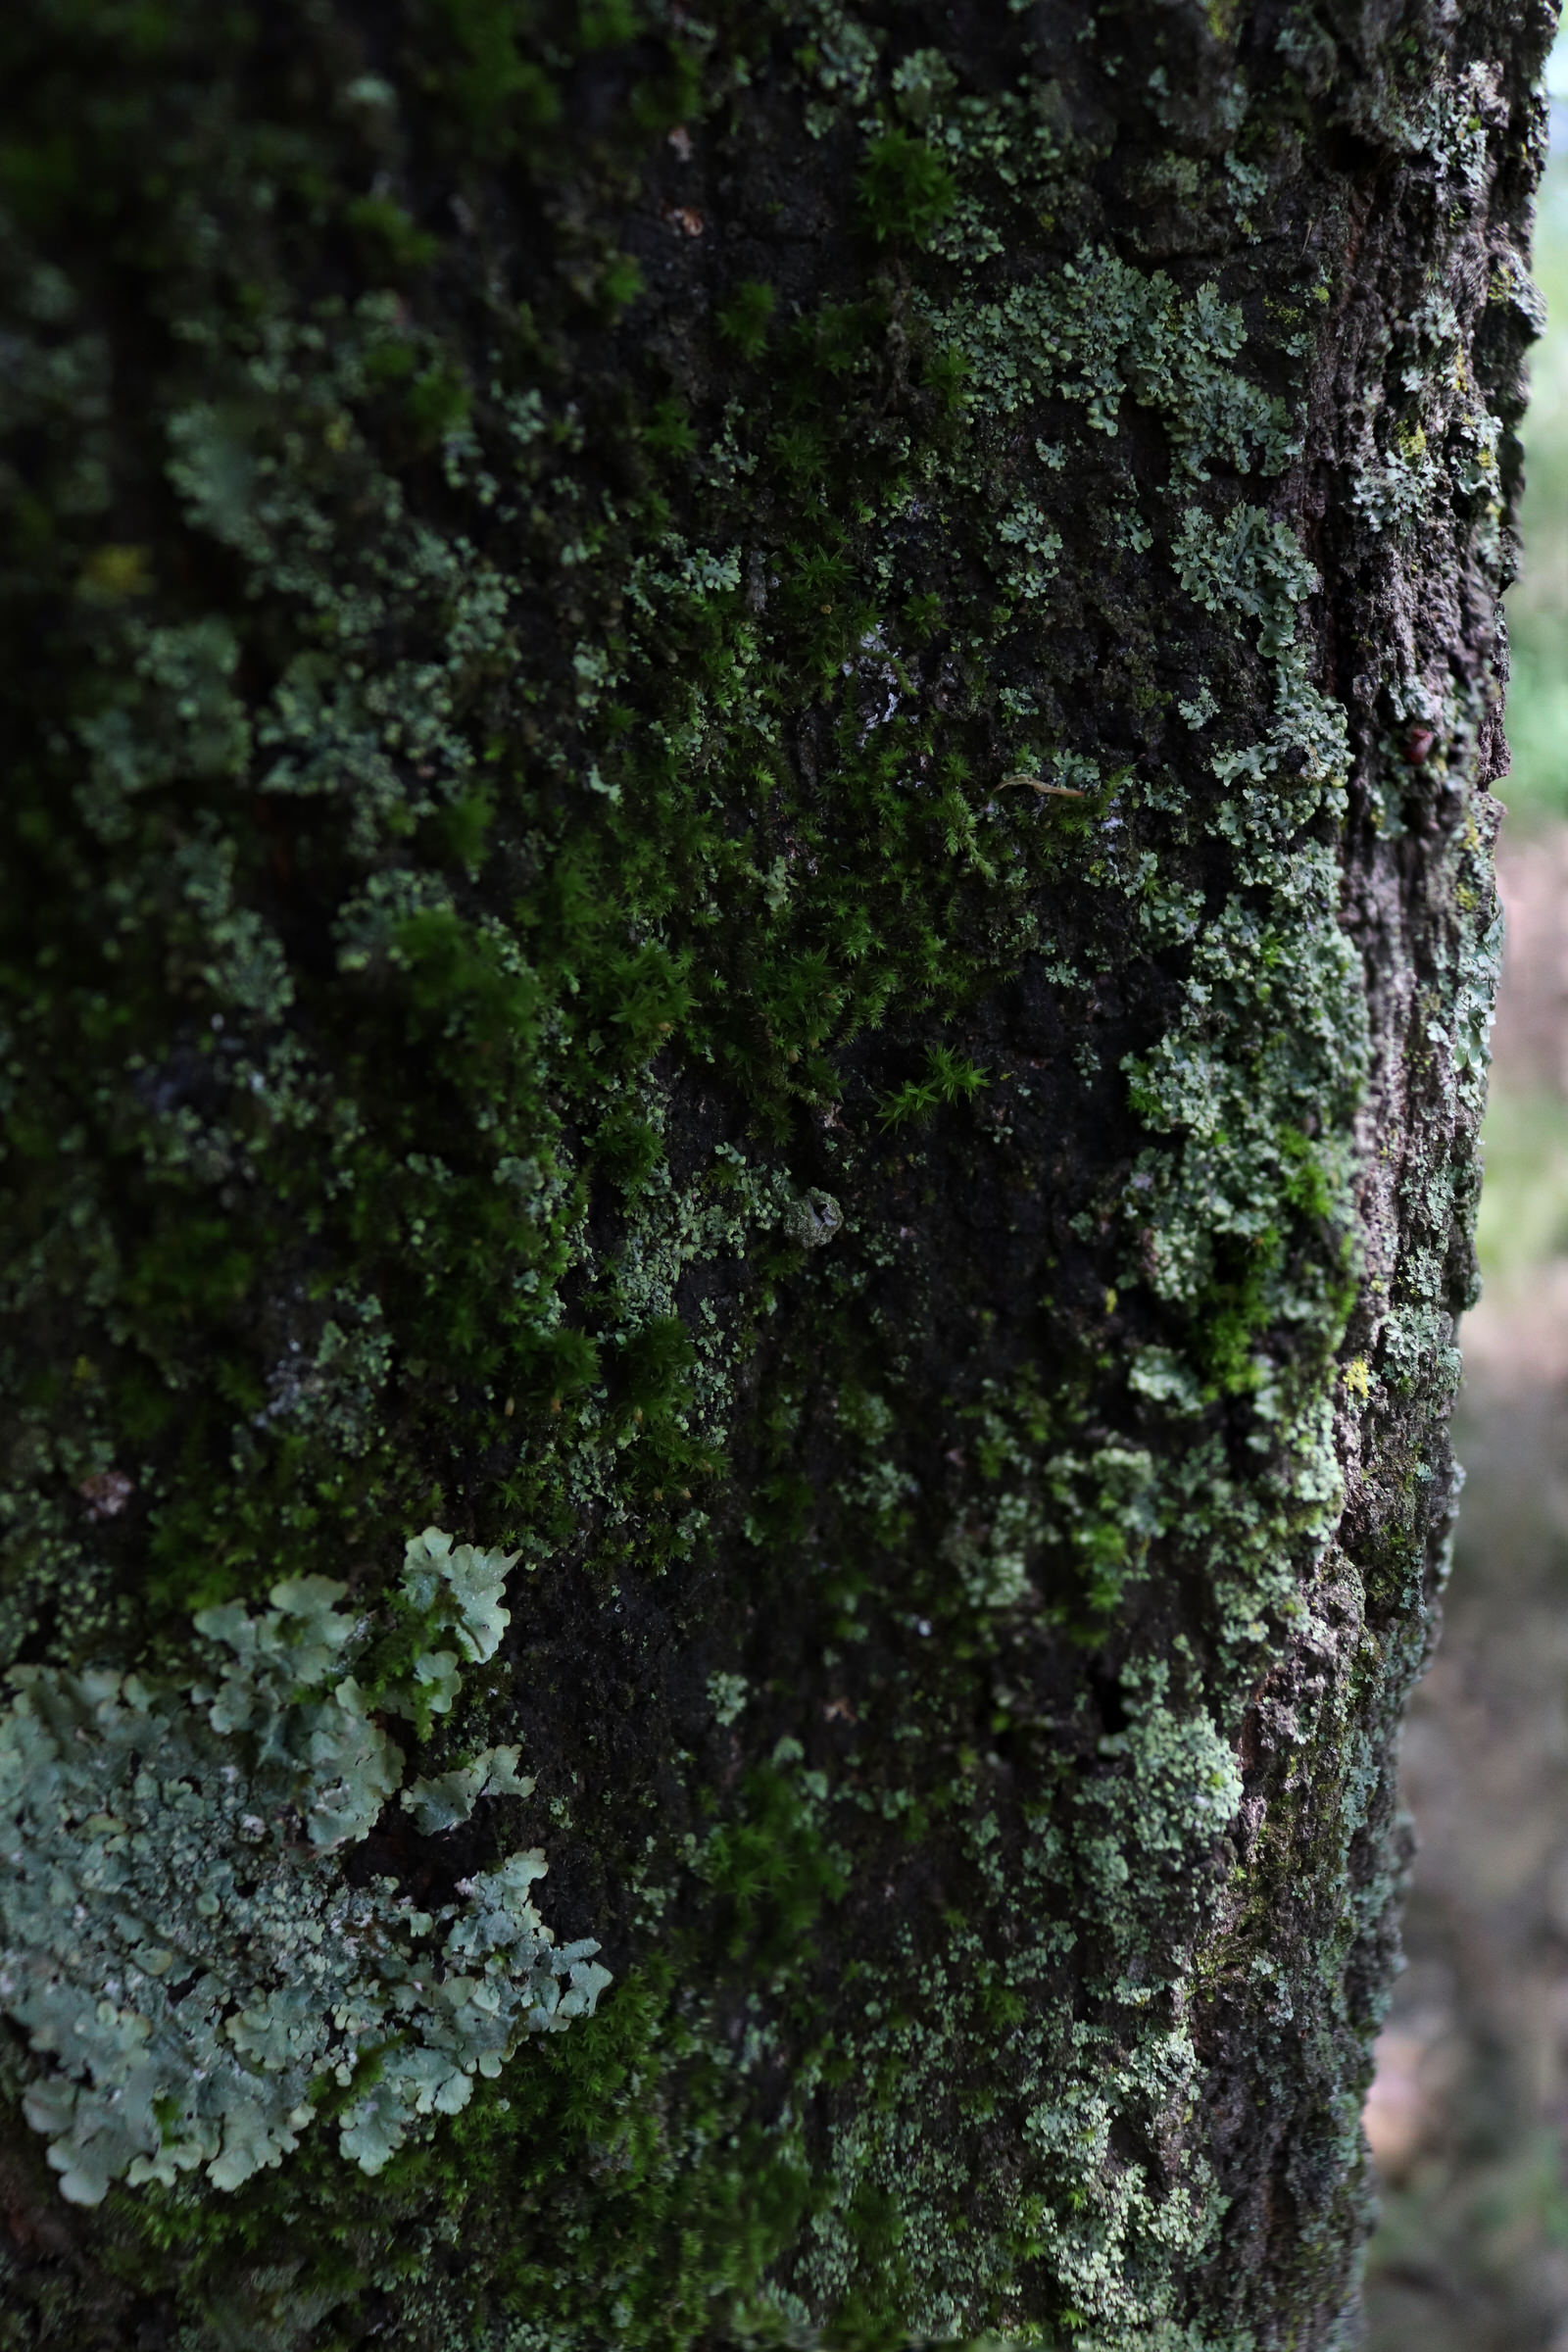
Photoshop is finding that sharpest focus in each image layer. Then, it’s masking everything else out. Theoretically, the only thing that should be showing on each layer after that point is the absolute sharpest point of focus. That means the rest of each layer (the fuzzy parts) are now invisible, allowing you to see through to another layer where that area is in focus.
To flatten or not to flatten?
This is where you may have heard in the past to flatten your layers. While there’s no law against that, any time you can maintain a completely non-destructive workflow, it’s best to do so. Photoshop’s most updated version will give you a merged layer at the top of the stack. This creates a “flattened” version without actually eliminating all the informational layers, so if you need to go back and change anything about those layers or their masks, you have the freedom to do so. If the layer palette starts looking too cluttered for your taste, simply select all of the original layers and Group them (G).
Method #2: Focus Stacking After Editing in Lightroom
When editing in Lightroom, you can speed up some of those initial steps. First, edit one image from your series. Make all the necessary tweaks to lighting, color balance, etc.
Then, from the Develop module, select all of the photos in the series. Go to:
Settings > Sync Settings
Because your images are almost exactly the same, there should be no issue with syncing all of your changes. However, if you’ve made minute changes that won’t translate if they’re moved over even a thumbnail, be sure to uncheck those settings in the menu that will pop up at this point. When you’re satisfied, click Synchronize. All of your changes have been applied to the remaining images in the series and you’re ready to move over to Photoshop. Make sure they are all still selected, then go to:
Photo > Edit In > Open as Layers in Photoshop
Each of your images will now be its own layer in Photoshop and you can pick up from the same point in Method #1 to complete the process. Don’t skip Edit > Auto-Align Layers, as this will make sure your images line up perfectly, a step Photoshop would have already taken for you in the first method.
Method #3: When Photoshop Needs a Little Help
Sometimes, when you have moving objects like clouds, swaying tree limbs, or flowing water in your image, it can be a little confusing to the system. Hard to believe, right? But it’s true: in some cases you know more than Photoshop does. If the automatic edits in Methods #1 and #2 don’t get perfect results – or you just want more control over the process – you can focus stack manually.
Start by getting your images on individual layers. It’s fine to use the original process here. Next, you’ll want to mask each layer. A few pro tips:
- Label your layers. It just makes life easier.
- Order your layers the same way they appear in the scene. Background to foreground, or vice versa. Again, it just makes life easier.
- Use Auto-Align here as well… you can always tweak as needed.
Now use the Brush Tool (B) to hide areas that are clearly not sharp on each layer. Make sure you’ve actually selected the mask and not the image, itself. (Remember: a white brush reveals what is on the layer while a black brush conceals it.) We recommend starting with the top layer so you can see in your preview exactly what’s being revealed/concealed.
Zoom in and out as you work… sharpness can play tricks on your eyes!
When you’re done, a stamp layer is still a good idea. Then you’re ready to make final edits and save the completed file!
Non-Creative Cloud Options
If you don’t have (or want) access to Adobe products, try one of these alternatives:
- Affinity Photo
- CamRanger
- Focus Stacking Online – This one’s all Web – No downloads in sight!
- Helicon Focus
Feeling confident and ready to give it a shot (or three)? Focus stacking is a good technique for everything from macro photography that covers only a few centimeters to landscapes that go for miles. Best of all, you probably already have all the basic equipment needed to get started. So whatever your shooting situation is, go get started!
