Simple Cutouts in Photoshop
-
Add to
favorites
-
DifficultyEasy
-
Length2.25 hours
-
Videos6
-
Software
Description
Follow along as we show you the basics of making accurate cutouts, selections, and masks in Photoshop. Learn how to cut out subjects in front of relatively simple backgrounds, recover and recreate fine details in hair, and fix common issues like color fringing.
PHOTOSHOP CUTOUTS SERIES
- Simple Cutouts in Photoshop (this course!)
- Intermediate Cutouts in Photoshop
- Advanced Cutouts in Photoshop
THIS COURSE INCLUDES
- 5 Sample Images
- 5 Sample PSDs
Share
Course Downloads
The Fundamentals of Cutting Things Out
Master Cutouts & Selections
Whether you want to place a subject in a totally new environment, or just simply change the color of a background, you’ll need cutouts and selections to make it happen.
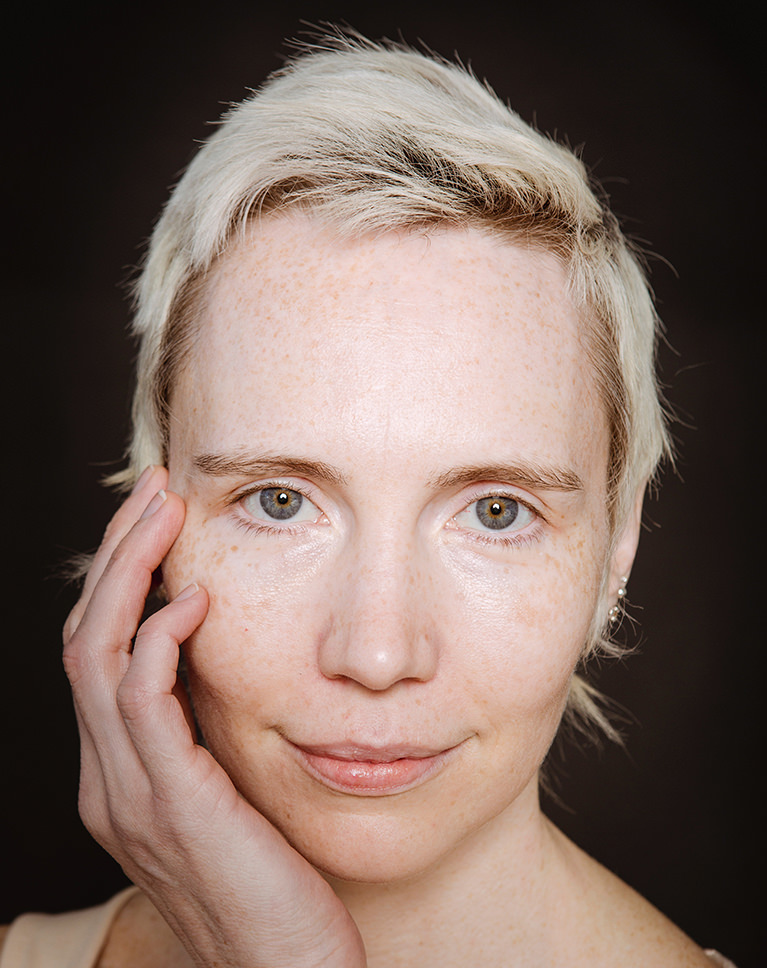
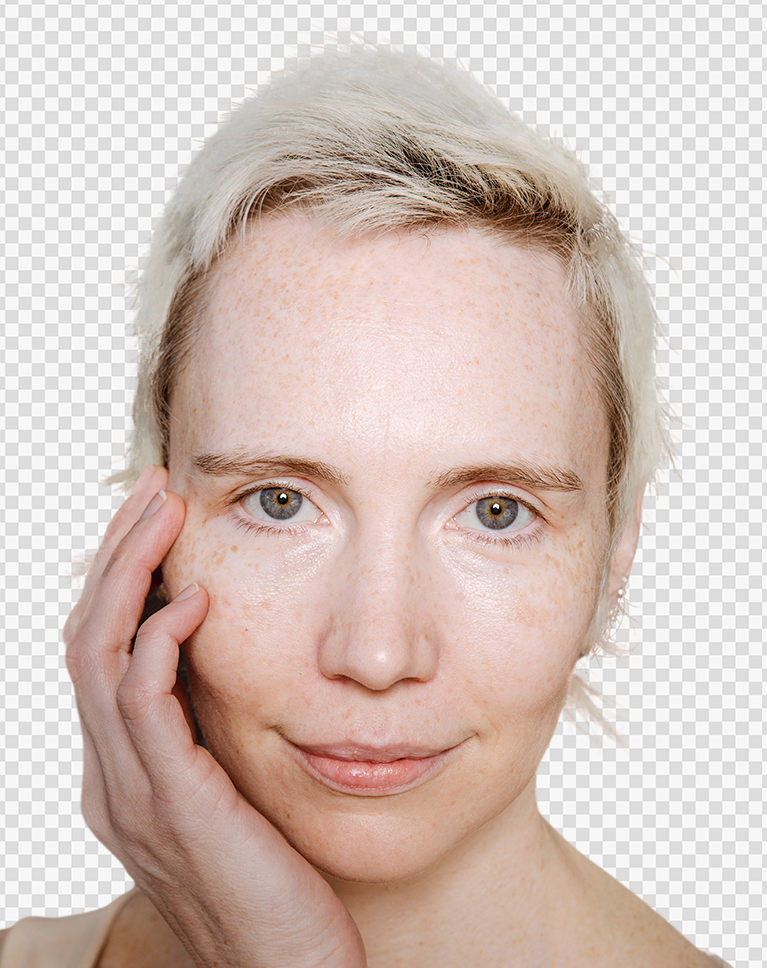
CUT OUT HAIR DETAIL
ORIGINAL
How to Cut Things Out in Photoshop
Whether you want to change the background behind a subject, make edits and adjustments to a very specific part of a photo, or composite multiple elements from different photos together, cutouts are the key! Join us and learn the basics of this essential Photoshop skill.
Tools & Techniques
Cutouts and selections are an essential part of an editor’s workflow. We show you the most important tools Photoshop has to offer to quickly cut something out, refine the selection, and to fix common issues like correcting color and recovering detail.
Cut Out People & Hair
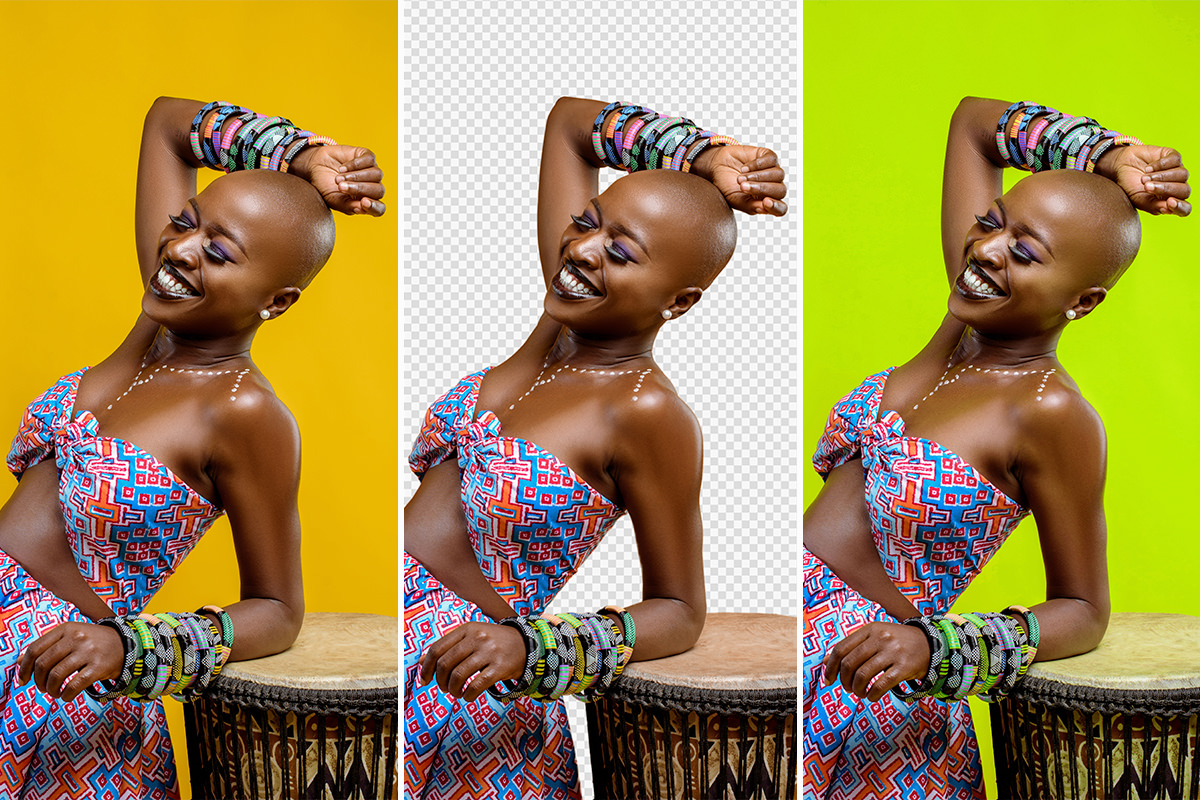
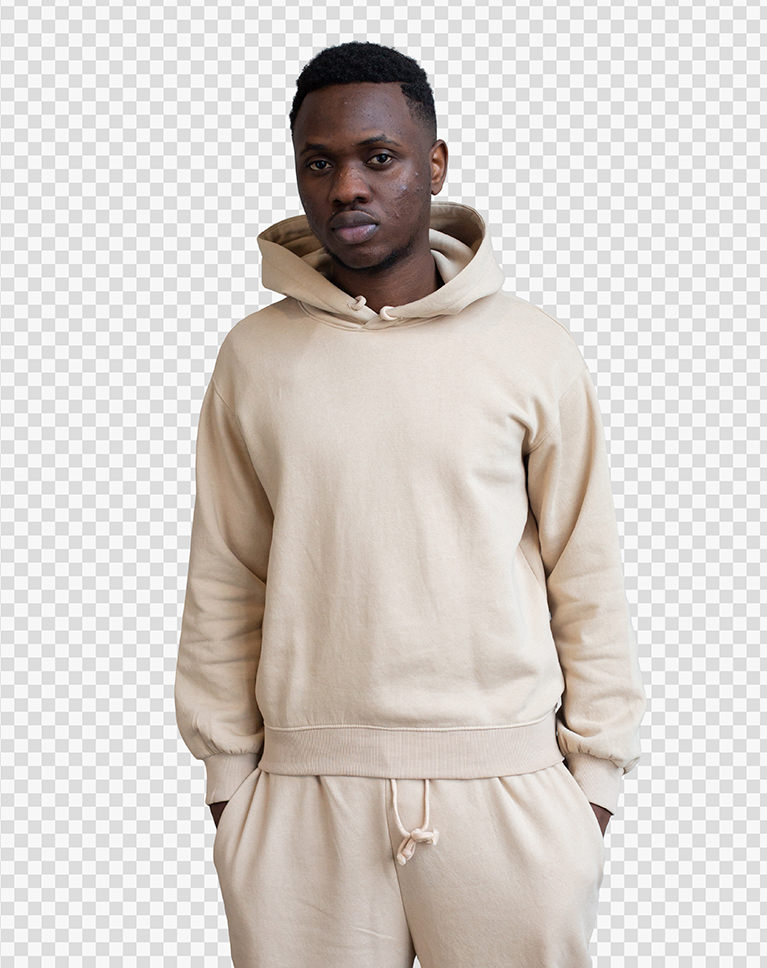
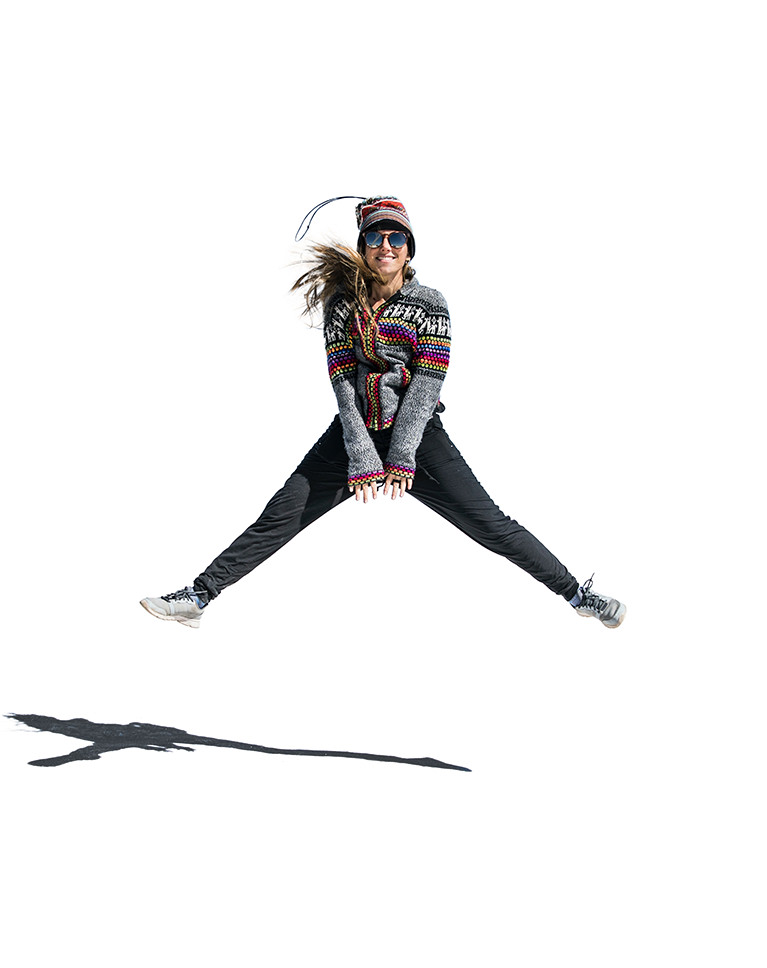
People are the most common, and often the most challenging, thing to cut out of an image. Learn how to accurately cut people out and remove backgrounds, all while preserving the fine details in their hair and clothing. And if you want to master the art of cutting out hair, we have an entire PRO course dedicated to just that.
ACCURATE CUTOUTS OF PEOPLE
ORIGINAL
Automatic & Manual Tools
Photoshop has come a long way over the years, and automated tools like Select Subject can give us a head start on our cutouts. However, the best workflows often involve a combination of both automated and manual tools. Learn how to create quick cutouts and selections and then refine them with some powerful manual tools in Photoshop.
Select & Mask
One of the most commonly used selection tools, Select & Mask is a great way to quickly refine a selection. We break down all of the tools and options within Select & Mask so that you can put them to work on your own images.
Select Subject
An automated tool that can cut out a subject in just a few clicks? It may sound too good to be true, but the Select Subject option in Photoshop never fails to impress us. We show you how to work easy, automated tools into a professional workflow to save you time.
Perfect Cutouts, Every Time
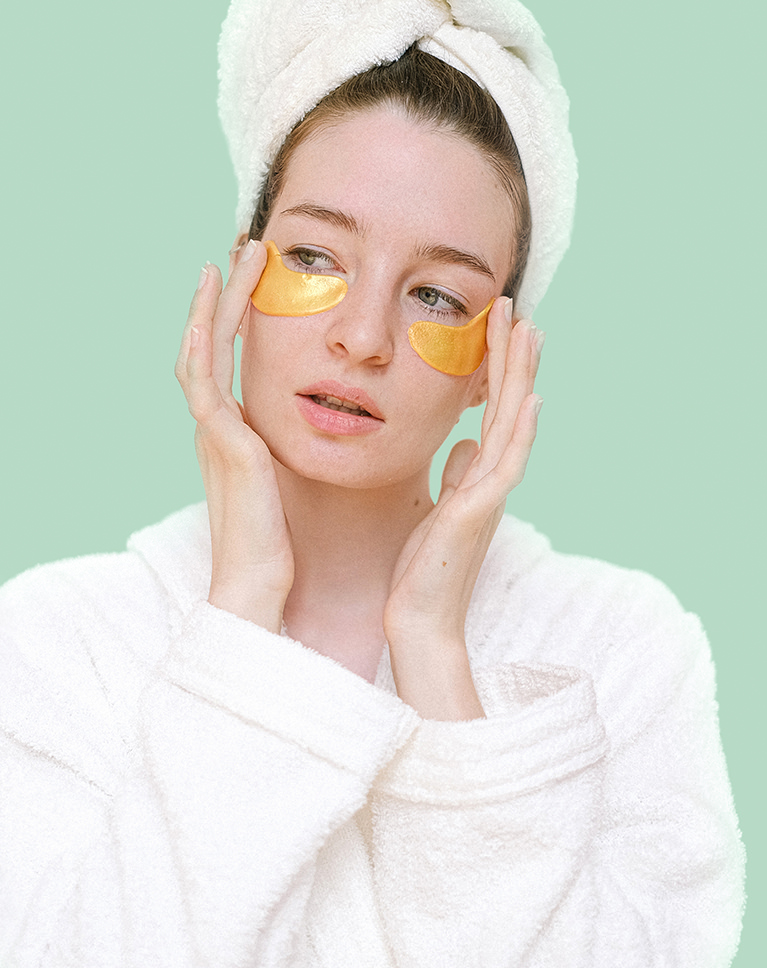
PRESERVE SHADOWS
ORIGINAL
Tips & Tricks
We don’t just show you the best methods for getting accurate cutouts in Photoshop, we show some professional tips and tricks that will help you do it in half the time, and with ultra-detailed results!
Fix Common Issues
Cutting something out is only half the battle. Once you change the background color, or place it into a new environment, a whole world of issues can pop up. We show you how to fix common problems like color fringing, color contamination, and more so that your subjects fit in seamlessly with their new surroundings.
Helpful Check Layers
Learn how to create and use helpful tools called Check Layers to identify and fix issues that your eyes might be missing.
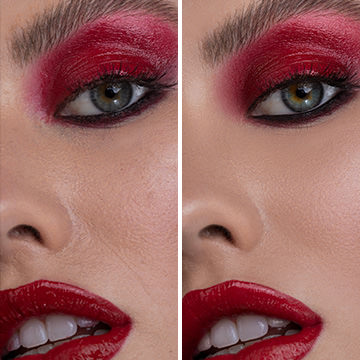
CHANGE & EXTEND BACKGROUNDS
ORIGINAL
Cutouts, Selections & Masks
Cutouts, selections, and masks are foundational tools in any professional editors workflow. Once you’ve mastered the tools and techniques in this series, you can put them to work on products, portraits, and even fantasy composites!
Change Background Colors
Being able to quickly and realistically change a background color is an important, and in-demand, skill. We show you how to quickly select a subject, change the background color, and then integrate that new color into the lighting of the original image for a beautiful, seamless result.
Photoshop Cutout Series
This course is just the beginning of our exploration into every tool and technique available to cut things out in Photoshop. Once you’re done here, be sure to check out Intermediate Cutouts in Photoshop and Advanced Cutouts in Photoshop (both coming soon!) to master these essential skills.

Aaron Nace
PHLEARN Founder – Class Instructor
Aaron Nace is a photographer, Photoshop artist and founder of PHLEARN. He is the #1 Photoshop instructor in the world with millions of YouTube subscribers.
Reviews
New & Popular Tutorials
Training Site in
the World
Tutorials!
Ratings
and Counting
Subscribers








Outstanding ! Great techniques and very easy to follow !
I’m 56 years old and learning photoshop. I would’ve given up if it weren’t for Aaron Nace and his Phlearn tutorial. Thank you so much Aaron Nace.
I AM RELATIVELY KNEW TO PHOTOSHOP. I HAVE STARTED ON YOUR TUTORIAL “SIMPLE CUT OUTS IN PHOTOSHOP” ON MY PC. I HAVE DOWNLOADED YOUR 2 SETS OF IMAGES ASSET OUT AT THE BOTTOM OF YOUR LIST OF VIDEOS. HOWEVER, THE PHOTOS ON YOUR TUTORIAL ARE NOT INCLUDD IN THE 2 DOWN LOADS. MAYBE I AM MISSING SOMETHING.
Hey Glen! our support team just sent you an email to assist you with this 🙂
I’m so glad I took this class. I had wanted to learn about cutting things out for so long, and I was able to apply the skills Aaron taught to some client work immediately. I can’t wait to do the intermediate and advanced classes!
I just photographed a corporate headshot job of 70 people. They asked if I could clip them out for various uses. Thanks Aaron, all of these tips will make the job go much faster!
A really helpful and useful tutorial series, and here I refer to all three levels of the Cutouts tutorials. I watched these tutorials months ago, and now am watching all three once again to refresh my memory on the workflows and all the how-to details. One thing I love about all of Aaron’s tutorials is that he is constantly revealing tools and settings in Photoshop that I never knew existed, or never knew how to use.
Great information! I have been compositing forever and learned some new tricks – especially with color fringing and editing hair — highly recommend!
Another Great class from Aaron Nace and PHLEARN. Never really understood how to best use Select and Mask until I took this class. The techniques and methods taught in the class were very helpful to me. Can’t wait to take the next class in this series.
Excellent, clear, concise, result oriented tutorial! Great job!
For me a seasoned photoshop person, It was all about the method. Excellent tutorial
So many little tips and tricks. Great course
YIKES! This course was great! After a long time at trying Select and Mask, I’m finally catching on. Especially important was learning that I can do the work in stages –and see how it’s done. ‘Looking forward to the Intermediate course. It takes me several times through each lesson, but the time spent is well worth it!
really good teturual, gives a good insight into cut out technique and with a super instructor
I like this!!
The technique you have demonstrated is interesting an worthy of application to the image being worked on. To get rid of color fringe and unwanted color around edges, I use Minimum Filter whereby I can assign an incremental value to the mask up to the point where the unwanted halos and color artifacts are removed. I also use Dodge and Burn tools on the mask specifically, dodge on the highlights and burn on the shadows. I like how Aron explains the technique and demontrate other uses of tools, adjustments, and mask. A key point for me is that Aron demontrates the need for multiple layers without regard to file size. PHLEARN is my PS training academy!
Great help in cutting out hotrods from the background. I learned a lot about the workflow of select and mask tool by saving it and going back again for refinements. And eliminating the blue sky color contamination from the edges of the car. Also softening and refining the edges in select and mask. I appreciate the technic of using the shift key for straight line masking. The color blend mode helps me eliminate street reflections on highly polished paint like road stripes and other cars parked next to the subject car. Always great lessons, but I really liked this one…It is right up there with the pen tool lesson. Bruce
Great Tutorial Aaron. I learned a lot with this tutorial although I have been using Photoshop since 2.0 Keep up the great work. Thanks.
Doesn’t matter how much I think I know Aaron always comes up with some new gems. Using the Select and Mask more than once to manage hard edges and soft or hair edges separately was an absolute gem. I’ve always struggled trying to get it all right in one go. Thank you!!