FREE Styling Tutorials
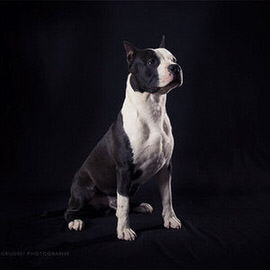
In today’s episode you will learn how to use Curves to take control of your Black and White. We use show you how to analyze your Histogram and use input and output Channels to dial in your Light and dark Levels.

Learn 3 different methods for creating a Black and White image in Photoshop as well as the pros and cons of each.
Sometimes you take a great picture but the sky isn’t doing it any justice. We’ll teach you how to cut out and replace that sky!
First we recolor a dress from our Fashion shoot and then we adjust the colors of the background to match our new color scheme.
In today’s episode we show you how to add layer FX to duplicates of a layer. The reason we use duplicates is to stack multiple effects.

Rob Woodcox took over Phlearn this week and started editing images with Curves. He will show you his process of refining, and Styling the image to achieve the look he was going for.
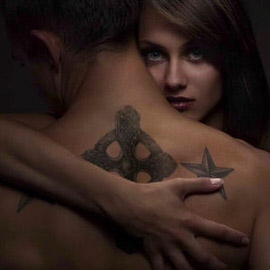
In this episode we combine a few various techniques to make the tattoo look real.
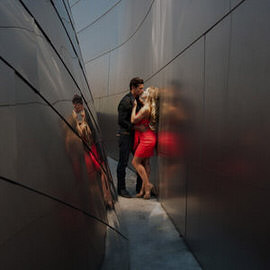
In this episode we combine two different images into one amazing memory. The the main learning points consist of coloring, and masking.
In this tutorial we show you how to use the Pen Tool to cut out your subject, and then do some work to recovery detail in the sky.
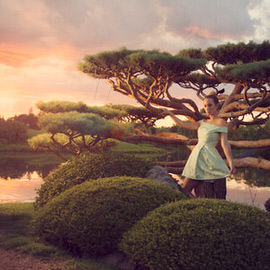
In most cases, using the Color Ranges that exist naturally in a photo will help to bring out the best in the image. In this image we focus on adding orange to the top of the image and green to the bottom.
There are many ways to make an image Black and White in Photoshop. In most cases you will be best off using the “Black and White” Adjustment Layer.
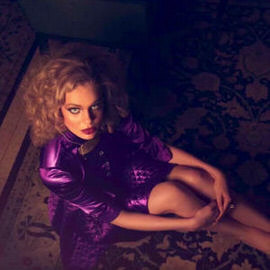
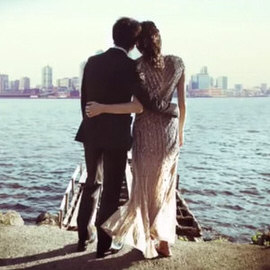
You saw the behind the scenes of our Gap inspired fashion shoot and part 1 of the post processing. Now we put the finishing touches on the image.
We take the images from our Gap inspired shoot into Photoshop to start the Compositing and Retouching process. Make sure to check back for part 2 of the post production later this week.
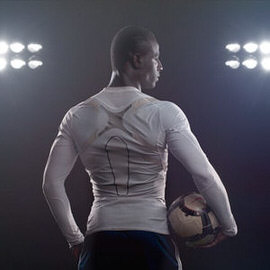
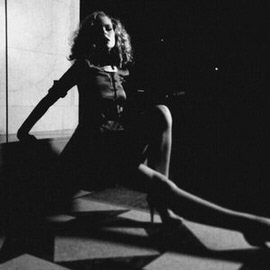
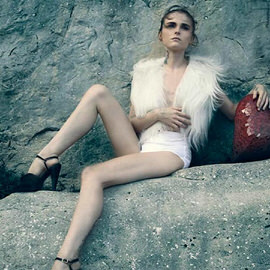
Portraits of athletes are a great place to experiment with using a contrasty, high energy, dramatic Retouching technique. Here are a couple of our favorite methods to achieve this look.
Adding a gradient Color Tone to an image can help with it’s Depth and help Draw the viewers eyes towards your intended point of focus. You’ll see how as we take you through a few curves, a little Pen Tool Action and just one Levels Adjustment Layer.
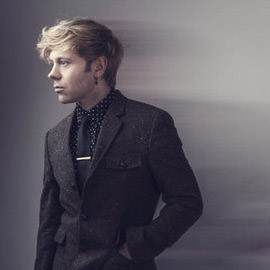
This started as an incredible image by Daniel. We noticed just a couple small improvements that could really help to give it the magazine feel. We’re just going to add a touch of Style and refinement.
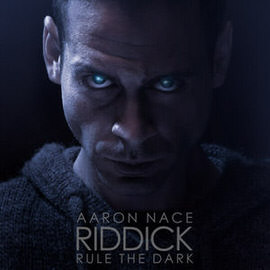
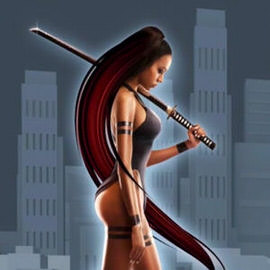
We pick up where we left off in Creating a Movie Poster: Riddick – Part 1. Having taken care of most of the Coloring and Shadow work in part one, now it is time to create the eyes that make this image stand out.
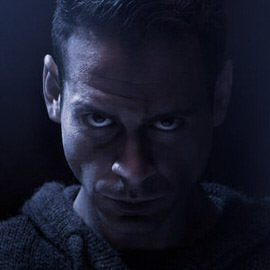
In this episode we show you how to go from an image straight out of camera, into the dark image you see as the final. We cover how to Color your images to strip everything down to one Hue. Then you will learn how to cover your subject in Shadow.
How best to make your images look their sharpest has always been a key aspect of our craft. One of the quickest ways to make your photos look more “professional” is by making them critically sharp.
In this episode we show you how to create a custom Brush that creates dust anywhere you want it. All you have to do it paint over the area you would like the dust and erase the rest!
Sample Images Included
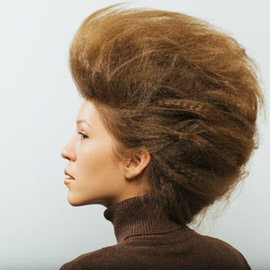
You are going to learn how to fix up a hairstyle in Photoshop using the Liquify Tool. There are a few different strategies to consider when reshaping something like Hair.
In this tutorial you will learn methods for adding a Lens Flare and atmosphere as well as adding interesting Colors that complete the effect.
A new take on dodging and burning. Save yourself time and trouble!
Sunrise and sunset are both amazing times to own a camera. Take advantage of this light as often as you can. There is a reason that it is called “golden hour”. It will turn your photos into gold.
Today we are going over some great techniques that can be applied to most images to make them a bit more interesting. By adding Color and Contrast to the image as a whole you can make your subject stand out a bit better in a few easy steps.
Sometimes you can use Compositing techniques for a simple yet cool effect like adding graffiti into a photo.
Using Curves Adjustment Layers along with Layer Masks is a great way to Draw the eye to a certain place.
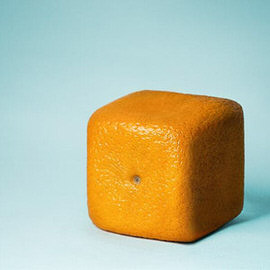
Andri Geroisa did a great job of photographing this orange and Phlearn will tap into dodging and burning to make product look perfect in Photoshop.
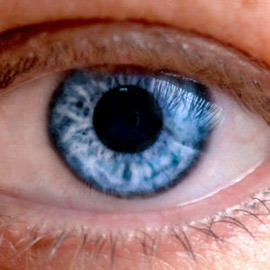
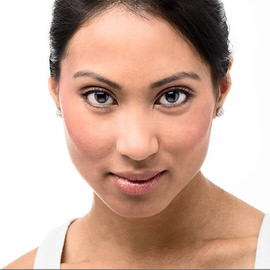
These minuscule, and red squiggly lines are usually very unnoticeable, but when there is an involvement of a macro shot such as this one by Fernando Braga, they can become a Distraction of interfering with your great eyeball shot.
Photographing a sunset can be really tricky, but we have some wonderful tips for you.
How to add patterns to images in Photoshop giving them dimension and perspective.