
Download Assets
Download Assets
This tutorial includes 2 sample images and 2 sample PSDs. Downloads are free with a PHLEARN account.
- Download the sample images and PSDs from every free tutorial on PHLEARN
- New free tutorials published every week
- One free account — sign up once, then download anything
Watch the Full Series
10 Days of AI in Photoshop & LightroomWatch all 10 tutorials free
description
AI masking removes the reason most people never do local adjustments properly isn’t that they don’t know what a mask is. It’s that building one around a mountain range, or a sky with bare trees against it, takes long enough that you talk yourself out of it and push a global slider instead.
AI masking in Adobe Camera Raw removes that excuse. Camera Raw works out what the subject, sky, background and landscape actually are and hands you each as an editable mask — which you then refine by adding and subtracting, and adjust one region at a time on its own terms.
Continue Watching 10 Days of AI
JOIN 10 DAYS OF AI (FOR FREE!)
Ready to jump in? Sign up and we’ll email you a printable calendar and daily class schedule so you can get started right away!
Image Source
AI Masking in Camera Raw Selects Subject, Sky and Background for You
The reason most people never do local adjustments properly is not that they don’t know what a mask is. It’s that building one round a mountain range, or a sky with trees against it, takes long enough that you talk yourself out of it and push a global slider instead.
AI masking removes that excuse. Camera Raw looks at the photograph, works out what the subject, the sky, the background and the landscape actually are, and hands you each one as an editable mask. Everything after that is just adjusting — and adjusting one region at a time is what separates a processed photograph from a corrected one.
What Makes This Different From a Brush
It Understands the Scene, Not the Pixels
Select Landscape doesn’t find edges — it returns sky, mountains and water as separate masks because it recognises them as those things. That is why it copes with a treeline where a color-range selection wouldn’t.
Masks Stay Editable and Combinable
Every mask can be added to, subtracted from, or intersected with another. A mask is a starting shape, not a final answer.
Smart Objects Make It Reversible
Applied through a Smart Object, Camera Raw becomes a filter you can reopen a week later with every mask and slider exactly where you left them. This is the step that matters most and the one most people skip.
Set It Up So You Can Undo It Later
-
Open Your Image in Photoshop
Any raw file or JPEG will do — the AI masking tools work on both.
-
Convert the Layer to a Smart Object
Filter > Convert for Smart Filters. Do this before you open Camera Raw, not after. It is the difference between edits you can revisit and edits baked into pixels.
-
Go to Filter > Camera Raw Filter
All of the AI masking lives here. Because the layer is a Smart Object, you can reopen this filter at any point and every mask will still be there, adjustable.
Make the Subject Stand Out
-
Click the Masking Icon
The circle with the dashed outline on the right-hand panel. Inside are Select Subject, Select Sky, Select Background and Select Landscape.
-
Choose Select Background
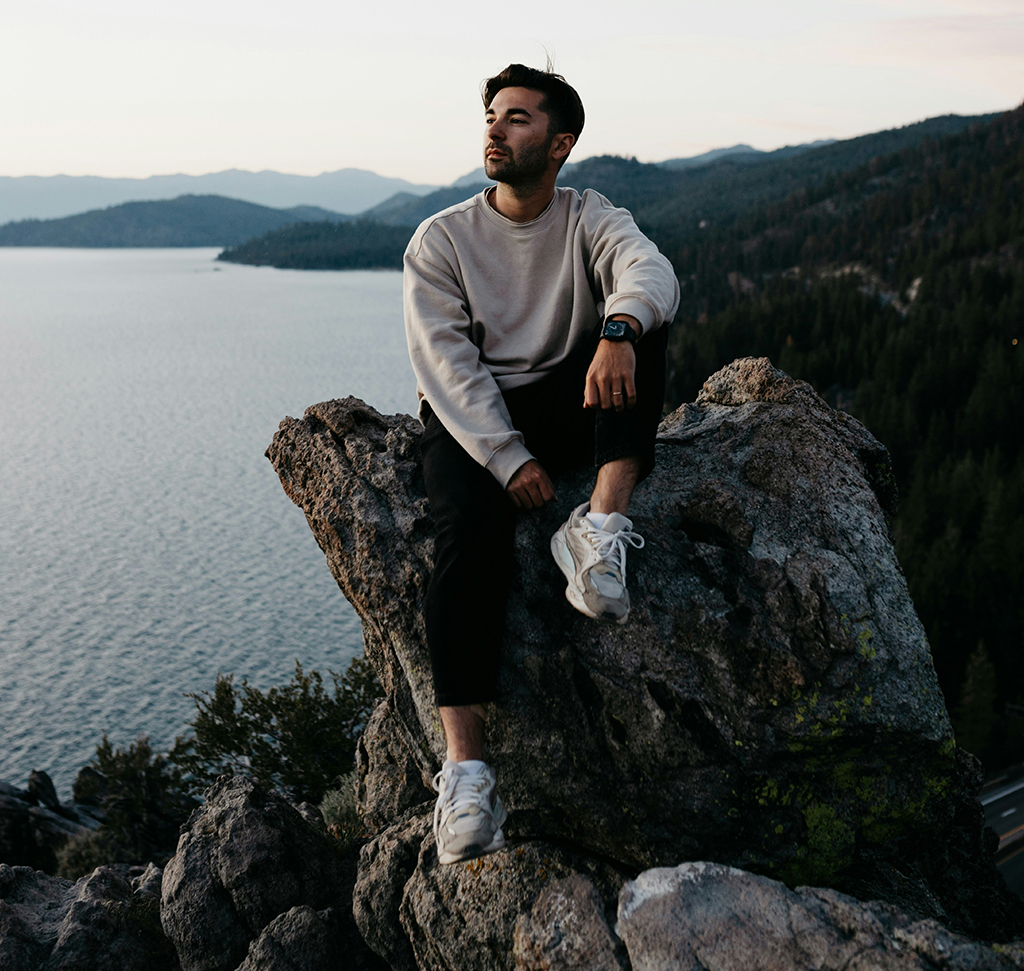
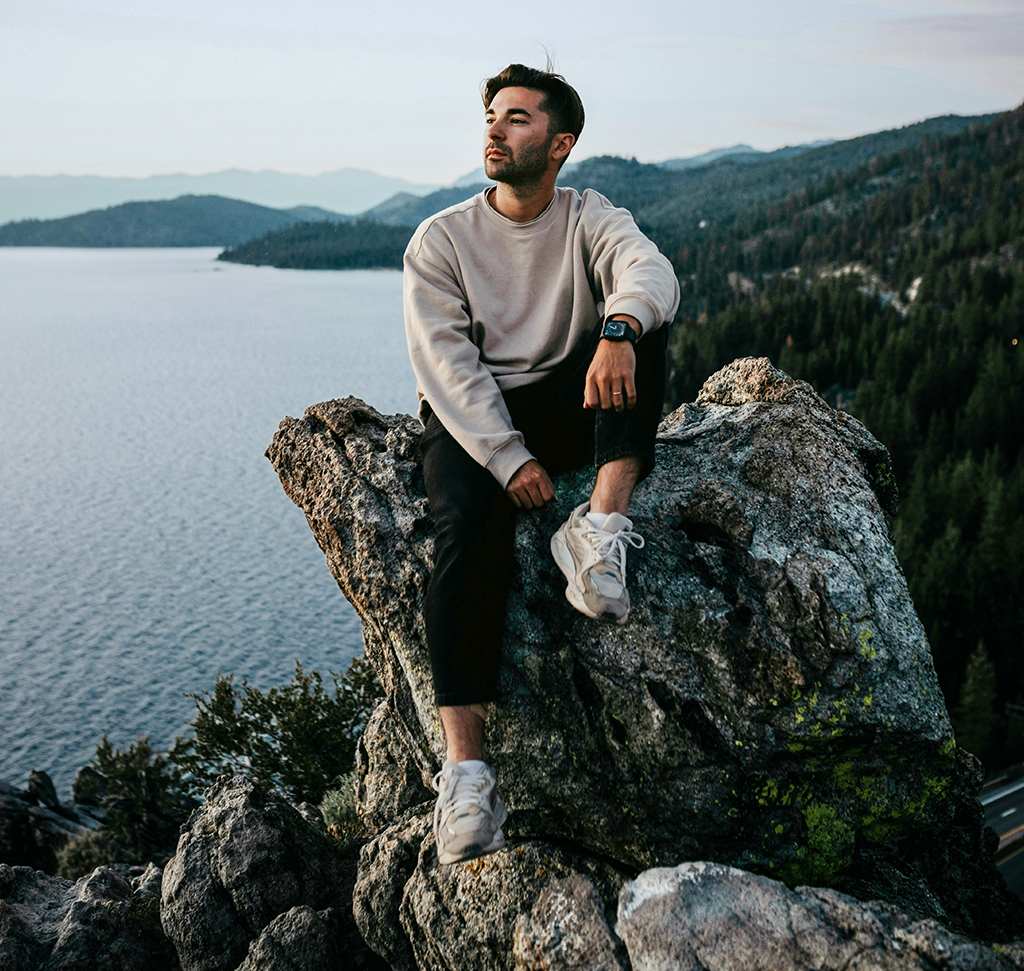
Camera Raw builds a mask of everything that isn’t your subject. Note that this is the inverse of what most people reach for — darkening around a subject usually beats brightening the subject itself.
-
Reduce the Exposure
Under Light. Pulling the background down separates the subject immediately, and it looks more natural than adding light that was never there.
Refine the Mask by Combining Two
-
Select the Background Mask and Choose Subtract > Radial Gradient
This is where AI masking stops being a one-click tool. You are taking the mask the AI made and carving a shape out of it by hand.
-
Drag a Gradient Over the Area Just Behind the Subject
That patch is now excluded from the darkening, so it stays bright — a soft glow behind them that reads as light falling naturally rather than as an effect.

-
Press Y to Hide the Overlay, V to Hide the Pins
The red mask overlay makes it impossible to judge the actual result. Toggle it off constantly while you work; almost nobody does and it is why over-masked images get published.
Edit a Landscape in Three Separate Parts
-
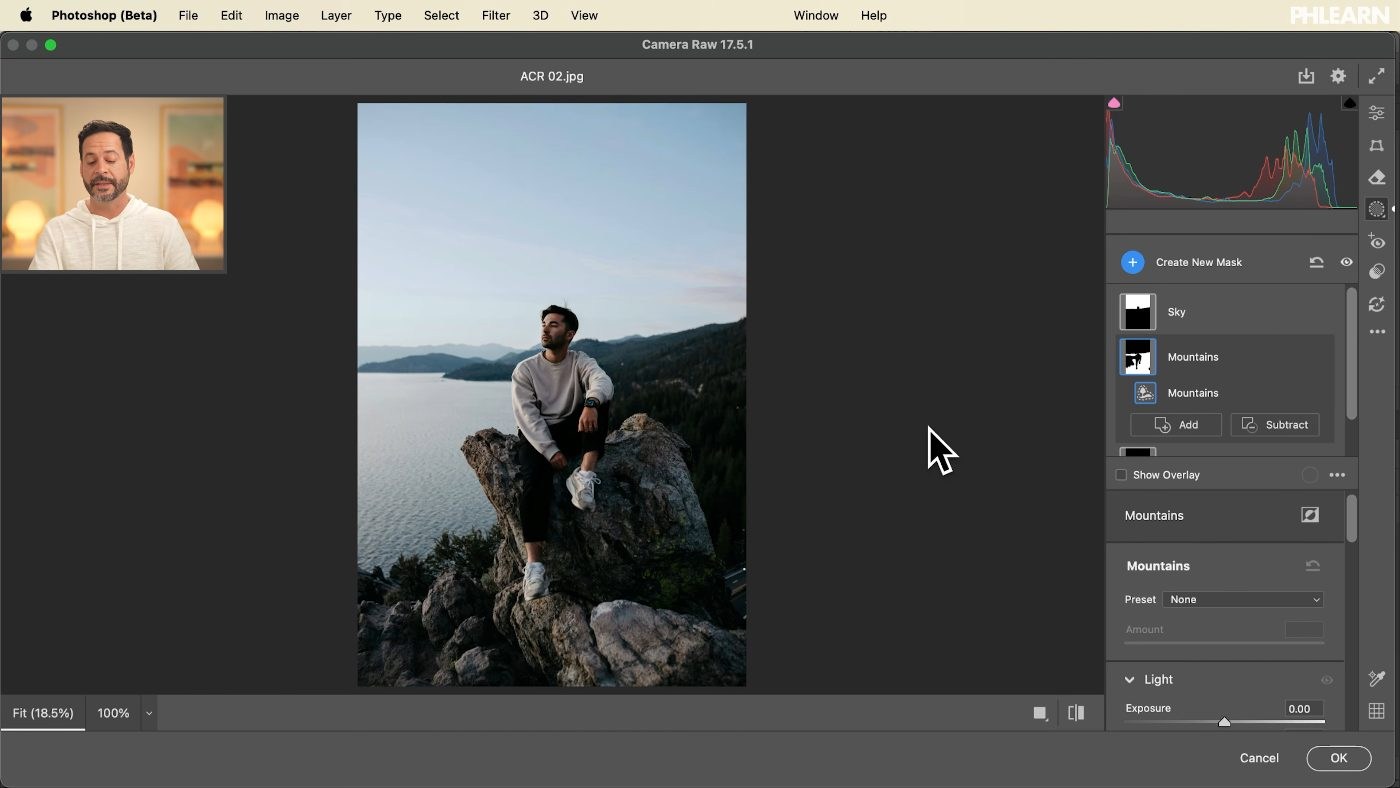
Use Select Landscape on a Wide Shot
It returns the sky, the mountains and the water as three independent masks in one action. Selecting these by hand is the kind of job that used to take twenty minutes.
-
Adjust Each Region on Its Own Terms
Pull the sky’s Highlights down and shift its Color Temperature cooler. Lift the mountains’ Exposure and add Clarity. Push the water bluer. Three small moves that would fight each other as global adjustments.

-
Add a Select Subject Mask for the Person
A little more Shadows and a warmer temperature. People need warming when the landscape around them has been cooled — otherwise they read as part of the scenery.

Where People Go Wrong
Skipping the Smart Object
Run Camera Raw on a flat layer and your masks are gone the moment you click OK. Thirty seconds of setup buys you unlimited revisions.
Judging the Edit With the Overlay On
Red over everything hides exactly the subtlety you are trying to control. Press Y.
Treating the AI Mask as Finished
Add and Subtract are half the tool. The interesting results come from a generated mask that has then been modified.
Cooling a Scene and Forgetting the Person In It
Global temperature shifts turn skin grey. Mask the subject back out and warm them separately.
The Work Moves From Selecting to Deciding
When a mask took twenty minutes, the mask was the job. Now that it takes a second, the job is the part that was always more interesting and much harder to teach: deciding which regions of a photograph want to be brighter, cooler, sharper or quieter, and by how much.
That is worth saying plainly because it changes how you should practise. Time you would once have spent learning to select a treeline is better spent looking at photographs you admire and working out which parts of them were treated differently from the rest.
Try It on One Portrait and One Landscape
Convert to a Smart Object, open the Camera Raw Filter, use Select Background and pull the exposure down, then subtract a radial gradient to leave a glow behind your subject. Download the two free sample images and two PSDs and do it on both files — then run Select Landscape on the wide shot and give the sky, the mountains and the water three different treatments. For masking and local adjustment done deliberately, our PRO Power of Masking and Coloring in Lightroom course covers the reasoning behind every one of those decisions.
Quick Reference: Keys, Menus and Settings
- Make it reversibleFilter > Convert for Smart Filters
- Open the AI masksFilter > Camera Raw Filter, then the Masking icon on the right
- Darken the backgroundSelect Background, then Light > Exposure down
- Leave a glowOn the background mask: Subtract > Radial Gradient, drag behind the subject
- Overlay and pinsY shows or hides the overlay, V the pins
- Three landscape masksSelect Landscape: check Sky, Mountains and Water, then Create
- Edit it laterDouble-click Camera Raw Filter in the Layers panel

Free Downloads
Follow Along on the Same Photos
Get the two sample images and two PSDs: the portrait to lift off its background and the lake and mountain landscape to edit in separate parts. Free with a PHLEARN account.
AI Masking in Camera Raw: Common Questions
Where are the AI masks in Camera Raw?
Go to Filter > Camera Raw Filter and click the Masking icon on the right. The AI options are Select Subject, Sky, Background, People, Objects and Landscape, next to the Brush, Linear Gradient and Radial Gradient.
Why convert the layer to a Smart Object first?
So you can change everything later. Choose Filter > Convert for Smart Filters before opening Camera Raw. Afterward, double-click Camera Raw Filter in the Layers panel and every mask is still there to adjust.
Does the Camera Raw Filter work on JPEGs?
Yes. It’s used for processing raw photos, but it works just as well on a JPEG or any other image.
How do I make my subject stand out from the background?
Create a Select Background mask and bring the Exposure down under Light. Darkening around the subject separates them and looks more natural than brightening them.
How do I keep a soft glow behind my subject?
With the background mask selected, click Subtract and choose Radial Gradient, then drag it over the area behind your subject. That patch is taken out of the darkening and stays bright.
How do I hide the red mask overlay?
Press Y to show or hide the overlay, or use the Show Overlay checkbox. Press V to show or hide the pins. Turn the overlay off to judge the real result.
What does Select Landscape find?
In the video it finds the sky, mountains, vegetation and water, and artificial ground on another photo. Check the parts you want and click Create to get a separate mask for each one.
The AI mask missed an area. How do I add it?
Select the mask, click Add, choose Brush and paint over the missed area. Aaron adds a stretch of road to the mountains mask this way.
Can I select just a person’s clothing?
Yes. Choose Select People, pick the person and check Clothes, then click Create. The same list offers facial skin, body skin, eyebrows, eyes, lips, hair and teeth.
Are the sample files free?
Yes, with a free PHLEARN account. You get 2 sample images and 2 sample PSDs: the portrait and the lake and mountain landscape, so you can build the same AI masks in Camera Raw.
Master Photoshop, Lightroom and Photography
Join PHLEARN PRO for $12.99 a month or $99.99 a year. Cancel anytime, with a 100% money-back guarantee.