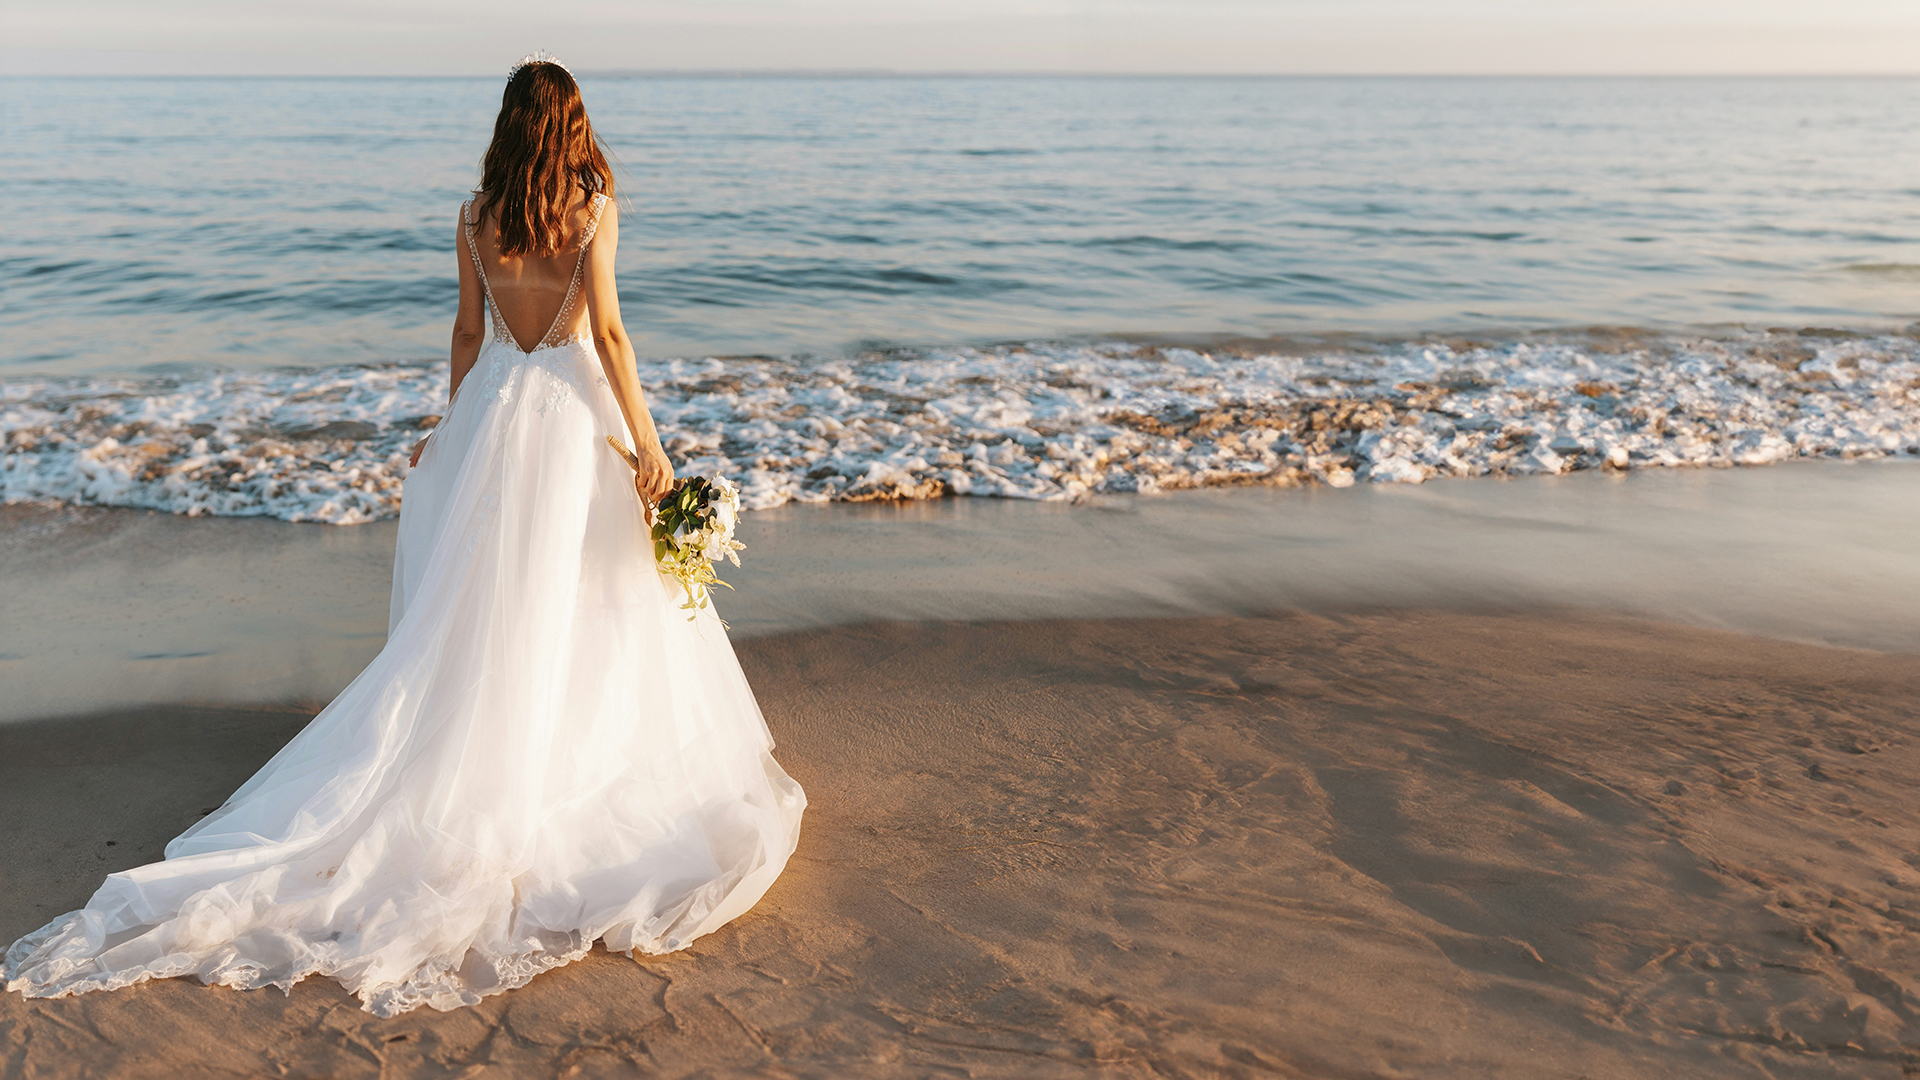

description
Learn how to perfectly export your images for both print and web! In this tutorial, we’ll show you essential techniques like optimizing image quality, selecting the right file format, and setting the correct color space for flawless online and printed results.
Enjoying This Free Tutorial?
We publish a new free tutorial every week, each one with sample images and PSDs you can download and follow along with. Sign up and they land straight in your inbox, along with early word on sales, events and subscriber-only offers.
Image Source
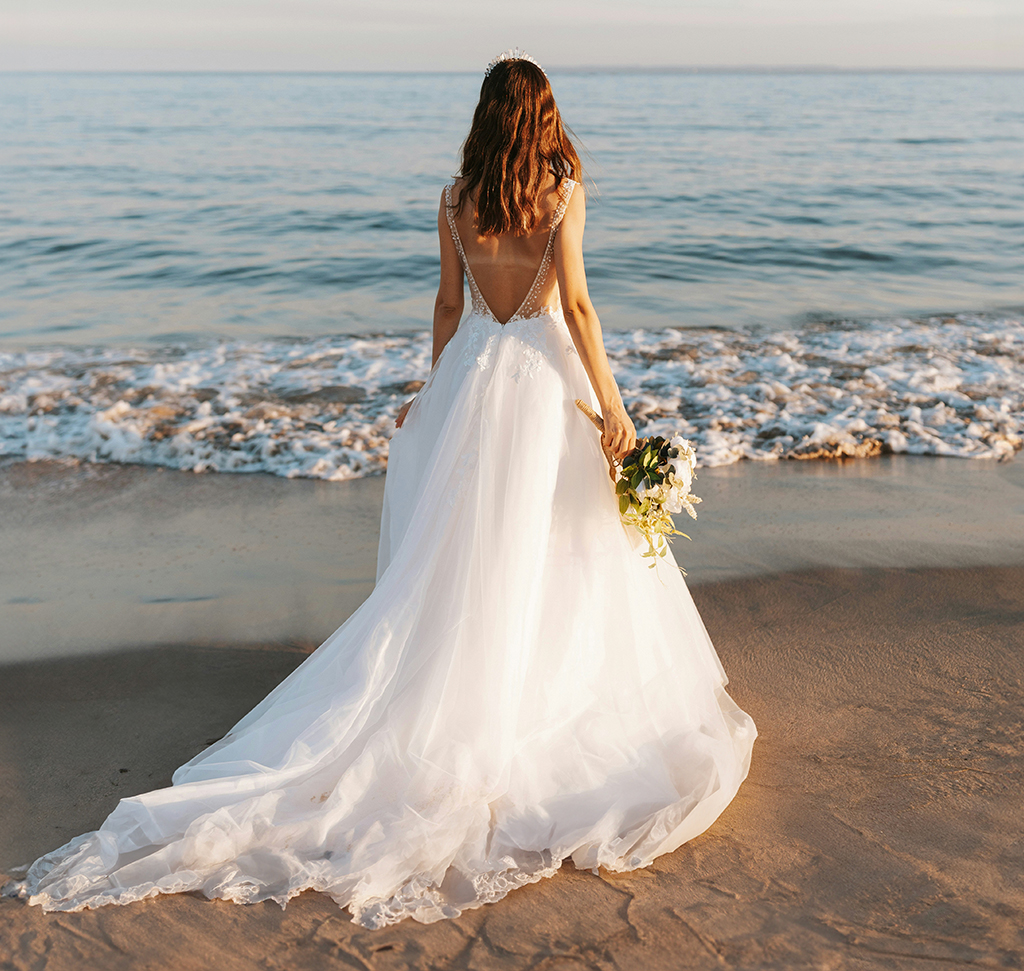
How to Export Images for Print and Web in Photoshop
The same photograph needs different treatment depending on where it is going. A web export wants a specific color space and a modest file size. A print export wants maximum resolution and a fixed aspect ratio. Get either wrong and the result is visibly worse than what you were looking at in Photoshop.
The most common failure is colors that look right on your screen and wrong once uploaded. That is a color space problem, and it is one checkbox.
This tutorial covers exporting for web at multiple sizes in one operation, and preparing prints at any aspect ratio without cropping into your image.
Use Export As, Not Save As
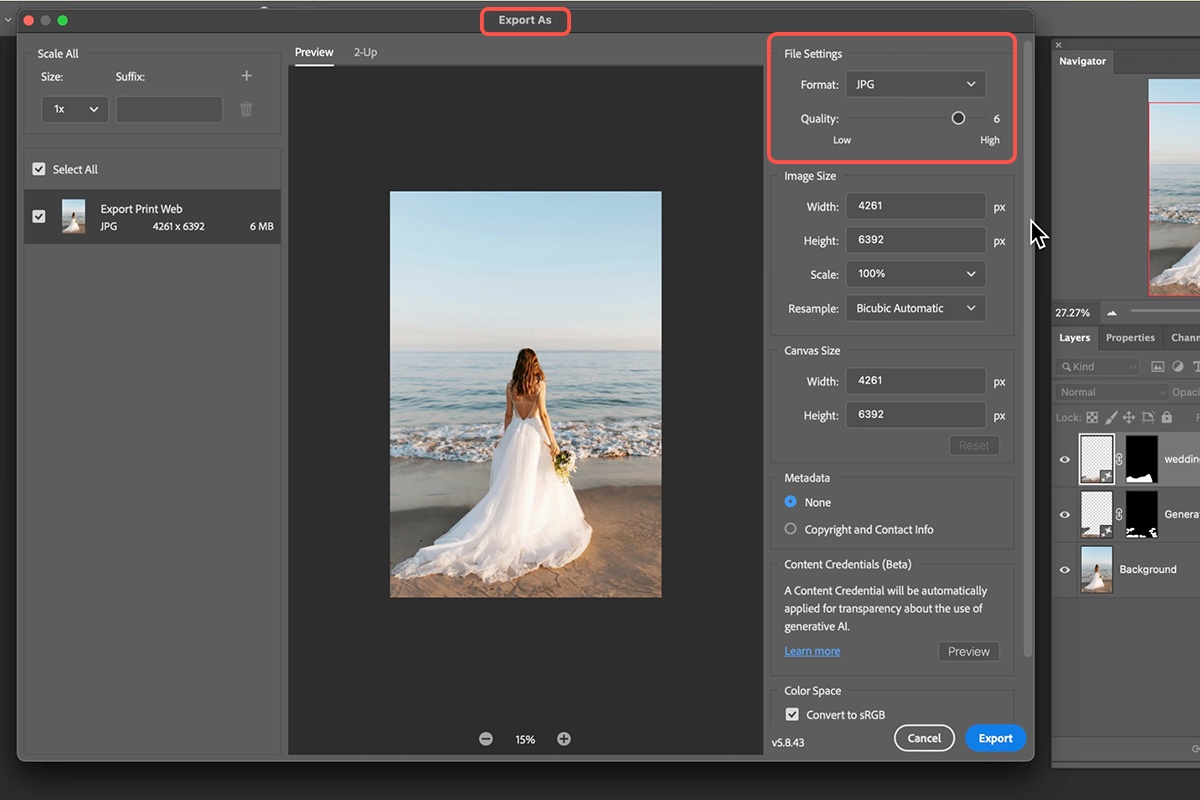
Go to File → Export → Export As. This dialog has the controls that matter, and it is where the color space setting lives.
Set Format to JPEG for both web and print.
Convert to sRGB — the setting that fixes wrong colors
Near the bottom of the dialog, make sure Convert to sRGB and Embed Color Profile are both ticked.
This is the single most important export setting. sRGB is the color space the web is built on. If you have ever exported an image that looked vivid in Photoshop and flat or oddly shifted once uploaded, this was almost certainly why — the file was in a wider color space that the browser did not interpret.
Tick it for web exports without exception. Tick it for print exports too unless your printer has specifically asked for a different profile.
Quality Settings
Quality around 6 is a sensible balance for web — visually clean at a file size that loads quickly.
For print, push it to 7 or higher. Compression artifacts that are invisible on a screen become visible on paper, and there is no reason to economize on a file you are about to have printed.
Export Several Web Sizes at Once
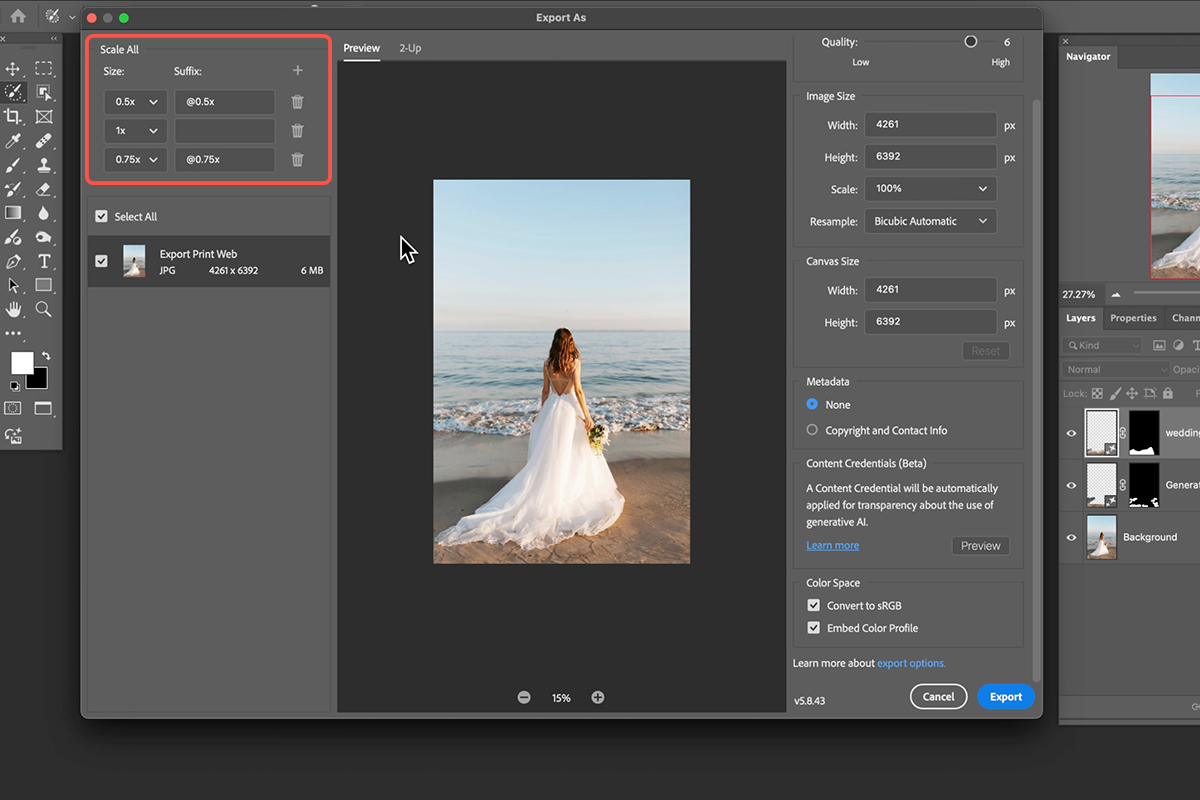
The left side of the Export As dialog has a size list, and you can add multiple entries.
Add 1x for full size, 0.5x for half, 0.75x for three-quarters. Click Export once and Photoshop writes all three, appending the scale to each filename so they arrive clearly labeled.
This is worth setting up if you regularly need a full-size image plus smaller versions for thumbnails, social, or responsive web use. One operation instead of three.
Preparing for Print: Aspect Ratio First
Print sizes are fixed aspect ratios, and if your image is not in the right one, whoever prints it will crop it — usually not where you would have chosen.
Press C for the Crop Tool and type the ratio into the Ratio fields in the options bar.
Worth knowing: 4×5 and 8×10 are the same ratio, so one export serves both. Same for 5×7, and 16×9 for widescreen.
Two settings to change before you crop
Uncheck Delete Cropped Pixels. Leaving it on discards everything outside the crop permanently. Unchecked, the pixels remain and you can re-crop to a different ratio later from the same file.
Set Fill to Generative Expand. This is what turns cropping from a subtractive operation into an additive one.
Crop Outward Instead of Inward
With Generative Expand set, you are no longer limited to the pixels you photographed. Drag the crop box beyond the edge of the image and Photoshop fills the new area to match.
That changes the whole exercise. Rather than deciding what to sacrifice to reach 4×5, you extend the frame until it fits. A subject sitting too close to the bottom edge gets more ground beneath them instead of being cropped tighter at the top.
Hold Alt or Option while dragging a corner to expand from the center, keeping the subject centered as the frame grows.
Commit with the checkmark and the generated area fills in. It works for dramatic changes too — a portrait-orientation image can become 16×9 widescreen, with substantial new content generated on both sides.
Size for Print: as Large as Possible
Aspect ratio decides the shape. Resolution decides the quality.
In Export As, leave the width and height at maximum. There is no benefit to reducing a print file, and every pixel you discard is detail the printer cannot recover.
This is the opposite of the web mindset, where smaller files load faster. For print, bigger is simply better.
Put the size in the filename
Name exports with the ratio appended — image_5x7, image_4x5_8x10, image_16x9.
Once you have several versions of one photograph, thumbnails all look identical in a folder and the aspect ratio is the only thing distinguishing them. Naming them saves opening each one to work out which is which, and saves sending a client the wrong file.
More Free Photo Editing Tutorials
If this was useful, these go further in the same direction:
- How to Create a Composite in Photoshop — building the layered file first.
- Compositing Highlights, Shadows and Reflections — making an added element sit in the scene.
- How to Use the Select and Mask Workspace — cleaner cut-outs, which compositing depends on.
- How to Create and Use Layer Masks — confining an effect to exactly where it belongs.
- How to Make Realistic Shadows in Photoshop — the shadow that anchors an object.
- How to Use Select Subject in Photoshop — the selection engine behind most cut-outs.
Clean Up Before You Export
Worth doing before any of the above. Take the Selection Brush Tool, paint over distractions — footprints in sand, litter, background clutter — then click Generative Fill and Generate with an empty prompt.
The same tool handles requested changes. Select an area, type what you want, and generate — extending a wedding dress so it flows across the sand, for instance. Several variations come back and you pick.
Do this before cropping and exporting, so every version you produce carries the cleanup.

The Two Recipes
Web: File → Export → Export As. JPEG, quality ~6, Convert to sRGB ticked. Add 1x, 0.75x and 0.5x to the size list and export them together.
Print: Press C, set the ratio, uncheck Delete Cropped Pixels, set Fill to Generative Expand, and drag the crop box outward rather than inward. Then Export As with JPEG, quality 7+, dimensions at maximum, sRGB ticked, and the ratio in the filename.
If you remember one thing, make it the sRGB checkbox. It is the difference between colors that survive the upload and colors that do not.







Enjoying This Free Tutorial? Go Further with PRO.
Unlock Full Sample Files, PSDs, and Hundreds of Masterclasses!

Download full project assets, original PSDs, and RAW images for every lesson
Unlimited access to our complete library of PRO Photoshop & Lightroom courses
Instant 4K Ultra HD streaming on all devices, anytime, anywhere
Full access to our entire library of Photoshop Actions, Presets, and LUTs
Flexible monthly and annual membership plans
Cancel anytime with zero hassle or commitments