
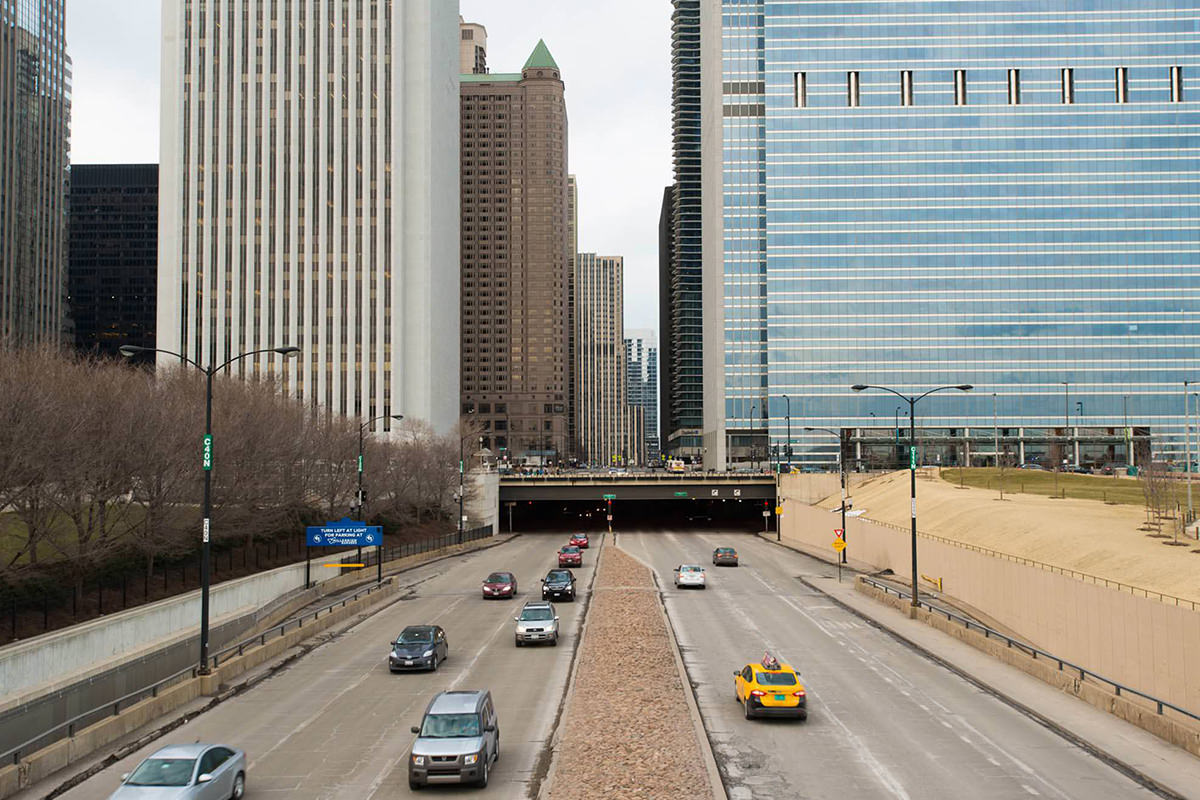
BEFORE
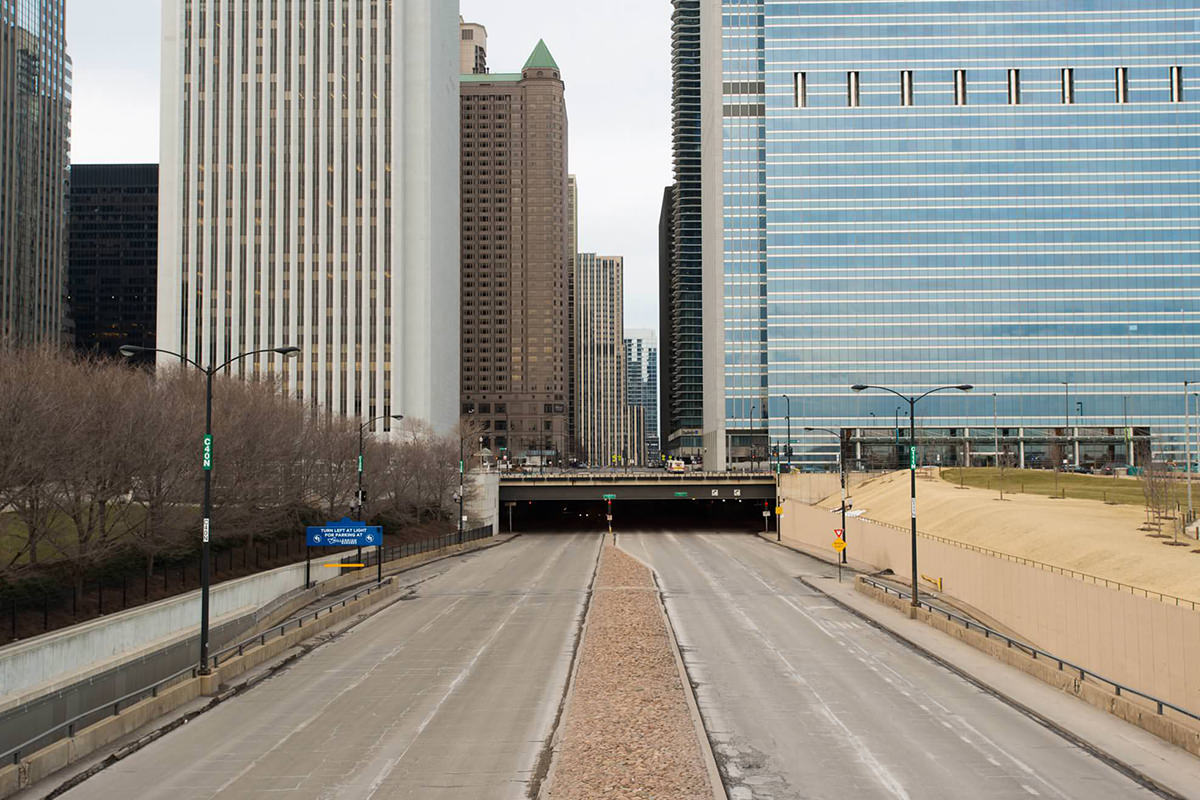
AFTER
Tutorial Description
You will be stunned by the simplicity and effectiveness of this technique! Learn how to auto-Remove Objects from your images in no time!
Be sure that your images are shot on a tripod for this, or it will not work. They must be lined up perfectly so that the photos can be combined.
Manual
This process can be done manually, which would be to load all of the images and use Layer Masks to eliminate parts of certain photos. Go to File – Scripts – Load Files into Stack. You can then select your files and click OK. They will load as individual layers, which allows you to add or eliminate elements with Layer Masks (black conceals, white reveals).
Automatic
This process does all of the masking for you! Go to File – Scripts – Statistics. The Stack Mode should be “Median.” This means that it will locate all of the “different” elements in the files and remove those Differences (ie. cars, people, random moving objects). Click Browse to open your images, and check the “Attempt to Automatically Align Source Images” box; this ensures that the photos will be lined up just right. Click OK, and watch the magic happen! It will get rid of all of the Differences in the photos and combine it into one clean image.
Photoshop also compresses this layer into one Smart Object, so you can double click on it and open up each individual layer if you need to.


