How to Retouch a Portrait in Under an Hour
-
Add to
favorites
-
DifficultyMedium
-
Length1 hours
-
Videos6
-
Software
Description
Portrait retouching can feel like a long and complicated process, but it doesn’t have to be! Learn how to get the most out of your images in the least amount of time – all so you can move on to your next big project.
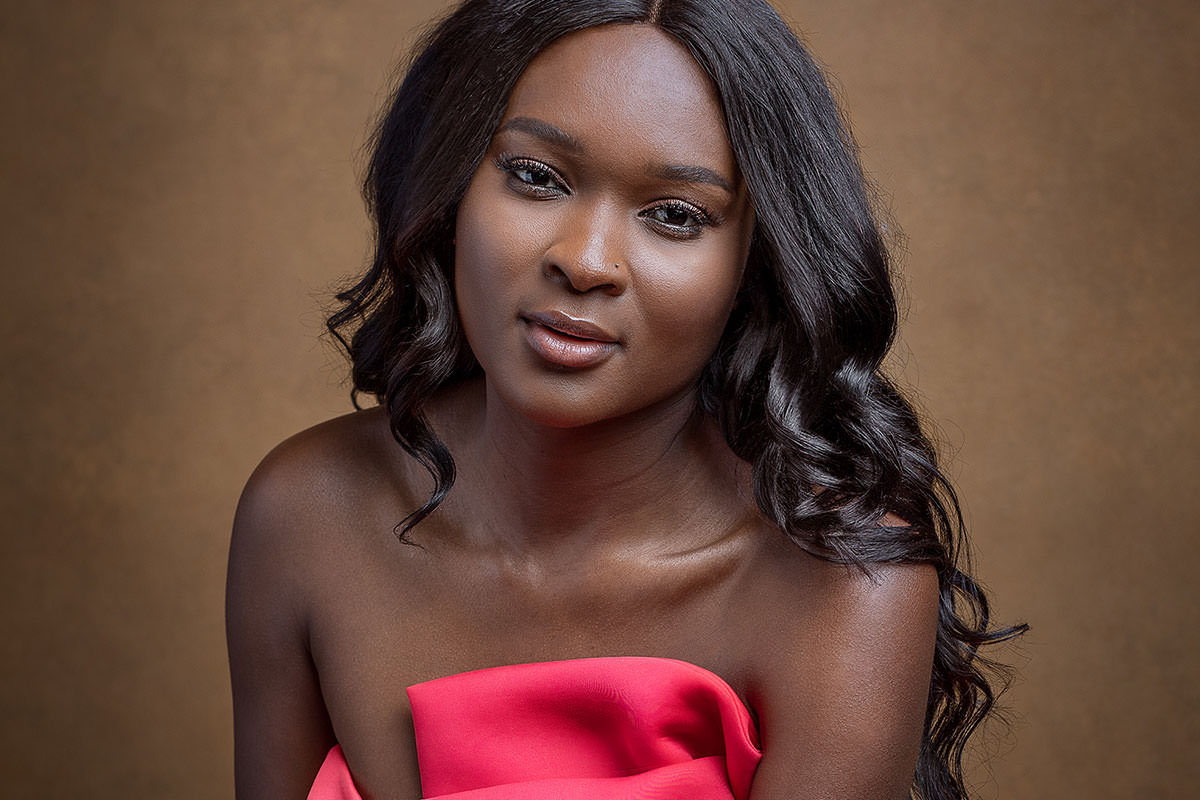
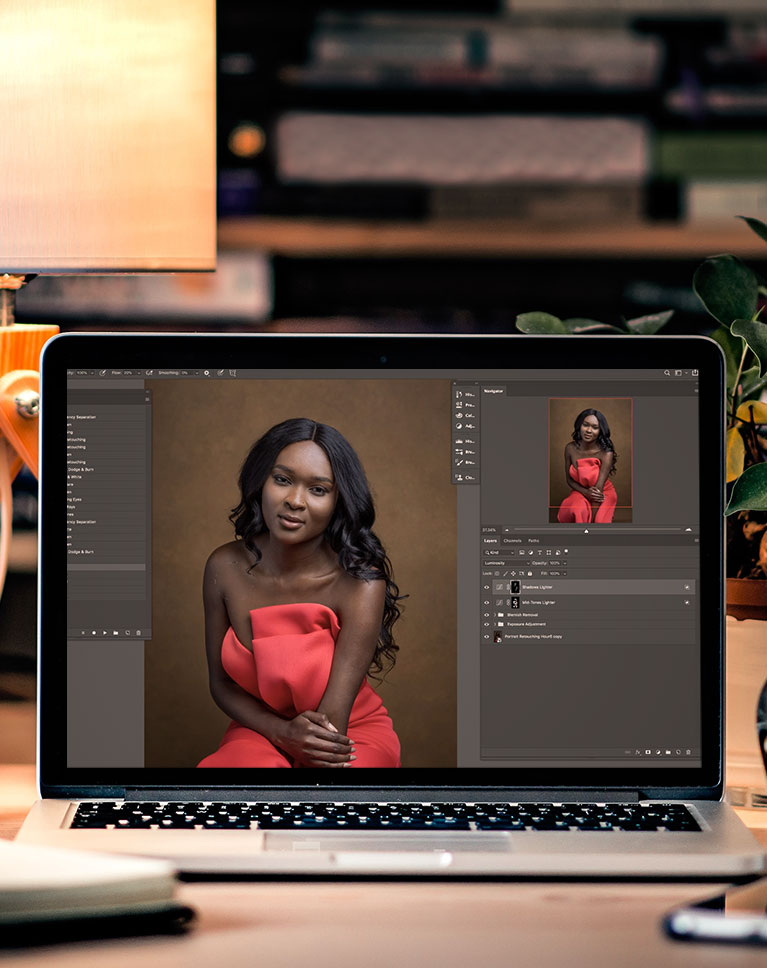
Follow along as we show you how to completely retouch a portrait in under an hour! From exposure adjustments and hair cleanup, to Frequency Separation and dodging and burning, we show you how to work faster and more confidently than ever.
THIS COURSE INCLUDES
- 1 Sample Image
- 1 Sample PSD
- 2 Photoshop Actions
SHARE
Course Downloads
Practical Tips for a Faster Workflow
One Hour Photoshop Retouching
First comes mastery, then comes speed. We break down all of the necessary steps in the professional retoucher’s workflow, helping you quickly identify the changes you need to make to get the most out of an image.
Edit RAW Images
Working with RAW gives you the most editing power, and guarantees you get the quality both you and your clients expect. Learn how to make powerful adjustments to exposure and color using Photoshop and Adobe Camera RAW. New to Adobe Camera RAW? Try this PRO tutorial where we take a deep-dive into ACR in Photoshop.
Balanced Exposure
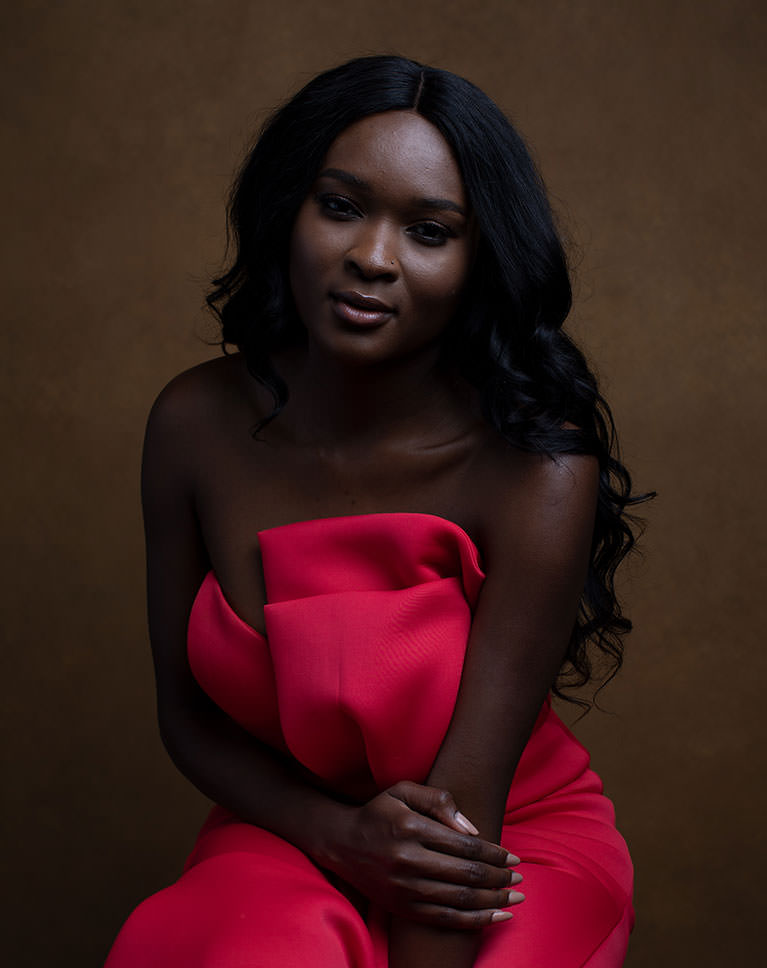
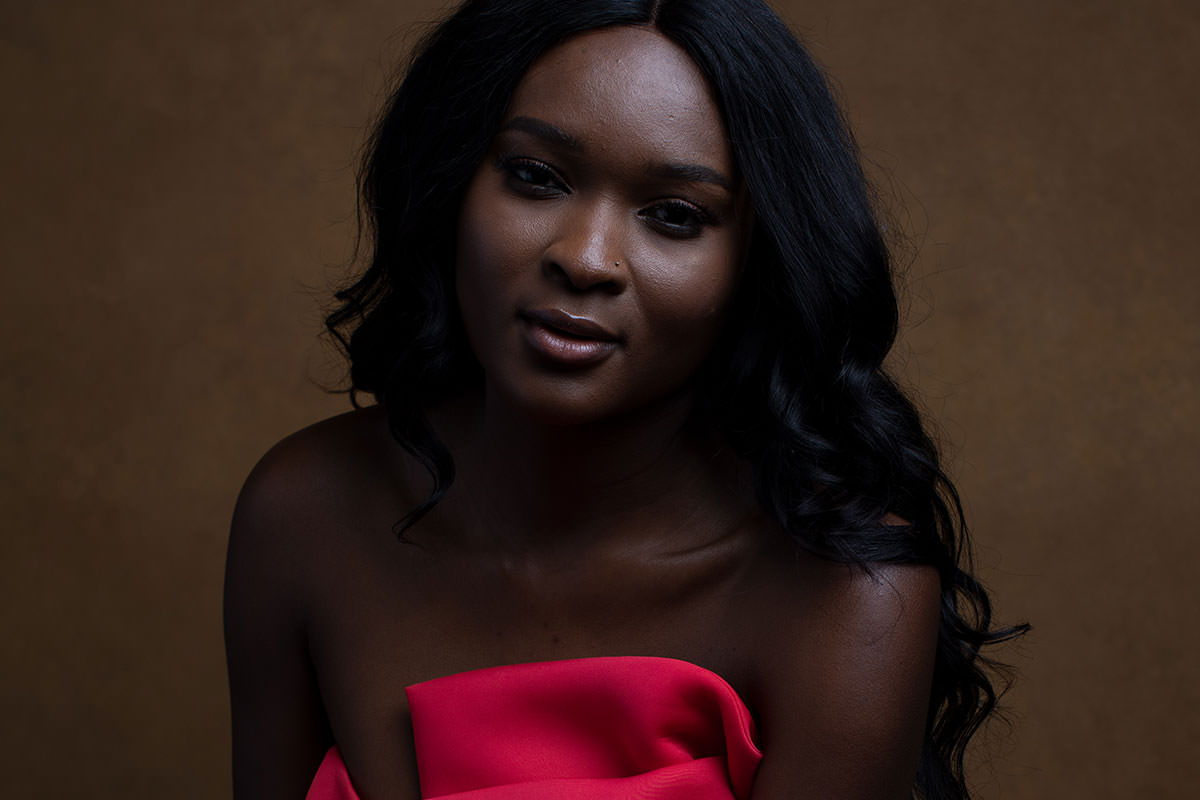
Things don’t always go as planned during a photoshoot. Making both large and small adjustments to exposure is a key part of the retoucher’s job. We show you how to get it done quickly and efficiently by creating multiple exposures in Adobe Camera RAW, and then blending them together in Photoshop.
Highlights & Shadows
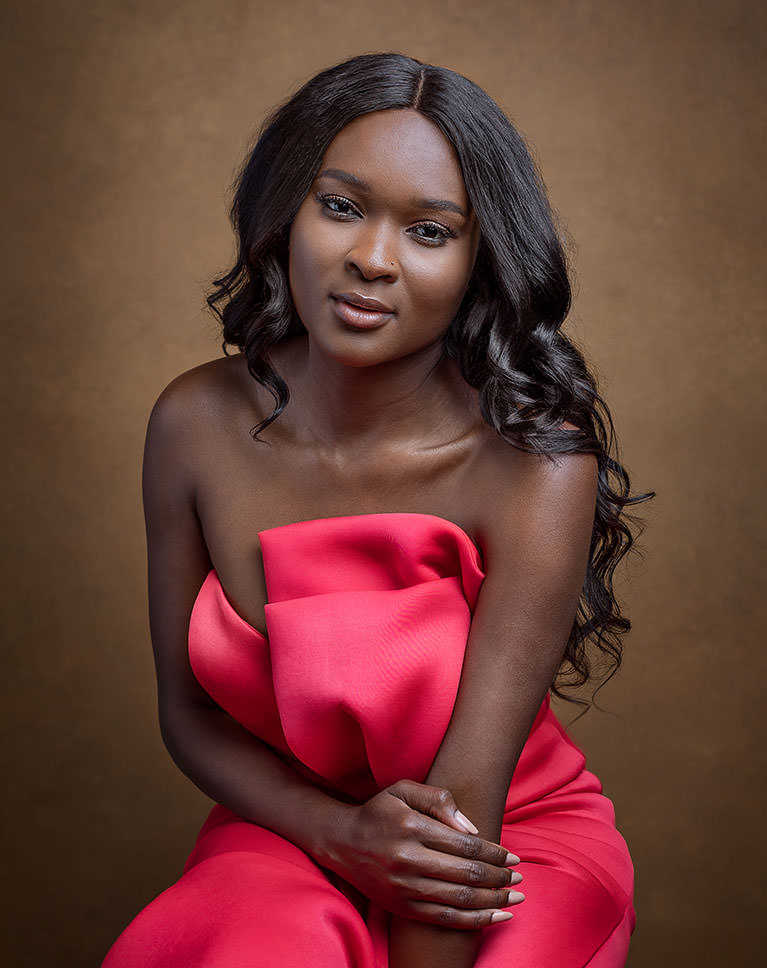
Retouching portraits is all about sculpting the natural highlights and shadows in the image, adding shape and definition and drawing more attention to your subject. We show you how to create multiple exposures and then blend them together for a more balanced and powerful exposure.
Perfect Skin & Hair
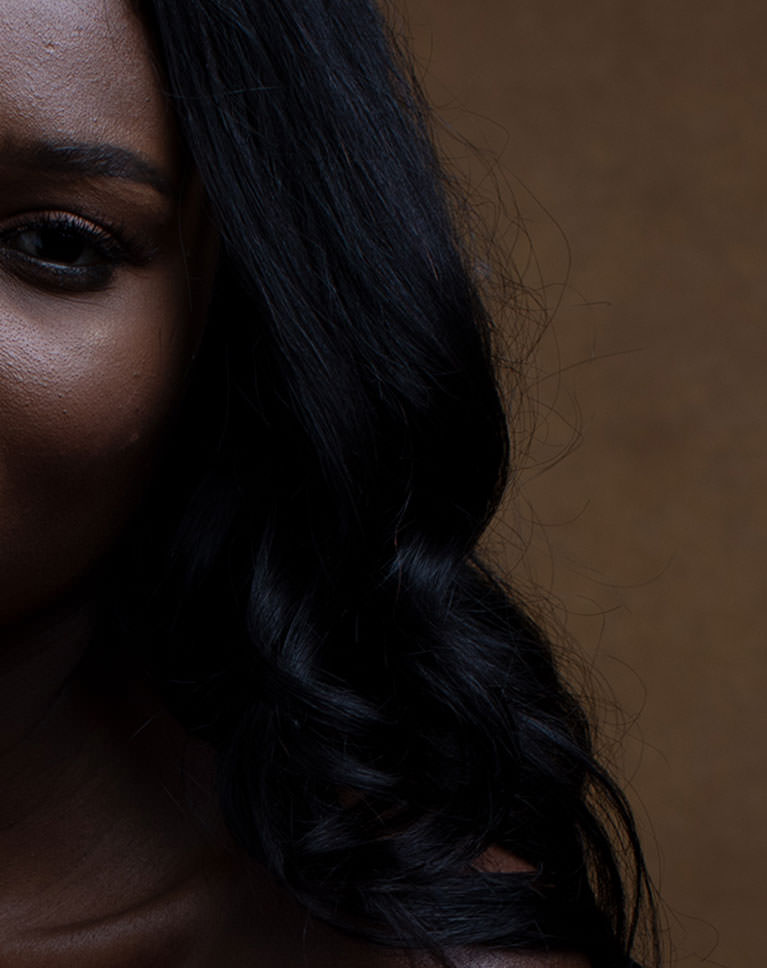
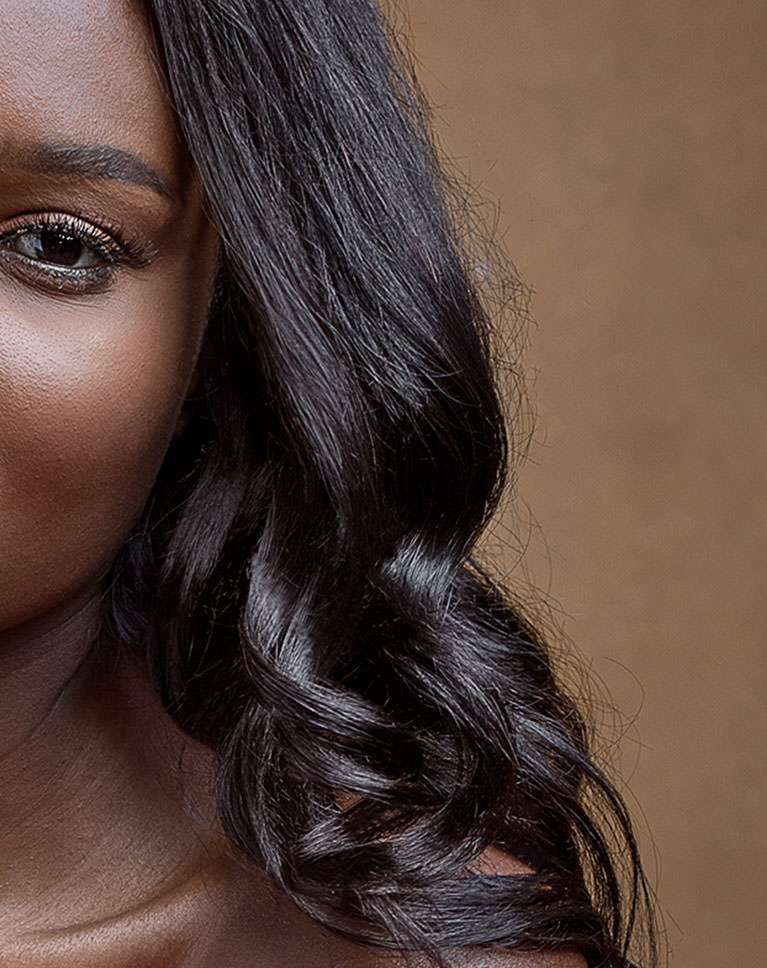
Reducing small blemishes, flyaway hairs, and harsh transitions between light and dark are all important steps to the retoucher’s workflow. We show you how to enhance your subject’s natural beauty with subtle, yet effective, retouching techniques.
Enhance Your Subjects
Your subject should be the star of the show. Learn how to remove distractions and draw more attention to your subject using highlight, shadow, and contrast. Once you’re done here, master the art of enhancing your subjects by Mastering Dodging & Burning!
Work Smarter
Pro Retouching, on Your Schedule
Ideally, we would have all the time in the world to spend editing an image until it’s perfect. But there’s always another client lined up, or a new project to get excited about. We show you how to edit images on your schedule, so you can move on to the next big thing.
Remove Flyaways
Retouching hair can often feel like a daunting a time-consuming step. We show you the tools that will help you get it done fast, and with beautiful results. And we know how challenging hair can be. Learn all the tricks of the trade with our PRO tutorial Master Retouching Hair.
Add Shape & Definition
Some steps in the retouching process have a more profound impact than others. If you’re looking for the best way to take your images to the next level, look no further than dodging and burning. Add stunning shape and definition to any photo by enhancing the natural highlights and shadows.
Work Faster with Actions
Our PHLEARN Photoshop Actions are designed to give you professional-level results in a fraction of the time. By taking out the tedious steps of retouching, you can focus on the art of making your subjects look amazing.
Pro Sharpening
Sharpening is one of the most important steps to the retouching process. Learn how to apply multiple levels of sharpening to different areas of an image, adding depth and drawing more attention to the things that matter most.
Eye of the Retoucher
There’s more to working quickly than understanding Photoshop. You’ll learn how a professional retoucher quickly analyzes an image, identifying all the edits needed to take the photo to the next level.


Aaron Nace
PHLEARN Founder – Class Instructor
Aaron Nace is a photographer, Photoshop artist and founder of PHLEARN. He is the #1 Photoshop instructor in the world with millions of YouTube subscribers.

Brooke Curnow
Photographer – PHLEARN PRO Member
Brooke Curnow thinks she has the coolest job in the world. Her photography journey started by shooting women’s roller derby and comic conventions. She now spends a majority of her time making everyday people feel like rockstars and capturing those moments with her camera. When not shooting, Brooke can be found reading anything by Ryan Holiday, at the derby rink, or hiking with her family along the various trails around her home in Salt Lake City, Utah.
Reviews
New & Popular Tutorials
Training Site in
the World
Tutorials!
Ratings
and Counting
Subscribers







Really great tutorial. Learning a lot of things in retouching. :)))))))))))
Makes you think frequency separation is a thing of the past. Easy to follow
Like the dress on the woman
great quick retouching !!!
Amazing. Absolutely well done. I learned A LOT.
Fantastic! I love that I didn’t have to touch FreqSep. 🤣 Great quick retouch!
Thanks for this video. All in one !
A lot of great information and techniques packed in bite size portions that are really helpful. Can’t wait to try these in my workflow.
I always struggled with taking wayyyy way way too long for my edits. This tutorial showed me how relatively simple methods can still produce a fantastic result in a lot less time! Thanks!
Learned a few cool techniques to add to my retouching that should make my images better w/o adding a lot of time. One question: What’s the difference between the “apply image” step to ‘take a snapshot of everything you’d done before’ right before the liquify, vs. “Merge visible” which I think does the same thing?
Another great Tutorial from Aaron. I have learnt so much from Phlearn and his videos keep getting better.
Aaron, you’re the best! Invaluable information!
Really Great tutorial, a lot of things that I never know before. Thank you very much!
It’s interesting to see how arron works, but only his experience allows him to go quickly to get the result he already has in mind. While watching his tutorial I sometimes tell myself “why he does that, there is no more volume, the image seems flat and bland”, then he restores volume and contrast to the image a few next steps. For a very good end result, it’s true. Congratulations also to the photographer and her model, it would however have been also interesting to know why the model was underexposed.
Really great tutorial.
PHLearn is fantastic! Aaron is a great teacher, and his tutorials are super helpful and memorable. Question: can I get the same tutorials for Illustrator? Please!? thanks !
Thank you for this great tutorial. I generally care only about substance but I have to admit that Aaron’s enthusiasm and sunny attitude makes the a hole lot more enjoyable to watch and listen. Cheers
Love the non destructive RAW image workflow. This will not only save me time, but quality and amount of detail will improve. I will start implementing it into my retouching workflow. Thanks for the excellent tutorial!
Fantastic! Actually a 2-for. Both an excellent retouching course and a new drinking game. Take a shot of your preferred liquor every time Aaron says “fantastic” and see if you can make it through the tutorial… what do your results look like at the end? 🤪😃
YESSSSSSSSSSSS! Love this one!
I love your tutorials!!! I haven’t come across a single one I didn’t find useful or interesting.
That’s great information, Aaron! Thank you very, very, very much.
Now for the practice. This is yet another comprehensive tutorial that I’ll need to add to my favourites. It’ll be a while longer before I fully know when to apply what.
Again a great tutorial with some very useful new actions. Excellent (but we are used to that be now) One little biddi remark: do not use the word fantastic too often
Thanks Aaron so much for sharing your knowledge. Stepping the process out really helps, particularly as a reference for future so you can just go back to a particular section to review/recap. (Amazing transformation from an underexposed image and into) A beautiful portrait a client would be proud to own. Leanne 🙂
Again another fantastic tutorial. Gives me more hope and confidence to edit and retouch a portrait. Especially with all the actions that are included. This tutorial shows the benefits of being a Phlearn Pro member.
Brilliant and thorough run through from start to finish. Looking forward to saving time with those custom actions you’ve created. Thanks for the new skills and actions 🙂