


description
Learn how to remove a bra strap in Photoshop with the Spot Healing Brush set to Content-Aware. The regular Healing Brush struggles with anything long and thin, but Content-Aware reconstructs the surrounding skin and fabric convincingly. Working on an empty layer with Sample All Layers checked keeps the fix nondestructive, and painting the strap out in short sections rather than one long pass is what gives the cleanest result.
Enjoying This Free Tutorial?
We publish a new free tutorial every week, each one with sample images and PSDs you can download and follow along with. Sign up and they land straight in your inbox, along with early word on sales, events and subscriber-only offers.
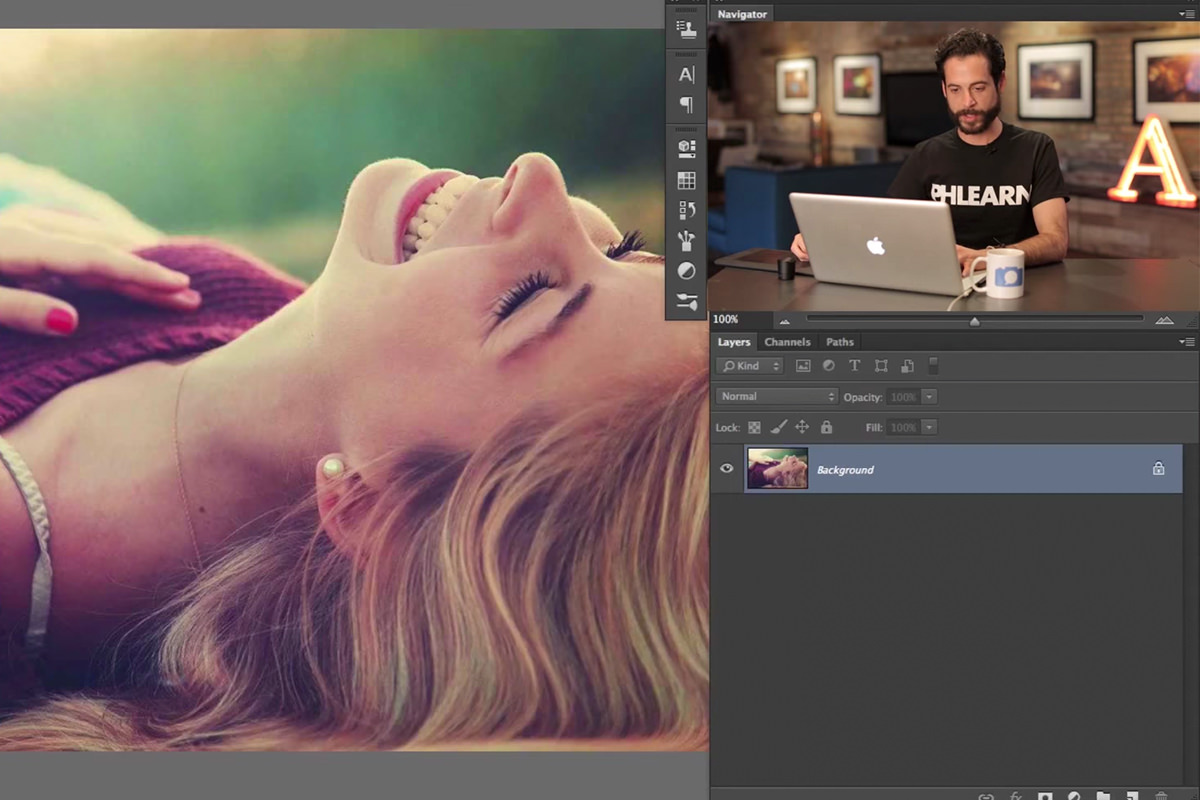
How To Remove A Bra Strap In Photoshop
Small distractions like a visible bra strap or a stray hair are easy to miss while shooting, since attention is usually focused on lighting and expression instead. This tutorial uses the Spot Healing Brush tool’s Content-Aware option, working on a separate layer, to remove a distraction like this quickly and convincingly.
Identifying Small Distractions Worth Removing
Small details like a bra strap or a bit of stray hair often go unnoticed while shooting, since focus tends to stay on bigger things like lighting and expression.
-
Review the Image for Small Details
Look over the finished image for small distracting details, such as a visible bra strap or a stray piece of hair.
-
Recognize This Is a Common Fix
Understand that this kind of small distraction comes up often, since it’s easy to miss in the moment while focused on other parts of a shoot.
Why the Regular Healing Brush Falls Short Here
Sampling from a nearby area with the regular Healing Brush tool and painting over something like a strap tends to produce an obvious, poorly blended result.
-
Try Sampling With the Healing Brush Tool
Sample a nearby area with the regular Healing Brush tool and paint over the strap to see how it blends.
-
Notice the Weak Result
Notice that this approach tends to blend poorly on something long and thin like a strap, rather than disappearing convincingly.
Setting Up a New Layer for the Fix
Working on a separate layer keeps the fix nondestructive, as long as the tool is set to sample from every visible layer beneath it.
-
Add a New Layer
Create a new, empty layer above the image to work on.
-
Select the Spot Healing Brush Tool
Choose the Spot Healing Brush tool from the toolbar.
-
Check Sample All Layers
Make sure Sample All Layers is checked in the options bar so the tool can read the image data beneath the empty new layer.
Why Sample All Layers Matters When Working on a New Layer
An empty new layer has no image data of its own for the Spot Healing Brush to read from. Checking Sample All Layers tells the tool to look at everything visible beneath that layer instead, so the fix still works correctly even though it’s being painted onto a blank layer.
Painting Over the Strap With Content-Aware
With Content-Aware built into the Spot Healing Brush tool, simply painting directly over the strap lets Photoshop figure out what should be there instead.
-
Paint Directly Over the Strap
Paint directly over the visible strap with the Spot Healing Brush tool.
-
Release to Let Content-Aware Fill In the Area
Release the mouse and let Photoshop’s Content-Aware fill in the painted area based on the surrounding image.
Why Content-Aware Changed How This Tool Gets Used
Earlier versions of the Spot Healing Brush tool struggled with anything more complex than small, isolated blemishes, which is why the regular Healing Brush was often the better choice for something like a strap. Content-Aware analyzes the surrounding image to intelligently reconstruct what should be there, which is what makes the Spot Healing Brush tool genuinely reliable for a longer, more complex distraction like a bra strap.
Working Through the Area in Small Sections
Painting over a distraction in smaller sections, rather than the entire length at once, tends to give Content-Aware better results.
-
Paint Over One Section at a Time
Paint over one portion of the strap, release, and let that section fill in before moving to the next.
-
Continue Section by Section
Repeat the same process along the rest of the strap’s length, working through it piece by piece.
Why Working in Small Sections Gets Better Results
Asking Content-Aware to reconstruct one long, complex area in a single pass gives it more surrounding detail to guess at once, which increases the chance of a visible mistake. Breaking the same area into smaller sections gives Content-Aware a simpler problem to solve each time, which tends to produce a cleaner result overall.
Repeating the Fix on Any Remaining Areas
Any spot that doesn’t come out perfectly on the first pass usually improves with a second pass over the same area.
-
Check the Result Along the Whole Area
Look over the entire area where the strap used to be to check for any spots that didn’t blend cleanly.
-
Paint Over Imperfect Spots Again
Paint over any remaining imperfect spots a second time, letting Content-Aware take another pass at fixing them.
Why This Approach Works
Content-Aware is what makes the Spot Healing Brush tool genuinely capable of handling a longer, more complex distraction like a strap, where the regular Healing Brush tends to blend poorly. Working on a separate layer with Sample All Layers checked keeps the fix nondestructive, so the original image data stays untouched underneath. Breaking the area into smaller sections and revisiting any imperfect spots is what turns a single rough pass into a genuinely clean result.
Final Thoughts
A distraction that once required careful manual cloning can now be fixed in a matter of seconds with Content-Aware doing most of the work. The same nondestructive, section-by-section approach works for far more than just a bra strap, so it’s worth reaching for whenever a small unwanted detail turns up in an otherwise great shot.
Quick Reference: Menus and Settings
- Work onAn empty new layer above the photo
- ToolSpot Healing Brush
- TypeContent-Aware, in the options bar
- SampleSample All Layers checked
- PaintOne section of the strap at a time, then let go
- Fix missesPaint over the spot again
Removing a Bra Strap: Common Questions
Which tool removes a bra strap fastest?
The Spot Healing Brush with Content-Aware. Paint over the strap and Photoshop fills it in from what is around it.
Why not the regular Healing Brush?
Sampling an area and painting over a long strap blends poorly and leaves an obvious smudge. It is still handy for small spots.
Can I do this on a new layer?
Yes. Add an empty layer and check Sample All Layers in the options bar, so the tool can read the photo underneath.
Should I paint the whole strap at once?
Work part by part. Paint one section, let go and let it fill, then do the next.
Why does my brush stroke show up gray?
That is just the stroke while you paint. When you let go, Content-Aware fills the area.
What if a spot doesn’t come out clean?
Paint over it again. Each pass gives Content-Aware another try, and it usually improves.
Does this work on other distractions?
Yes, like a stray bit of hair. These are easy to miss during a shoot while you’re watching the lighting, the expression and your settings.
Didn’t Aaron use to say to avoid the Spot Healing Brush?
Yes. For years he recommended the regular Healing Brush instead. Content-Aware changed that: it looks at what is around the area and rebuilds it, which handles a strap well.
From the Magazine View all
Stories, interviews and guides for photographers, new every week.
 EditingLightCraft vs Lightroom: I Edited the Same RAW Files in BothThe free clone on the same RAW files: what matches, what breaks and who should switch.
 InspirationRare Historical Photos: 13 of the Rarest Pictures Ever TakenFrom the earliest surviving picture of a person to the last passenger pigeon: who took each one and why it survives.
 EditingArtCraft: Photoshop Cloned by AI in Two Weeks. Is It Legal?ArtCraft cloned Photoshop and Lightroom with AI and gave them away. Any good? Legal? Safe?
Master Photoshop, Lightroom and Photography
Join PHLEARN PRO for $12.99 a month, or $99.99 a year (save 36%). Cancel anytime, with a 30-day money-back guarantee.





