

Download Assets
This tutorial includes 1 sample image and 1 sample PSD. Downloads are free with a PHLEARN account.
- Download the sample images and PSDs from every free tutorial on PHLEARN
- New free tutorials published every week
- One free account — sign up once, then download anything
description
Learn how to remove power lines from any photo in Photoshop by matching the tool to how busy the background is. Start with the Polygonal Lasso and Content-Aware Fill on lines crossing plain sky, select several clusters at once with Sample All Layers checked, switch to the Spot Healing Brush for smaller, more intricate lines over a building or subject, clean up leftovers with the Clone Stamp, and mask back details you want to keep.
Learn more about object removal in our new PHLEARN PRO series!
- Simple Object Removal in Photoshop
- Intermediate Object Removal in Photoshop
- Advanced Object Removal in Photoshop: Coming soon!
Enjoying This Free Tutorial?
We publish a new free tutorial every week, each one with sample images and PSDs you can download and follow along with. Sign up and they land straight in your inbox, along with early word on sales, events and subscriber-only offers.


How to Remove Power Lines from Any Photo in Photoshop
Power lines cutting across an otherwise clean shot are one of the most common distractions in outdoor photography, and removing them combines three different tools depending on how complicated the area behind the lines actually is. Starting with the easy sections and working up to the trickiest overlaps keeps the process manageable even on a genuinely busy photo.
Removing Simple Lines with Content-Aware Fill
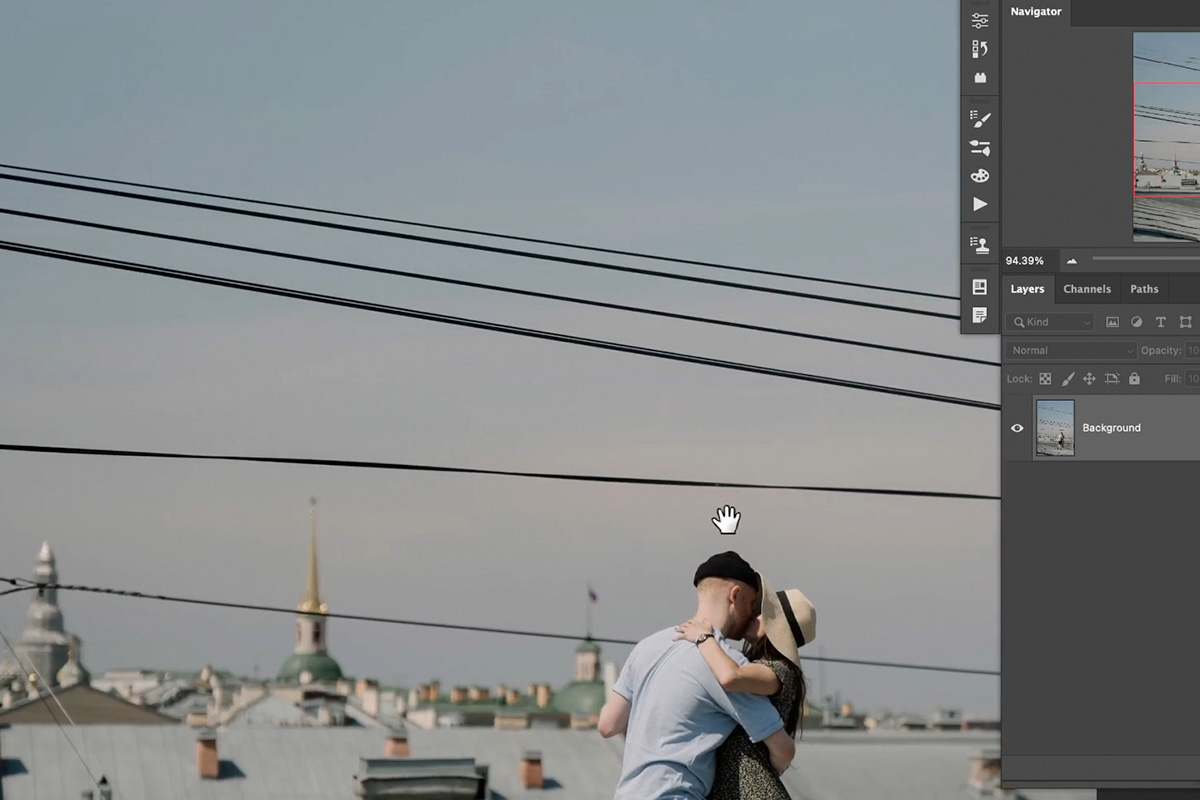
The simplest power line sections — ones crossing plain sky or an uncomplicated background — are the easiest place to start.
-
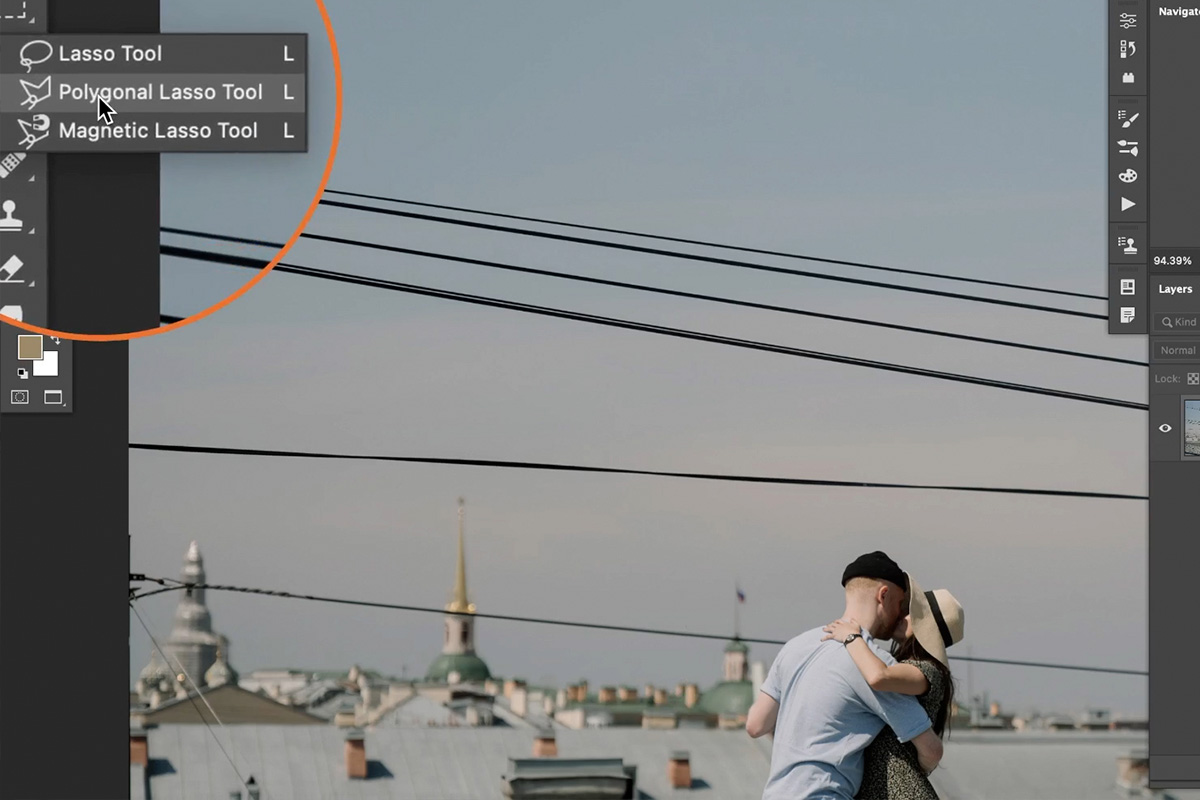
Select Around the Line with the Polygonal Lasso
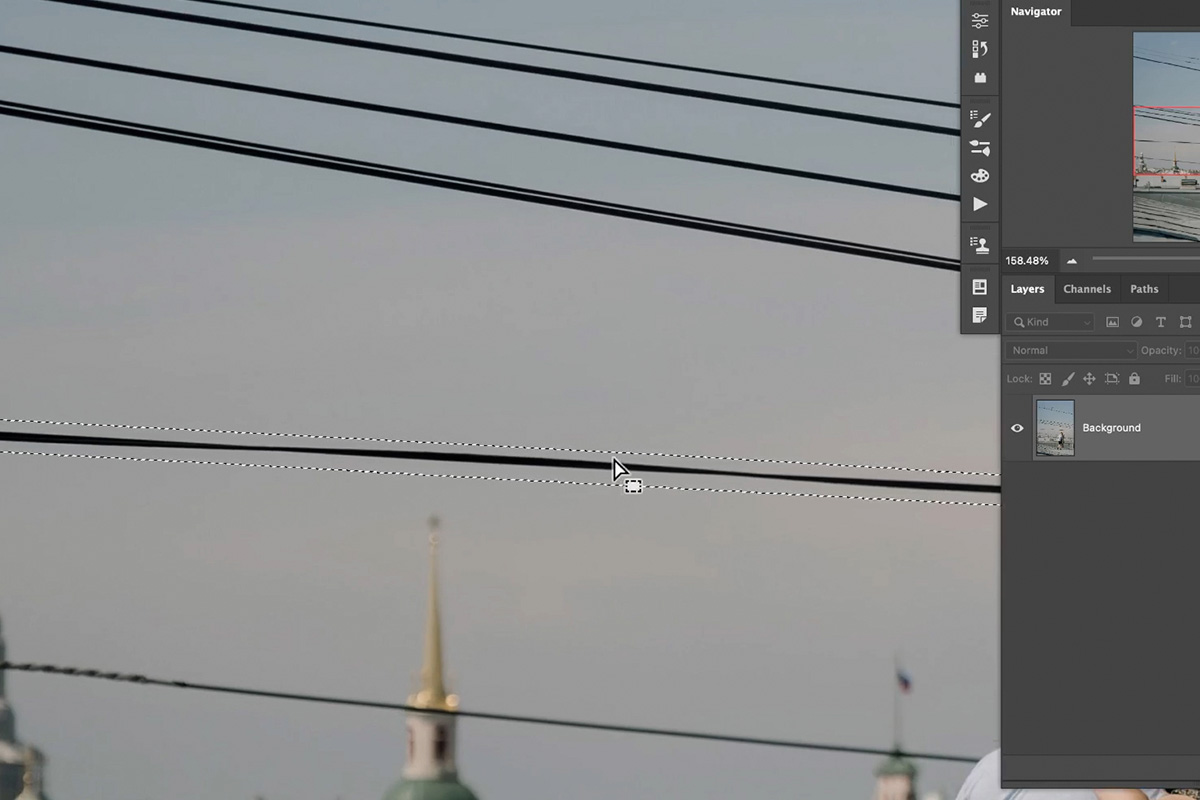
Choose the Polygonal Lasso tool and click a series of points to trace a selection slightly larger than the power line, holding the spacebar to pan around if you’re zoomed in.
-
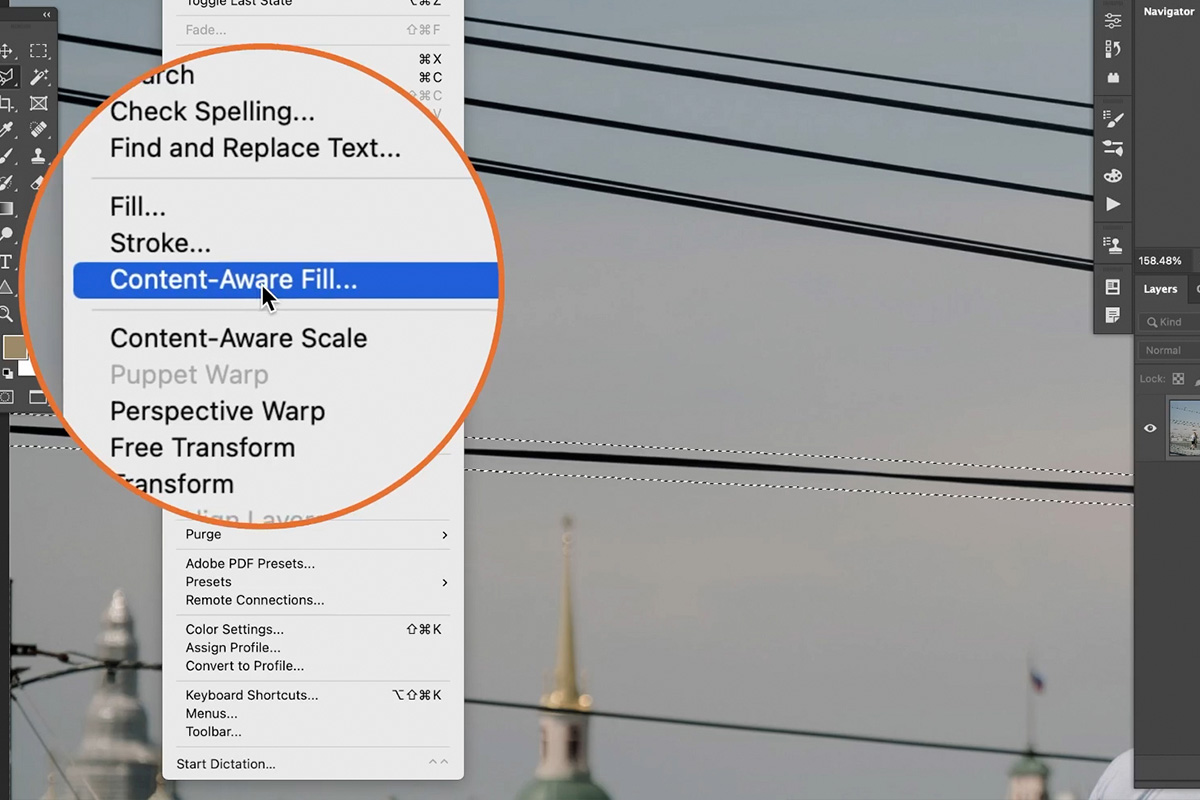
Apply Content-Aware Fill
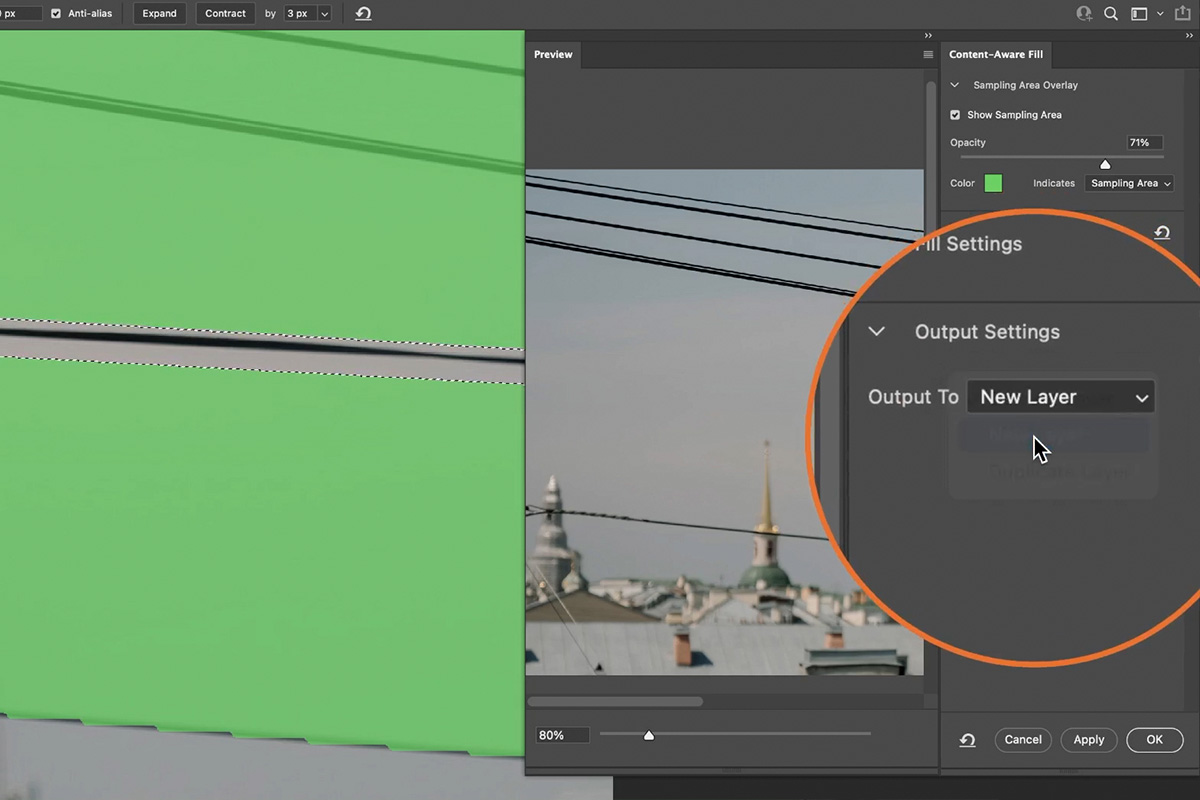
Go to Edit > Content-Aware Fill. The dialog highlights the areas it will sample from, and a live preview shows the result before you commit.
-
Output to a New Layer
In the Output Settings, choose New Layer so the fix lives on its own layer above your original background.
Selecting Multiple Clusters at Once
Rather than repeating the whole process for every individual line, several separate clusters of power lines can be selected and filled together in one pass.
-
Add to Your Selection
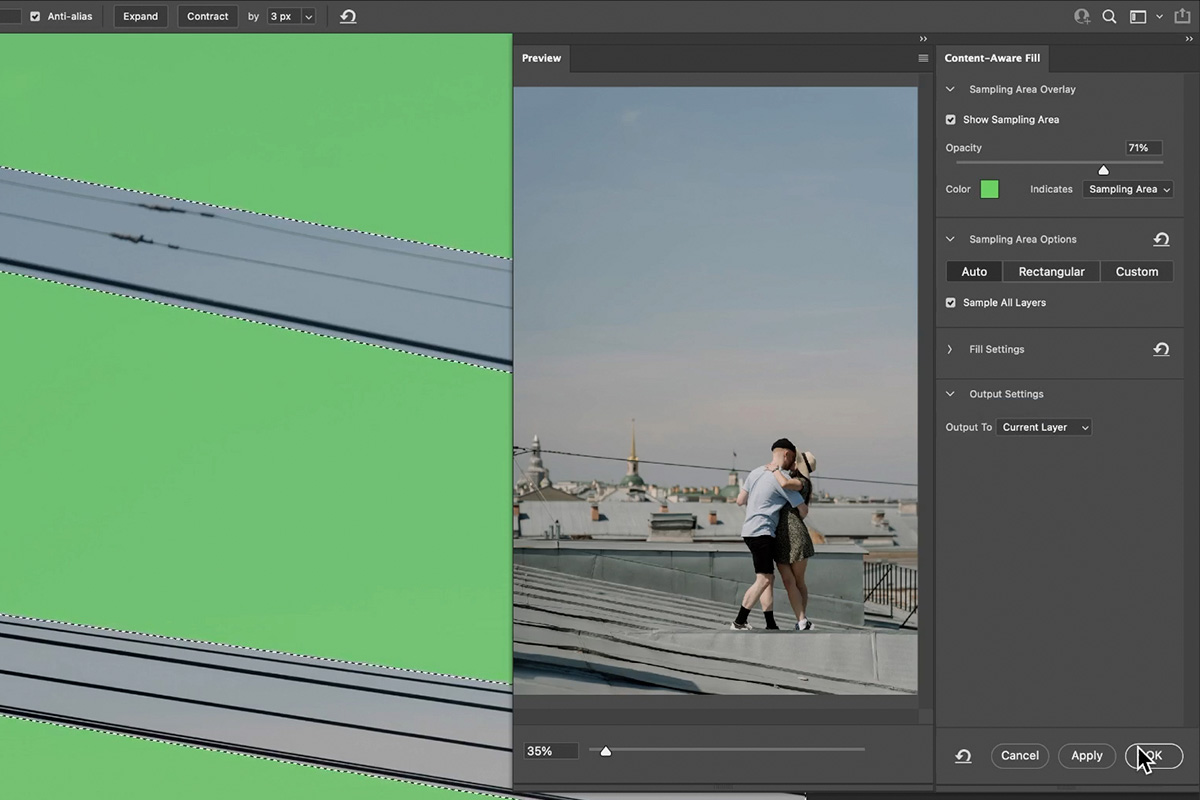
With the Polygonal Lasso tool, select the first cluster, then hold Shift and select additional clusters elsewhere in the photo to add them to the same selection.
-
Fill with Sample All Layers Checked
On your new layer, go to Edit > Content-Aware Fill again, and check Sample All Layers, then output to Current Layer since you’re already working on the dedicated fix layer.
Why Check Sample All Layers
Working on a new layer means that layer starts out mostly empty, so without Sample All Layers checked, Content-Aware Fill would have nothing useful nearby to pull from. Checking the option tells it to pull sample information from the full, flattened image beneath, giving it the same quality of material to work with as if you were still on the original background layer.
Handling a Complex Cluster Over a Busy Background
Power lines crossing a building, a subject, or other detailed background take a bit more patience and usually need a follow-up cleanup pass.
-
Select the Complicated Cluster
Trace around the more complex cluster of lines with the Polygonal Lasso, including any lines crossing detailed areas like a building or your subject.
-
Apply Content-Aware Fill and Review
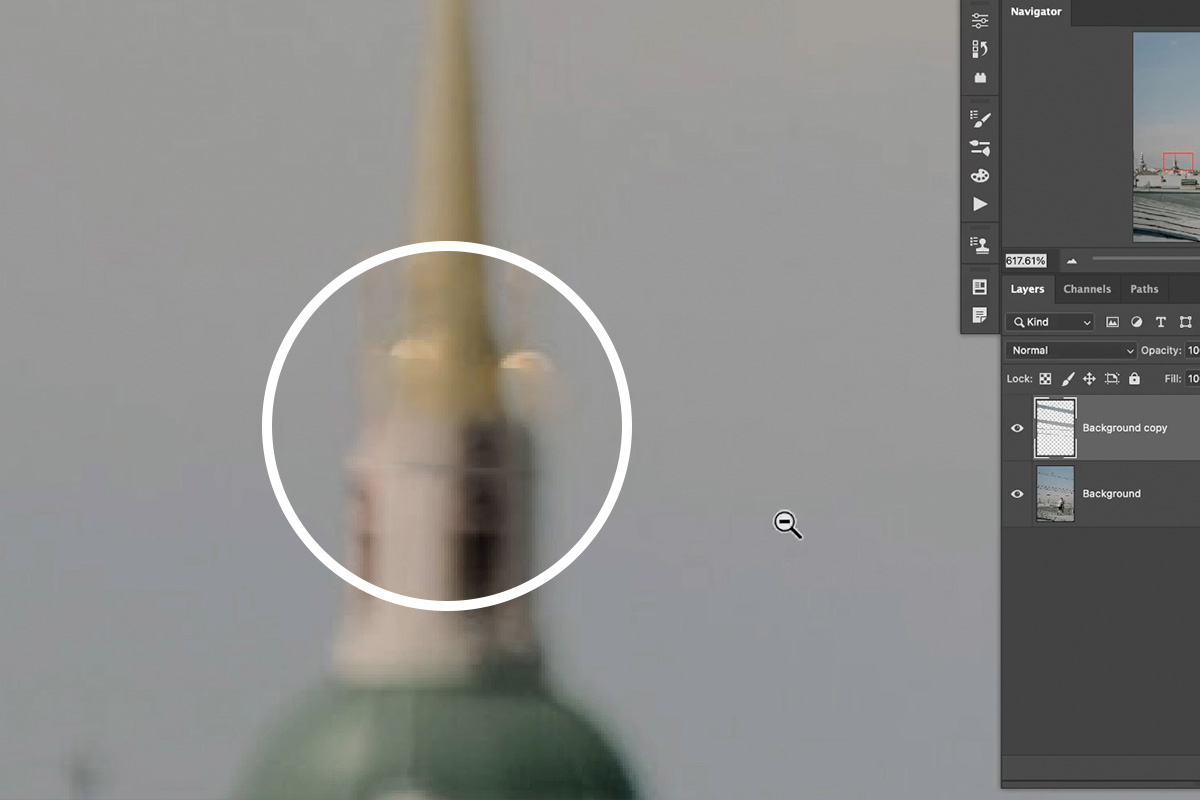
Run Edit > Content-Aware Fill again and check the preview closely — expect it to get most areas right while occasionally introducing a small artifact in a detailed spot like a subject’s clothing or a building’s texture.
Switching to the Spot Healing Brush for Detailed Areas
For smaller, more intricate remaining lines, the Spot Healing Brush tends to perform better than Content-Aware Fill.
-
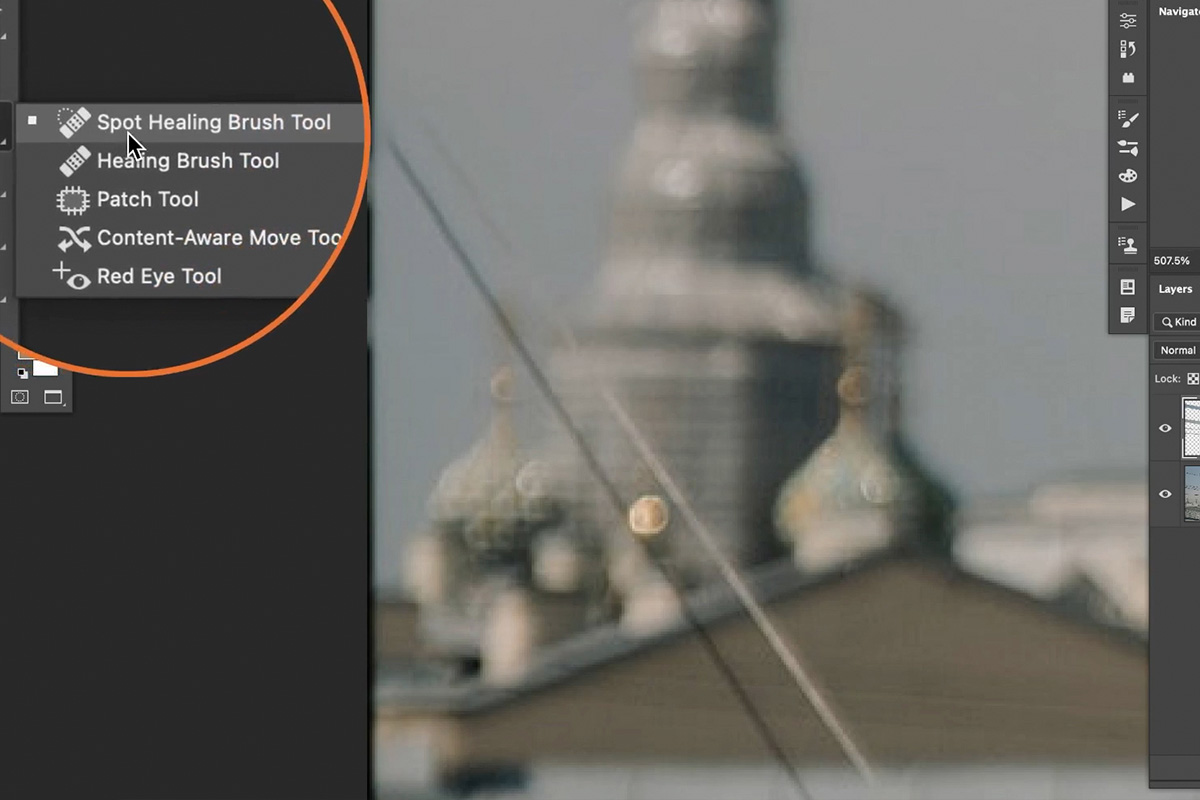
Select the Spot Healing Brush
Press J for the Spot Healing Brush tool.
-
Set Type to Content-Aware and Check Sample All Layers
In the options bar, make sure Type is set to Content-Aware, and check Sample All Layers.
-
Paint Over Remaining Lines
Simply paint directly over any remaining power line or small object — Photoshop analyzes the surrounding pixels and fills the area automatically. If the first pass doesn’t fully clear it, paint over the same spot a second time.
Content-Aware Fill vs. the Spot Healing Brush
Content-Aware Fill works best on larger, simpler areas where you want full control over the exact selection and sample region before committing. The Spot Healing Brush is faster and more forgiving for smaller, more intricate spots, since you can simply paint and it figures out the sampling on its own — and repainting the same troublesome spot a second time often finishes the job a single pass didn’t.
Cleaning Up with the Clone Stamp Tool
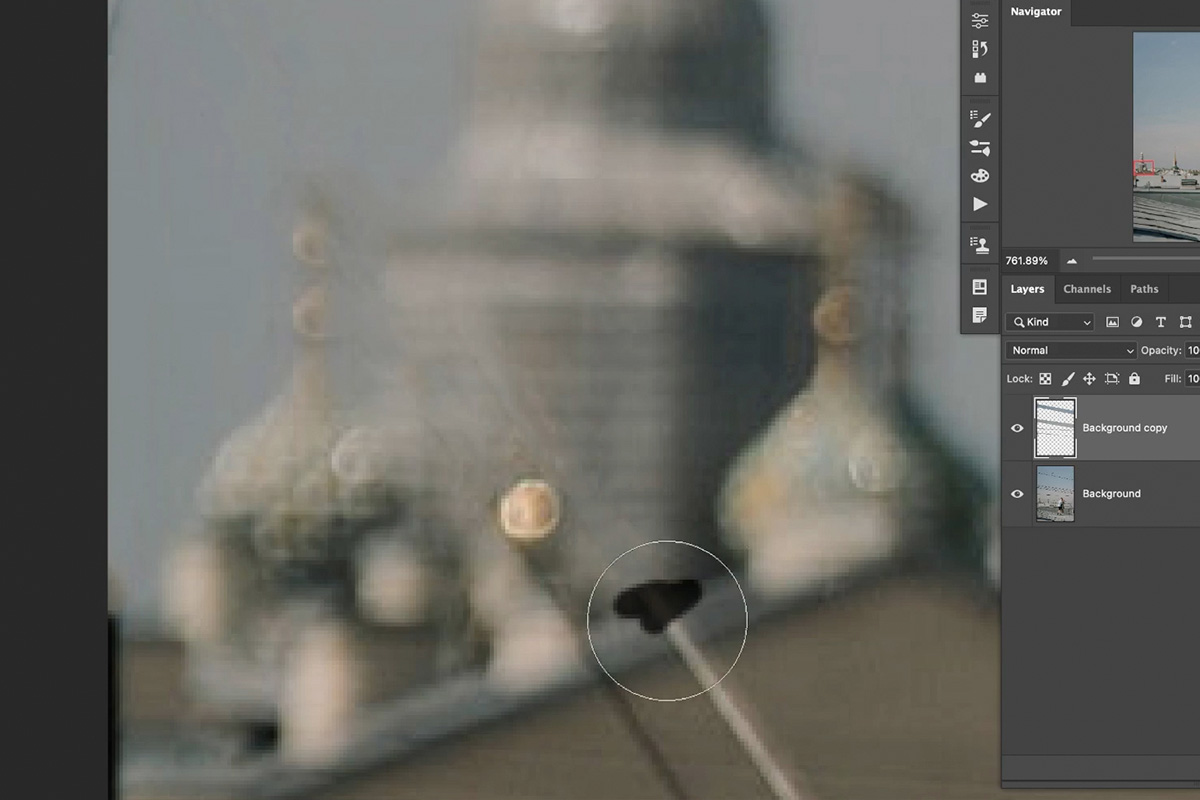
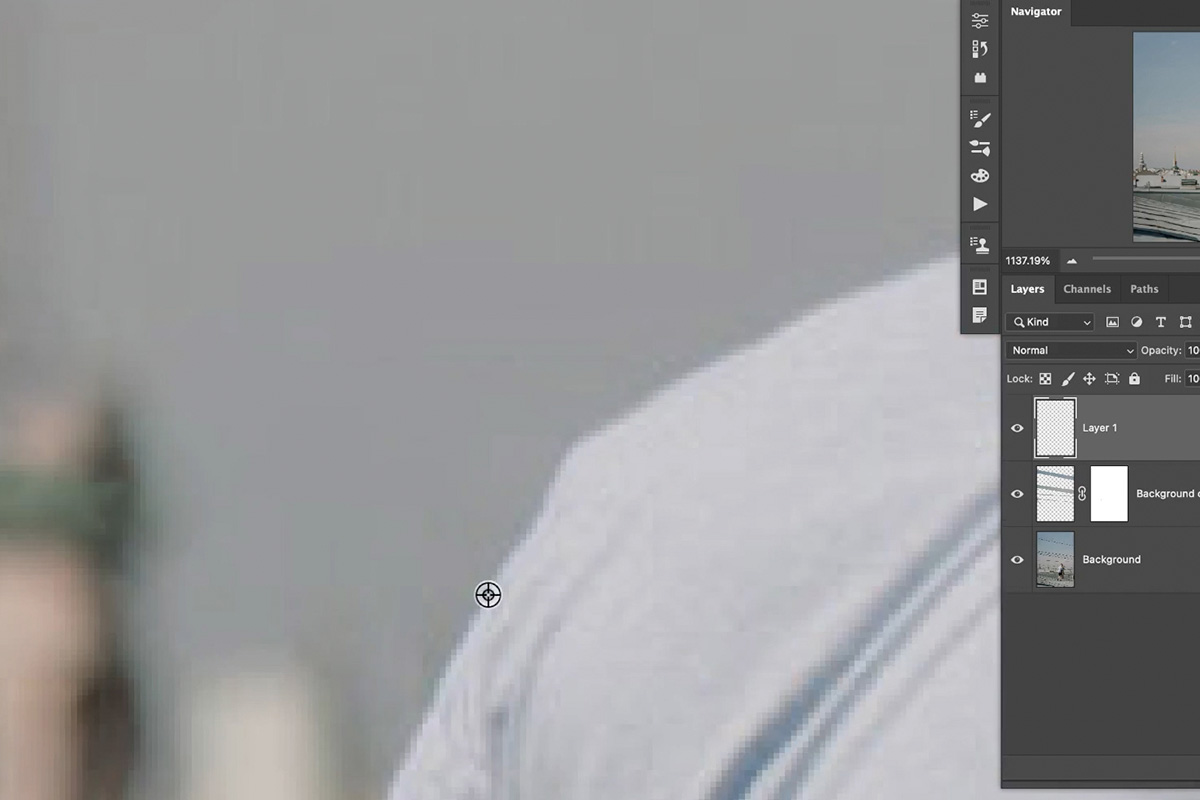
A few small remaining imperfections — a stray crease, a slightly odd texture, a small bump introduced by an earlier fill — are best fixed by hand with the Clone Stamp.
-
Select the Clone Stamp Tool
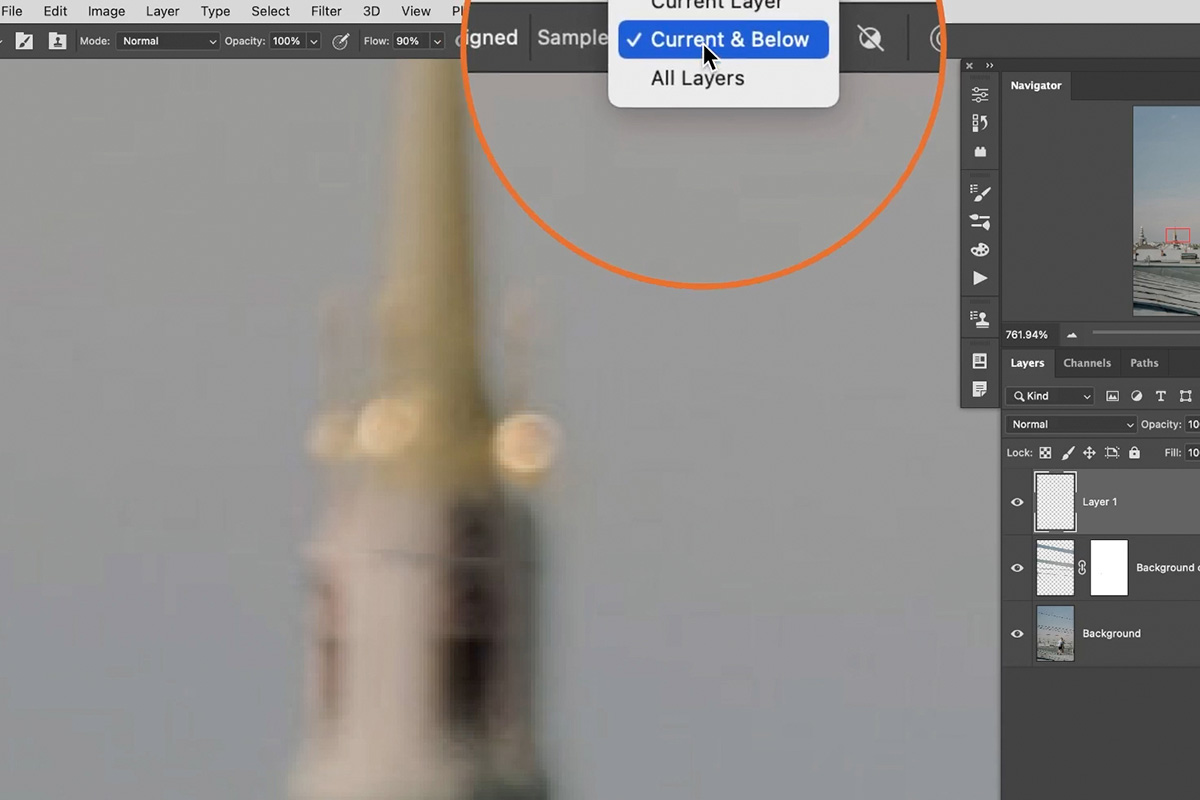
Press S for the Clone Stamp tool, and make sure Sample is set to Current and Below so it can pull from your background layer.
-
Sample and Paint Over Imperfections
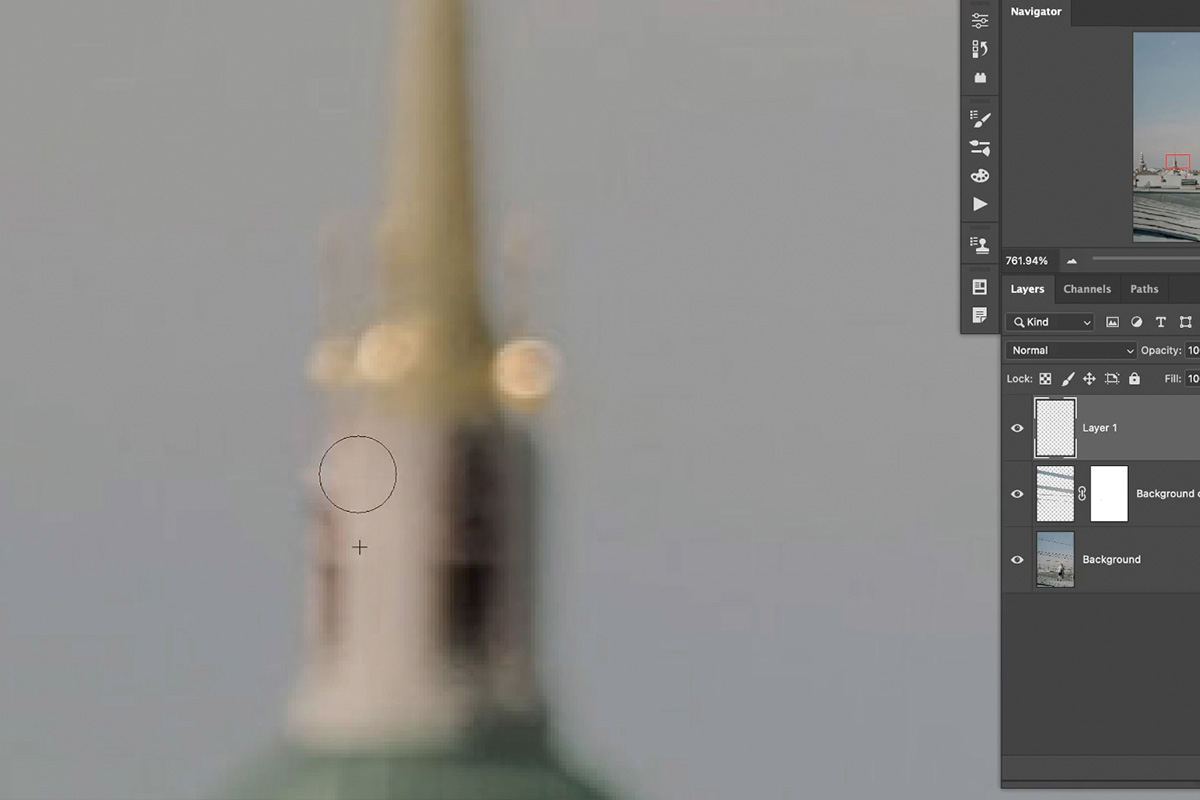
Hold Alt on PC (Option on Mac) to sample a clean nearby area, then paint over any remaining small flaw — a crease in a building, an odd bump on a subject’s shoulder, or a leftover artifact.
Masking Back Detail You Want to Keep
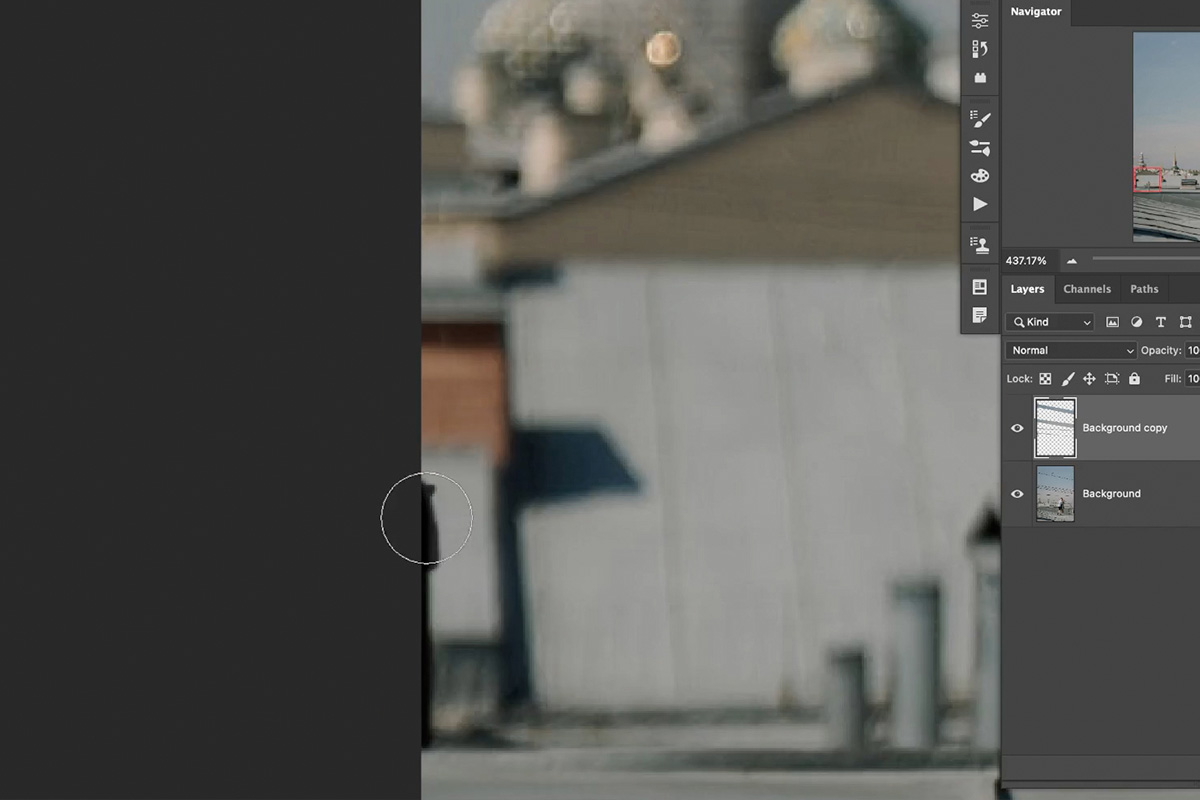
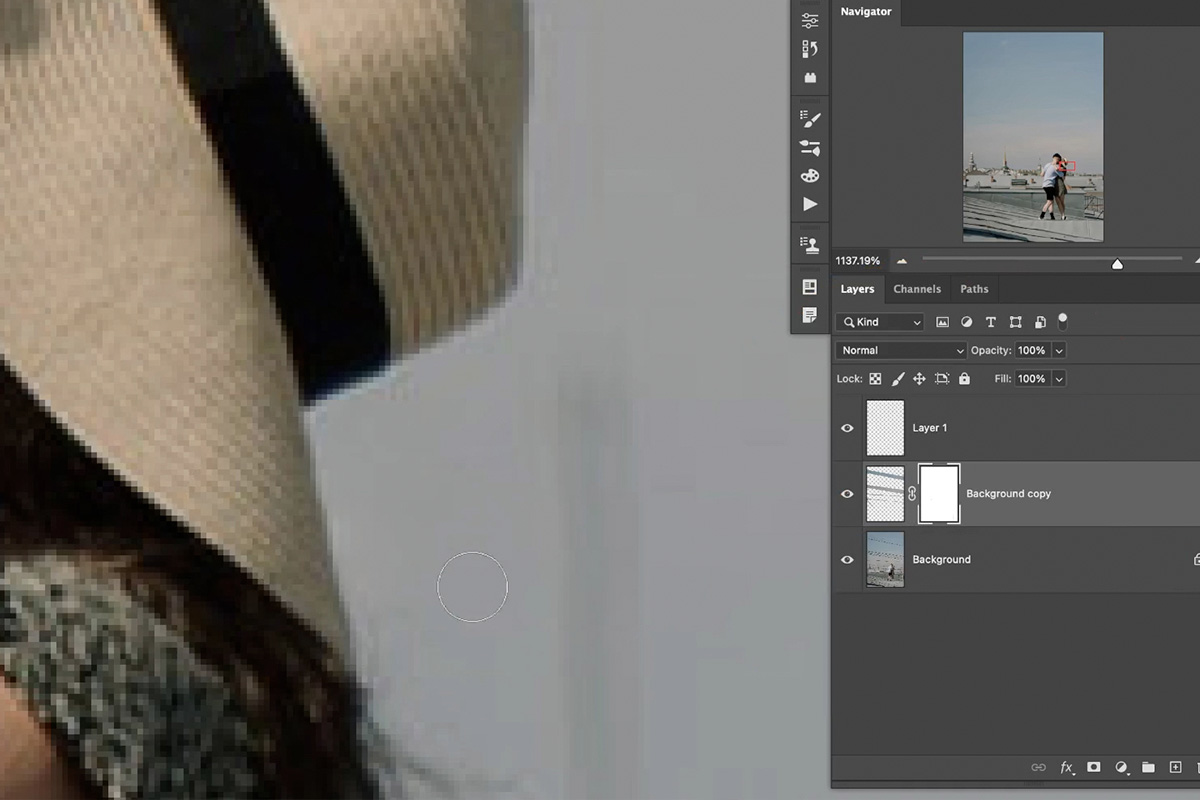
Sometimes an automated fill removes or alters a small detail — like a subject’s hat, or a bokeh light in the background — that you actually want to keep visible.
-
Add a Layer Mask
Click the Add Layer Mask icon on the layer where the unwanted change happened.
-
Paint Black to Restore the Original Detail
Press B for the Brush tool, set your color to black, and paint over the specific area where you want the original, unfilled version of the photo to show back through.
Why Mask Instead of Undoing the Whole Fill
A layer mask lets you selectively bring back one small detail — a hat, a light, a texture — without discarding all the good work the fill did everywhere else on that same layer. Undoing the entire fill to fix one small spot would mean redoing everything; painting black on a mask restores just that one area while keeping every other successful fix fully intact.
More Free Photoshop Tutorials
If you enjoyed this object removal workflow, these free tutorials cover related techniques worth exploring next:
- How to Clean Up any Photo with Content-Aware Fill
- Generative Fill vs Clone Stamp vs Spot Healing Brush: Tools Explained
- Advanced Object Removal by Painting in Photoshop
Why This Approach Works
No single removal tool handles every situation equally well, which is why this technique moves through three of them in order of complexity: Content-Aware Fill for large, simple areas where a precise selection matters; the Spot Healing Brush for smaller, fiddlier spots where painting directly is faster than selecting first; and the Clone Stamp for the rare leftover imperfection that needs a very specific, controlled sample. Layer masks tie the whole process together by making every fix reversible in part, not just in whole, so a single unwanted side effect from an otherwise successful fill never means starting that section over. That layered, tool-matched-to-problem approach is exactly why the same combination reliably clears both a simple stretch of sky and a genuinely cluttered background in the same photo. For more on how the underlying removal tools compare and where each one is strongest, check out Intermediate Object Removal or Simple Object Removal for a deeper look.
Final Thoughts
Removing power lines — or any other distracting linear object — comes down to picking the right tool for each section rather than forcing one tool to handle the entire photo. Start with Content-Aware Fill for the easy, large areas, move to the Spot Healing Brush for detail work, and keep the Clone Stamp in reserve for anything that still needs a precise, manual touch. Once this three-tool workflow feels familiar, it applies just as well to power lines as it does to any other unwanted line, wire, or small distracting object crossing an otherwise clean photo.
Related Tutorials
New Free Tutorials View All »












Enjoying This Free Tutorial? Go Further with PRO.
Unlock Full Sample Files, PSDs, and Hundreds of Masterclasses!

Download full project assets, original PSDs, and RAW images for every lesson
Unlimited access to our complete library of PRO Photoshop & Lightroom courses
Instant 4K Ultra HD streaming on all devices, anytime, anywhere
Full access to our entire library of Photoshop Actions, Presets, and LUTs
Flexible monthly and annual membership plans
Cancel anytime with zero hassle or commitments