Retouching Tutorials

Follow these simple steps to resize and image and add perspective.

A shadow helps any subject look grounded in its Background. This tutorial makes creating the perfect Shadow easy and fun!

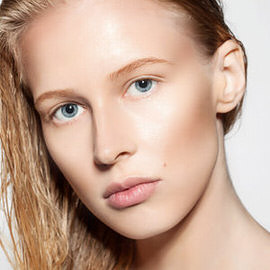
The Face Aware Liquify tool is a new addition to Photoshop CC 2015 with the recent Version 5.0 update. In today’s episode, learn how to adjust facial features using Face-Aware Liquify.
Learn the art of retouching or brush up on your skills! This tutorial will teach you how the pros work to remove blemishes, smooth skin, dodge and burn, apply makeup, and sharpen images. See our exclusive PHLEARN workflow and tools in action.
Photoshop | Retouching | Medium | 9.75 hours | 40 videos
26 Sample Images | 5 Photoshop Brushes | 1 Photoshop Action

In today’s episode, we cover a new tool to Photoshop CC 2015, the Content Aware Crop Tool. This allows you to make an image larger, while adobe uses Content Aware Fill, to add to the image.

Remove dust and scratches and Color Correct an aged photo in today’s episode! This is great for saving old images.

Sometimes it’s better to be nasty, as in the case with sports portraits. Learn how to make a sports portrait even more gritty by using Dodge and Burn and advanced sharpening in today’s episode.

Learn how to simply remove eye wrinkles in a natural and subtle way, leaving your subject refreshed and looking great.
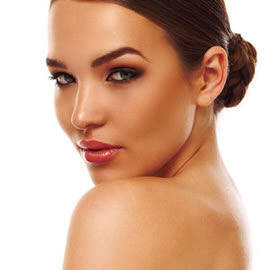
Are those winter months taking a toll on your complexion? Learn how to Transform pale Skin into beautiful bronze in Photoshop!

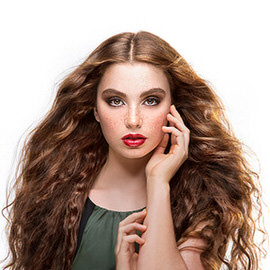
Enhance Hair Color using a Color Balance Adjustment Layer and add a new Color just to the Highlights of Hair. Next learn how to Dodge and Burn Hair to add volume and shape.

Sometimes babies and newborns will have too much red or blue in their Skin, which doesn’t look great in photos. Learn how to use a reference image to analyze skin tone and apply those changes to correct skin tone!

Remove a blemish with Photoshop Fix, adjust development settings with Photoshop Lightroom for mobile, and then apply the Adjustments to a photo burst with Photoshop Lightroom for desktop.

Although it is best to avoid noise by using a low ISO in camera, but we have some tips to remove it in Photoshop.

Join us as we match Skin tones, targeting red areas of the photo matching the Color of the Skin your desired tone. We also use the Healing Brush Tool to duplicate textures, covering the stretch marks.

Circles are easy to make if you let Photoshop do the work for you! Here is a quick and easy method for a perfect circle.
Use these tips and tricks to adjust the style hair in Photoshop.
We will walk you through the process of “contouring” makeup in Photoshop to enhance facial features.
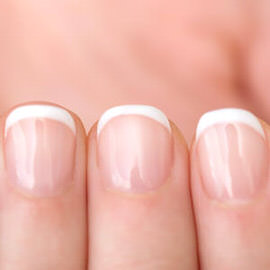
Often times you might want to change the nail Color of your subject. Maybe you want to try a color that would better fit the overall image. We have a very simple but effective solution for you!
Use the Shadow/Highlights options adjust and correct dark shadows or highlights in your images. This is a very precise tool that also allows you to introduce color into the shadows or highlights as well.

Learn how to swap a person out in today’s episode! This is helpful for group shots; especially for instances such as bridal parties.
Sample Images Included

Remove any Tattoo with these tricks. We start with a rough removal using the spot healing brush tool and then we use the brush tool to sample and paint color back in place. We finish things off with adding texture back on the skin.

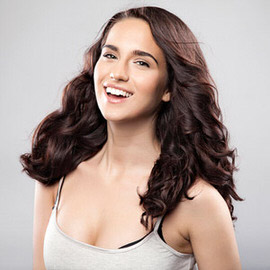
From flyaways to frizzies, hair seems to never do exactly what we want it to. Learn how to shape and Style hair in Photoshop in today’s episode!

Learn How to Add and Remove Fog in Photoshop in today’s episode! This super quick and Easy Tutorial will turn you into a fog wizard. Guaranteed.
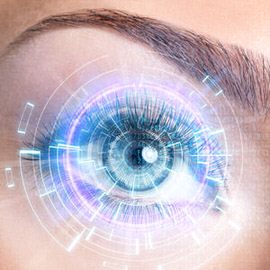
Add a futuristic look to your images. In this tutorial, we’ll show you how to add a light up display over the eye for a cyborg look.

Learn how to add a Reflection to sunglasses in today’s episode! Adding a little Paris to your studio portraits is simpler than you might think!

You will be stunned by the simplicity and effectiveness of this technique! Learn how to auto-Remove Objects from your images in no time!

It’s always a sad time when you end up with unwanted Reflections in someone’s glasses! Learn how to utilize the clone source dialogue to remove glare in today’s episode!
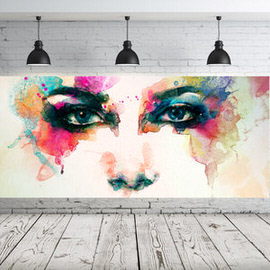
In today’s episode, learn how to use amazing Lighting Effects in Photoshop! Watch and learn as we Transform a flat piece of art into a textured, 3-D masterpiece!
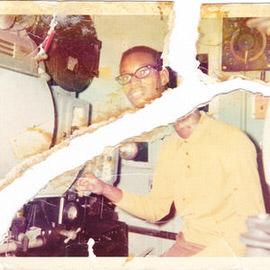
Learn how to completely repair an old torn photo in Photoshop! From tears to discoloration, we will show you how to fix it!

You won’t believe how quick and easy it is to remove red-eye in Photoshop! Learn how to fix those creepy pupils in today’s episode!

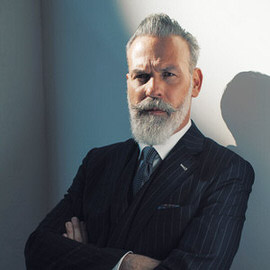
In today’s episode, learn How to Retouch a Dramatic Male Headshot in Photoshop! Fix blemishes and redness, and add classic Color Styling to your photographs!
Sample Images Included